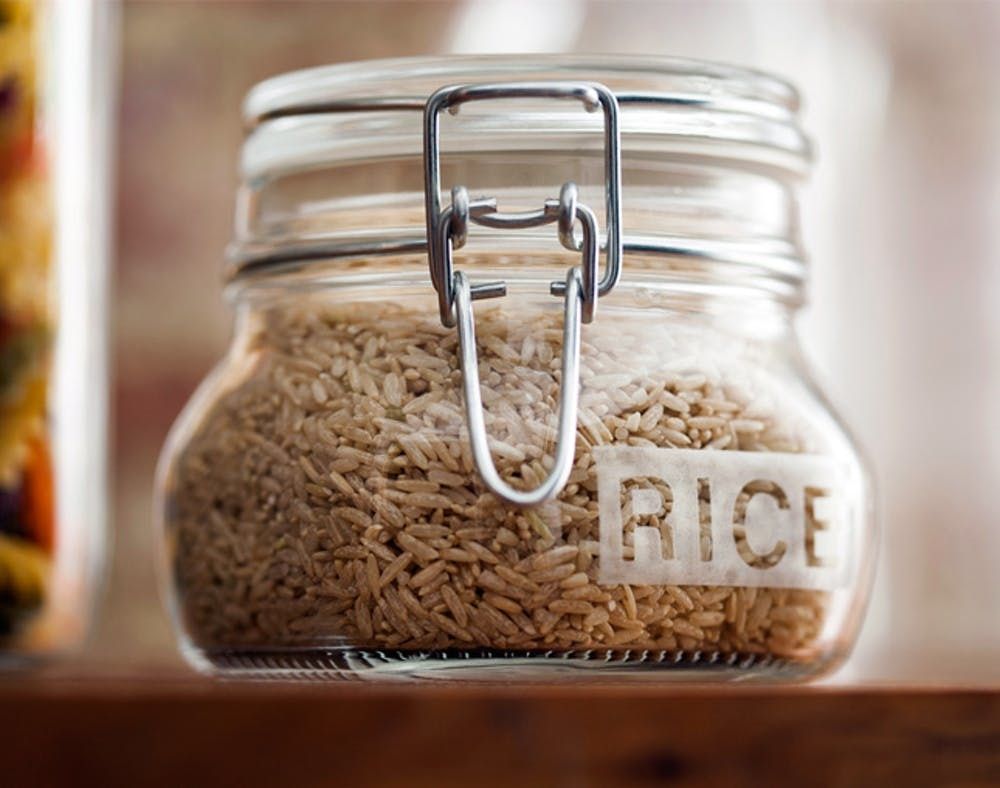
Last week when we shared our limoncello recipe, we gave you a little teaser about this glass-etching tutorial. The secret is that the directions are easy, but the execution can take a little bit of practice. We’re sharing our tips so your projects turn out well the first time. Once you get the hang of it, it’s a great way to decorate the glass jars you store sugar, flour, pasta, or rice in, or you can embellish a few bottles for serving water or juice at your next brunch. Whichever project you decide to try, it’s an easy and inexpensive way to make, or rather, etch your mark.
Materials:
– glass jars or bottles
– Armour Etch glass etching cream
– plastic or vinyl adhesive letters
– electrical tape
– cut-out washi tape
– bone folder
– paint brush
Instructions:
1. Wash and dry your glass bottles to start out with a clean surface.
2. To etch a word: apply your spell out your word or phrase in vinyl letters on the glass. Tape off a box around the word with electrical tape. For stripes: Apply electrical tape and/or washi tape in stripes around the bottles. Remember that the space between the tape is what will be etched.
3. Burnish the tape and/or letters with the bone folder to remove any bubbles especially on the edges. This will prevent your etching cream from bleeding and ruining your straight, crisp lines. If you don’t have a bone folder you can use the back of a spoon.
4. Apply a heavy layer of etching cream. Try to get it as even as possible, and dab—don’t brush—it on. The thicker the better.
5. Let the etching cream sit for at least 5 minutes. (We left ours for closer to 30 minutes.)
6. Rinse off the etching cream with water. (Be sure to thoroughly clean your sink afterward.)
7. Remove tape and letter stencils and wipe with a damp paper towel to remove any traces of etching cream.
Carefully line up your stickers when applying them. We used vinyl ones from the office supply store. They were easy to reposition until we got them just right. For taping off the rectangle around the word, we’d recommend electrical tape. It will give you a sharper line than painter’s tape or washi tape.
Dab on the etching cream. It will definitely take a couple of coats. By the end you should only barely be able to see the letters underneath.
The exception to the washi tape rule is this fun cut-out butterfly washi tape that we had in our supply stash. Because we burnished it with the bone folder the etching cream didn’t seep in around the edges and the design stayed intact.
Yes it looks like we have a lot of stripes going on here, but remember only the empty glass between the lines of tape will be etched.
Remember to apply it thickly. You want it all to be opaque. Also, using a wider piece of tape on the very bottom stripe will help you prevent any drips.
Rinse off the etching cream completely. If you notice any thin spots in your etching, now is the time to touch them up. You don’t want to remove the stencils and have to touch up later.
Once you’re satisfied with the opacity of the etching, it’s time to remove the stencils and tape and see how it all turned out!
What types of designs and words would you like to try etching on glass? Tell us in the comments below!
(Photos via Brit + Co)
