You’ve likely seen the ombre trend gracing your Pinterest feed in the form of hair, makeup, clothing, accessories, and even cake. But what about getting your nails involved? Well, with the help of a sponge or two, we’re pleased to bring the gorgeous gradient trend to our nails in the form of a DIY Sponge […]
Introducing the DIY Sponge Manicure
You’ve likely seen the ombre trend gracing your Pinterest feed in the form of hair, makeup, clothing, accessories, and even cake. But what about getting your nails involved? Well, with the help of a sponge or two, we’re pleased to bring the gorgeous gradient trend to our nails in the form of a DIY Sponge Manicure.
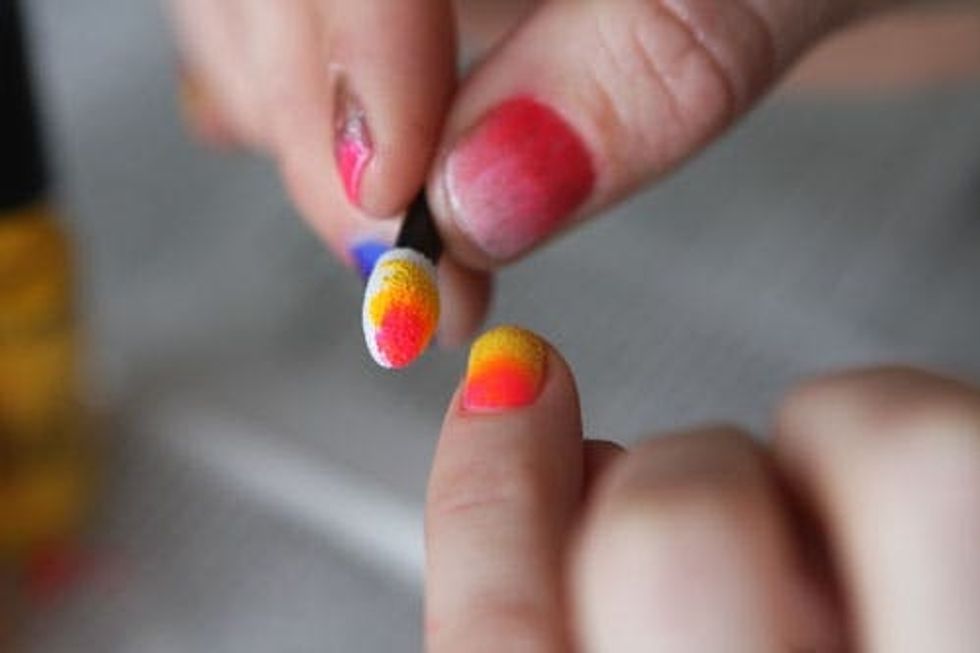
Materials:
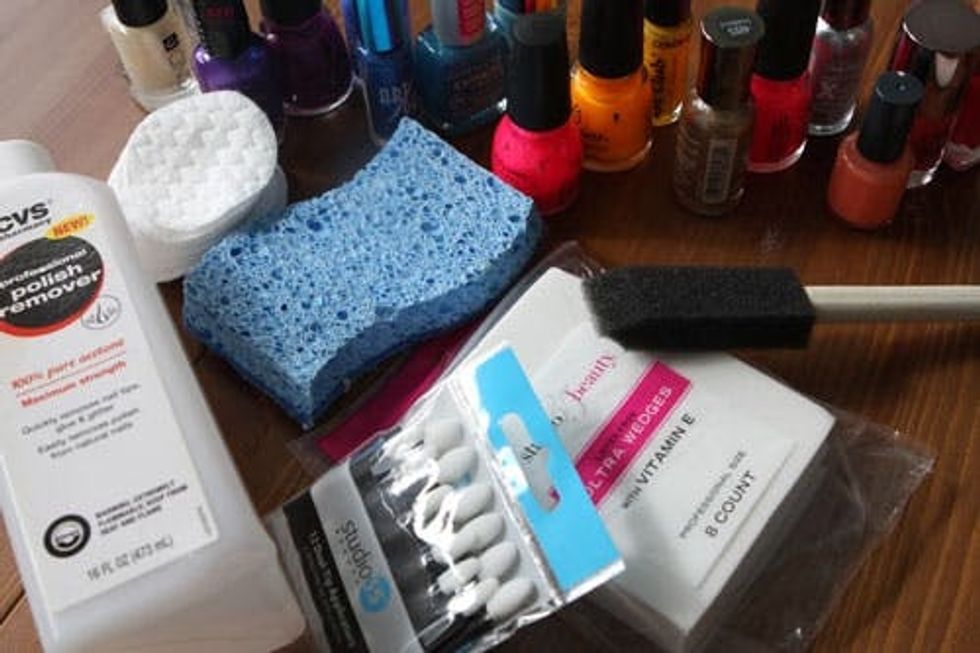
– 3 nail polishes that work in a gradient (for ex: pink, orange, yellow)
– clear base and top coat
– nail polish remover
– sponge paintbrush, eye shadow applicators or a kitchen sponge
– pointy Q-tips
After trying just about every sponge we could find, we’ve narrowed it down to three favorites: the kitchen sink sponge, the eyeshadow sponge brush, and the sponge paintbrush.
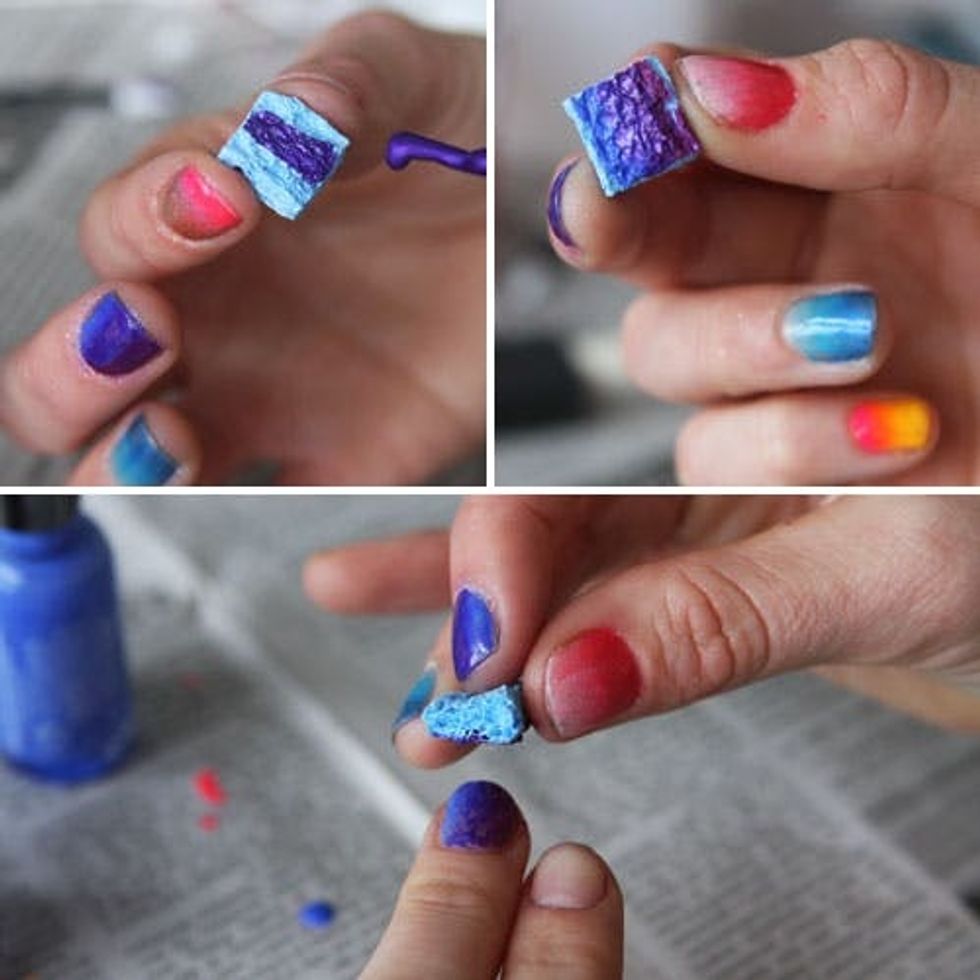
First up, the Kitchen Sink Sponge.
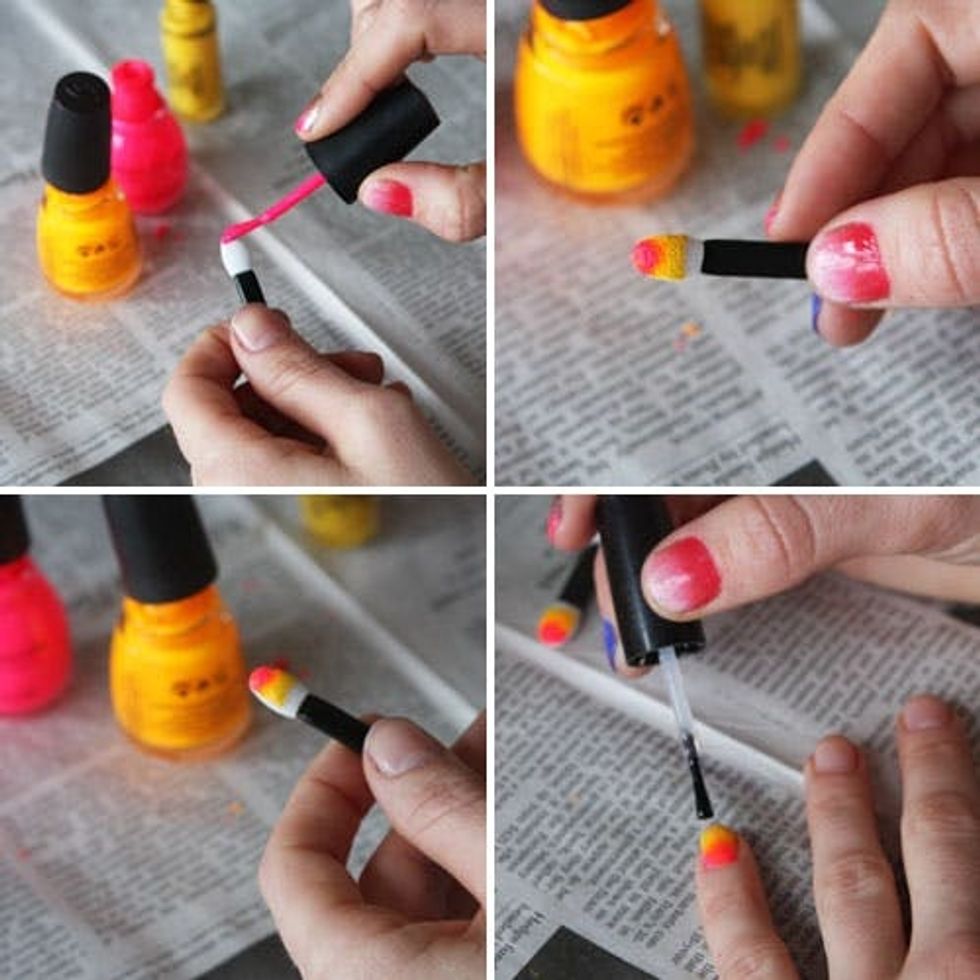
Grab a sponge from under your kitchen sink (and old one will work just fine) and cut off a small piece to use for painting. Our sponge piece was about three quarters of an inch in width. Dampen the sponge ever so slightly so that it’s not stiff. Take your nail polish and paint a few stripes to create an ombre pattern.
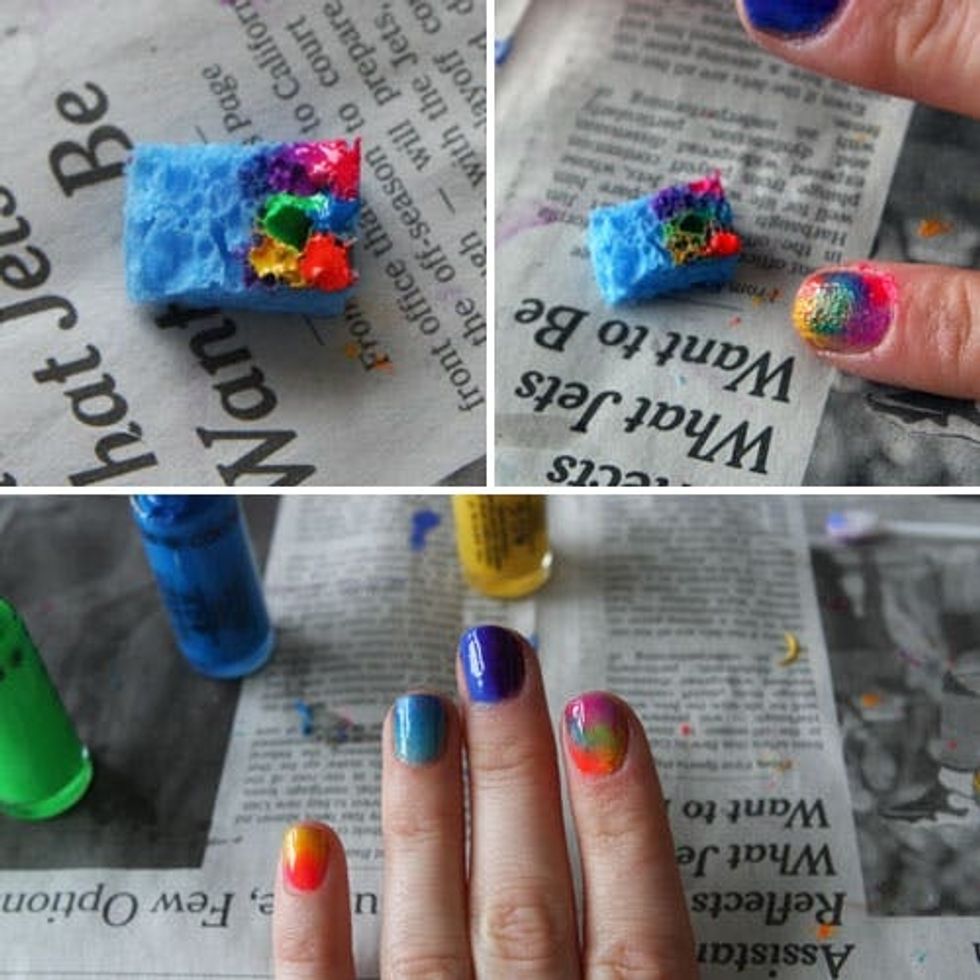
You can also use it to create this crazy neon camo look.
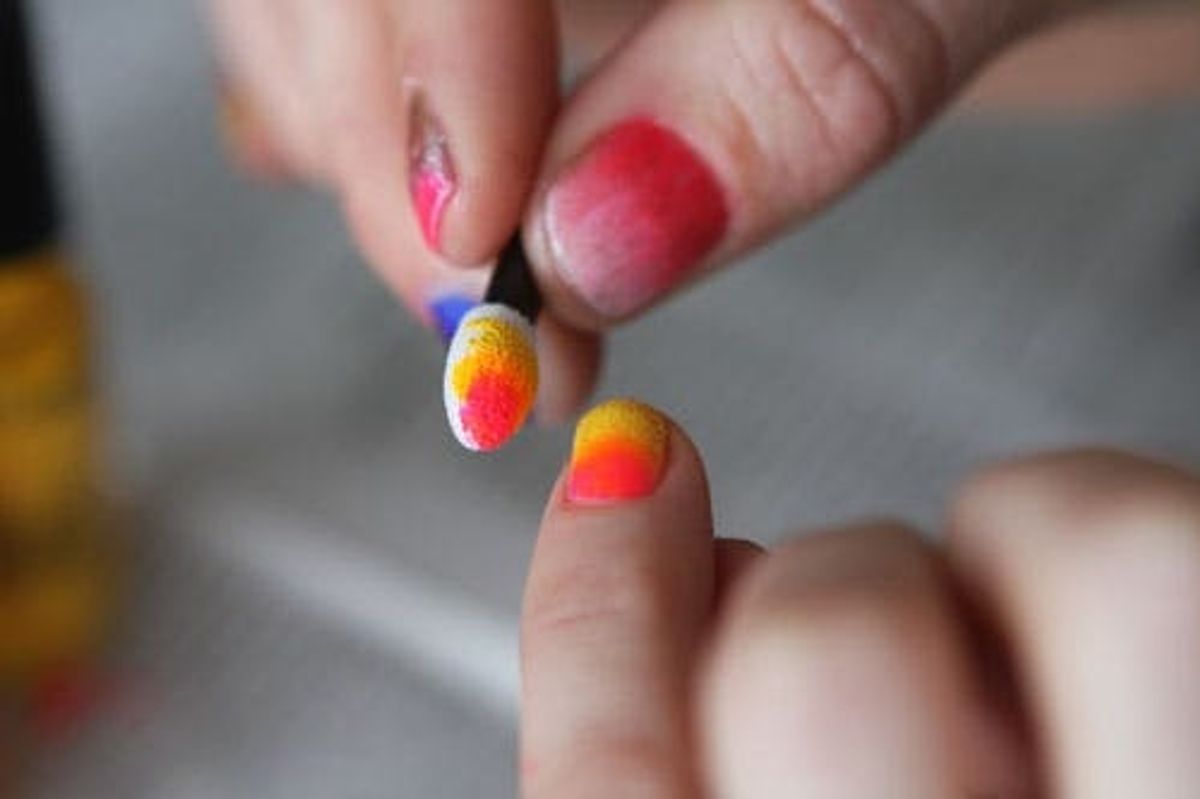
Stamp the sponge onto your nails and stamp again for brighter colors. Immediately apply your top coat – this will make the ombre blend smoothly. Use a Q-tip and nail polish remover to remove any smudges, and you’re all set.
Next (and our favorite), the Eyeshadow Sponge Brush.
If you love makeup as much as we do, you’ve probably got a few eyeshadow brushes lying around. And hopefully you aren’t using them because you have the awesome brush set we recommended in our Everyday Makeup Essentials post. ;)
Scratch-Off Polaroids
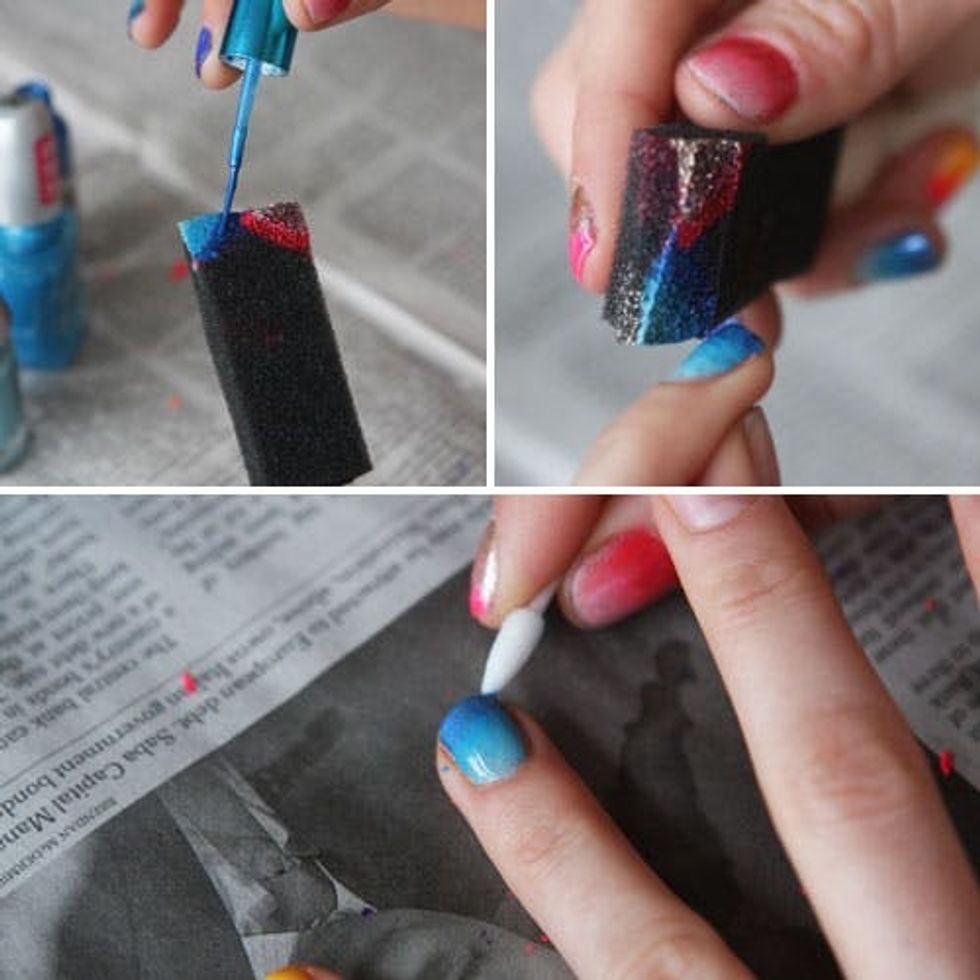 Cleaning Tools, and even our DIY Glitter Heels. The best thing about the paintbrush sponge technique is that you can create pretty much any design you want and stamp it right onto your nail. Because the brush is flat, its super easy to get creative. As with the other techniques, seal the deal with a clear top coat and use a Q-Tip and nail polish to clean up any polish that made it outside the lines.
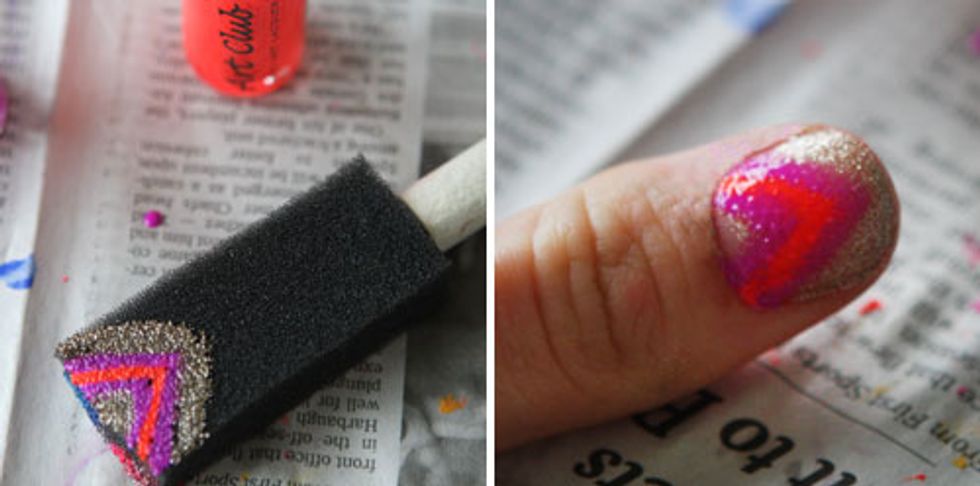
We also created a Neon Sparkle Chevron print with this, of course!
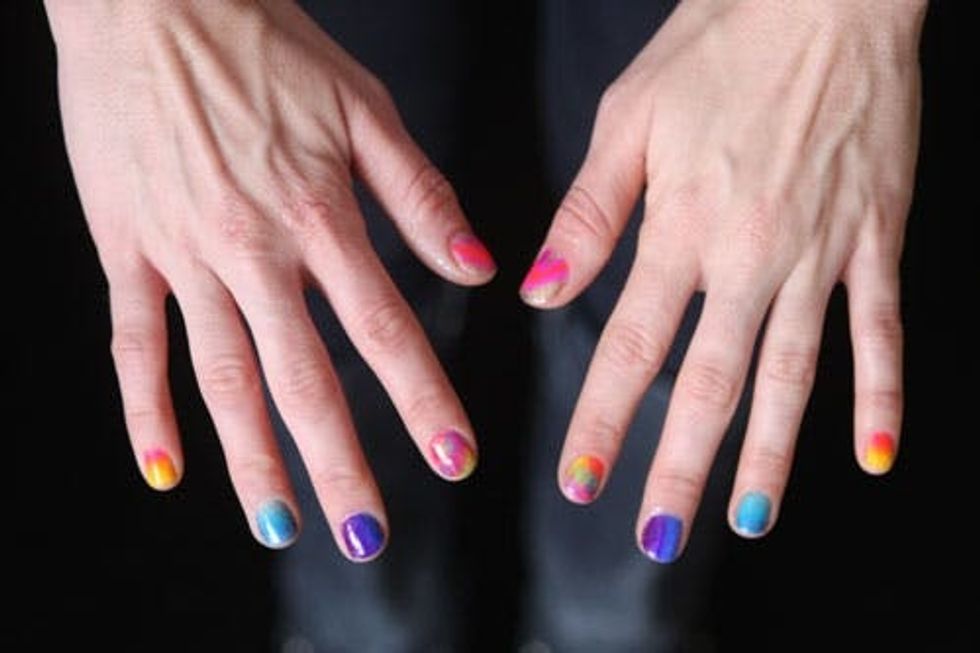
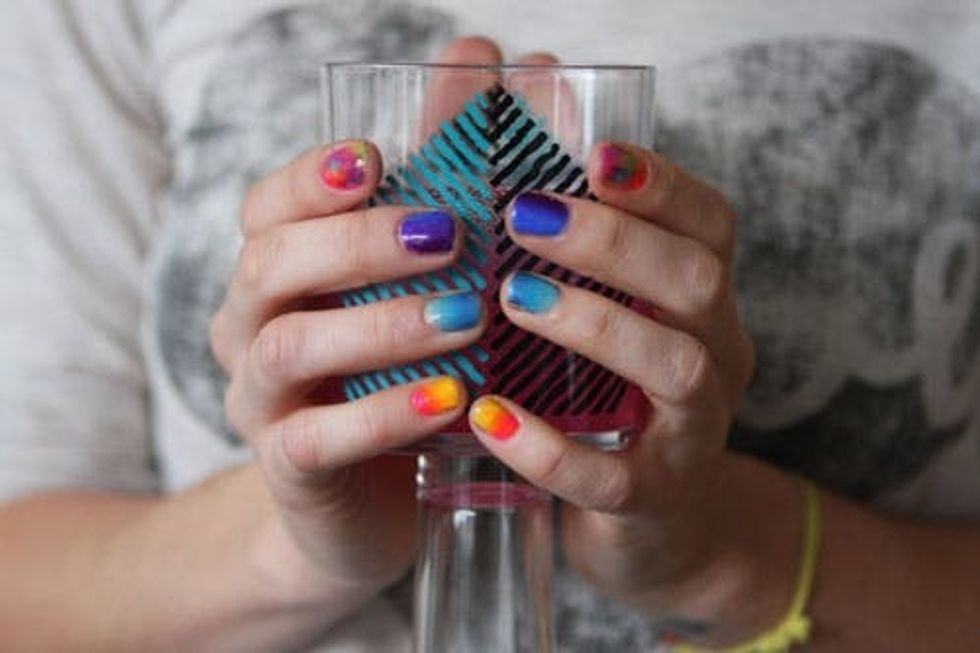
And here we’ve got all of the techniques on one set of crazy colorful nails!
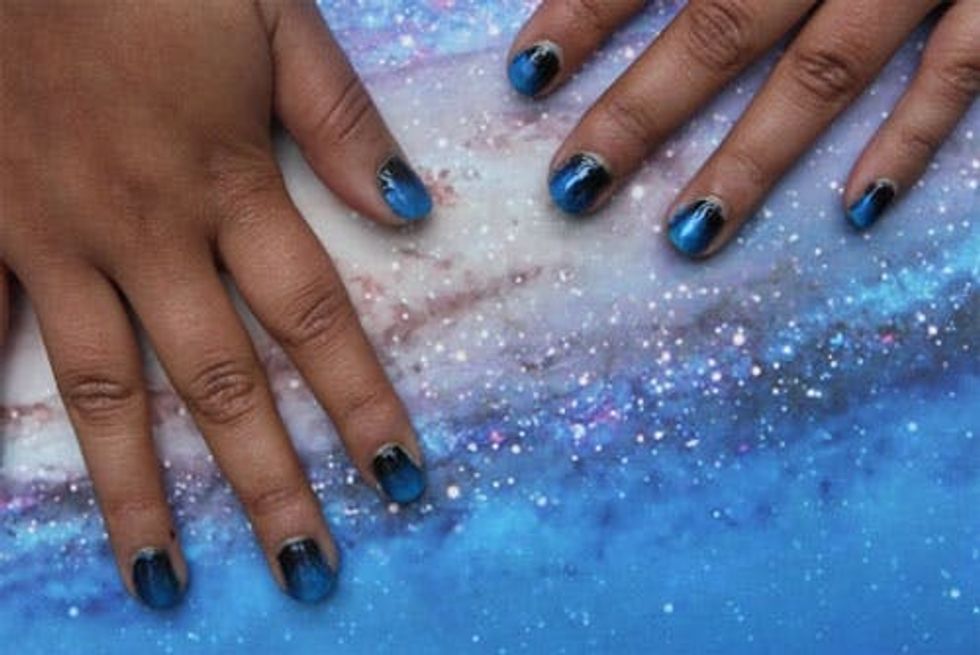
For a more basic approach, go for the Solar System manicure inspired by some of the Apple packaging we’ve got kicking around Brit HQ. If you’re feeling glittery, add a few swirls of silver or purple glitter to it and mimic a gorgeously galactic meteor shower. ;)


