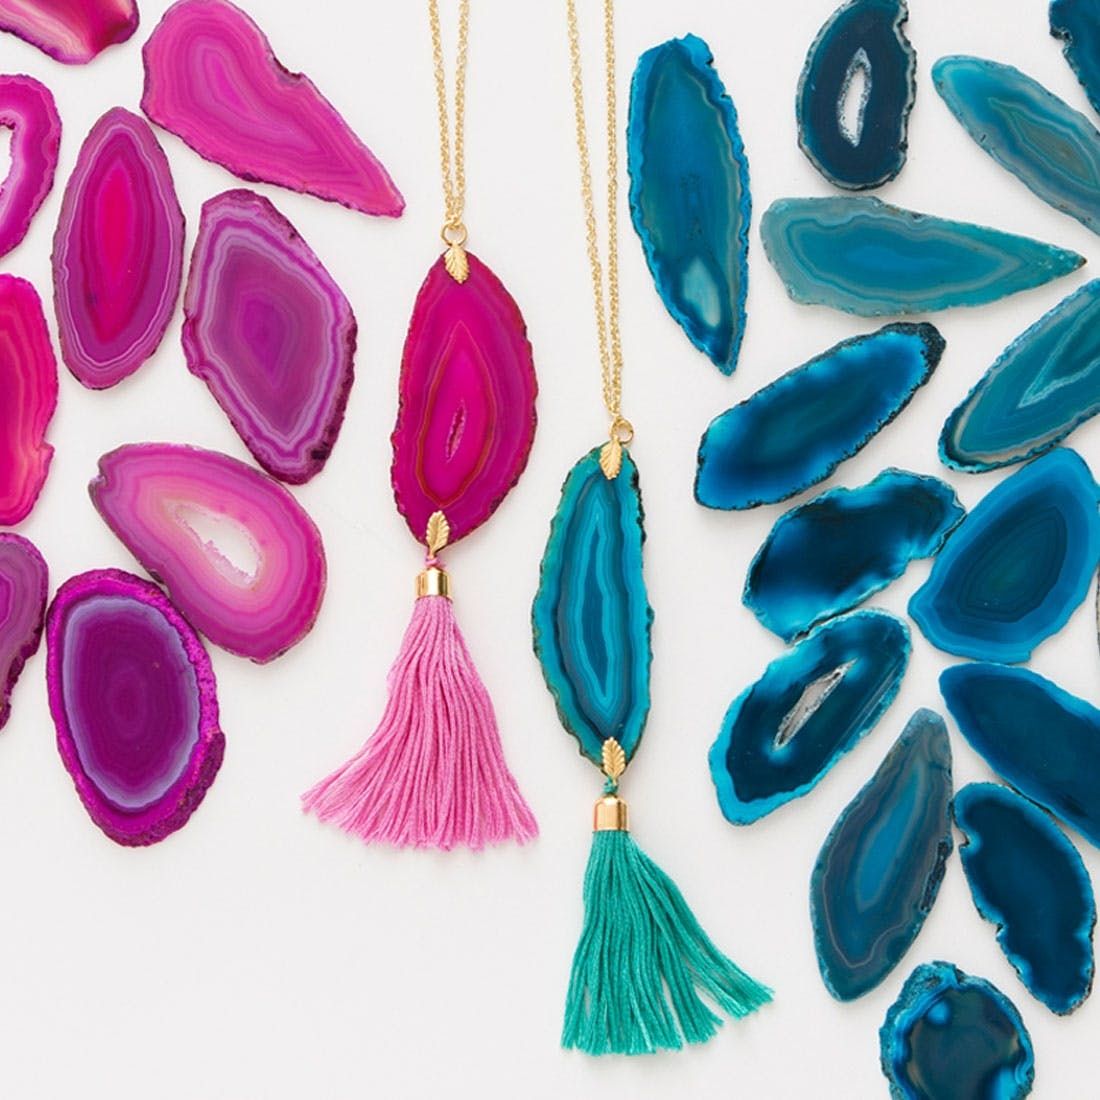
It’s nearly that time of year when we’re starting to flip through our winter closets and wonder, “What on earth am I going to wear to all these holiday parties this year?” In some cases, the answer is an attention-grabbing embellished dress, and in other cases, all you need is a beautiful accessory to brighten up a simple, versatile outfit. If it’s the latter, keep scrolling for the complete how-to on one of the easiest DIY pendant necklaces we’ve made yet!
To make this process even simpler, we’ve put together our brand new Agate Pendant Necklace Kit that makes TWO of these pendant necklaces — one for you and one for a friend. Make these ahead of time to gift later OR invite your bestie over for a quick craft sesh and make them together!
Materials (included in our kit!):
– agate slices
– embroidery thread
– jewelry chain
– E6000 glue
– jewelry plier/cutter
– jewelry bails
– cord ends
– jump rings
– lobster clasps
Additional Supplies Needed (not included in kit):
– scissors
Grab your materials (pictured above and included in our kit!) and a friend and let’s get this jewelry party started!
First things first — bend your jewelry bails over the ends of your agate slice so the leaves lay flat on either side. Then give each bail one extra pinch away from the agate slice so that the leaves touch.
Apply a small dot of glue to either side of your agate and pinch the bail on top of the glue. Leave a small gap in between the bail and the agate’s edge so that you can attach a jump ring later.
Repeat this on both ends of each agate slice and set them aside to dry while you make your tassels.
Slide the labels off of each skein of embroidery thread and cut them directly in half with scissors. Separate one thread from each bundle and set aside. Note that each skein makes two tassels.
Tie your separated thread around the bundle with a double knot, leaving the ends long.
String both thread ends through the little hole at the top of one cord end and slide the end half way down. Fill the cord end with a generous amount of glue and then slide it down so that it covers the top of your tassel. Repeat for your second tassel and set them aside to dry.
Now that the glue on your agate slices is dry, open up a jump ring with your pliers, attach it to the bail at the top end of your pendant and then close it back up.
Cut a piece of chain to your desired length using your plier/cutter, string it through the jump ring at the top of your pendant and then attach two more jump rings and a lobster clasp to the ends.
Now that your glued tassels are a least semi-dry, string the two thread ends through the lower jewelry bail, each running in the opposite direction, tie a few knots to secure and then trim the ends. You can add a teeny dot of glue here if you wish to really lock that tassel down.
Trim the ends of your tassel to your desired length and your piece is ready to wear!
One for me, one for you! Mix and match your agate and tassel colors or rock that sleek tone-on-tone look — either way, these long pendants are our new go-to accessory.
These gems easily brighten up a cozy-casual knit sweater AND transition beautifully to your going-out ensemble. Forget diamonds — a wear-with-everything pendant is a girl’s best friend.
If you’re looking to brighten up your moody fall wardrobe with an accessory that pops, throw a fuchsia pendant over a deep marsala dress or a teal pendant over a dark navy piece.
The best part about these natural slices is that they come in an endless variety of unique shapes and colors. But never fear — each piece that we put in our Agate Pendant Necklace Kits is selected to fit our designers’ “would I wear it?” criteria, so while each one is unique, we always make sure you have something beautiful to work with.
BRB — we’re getting lost in these deep blues. It’s like wearing a little piece of the ocean around your neck!
Or if fiery hot pinks are more your jam, turn up the heat in your jewelry collection with a bold fuchsia piece.
What other gemstone DIYs do you want to try? Tell us in the comments below.
