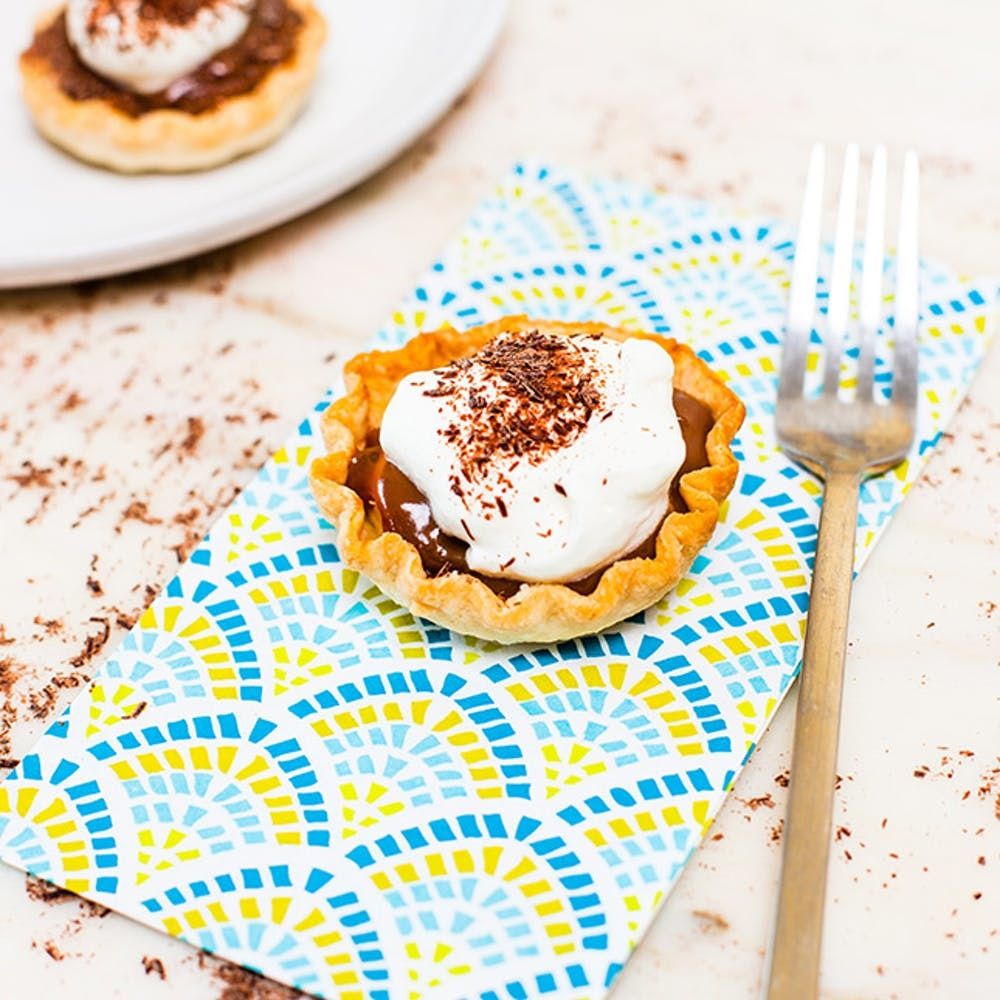
That’s right — today we’re making mini pies in mason jar lids. There’s no need to go out and buy a dozen single-use kitchen items when the craving for delicious mini pies strikes. Just grab two-piece mason jar lids and get baking. The trick here is that the removable lid insert allows you to bake and remove the crust easily, just like a specialty pan. How’s that for a life hack? To begin your experimenting, try our recipe for Mini Banoffee Pies, based on the traditional British dessert made of fresh bananas, toffee (in this case we use dulce de leche), whipped cream and chocolate.
Ingredients:
— flour
— chilled pie-crust dough (homemade or store bought)
— two bananas
— dulce de leche
— whipping cream
— a bar or chunk of dark or semi-sweet chocolate
— 8-10 two-piece mason jar lids
Instructions
For Mini Pie Shells
1. Preheat oven to 400 degrees Fahrenheit. Set out a sheet pan with your mason jar lids. Flip the flat lid insert so the metal side is facing up.
2. Measure your mason jar lids and find a cookie cutter (or bowl/mug etc) that is about 1” wider in diameter than your lids.
3. Flour the work surface and the rolling pin. Roll out your dough into a rough square or circle shape to about ⅛” to ¼” thick. If your dough is still hard from the fridge, try breaking off smaller pieces to roll out.
4. Use your cookie cutter to cut out the pastry into rounds; a recipe that yields one 9” pie crust will make between 8 to 10 rounds.
5. Place one pastry round over the top of one mason jar lid. Gently press the dough down into the lid.
6. Crimp the excess crust hanging over the edge of the lid by pinching the dough between your thumb and index finger. This technique creates a pretty fluted effect.
7. Repeat steps 5 and 6 for the rest of your pastry rounds.
8. If the mason jar lids aren’t already on the cookie sheet, put them there. Poke the base of all of the crusts 4 to 5 times with a fork. This will help the crust bake evenly. Bake the entire cookie sheet full of dough-filled mason jar lids for 12-15 minutes or until the edges are lightly golden.
9. Once the pies and lids are cool enough to handle, press the bottom of the lid up with your fingers. Your pie crust will easily come out of the lid.
For Banoffee Filling
1. With a vegetable peeler, shave off about 2 tablespoons of chocolate for garnish. With a whisk or electric mixer, whip the cream until it thickens and creates soft peaks. Lastly, peel and thinly slice the bananas.
2. Assemble your pies, beginning with a layer of sliced banana on the bottom (about 2-3 slices depending on their size), 2 heaping spoonfuls of dulce de leche (spread evenly over top the bananas), a dollop of cream and a finishing sprinkle of chocolate shavings.
Measure your mason jar lid and find a cookie cutter (or bowl or mug) that is about one inch wider than the lid. Don’t forget to turn the flat lid insert so that the metal side is facing up.
Roll out your chilled dough and cut into rounds.
Gently press the pastry rounds into the mason jar lids and crimp the excess using a simple pinching technique. Press your index finger on the inside of the crust between your other thumb and index finger on the outside of the crust. When you’re done, place the finished lids on a sheet pan. Poke each crust a few times with a fork. Then, into the oven they go. Bake for 12-15 minutes or until you’ve got some lovely golden brown edges. Let them cool before removing from the lid.
While your crusts are cooling, prep your Banoffee filling: Shave some chocolate for garnish, whip the cream and slice the bananas.
Now it’s time to assemble. Place a few banana slices in the crust, followed by a heaping spoonful or two of dulce de leche, a dollop of whipped cream and a final sprinkle of chocolate shavings.
You can serve your little minis right away (so tempting, how could you not!) or keep them in the fridge, assembled, for two days. We suggest baking your pie crusts in advance and assembling the pies last minute for a dinner party.
Tell us what pies you’ll be making in your mason jar lids in the comments below.


