Shake your pom-pom.
How to Make This Ridiculously Adorable Pom-Pom Tassel Wall Hanging

Y’all, we’re addicted to making pom-poms. Admitting the problem is the first step, right? TBH, we can pinpoint the moment we became obsessed: when we discovered the magical pom-pom maker. Since this fateful moment, we’ve made a glorious pom-pom vest, a watermelon pom keychain, a gussied up duvet cover and even a new year’s resolution tree. The struggle is REAL.
Clearly, tassels were our gateway drug. What’s a DIY’er to do? At this point, the only thing to do is feed the beast with more pom-pom projects, so that’s exactly what we’ll do. Enter the pom-pom tassel wall hanging, AKA the wall art your living room has been missing. Join us in our pom-pom fever, won’t you? :)

Materials and Tools:
- yarn (assorted colors)
- copper pipe
- rope
- pom-pom makers (assorted sizes)
- fabric scissors
- hot glue gun + glue

Psst: Don’t have a pom-pom maker on hand? Try this nifty trick instead.

Hello, you beautiful li’l things.
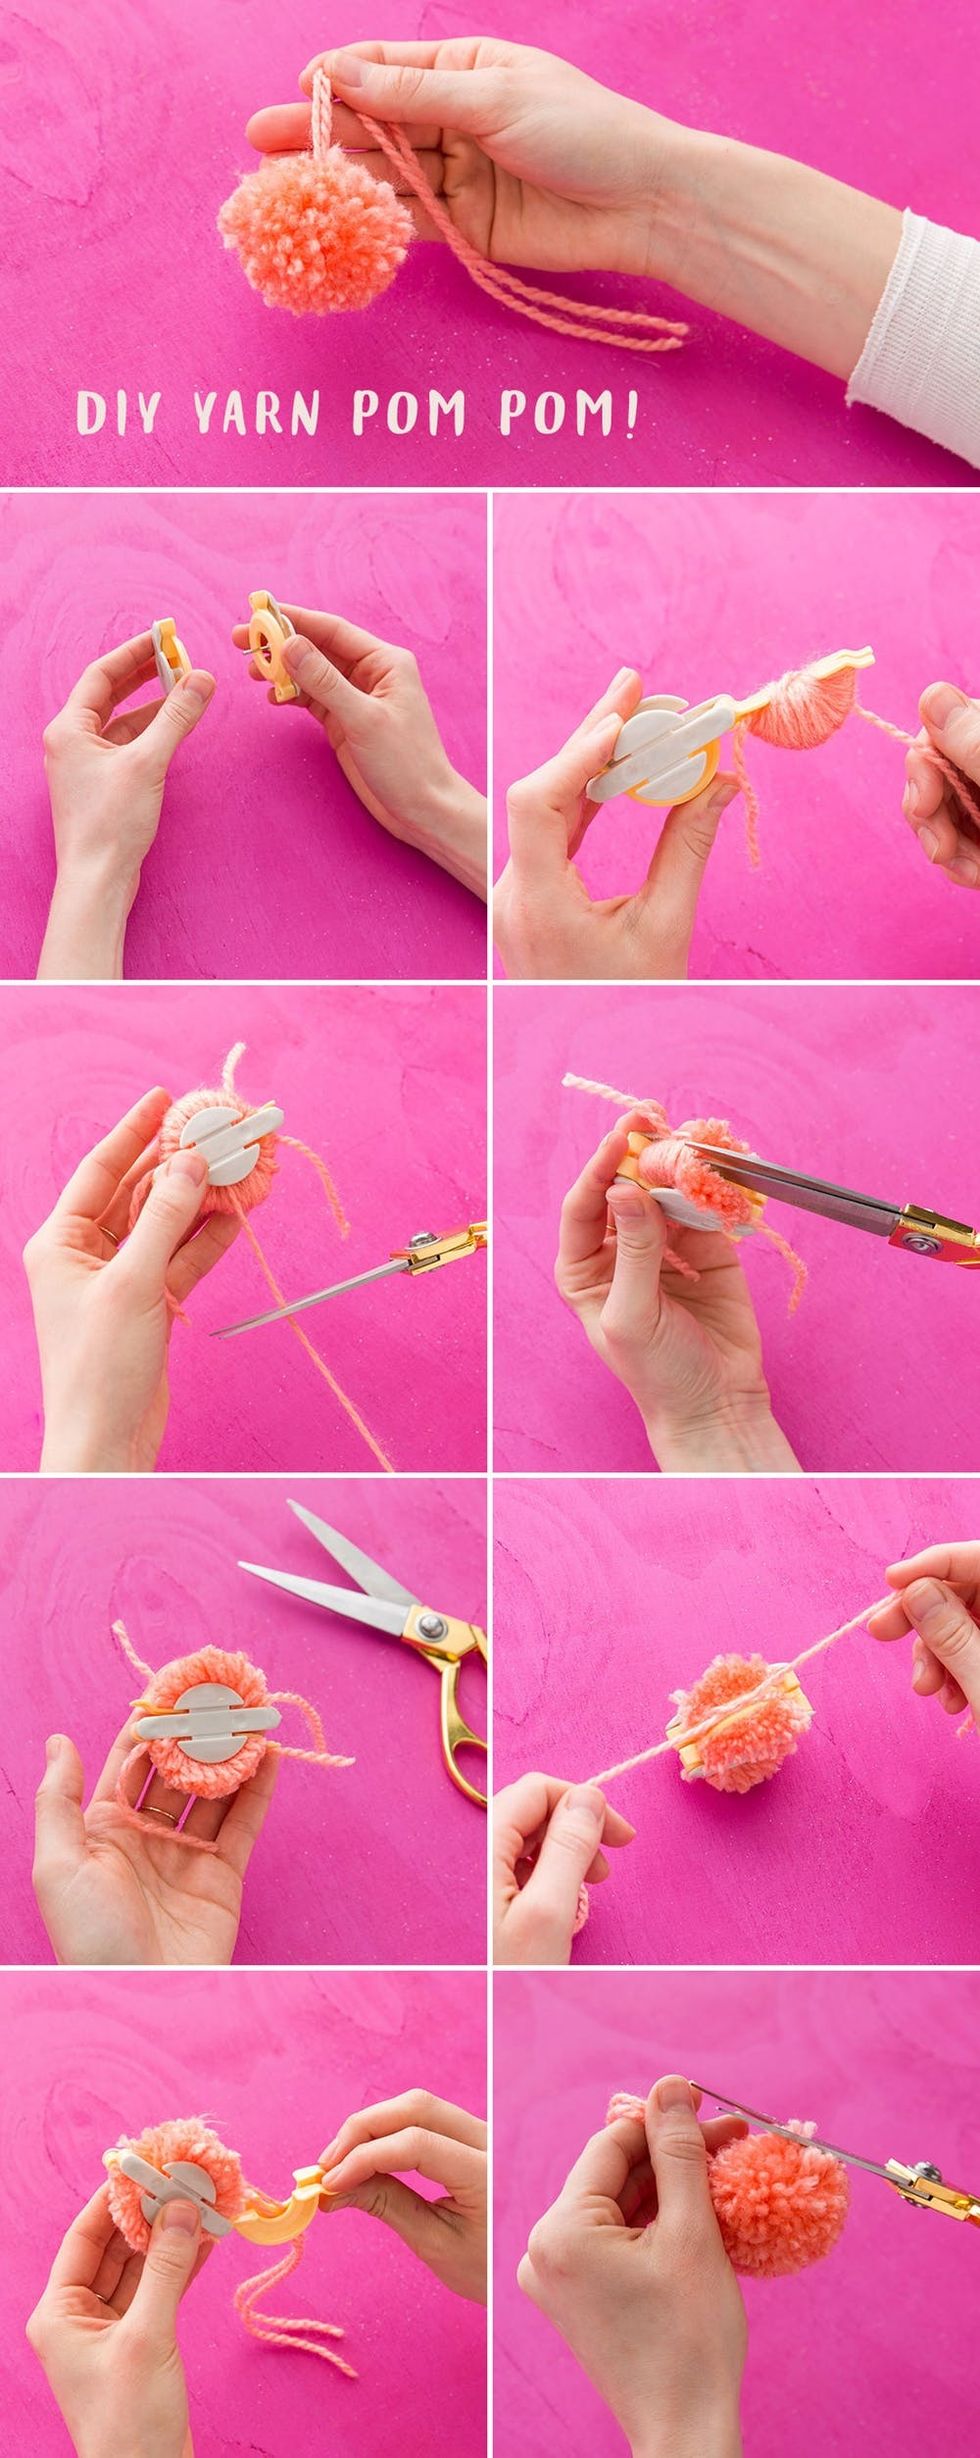
To make a pom-pom, place both pieces of the maker together. Pull out a pair of arms, then wrap yarn around both arms until you’ve made a full half-circle. Repeat on the other set of arms, tuck all arms back into the maker, then trim the end of the yarn. Next, cut down the center of each half-circle of yarn (don’t be afraid!). Cut a nine-inch strand of yarn, then tightly double knot through the center of the maker. To remove the pom-pom from the maker (AKA set that baby free!), pull out all arms, then pull each maker half away from each other. Trim the pom-pom into a perfect circle. You’re done!
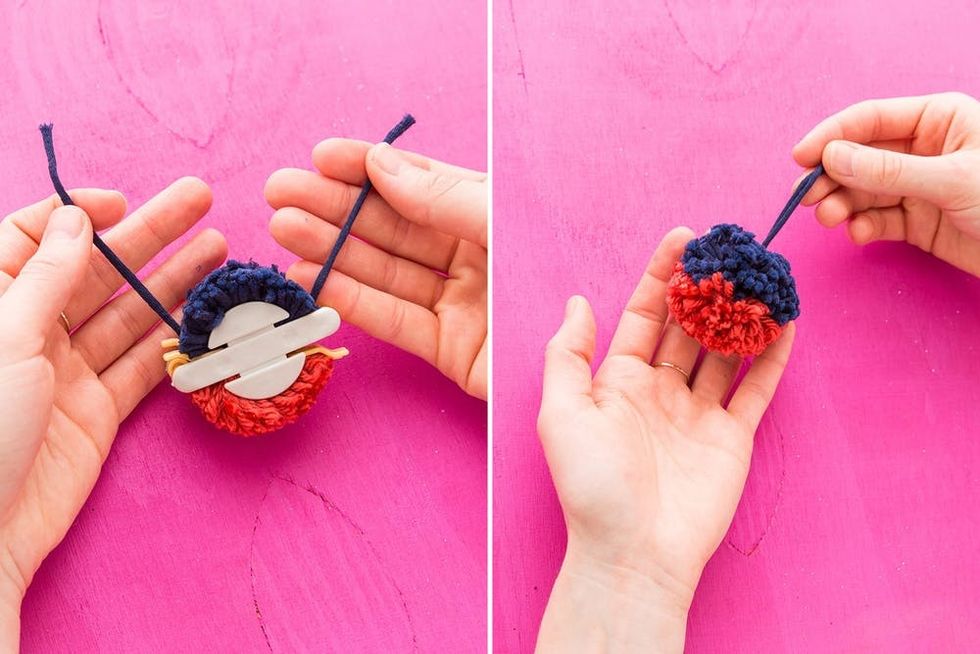
Wondering how we made those two-toned poms? Simply switch up the yarn colors for each set of arms.
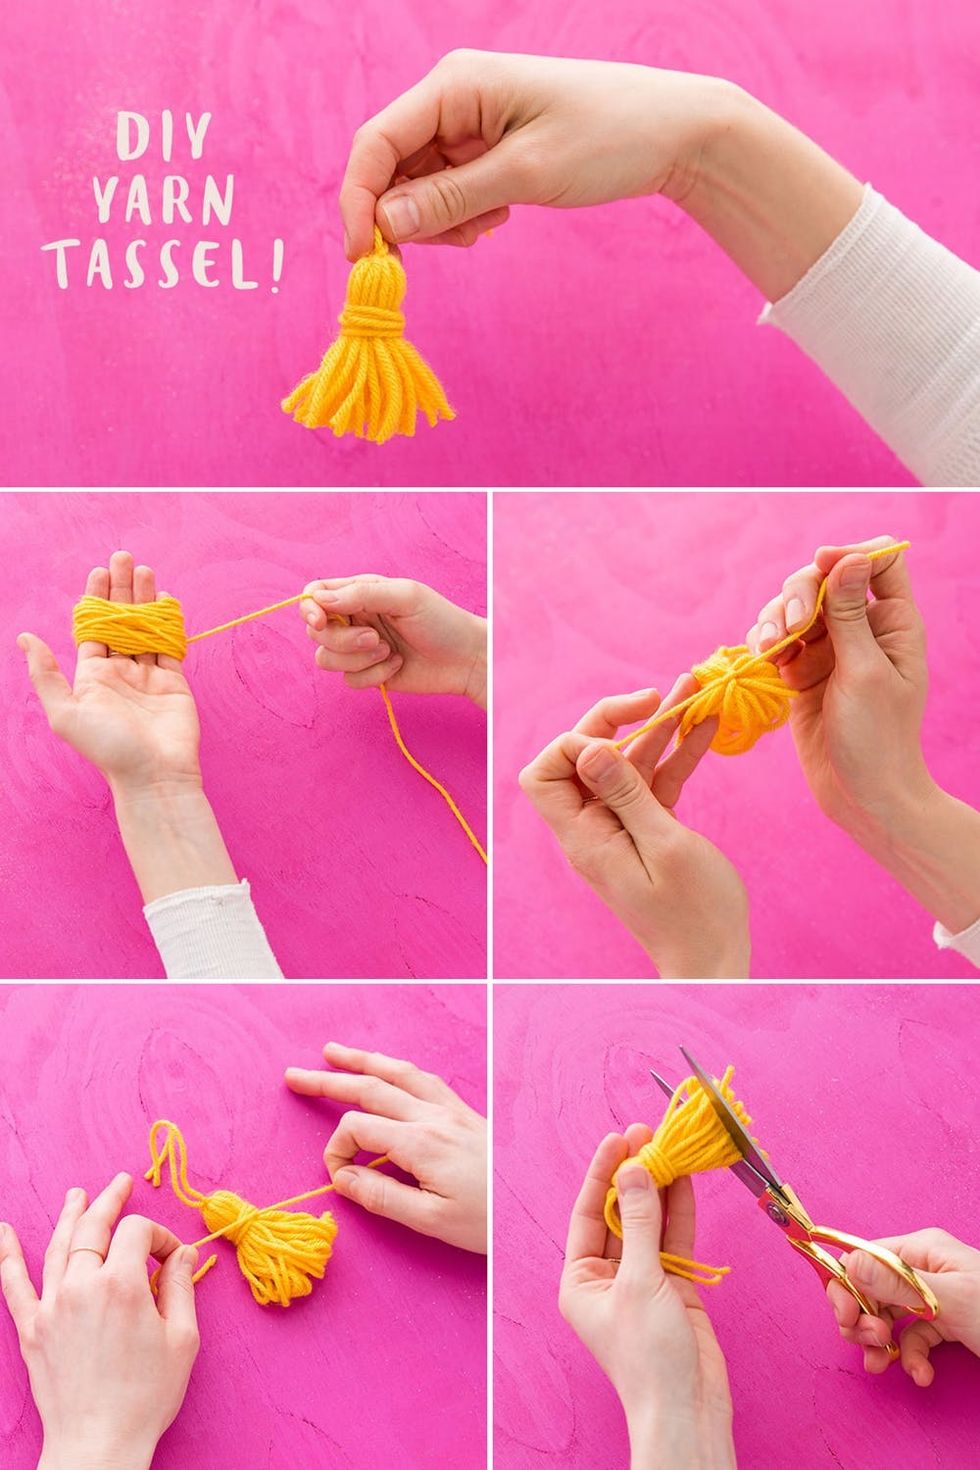
Onto the tassel! Wrap a hefty amount of yarn around all fingers but your thumb. The more yarn you wrap around, the fatter your tassel will be. Double knot a piece of yarn around all layers. Bring this knotted strand to the top, then pinch all the yarn below. Tie another strand around ALL the yarn to make the “neck” of the tassel. Then trim the very bottom with fabric scissors. Check out a more in-depth tassel tutorial here!
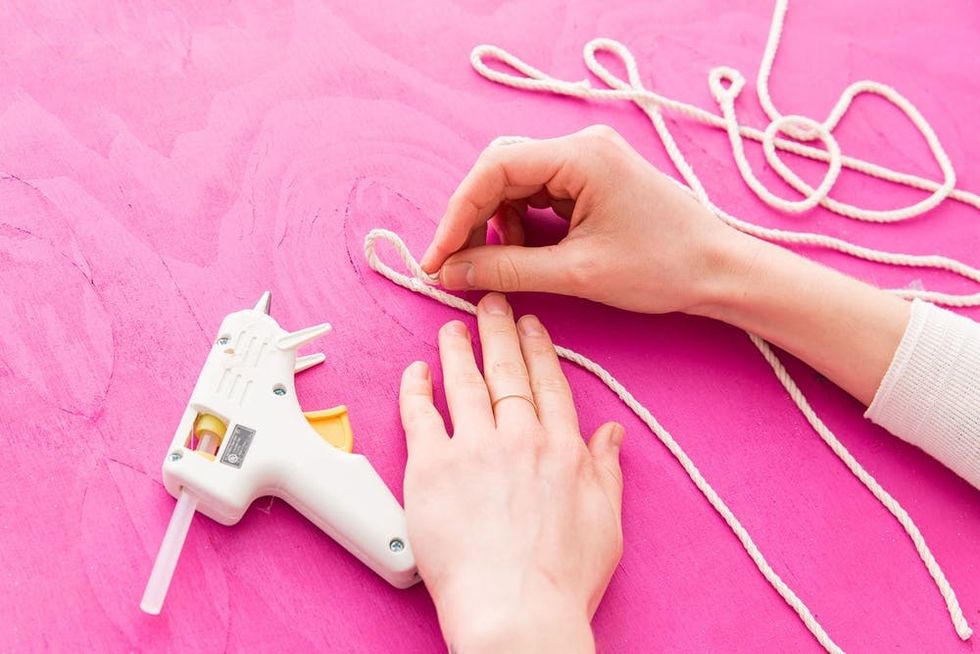
Next, cut your rope into varying lengths. Make a small loop at the top of each with a hot glue gun, then let ’em dry.
Psst: Be sure to save 4-5 feet of rope for hanging the pipe!
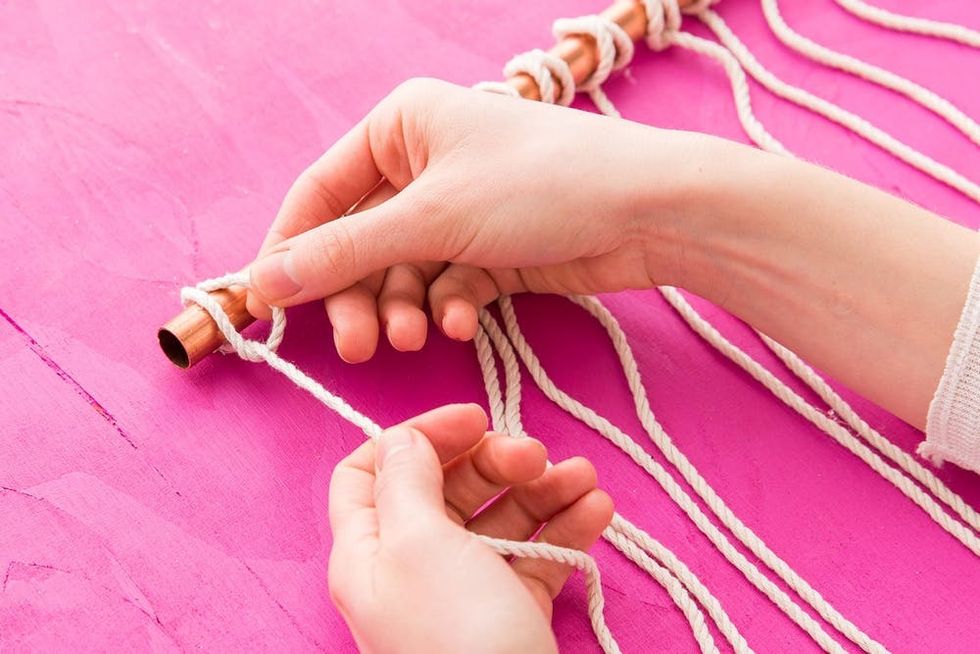
Once the glue has hardened, you can loop each rope around the copper pipe.
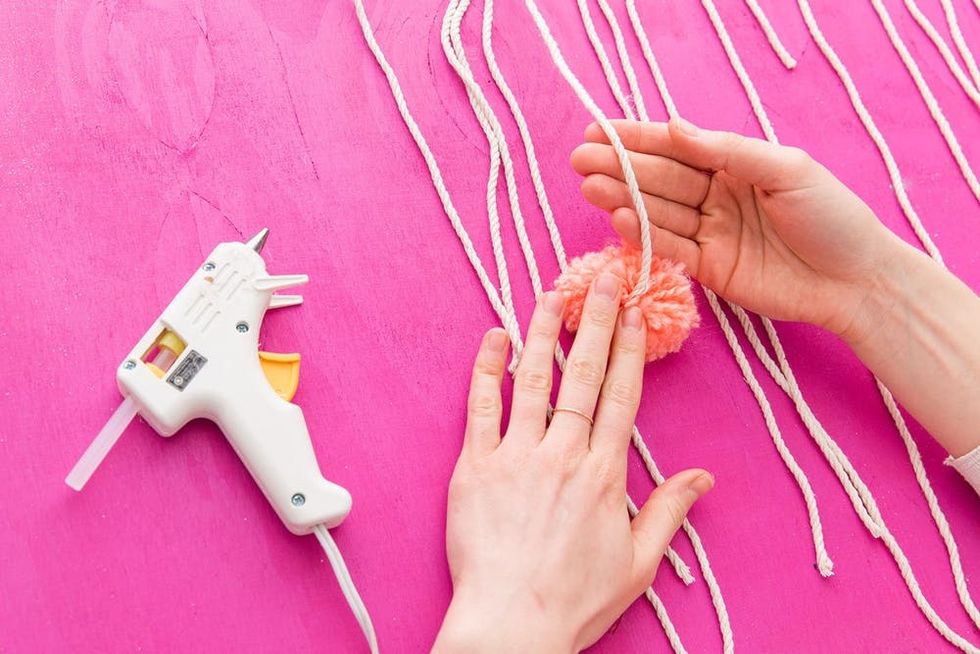
Use a hot glue gun to adhere the base of the rope directly into the pom-pom.
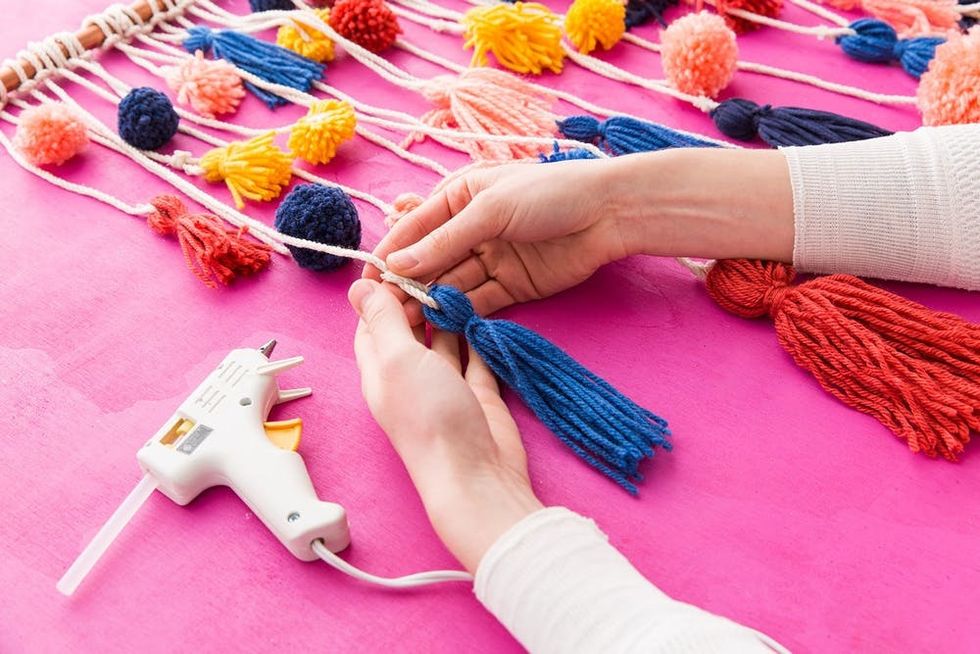
Try looping the rope through the head of the tassel, then glue the rope to itself to make another loop. Trim the excess tassel yarn as necessary.

Thread that extra 4-5 feet of rope through the copper pipe. We fastened the rope to the hook of a thin pen so we could easily feed the rope through.

Tie each end of the rope to itself, then glue a pom-pom over the knot.
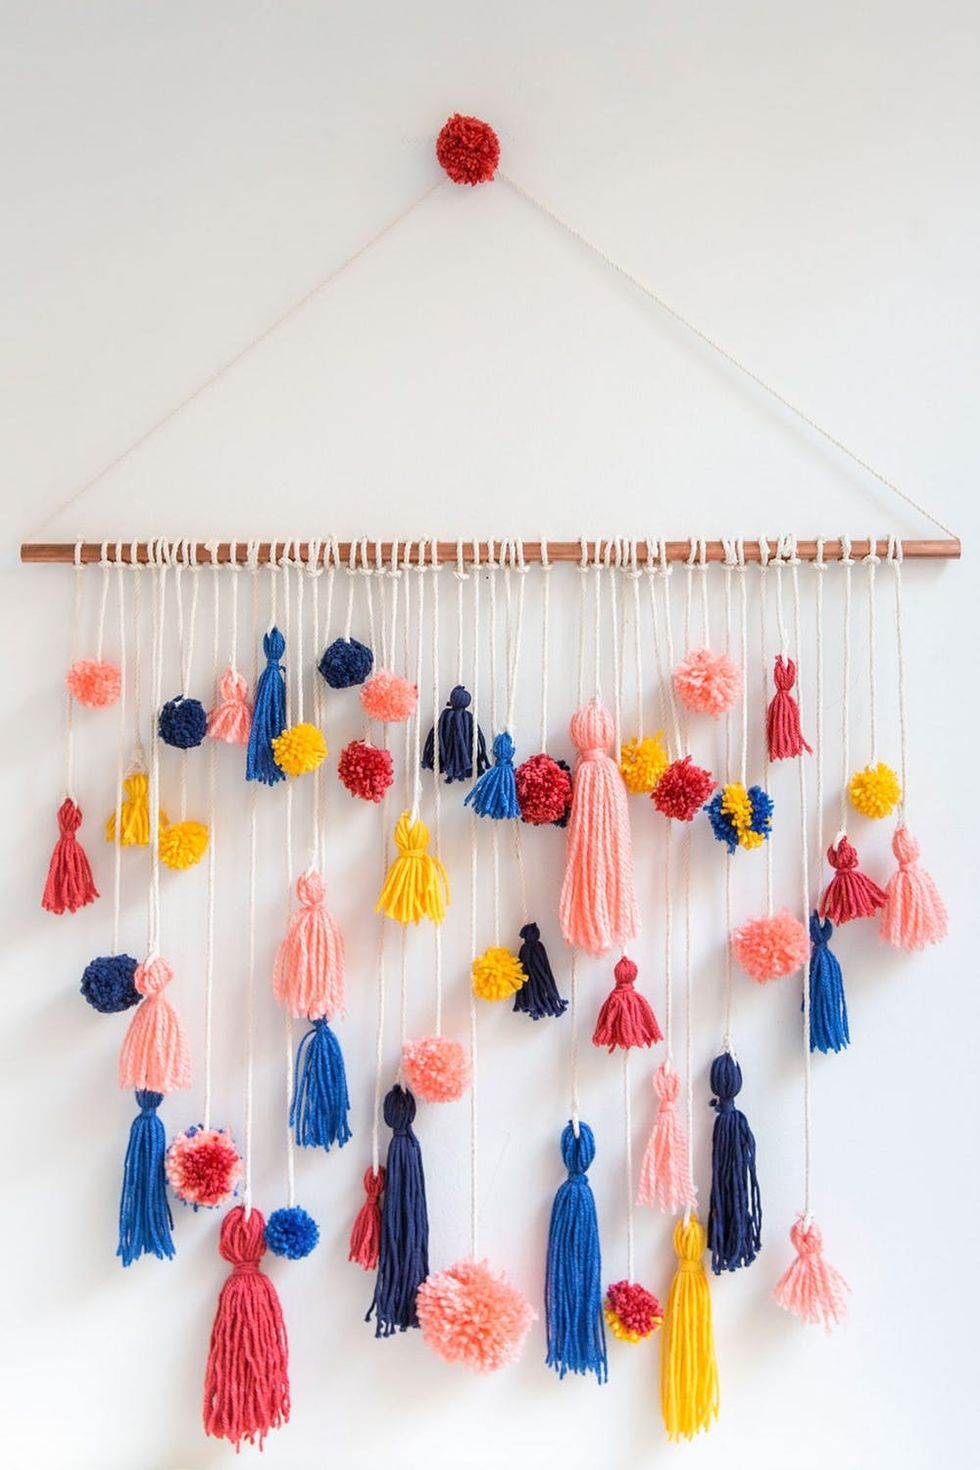
Voila!

Now seems as good a time as any to make #yarnporn a thing, right?

We couldn’t resist pairing it with a tasseled pillow. Now we HAVE to make a pom-pom throw to round it out.

Happy pom-pommin’!
Making this DIY? We want to see the results! Share photos of the project — and YOUR love for pom-pom making — on Instagram with the hashtag #iamcreative.
Brit + Co may at times use affiliate links to promote products sold by others, but always offers genuine editorial recommendations.
DIY Production + Styling: Cassidy Miller + Maddie Bachelder
Photography: Tory Putnam


