Remember how awesome pop-up books used to be? Let's be serious, they still are, and it got us to thinking… How can we incorporate pop-up paper items into our adult lives? Aside from the occasional novelty card (bonus points if it has an audio track), you don't often see pop-ups popping up. ;) Until now! […]
Pop Goes the DIY Pop-Up Name Card
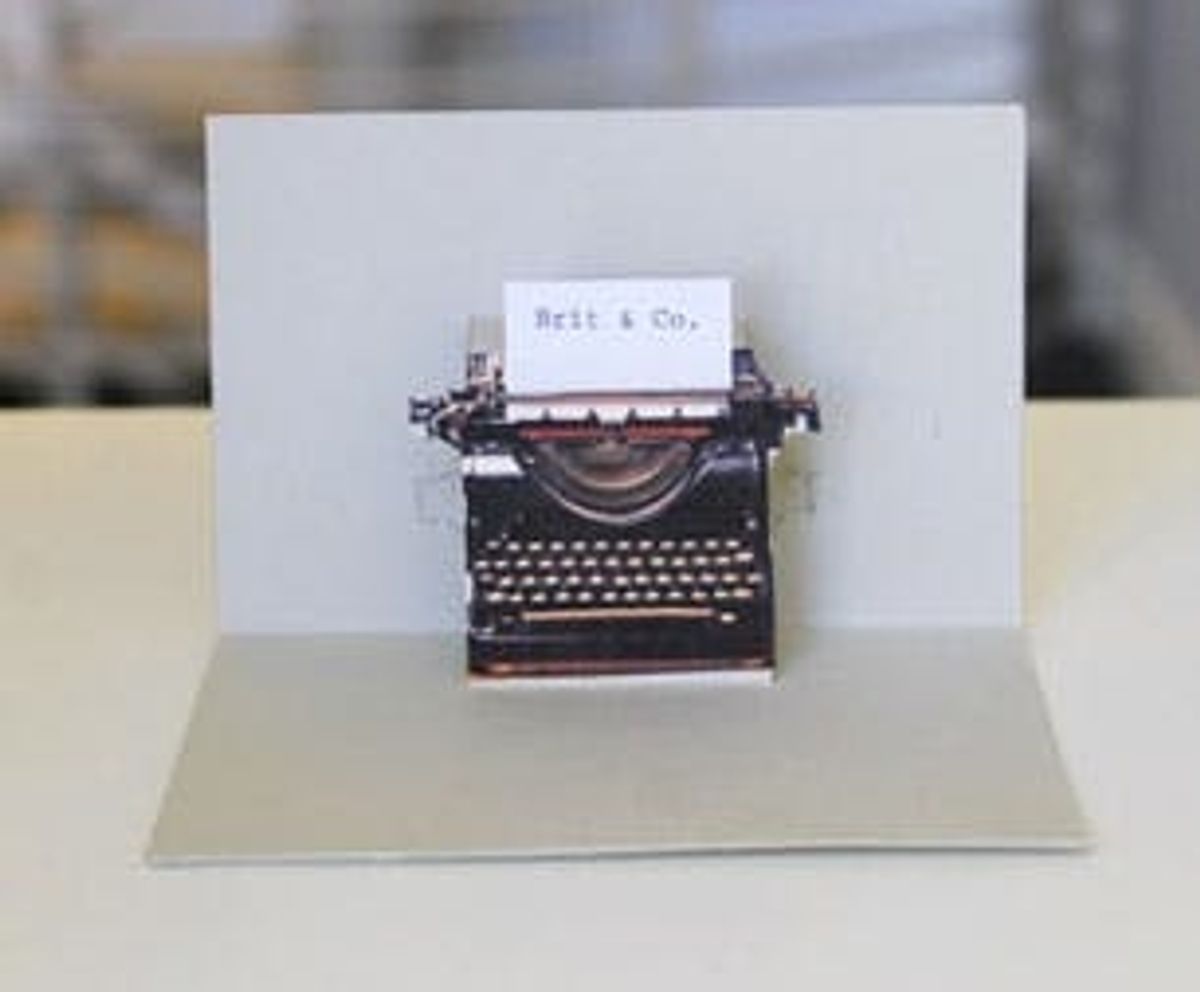
Remember how awesome pop-up books used to be? Let's be serious, they still are, and it got us to thinking… How can we incorporate pop-up paper items into our adult lives? Aside from the occasional novelty card (bonus points if it has an audio track), you don't often see pop-ups popping up. ;)
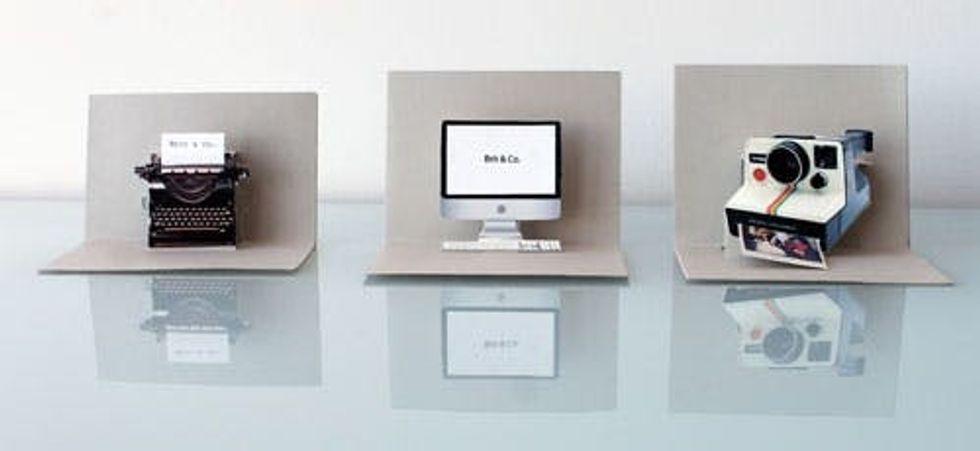
Until now! For our first foray into pop-ups, we decided to create a trio of geeky name cards perfect for weddings, dinner parties, and even just for your desk.
Materials:
– card stock
– Xacto knife + cutting board
– computer
– color printer
Optional:
– Template with images of a typewriter, computer and Polaroid camera
– ShakeIt Photo App

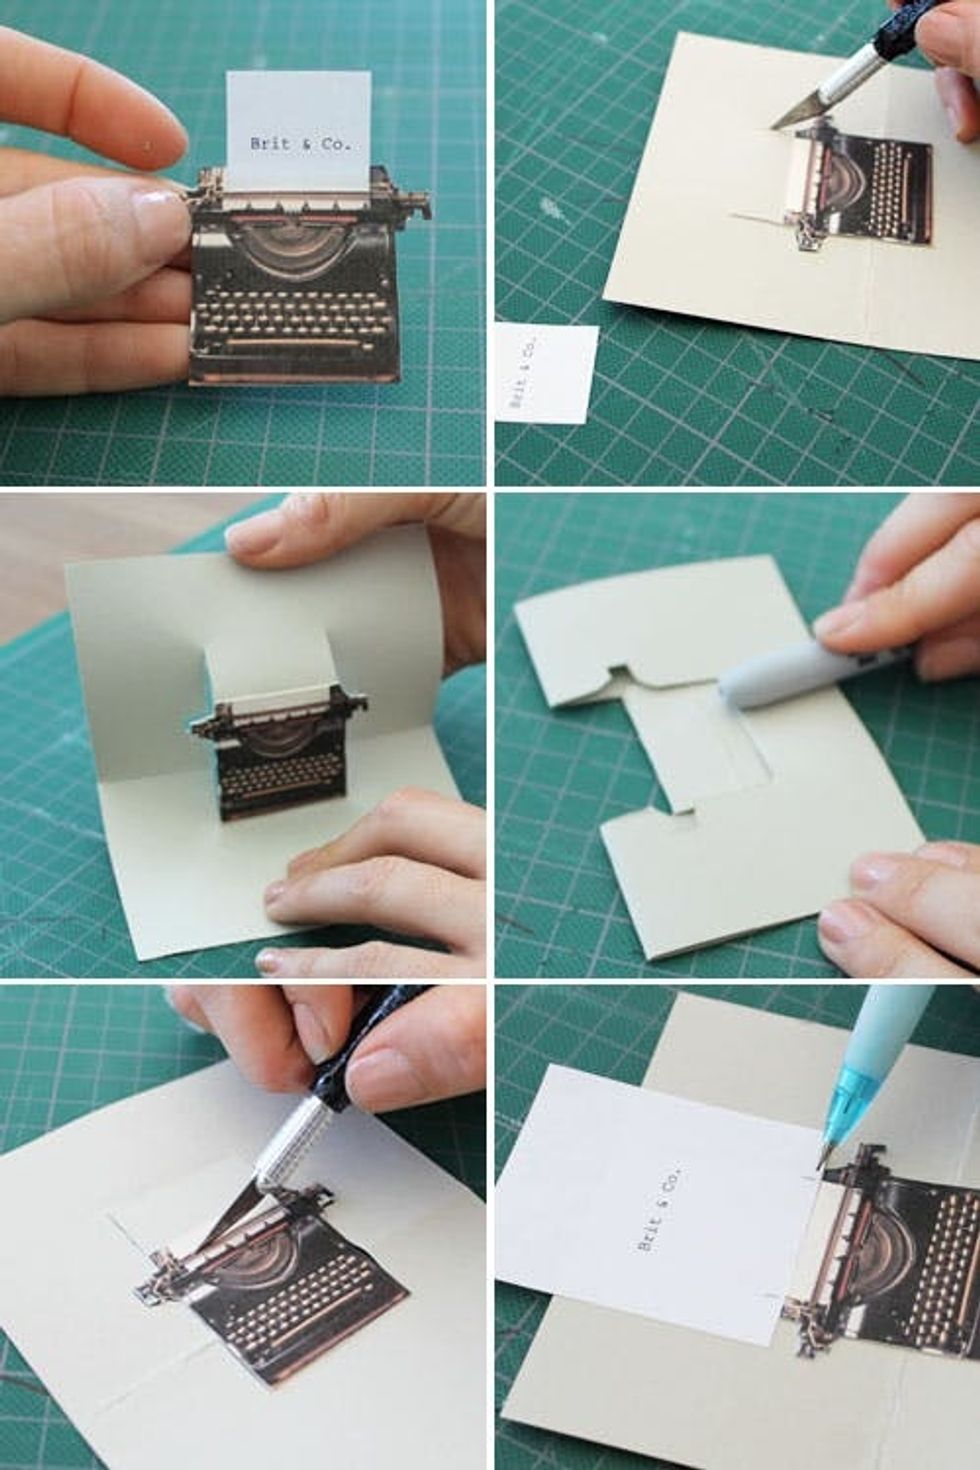
First, get all your materials in place. You'll need two identical pieces of card stock cut to 5 1/2 inches long by 4 1/2 inches wide. Now you need to print your typewriter and typewriter paper. We printed on white card stock but regular paper is also fine.
Cut out your typewriter using an Xacto knife. Fold one of your pieces of card stock in half. Flatted it back out. Paste your typewriter so that the bottom is 1/2 an inch from the middle crease.
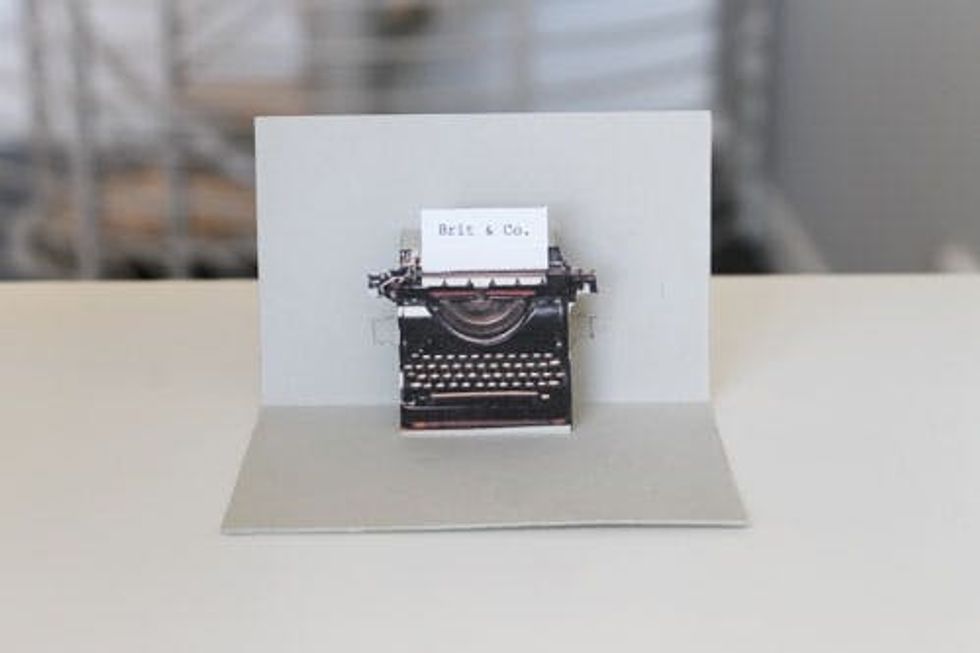
Now, use an Xacto to cut lines around the two sides of your typewriter. Extend the cut 1/2 an inch past the top of the typewriter. Give that pop-up a test. Woohoo!
Next, you need to add your paper. Simply cut a thin line through the paper part of the typewriter and slip your printed name card right in. So cute!
Lastly, take your second piece of card stock and paste it to the back of the pop-up. Done!
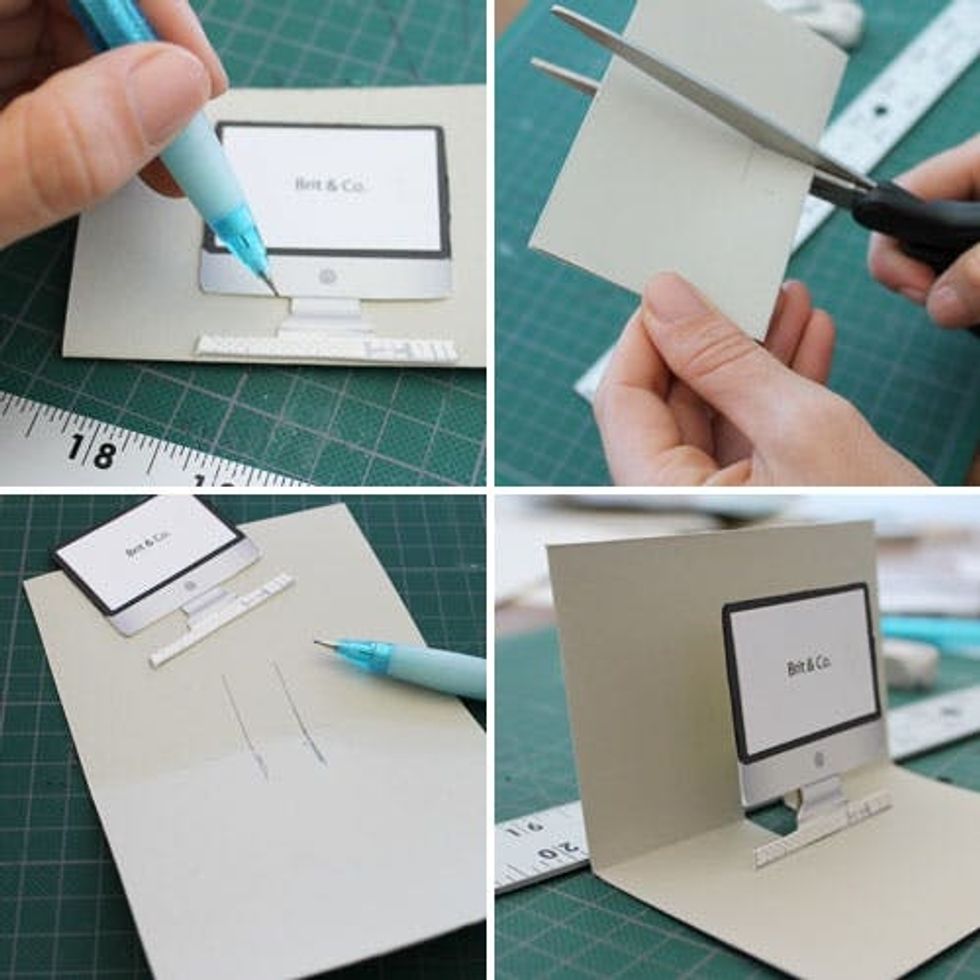

This one is a slightly simpler method. Get your two identical pieces of card stock again. This time, our pieces were cut to 6 1/2 inches long by 4 1/2 inches wide. Print the computer image and the name you want to print. You can either glue the printed name onto the printer or type it directly on your computer.
Cut out your computer using an Xacto knife. Fold one of the pieces in card stock in half. Lay it flat on your cutting board and cut two slits in the middle about 1 1/2 inches long. Fold it so that it creates a zig zag shape. Flatten again and glue the computer cut out onto the bottom 1/2 inch of the cut out part.
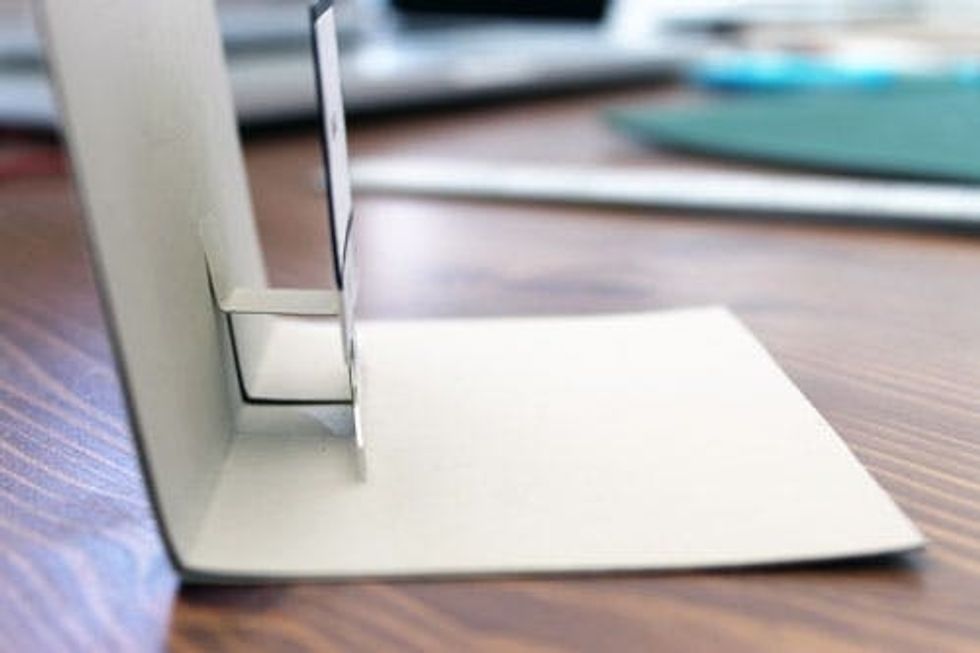
Here's a closer look at the side of the card so you can see the angle you need to bend the card into.
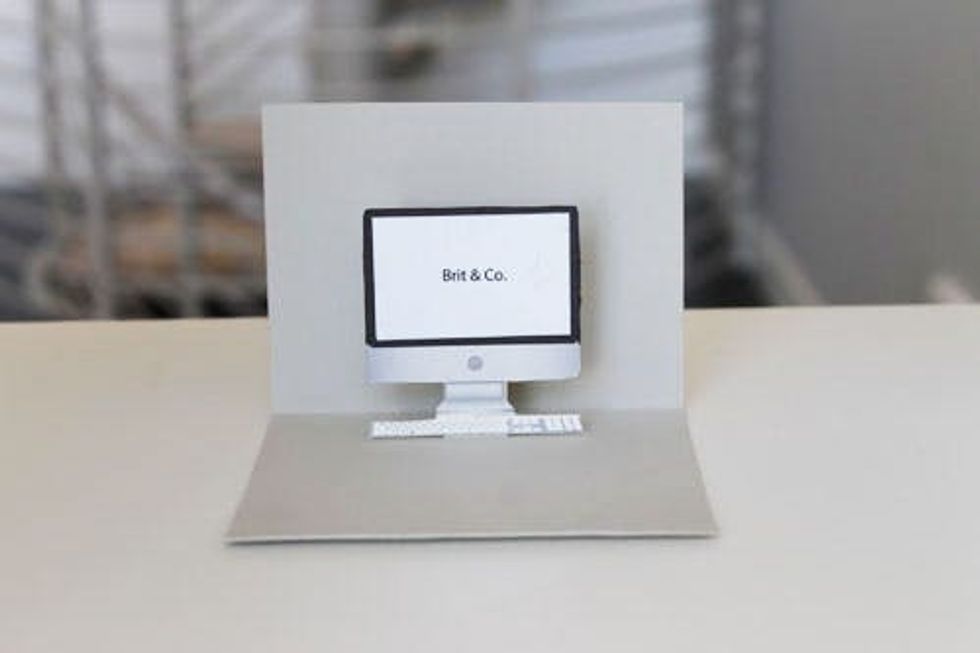
Like with the previous card, the finishing touch is to paste a second piece of card stock on the back. Voila!
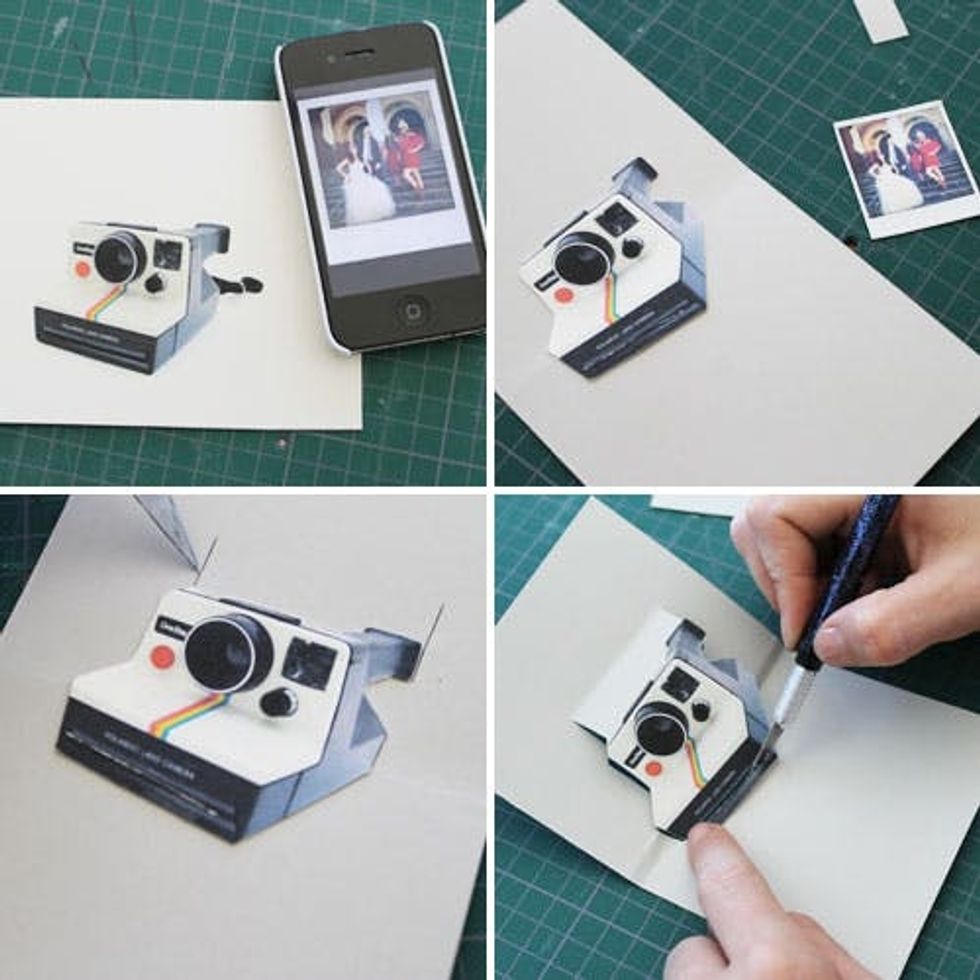

And finally our favorite one! As you already know, we're pretty obsessed with Polaroids, and all the creative photography we can get our hands on.
For this one, you're going to use the same method as the typewriter with some slight alterations. The pieces of card stock for this one are about 7 1/2 inches long by 4 1/2 inches wide. To create a mini Polaroid you can print, we recommend using the Shake It Photo iPhone app. Send the image from your phone to your email, drop it into Preview, Photoshop or Word to resize, and you're good to go.
Paste your camera onto the first piece of card stock and cut around it, like with the typewriter.
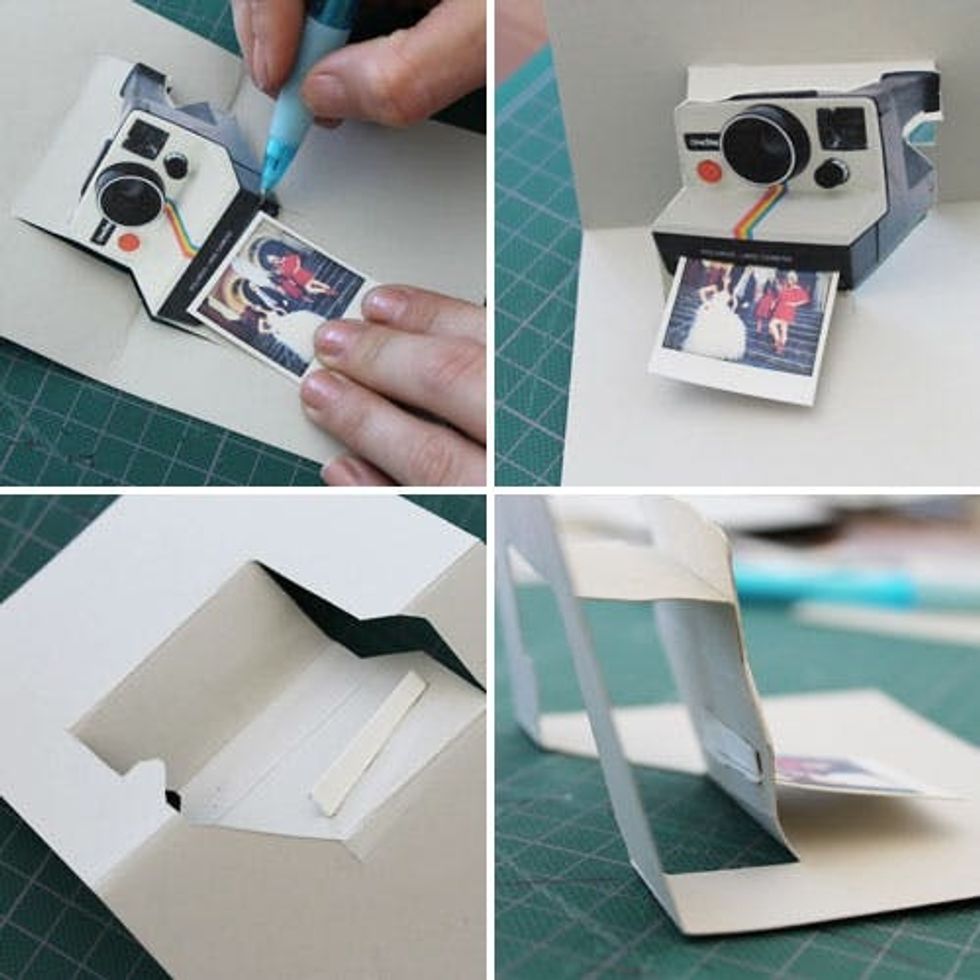
Now it's time to put the picture in! Use an Xacto to cut a line where the photo should pop out. Be careful to cut to far on either side. Pop in the photo just a bit. Turn the card over and glue down the extra bit of photo that's sticking out the back.
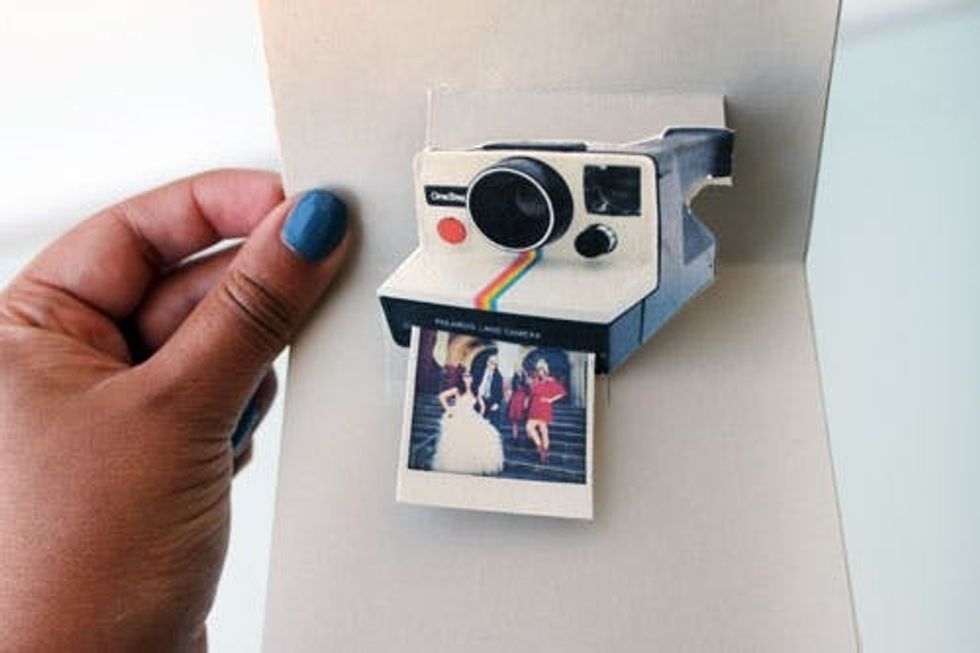
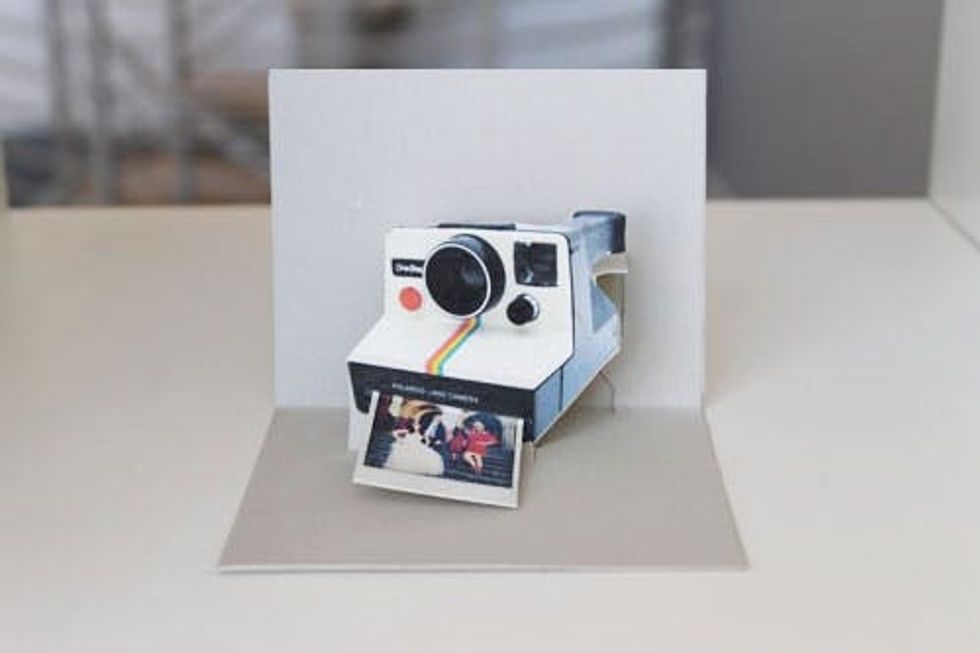
And there you have it!
Got any DIY projects of your own for creating fun name cards, greeting cards and the like? Submit ideas our way via our Contributor Form or leave us a note in the comments below.


