This app is an interior decor game changer.
How to Use Your Phone to Totally Transform Your Bedroom Decor

In our books, adding color to your home decor is a must. Colors are a wonderful expression of personality, and they can actually add emotion to a room — we love using color psychology in our home decor. Today, we’re teaming up with Sherwin-Williams® to show you how utilizing a color palette is the smartest way to kickstart the decoration process and create a cohesive look. Which is why we’re crazy about the Sherwin-Williams® ColorSnap® app, which lets you extract *exact* paint colors from your favorite photos, thereby creating a color palette directly inspired by the image. How cool is that?
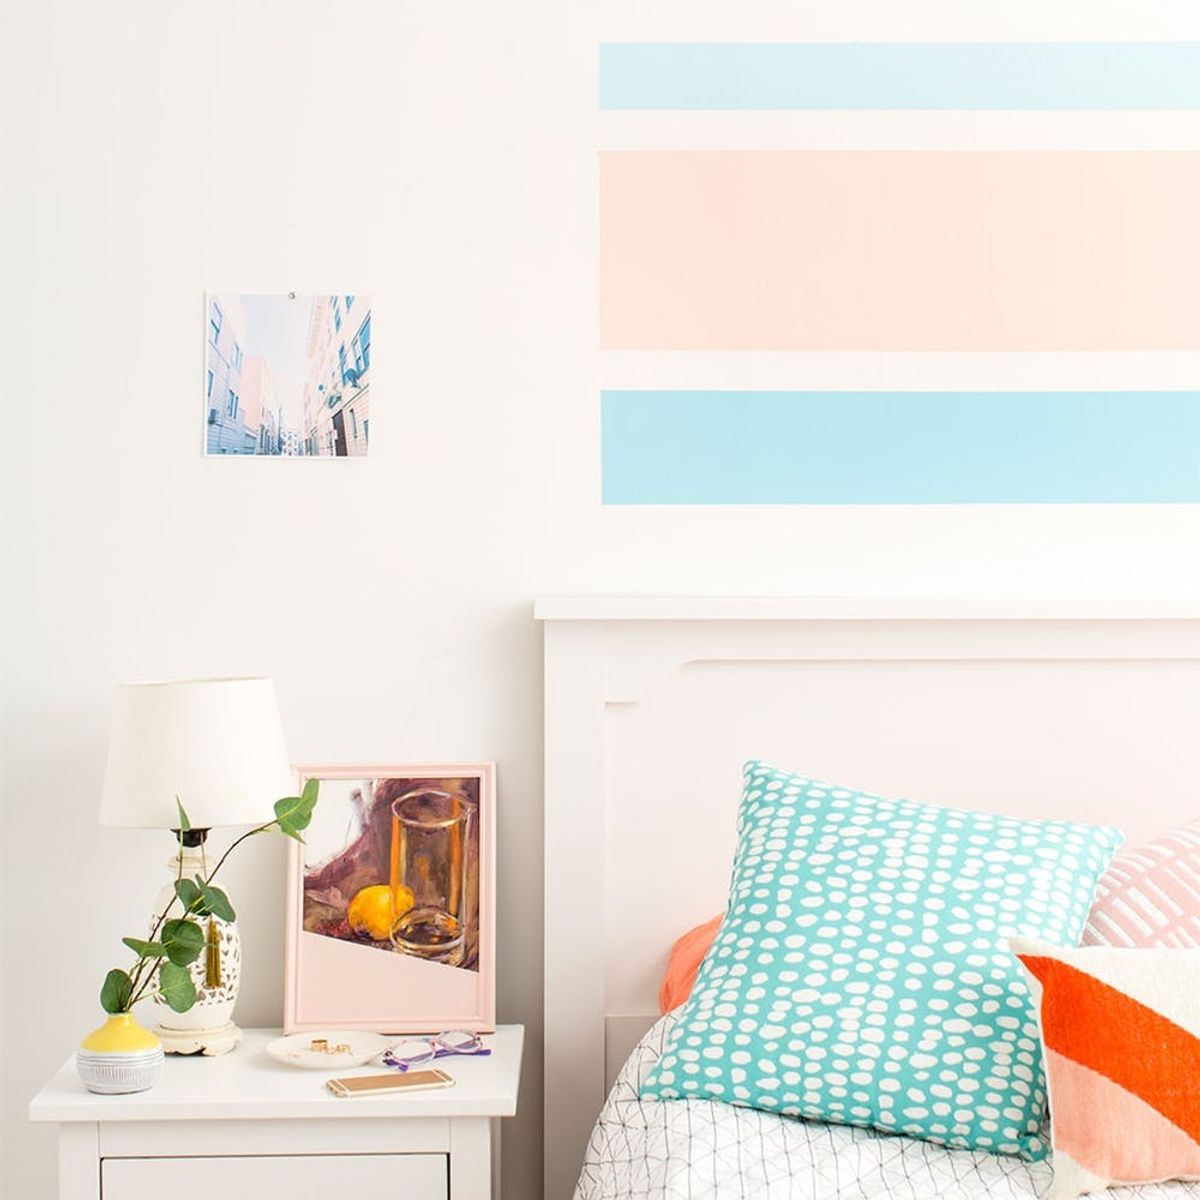
I was downright giddy when I heard I’d have a chance to put this to use. I’ve been stumped by how to decorate my bedroom for ages, mostly because I didn’t have a place to start. So I grabbed one of my favorite Instagrams of my SF neighborhood, North Beach. This photo encapsulates everything I love about the neighborhood: There are soft pastel colors, Victorian architecture and quirky alleyways everywhere you look, and it really does feel like home to me. So why not bring the outside in? Within minutes of using ColorSnap, I had a dreamy pastel color palette for my bedroom. I then found the corresponding Sherwin-Williams® paint colors available in Emerald® and got to work. I landed on SW 6876 Comical Coral, SW 6786 Cloudless and SW 6785 Quench Blue. Check it out!
Three Sherwin-Williams paint colors, two quick projects and a few throw pillows later, my room feels much more energized and finally reflects my personality. Much better, right?
To get comfortable using paint, I started with a mini project: updating an old thrift store painting with a quick color dip. Check it out!
COLOR-DIPPED PAINTING
There’s something satisfying about adding your own touch to an existing piece of art. I found this acrylic still-life painting at a thrift store and decided to give it a twenty-first century update by adding a quick color block. This project really helped me get used to painting with tape, and it only took about ten minutes.
Materials + Tools
— Sherwin-Williams Emerald® Paint (I used SW 6876 Comical Coral)
— framed thrift store painting
— painter’s tape
— small paint brushes
First, tape a straight line across the painting and frame. Then press out all the bubbles to make sure the edges are secure.
Put a drop cloth or disposable surface underneath the frame. Paint below the tape, covering the entire canvas and frame. Let dry.
Remove the tape, then tape along the inside edges of the rest of the frame. Paint the entire frame. If you need to, use a smaller brush to coat all the nooks and crannies, then let dry. Remove the tape and you’re done!
Voila! This kinda old, kinda new art piece gave my nightstand a welcome facelift.
PAINTED STATEMENT WALL
And now for the pièce de résistance: a striped statement wall above my bed.
This mural was quite simple to make, and it really pulled the room together.
Psst: Blues are associated with tranquility, and pinks are correlated with nurture and care. Sounds like the perfect color combo for a bedroom, no?
Materials + Tools:
— Sherwin-Williams Emerald® Paint (I used SW 6785 Quench Blue, SW 6876 Comical Coral + SW 6786 Cloudless)
— iPhone (we used both ColorSnap and the level tool in our Compass app)
— 2-inch angled bristle paint brushes
— small paint roller (optional)
— paint tray + liner
— drop cloth
— string
— thumbtacks
— painter’s tape
— stir sticks
With my headboard still in place, I used string and thumbtacks to map out the pattern. Simply pin a string in one corner, use the level tool on your iPhone Compass app to create a straight, level line, then pin the other side into place. We first pinned the four edges, then added horizontal stripes in the middle.
Add painter’s tape along the string lines. By lining them up exactly against the string, you’ll ensure straight lines.
Pro Tip: Try keeping the tape on the roll as you tape the wall (instead of ripping off large pieces). This will help you have more control of the tape.
Determine your color pattern.
Stir each paint with a stir stick, then pour the top stripe’s color into your paint tray liner.
Paint! Start with the edges, then work your way in. The painter’s tape should be securely affixed to the wall, so you can paint over the tape and still end up with a straight edge.
Repeat with the second, then third stripe. Let dry, then give each stripe another coat and let dry again.
Pro Tip: When you’re painting around tape, opt for one- to three-inch angled bristle paint brushes. If you’re painting larger swatches, break out the paint rollers to expedite the process.
Once the wall is *completely* dry, remove each piece of tape. (This is my favorite part!)
Done! That was easy, right?
ADD SOME FLAIR!
I bumped up the color palette with patterned pillows in similar shades. The patterns also helped give my room texture.
Never underestimate the power of a plant! It will *literally* give your space life.
I also hung some wall art loosely inspired by my color palette and brought in more fluffy, plush pillows.
Welcome to my new happy place. Scroll on for bonus photos!
The pup approves, too!
Will you be trying these paint projects? If so, we want to see the results! Share a photo on Instagram with the hashtag #iamcreative so we can take a look.
This post is a collaboration with Sherwin-Williams®.
Author, DIY Production + Styling: Maddie Bachelder
Photography: Chris Andre


