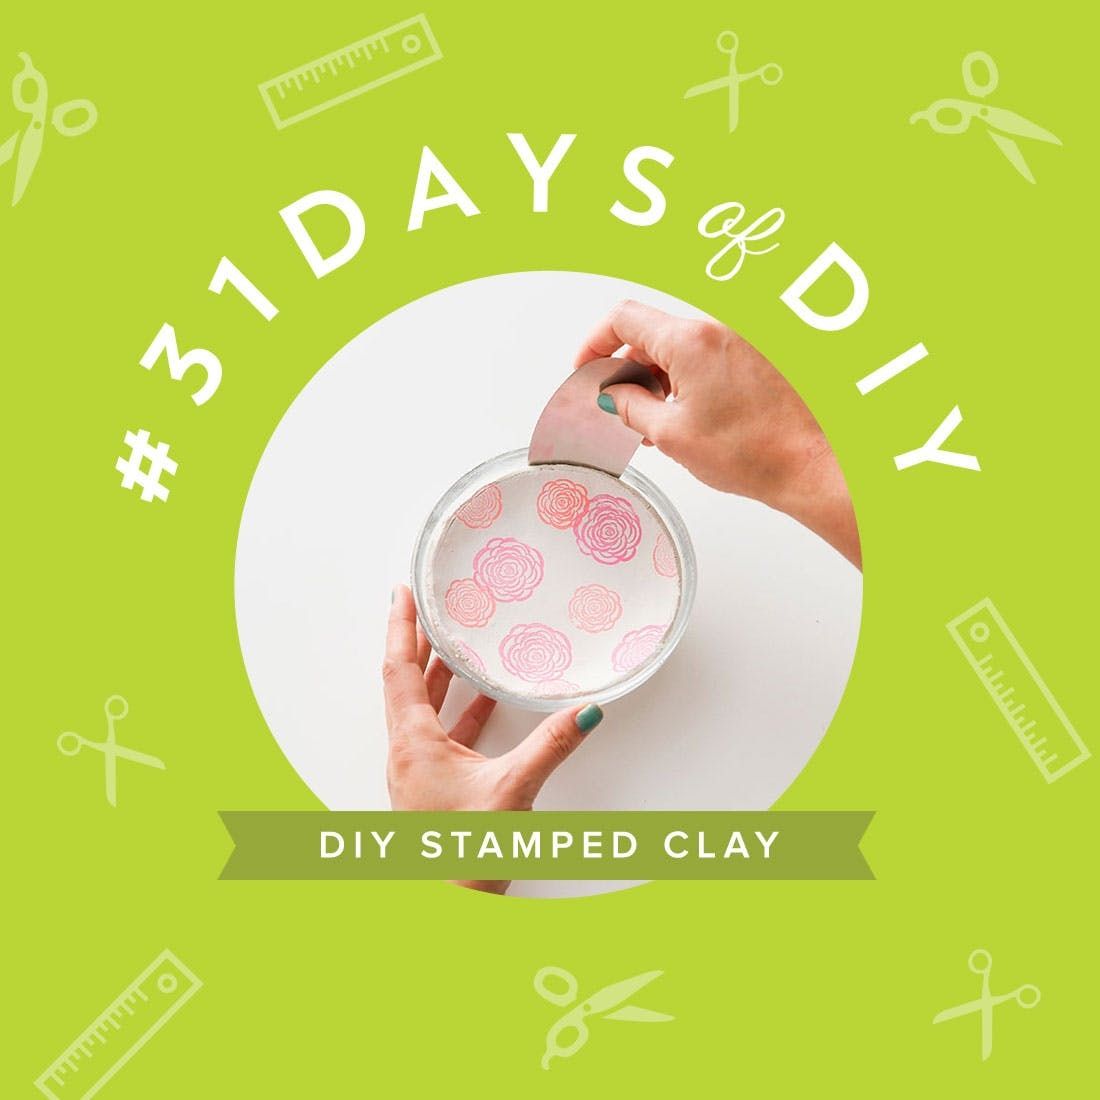
We are obsessed with air-dry clay right now. It’s easy to use, it’s cheap as can be and it doesn’t need to be fired. Sure, you can’t eat off of it, but it’s great for making anything from jewelry to pendant lamps to bowls. We were super inspired by Gathering Beauty’s stamped bowl tutorial, so for today’s installation of #31DaysofDIY, we decided to make a collection of desktop accessories using air-dry clay and stamps.
No idea what #31DaysofDIY is? It’s a brand new tradition here at Brit + Co that’s all about kicking off the new year right. We’ve challenged ourselves to make or learn something new every single day for the month of January, and we’re inviting all of you along for the ride. From DIY basics like Sewing 101 to learning to design and laser cut our own stencils, we hope this month of making inspires you to get creative all year long.
Materials:
– white air dry clay
– stamps
– stamp pads
– wax paper
Tools:
– rolling pin
– Scotch tape
– paint brush
– scissors
– jars, bowls, etc.
– scrapper
– potter’s needle tool
Floral Stamped Jewelry Dish
Though we love wearing bracelets and bangles, they are definitely a pain when typing all day. Keep a dish like this one on your desk to keep those accessories stylin’, even when they’re not on your wrist.
First you need to roll out some wax paper and tape it to a flat surface.
Then grab a chunk of clay and roll it into a ball. Press it down on the wax paper and roll it out with your rolling pin.
Choose your stamps and ink and go to town on your clay. Press down enough to ink the clay, but don’t press too hard or you’ll leave an impression.
Take a bowl and flip it upside down on top of your clay. Trace the bowl with your potter’s needle, pulling the excess clay away from the sides as you cut. Place your clay disc into the bowl and gently press it against the sides, trying not to distort the stamped designs.
Let your bowl dry for about half an hour. Then use your scraper to pull the clay away from the edges of the bowl. Remove the clay dish and allow it to dry for two days.
Welcome to the PEN House
It’s a house for your pens. Is it a play on hen house? Is it a play on penthouse? We’ll never tell.
Roll out a handful of clay on your wax paper. This time you want to aim for a rectangular piece rather than a rounded shape. Take some additional wax paper and tape it around a bottle. Then wrap your clay around the sides of the bottle. Make x’s with your potter’s needle (this is called scoring) on both ends of the clay. Apply a small amount of water to each scored end, and then press the to pieces together, smoothing them out with your finger.
Take a small piece of clay and roll it out. Place the bottle on top and cut out the bottom of your pen holder. Score the edges of the wrapped clay as well as the small piece for the bottom. Add a little water and then adhere the bottom, blending it with the sides.
We used a different technique for this receptacle. Instead of stamping the pen holder, we painted on the ink, which left wispy marks. Then we used our letter stamps to add a cute little name. Get it? Pen house. A little penthouse for your pens! Cute, yeah?!
Let your pen holder dry for half an hour and then remove the bottle and wax paper. As with the bowl, this will take two days to fully dry.
Smartphone Stand
How awesome is this? Way cooler than most smartphone stands we’ve seen on the market.
This time, when you roll out your clay, place your phone next to it so you can measure how long your stand will be. We’ll be carving out a lip in the clay, so make sure your rolled clay is about ¾ inch thick. Cut out a rectangle with your potter’s needle.
Now draw a thin line that is slightly larger than the thickness of your phone. Press the potter’s needle into the clay no deeper than half an inch. Make sure you leave ¼ inch at the bottom of the lip. Now poke your potter’s needle into the clay, keeping it parallel to the table top. Peel the clay back and continue this process until your lip is complete. Smooth it out with your finger and a little bit of water if your clay is getting dry.
Stamp your phone stand and then let it dry for two days.
Once all your projects are dry you can add your goodies!
These accessories will add a pop of color and design to your desk. We’re kind of in love with them!
