Summer isn’t over yet! Make this crop top as a salute to warm weather.
Yes, You Can Make Your Own Crop Top
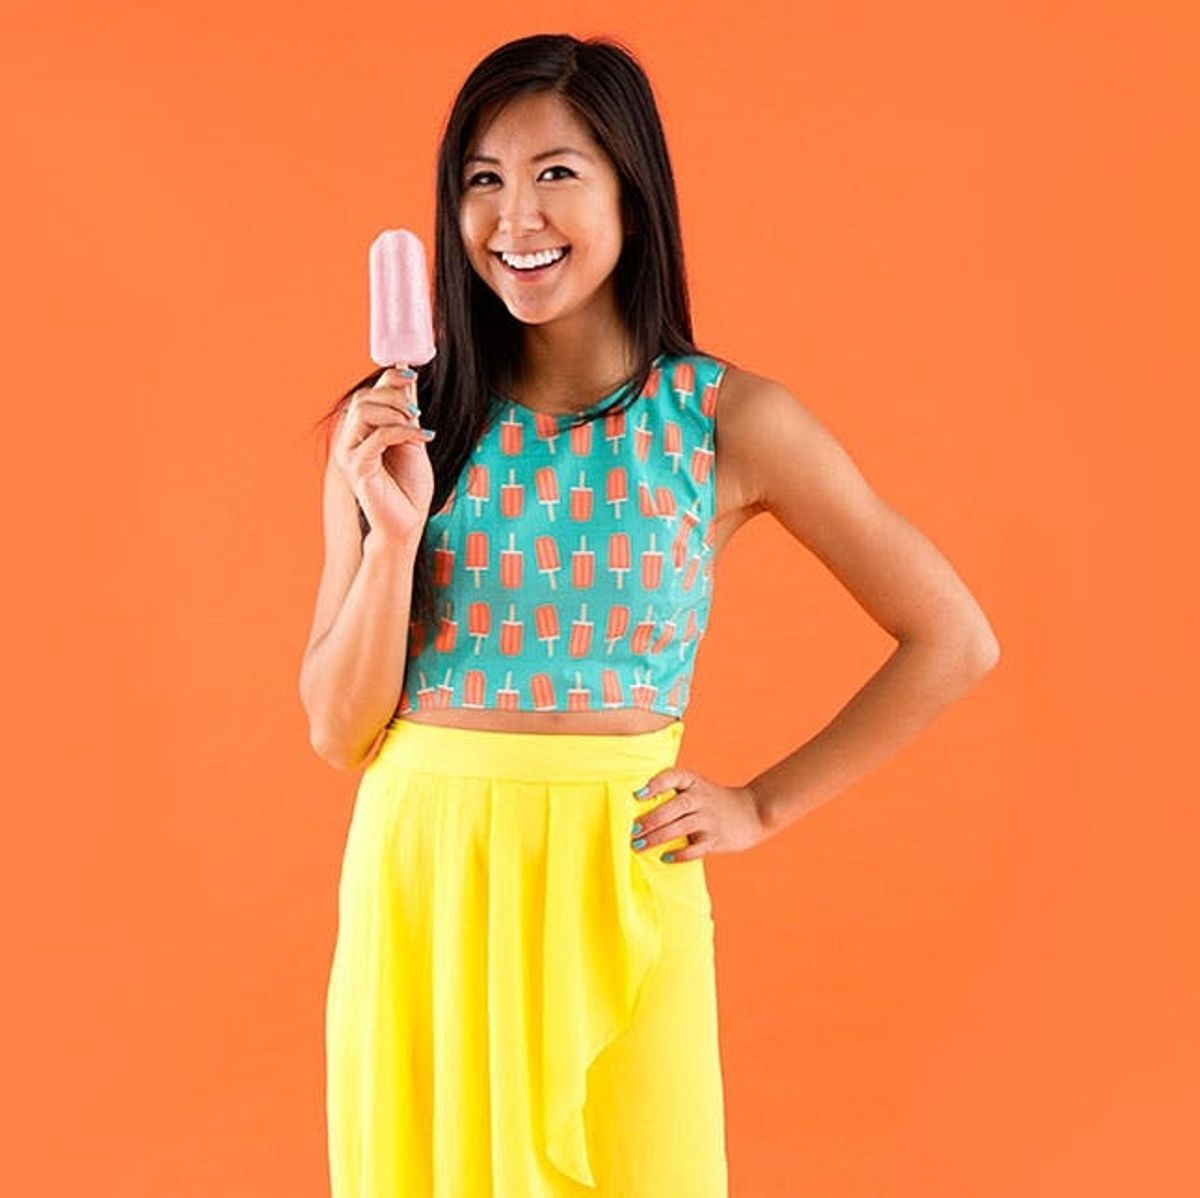
B + C fans – are you ready to take your sewing skills to the next level? In Sewing 101 we showed you how to make a simple maxi skirt from jersey fabric and now it’s time to create a matching cotton crop top. In this tutorial we will show you how to measure and create your own pattern that will fit perfectly to your body’s curves. Once you’ve created a pattern you can keep reusing it to create more crop tops out of different fabrics.
Just like the DIY skort, we suggest you read through the steps a couple times before starting the project. It also helps to do a test run on scrap fabric before cutting into your hero piece – I created two test run pieces and altered my pattern slightly so my final crop top would be perfect. We can’t wait to see what you create!

Materials:
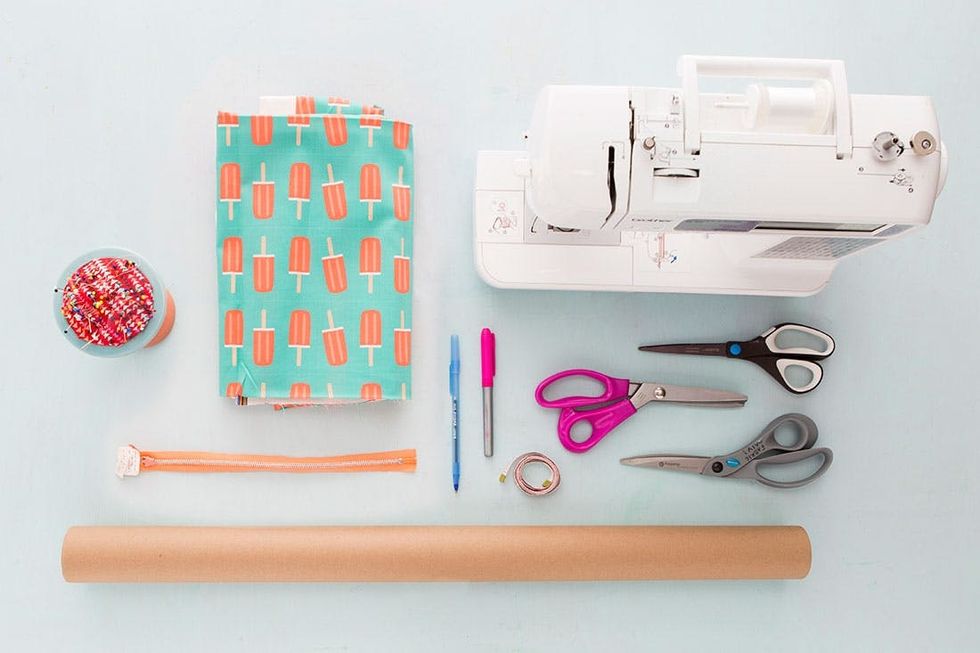
– cotton fabric
– 9 inch zipper
– craft paper
Tools:
– pins
– sewing machine
– scissors
– pinking shears
– fabric scissors
– measuring tape
– marker or pen
Instructions:
1. Grab the measurements of your bust, waist, back and length from your shoulder to underarm. Jot these down on a piece of paper for reference.
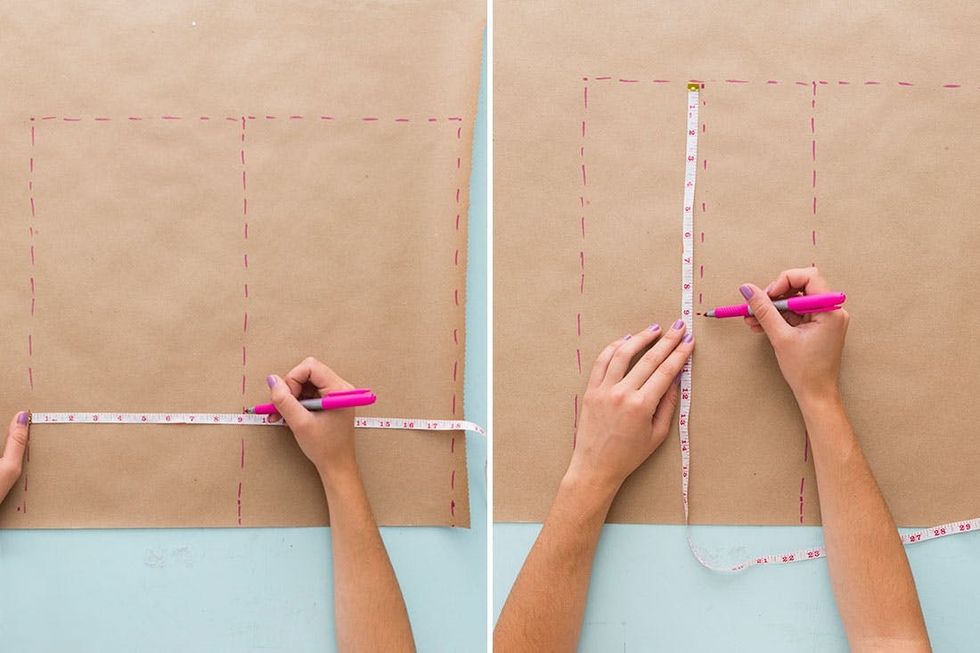
2. Divide your waist measurement by four and then add 2.5 inches – create two rectangles on your craft paper that measure the height of your back measurement and the width of your waist/four + 2.5.
3. Mark your underarm measurement in the center of the top line of the rectangle. Make a dotted line in each rectangle.
4. Measure three inches at the top of your first rectangle with the under arm line hitting the center 1.5 inch mark. From the left end of the three-inch mark, create a long “J” curve that hits the bottom of the underarm mark. From the right end of the three-inch mark create a shorter “U” curve – this will be your neckline.
5. About two inches down from where your “J” curve ends, create a triangle that jets out of the rectangle boundary. The area from the tip of your triangle to the opposite side of the rectangle should measure your bust measurement divided by four + 2.5 inches. Add in two-inch pleats at the bottom and side of your pattern.
6. Create the same three-inch mark at the top of your second rectangle. Draw the same “J” shape on the right side of the rectangle and then a higher “U’ shape on the left side of the rectangle. Draw a two-inch pleat in the bottom center of the rectangle that matches the right of the pleat in your first rectangle.
7. Cut out your pattern from the craft paper, fold your fabric in half and pin the pattern in place. Make sure you pin the U-shaped curve side of the pattern to the edge of the fold.
8. Transfer the pleats from your craft paper onto your fabric.
9. Pin the pleats together and sew down your line drawn in pen.
10. Match up the front and back side of the crop top and pin the sides and tops in place. Once pinned, sew together. Cut away the extra fabric on the bottom with pinking sheers.
11. Cut a slit up the center of the backside of the crop top that is the height of your zipper. Fold, pin and then sew the edges over to create a hem.
12. Pin the zipper in place with the pull of the zipper on the bottom edge of the crop top. Once pinned, sew.
13. Fold over and pin the bottom edge, arm holes and neckline to create a hem – then sew.
Have you obtained your measurements? Great! Let’s get pattern-making. Divide your waist measure by four and then add 2.5 inches. Create two rectangles with the width of waist/4 + 2.5 and height of your back measurement. Once drawn, find the center of the rectangle and draw a line (starting at the top) of your underarm measurement.
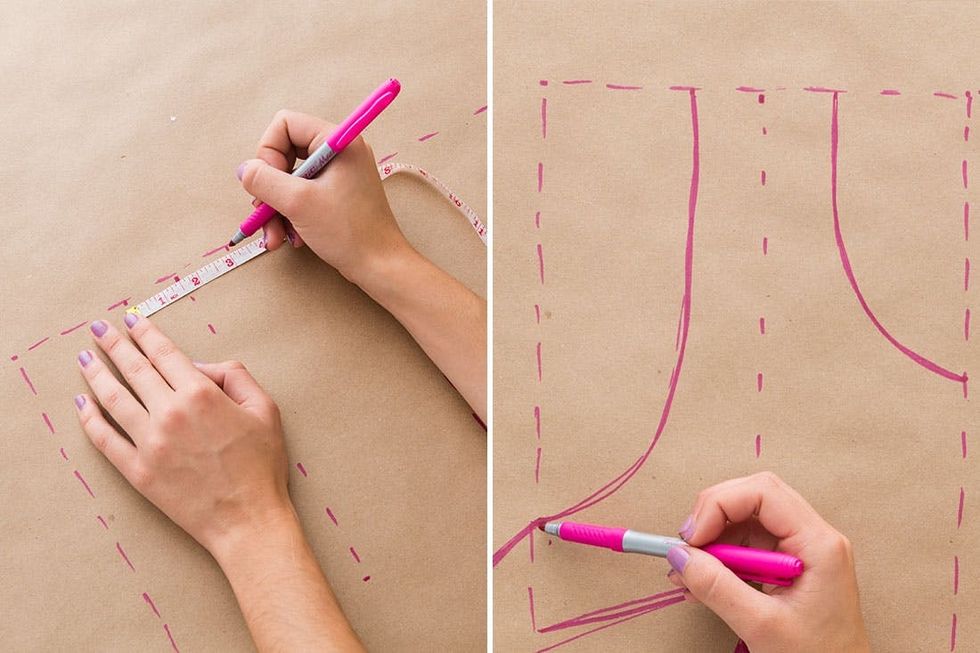
Time to create the pattern for the front side of your crop top. Measure three inches from the top of the rectangle with your underarm measurement running through the 1.5 inch mark. This is now the width of your crop top strap. From the left edge draw a long “J” shape, the bottom of the J should be on the same line as the underarm measurement mark. On the right edge draw a smaller “U” shaped curve, this will be your neckline. Create it as low/high rounded/pointed as you would like.
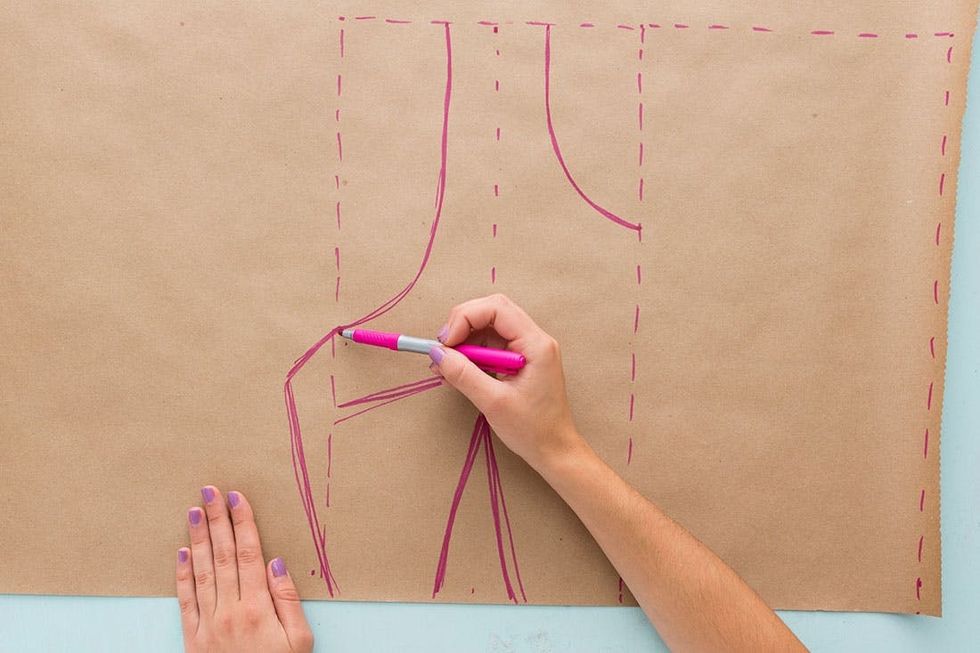
Create a triangle that jets out of your rectangle boundary starting at the end of your “J” curve. The distance from the point of your triangle to the opposite side of your rectangle should measure your bust measurement divided by four + 2.5 inches. Draw two-inch pleats at the bottom center and side of your drawing. The side pleat should begin at the end of your “J” curve and the tip should reach the end of the dotted line.
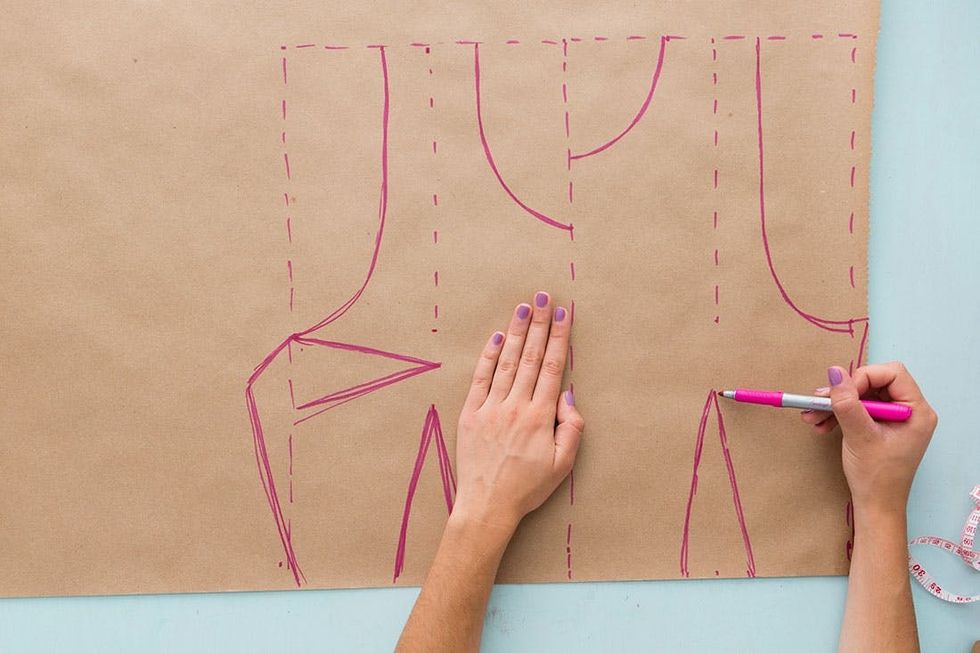
Now it’s time to create the pattern for the backside of your crop top. Draw the “J” curve on the right side of the pattern and a higher “U” curve on the left side. Then draw a two-inch pleat in the center at the bottom that matches the same height as the front side pleat.
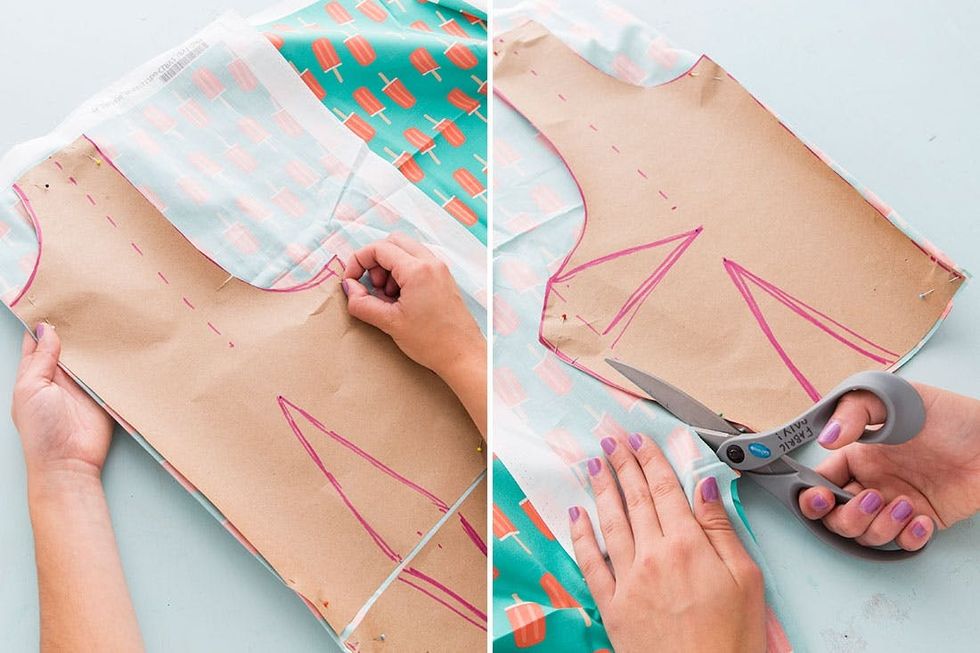
Congrats! You just made your own pattern – time to cut it out! Fold your fabric in half (gold sides facing inward) and pin the “U” curve edge onto the fold. Use fabric scissors to cut the pattern out of the fabric.
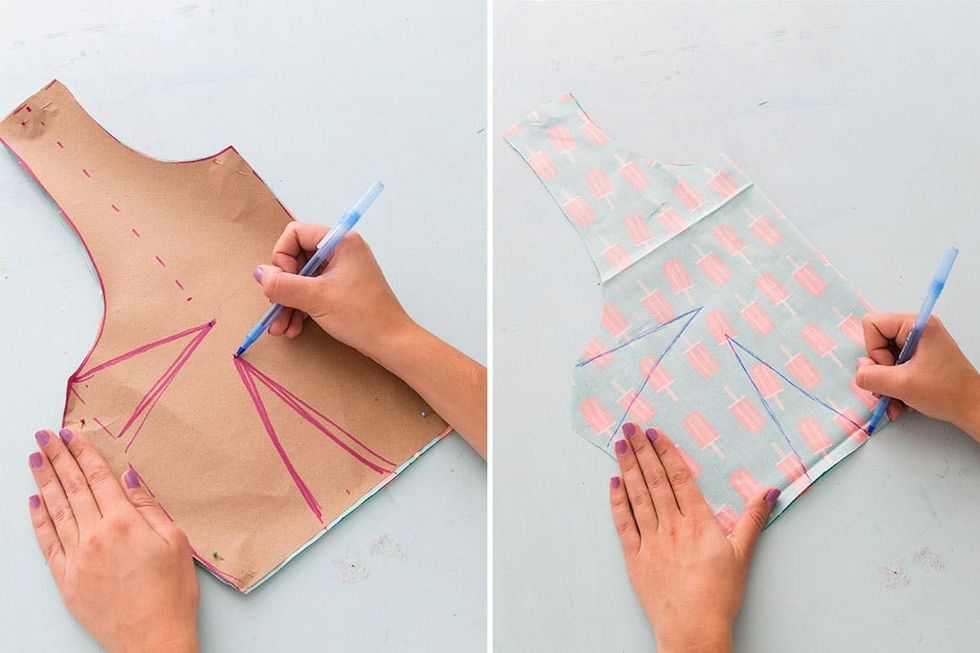
Time to transfer the pleats of the pattern onto the fabric. Use your pen to puncture the paper where the tip of the triangle is and leave a mark on the fabric. Mark the ends of the triangle on the fabric and then connect the dots with lines and your measuring tape.
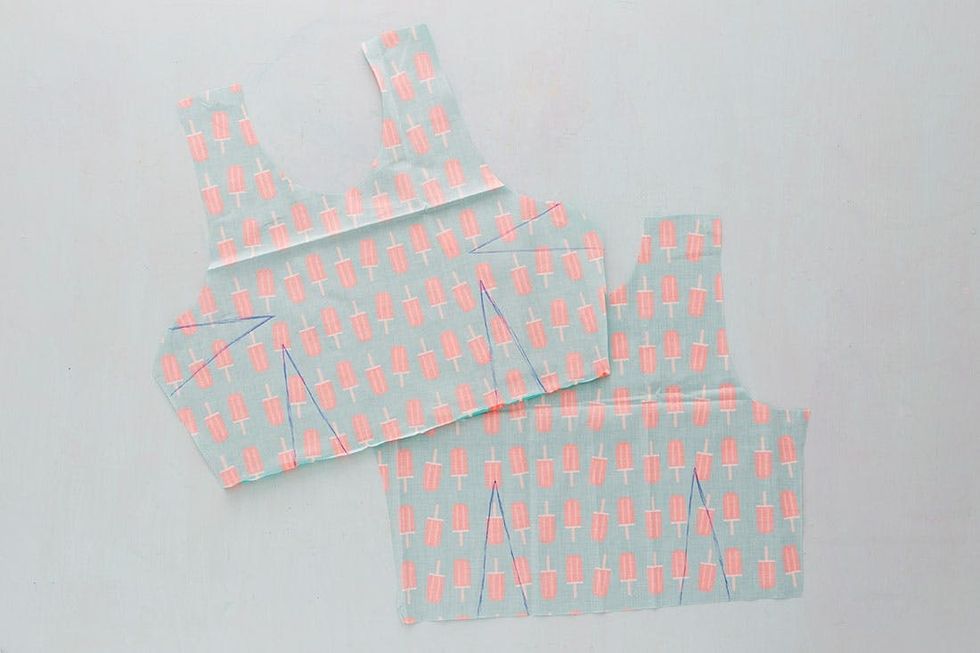
Let’s pause for a second. Your patterns should look similar to this.
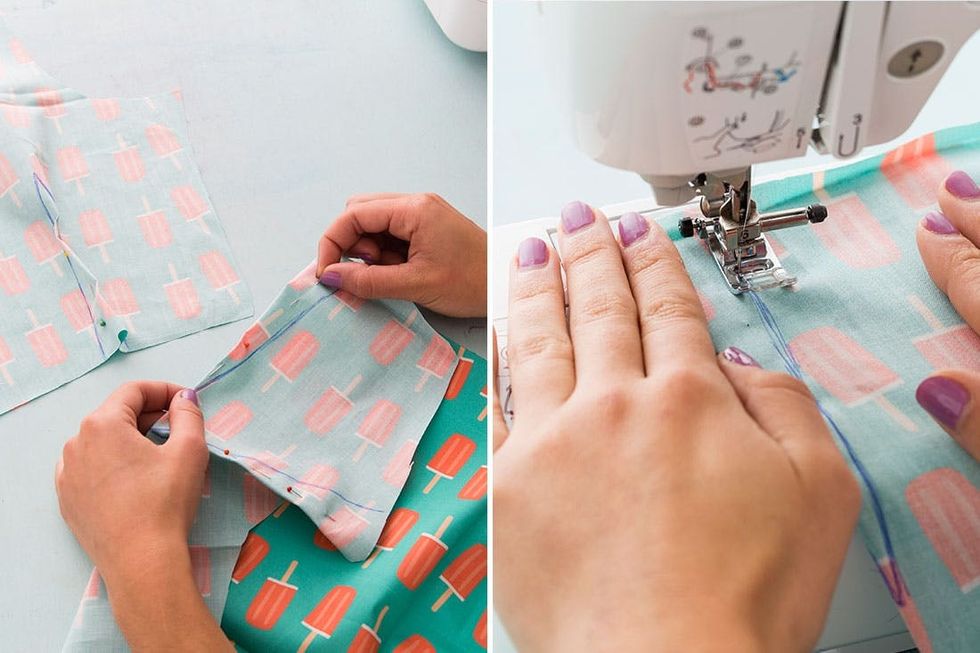
Don’t fret! Sewing pleats is actually super easy. All you will do is fold the triangle in half and match up the bottom legs of the triangle. Pin in place and then sew down the diagonal pen line.
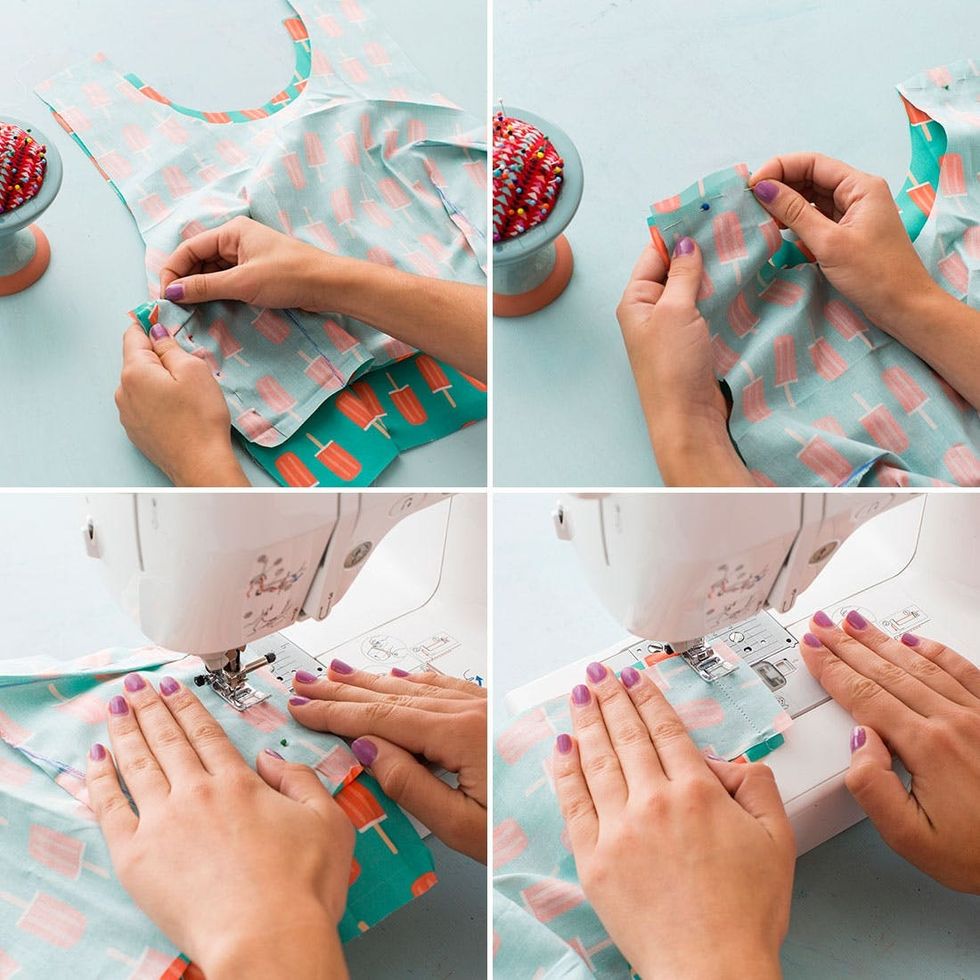
Lay the patterns on top of one another, making sure that the “J” curves match up. This means that other edges won’t match up perfectly but that is okay. When pinning the top straps together, line up the edges of the fabric and pin. This will create space in the crop top for your boobies.
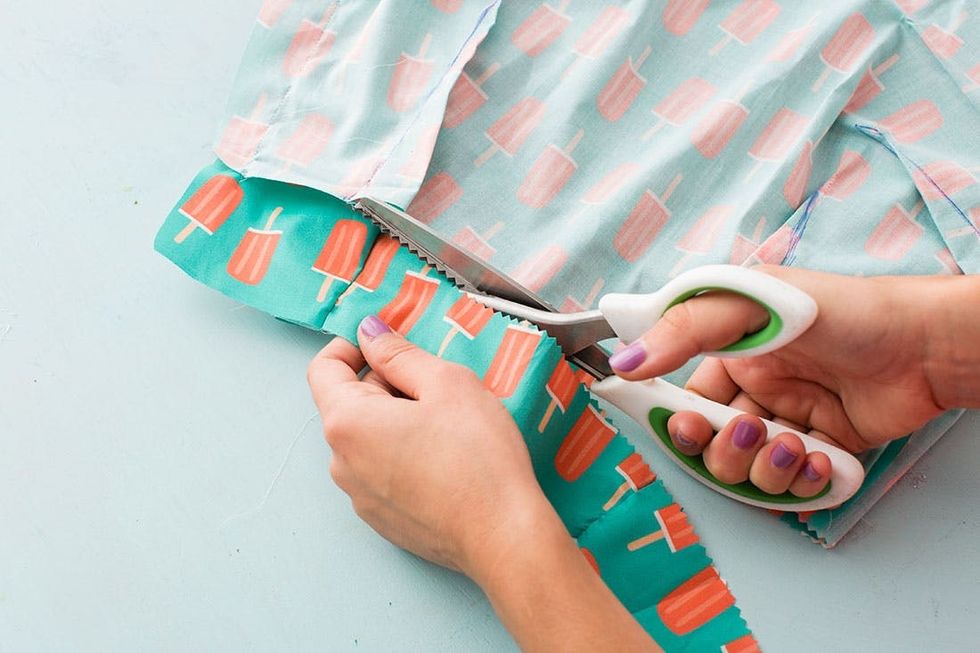
Cut off the excess fabric on the bottom with pinking sheers. Pinking sheers are fabulous scissors to use when you want to make sure your fabric won’t fray.
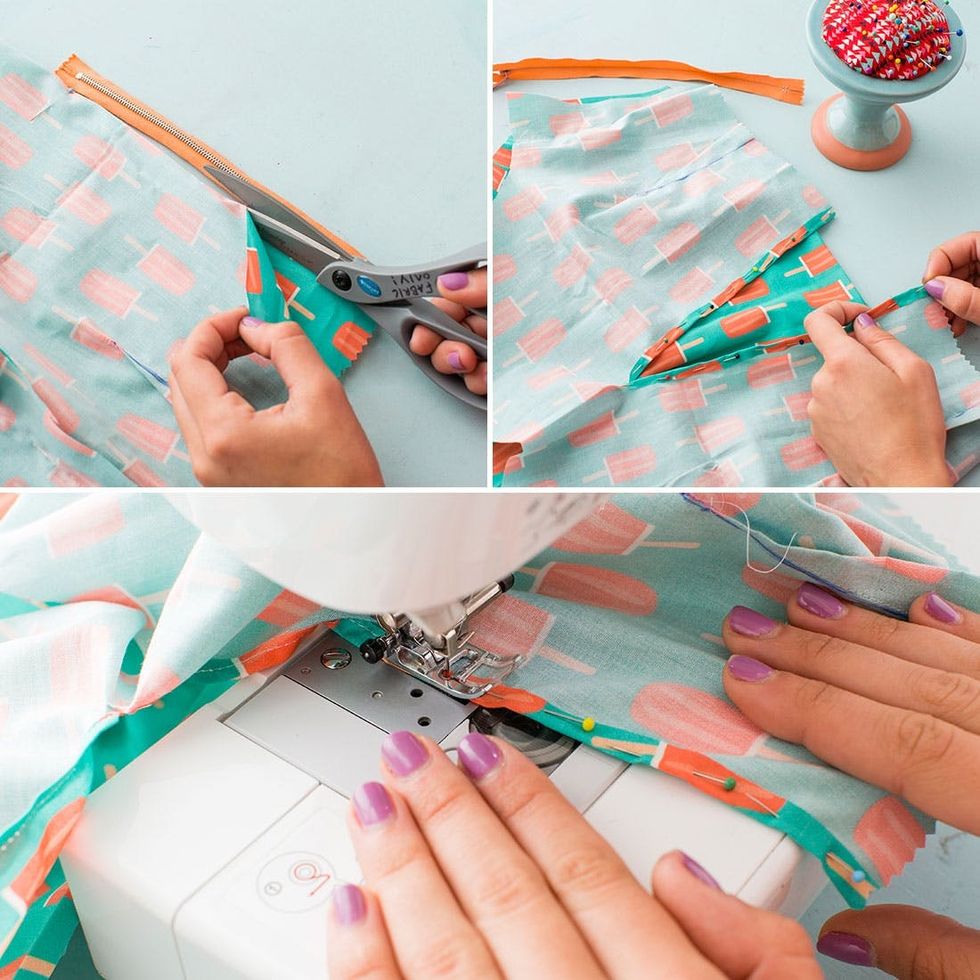
Cut a slit for your zipper in the center of the backside of your crop top. Fold, pin and sew the edges to create a hem.
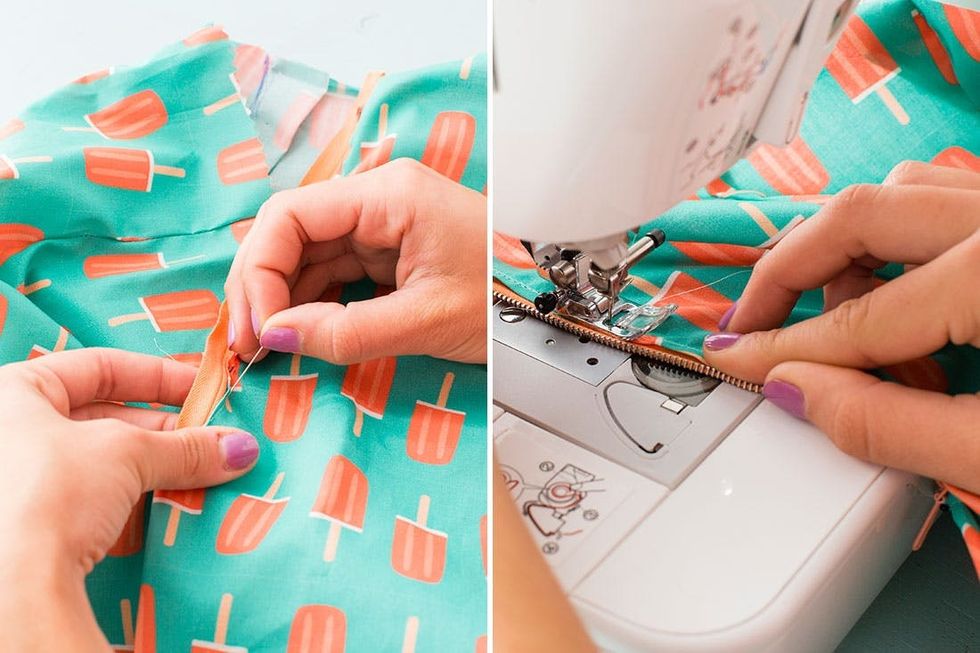
Pin the zipper in place with the zipper pull at the base of the crop top. This way it will be easier to get your crop top off and on. Once in place, sew away! (watch your fingers!)
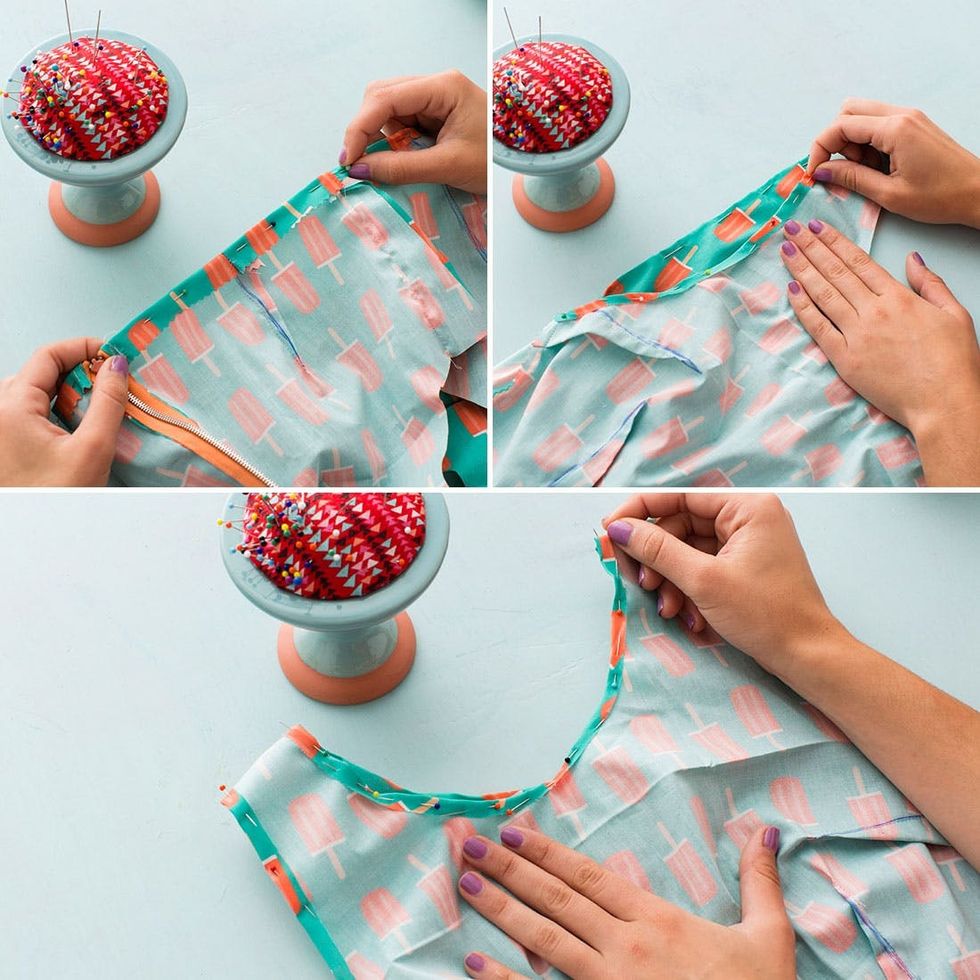
Fold over and pin the bottom edge, arm holes and neckline to form a hem.
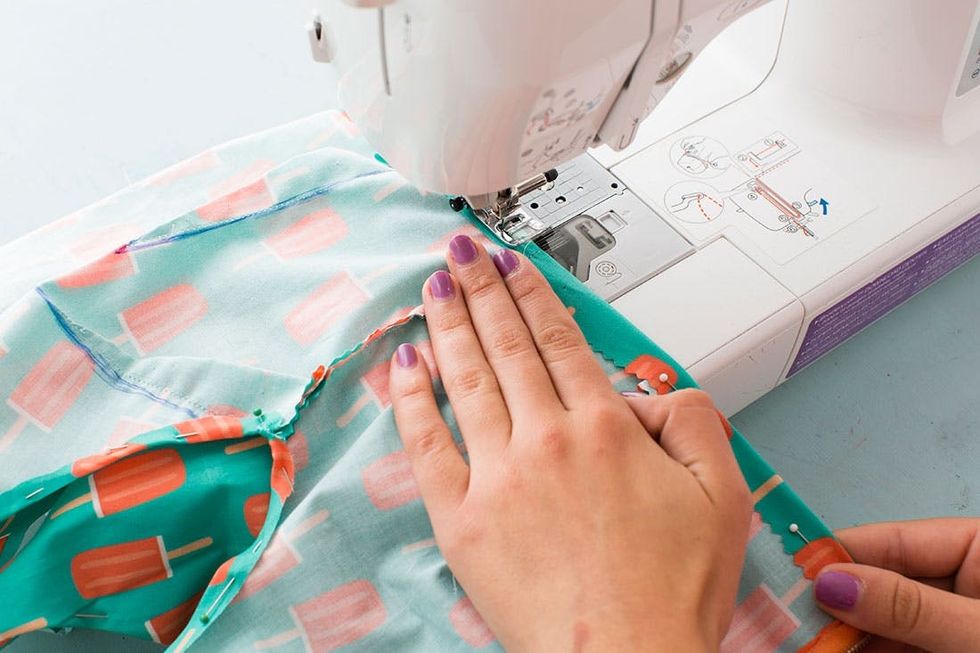
Slowly sew the hems of your crop top. The arm holes will be the most tricky due to the curves, but slow and steady wins the race.
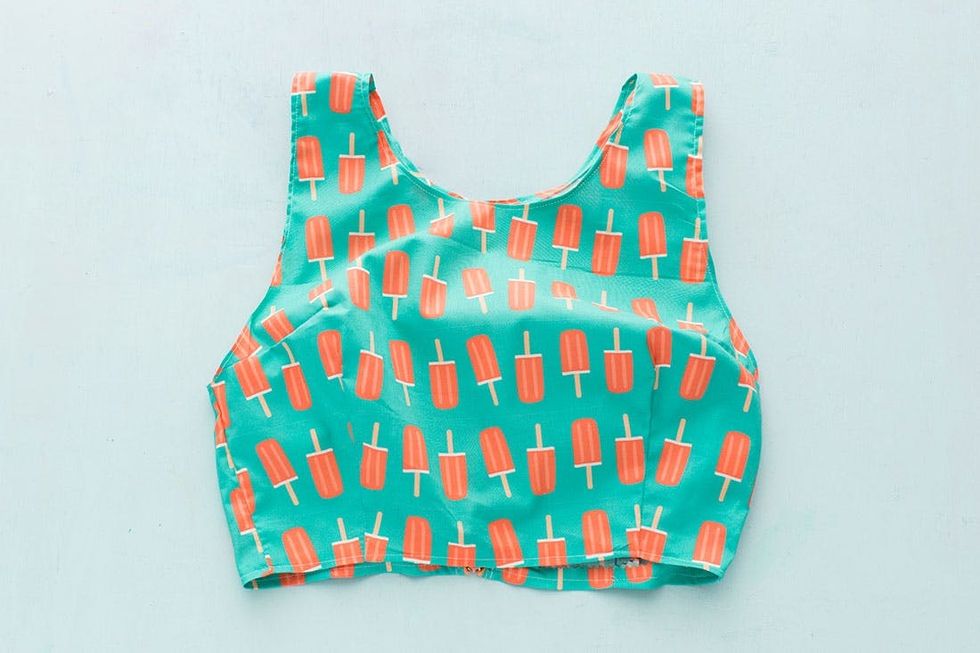
Wait, did we really just make this amazing cute crop top?! Yup, that happened.
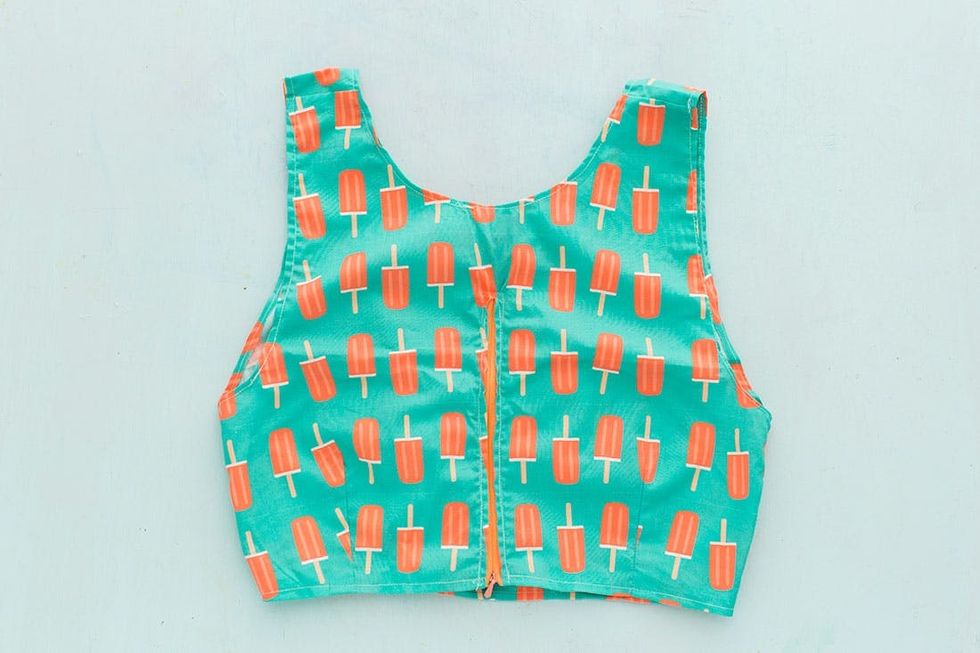
The six pleats sewn on this top will make your new garment fit all of your beautiful girly curves. Score!
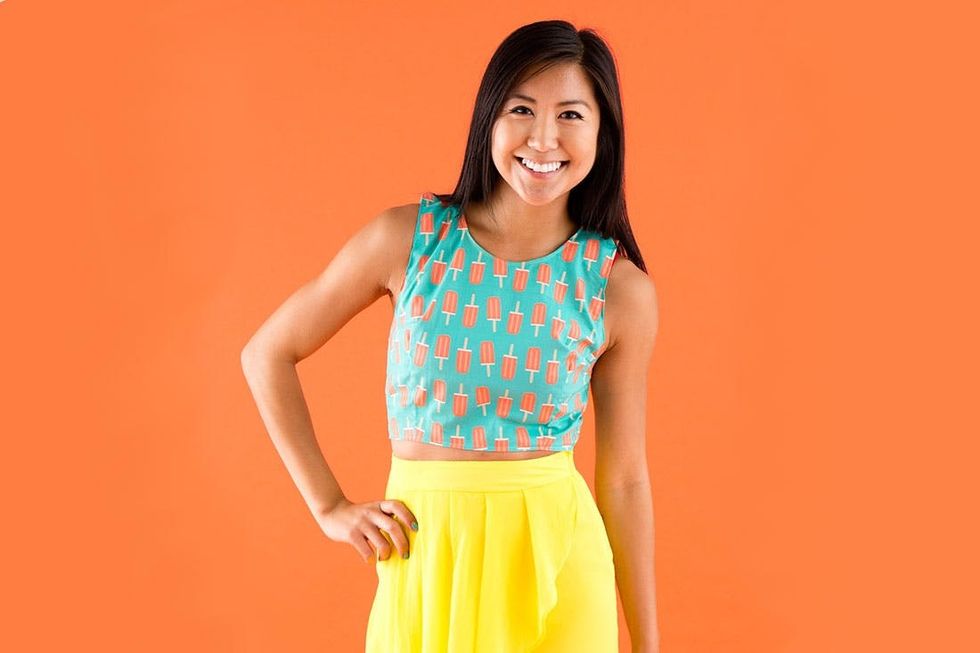
This summer crop is the perfect salute to summer. Or take this hot piece into fall with a chunky sweater.
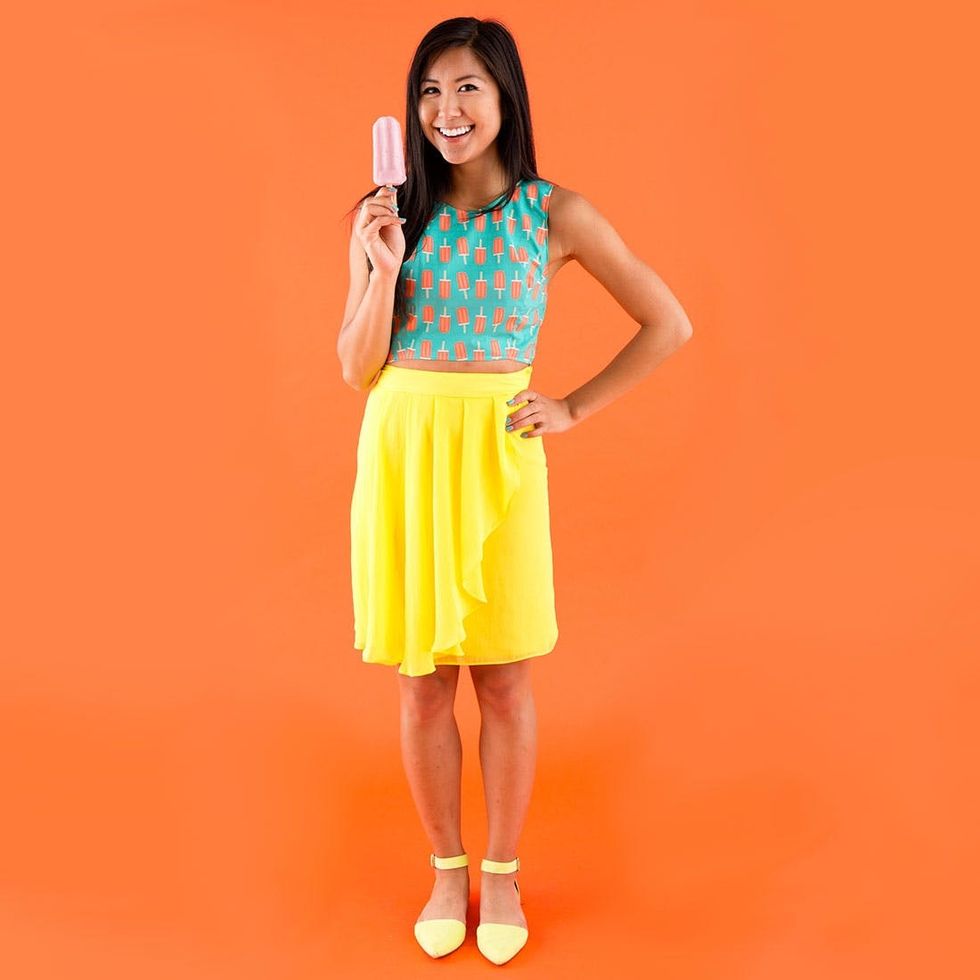
Are you as obsessed with this popsicle fabric as we are? Well it’s a B + C exclusive pattern that we got printed onto fabric from Spoonflower. We love how they make custom fabric so easy to obtain.

DIY and styling – Kelly Bryden


