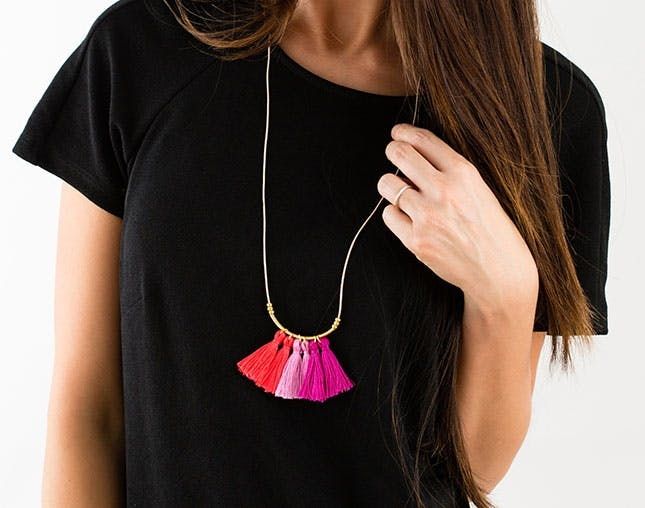
Right now we’re loving colorful tassels for their ability to turn any outfit into a party! We’re seeing them swinging from leather bags and brightening up simple cocktail dresses, and we just can’t get enough.
Lucky for us, so does Ann-Marie Robinson, the contest winner for Polyvore’s Brit+Co Design a Brit Kit Contest. She created the concept, and we teamed up with Polyvore to bring you this brand new kit as part of our Brit Kit Collabs collection.
What are Brit Kit Collabs? Glad you asked! We teamed up with eight of our favorite makers, bloggers and designers to create a brand new set of nine exclusive Brit Kits, just in time for the holidays. Head to the shop to check ’em all out, and follow along to learn how to create your own fringe necklaces. You can get everything you need to create this project in our Tassel Fringe Necklace Kit for just $25 in the B+C Shop!
Learn more about Ann-Marie Robinson by checking out her maker profile right here. Now, let’s get fringe-y with it ;)
Materials + Tools:
– embroidery thread
– leather cord
– gold-toned jump rings
– gold-toned beads
– washi tape
Additional Tools (not included in the kit):
– scissors
Instructions:
1. Cut one skein of embroidery thread at both ends.
2. Pull two strands away from each bundle and set aside
3. Wrap one end of bundle with washi tape.
4. Thread taped end through a jump ring, and tie off.
5. Trim off excess thread.
6. Repeat for six total tassels.
7. Measure out a long piece of leather cord and cut with scissors.
8. Thread the gold tube bead and 6 tassels onto the leather cord.
9. String on gold seed beads at either side.
10. Tie the two ends of leather cord together, and adjust to your desired length.
10 little steps to one big necklace party — what are we waiting for??
Cut one skein of embroidery thread at both ends, so that it makes two equal bundles. Pull two strands away from each bundle and set aside. You’ll use these to tie your tassels later. Then, tightly wrap one end of each bundle with washi tape, so that they can easily thread through the jump rings.
Once threaded through a jump ring, tie off the tassel using the two extra strands you had set aside earlier, and trim off the excess thread (including the taped portion). Repeat this process until you have six total tassels – two from each skein of embroidery thread.
Measure out a long piece of leather cord and cut with scissors. You’ll notice the leather wants to curl up still, so take the time here to stretch and straighten it out.
Thread your one gold tube bead and six tassels onto the leather cord, centering the tassels over the tube bead.
Then add gold seed beads at either side. We just added a few for accents, but we give you a whole tube so you can use as many as you like!
To finish your necklace, tie the two ends of leather cord together using two overlapping slip knots. Tie one end as if you were making a regular knot, but before tightening it just slip the opposite end through the open loop.
Tighten that knot, and then repeat on the other side, looping another knot around the opposite strand of leather.
Tighten both knots by pulling on the ends and slide the two knots closer and farther away from each other to adjust your necklace height!
Wear your necklace low or high, over a cozy sweater or clean shift dress, and watch your friends swoon!
Speaking of friends, these make a great crafternoon project to share with the girls! Mix and match colors, borrow beads, and get loopy with leather cord. You’ll be amazed with all of the different variations you and your friends can come up with!
What other DIY accessories are you going tassel crazy for? Tell us in the comments below!


