Whether we’re trying to bring a little greenery into the teeniest of studios or we’re looking for an easy and efficient way to grow herbs in the kitchen, there are few places to go but up.
Make a Hip Herb Garden to Fit Even the Smallest of Spaces
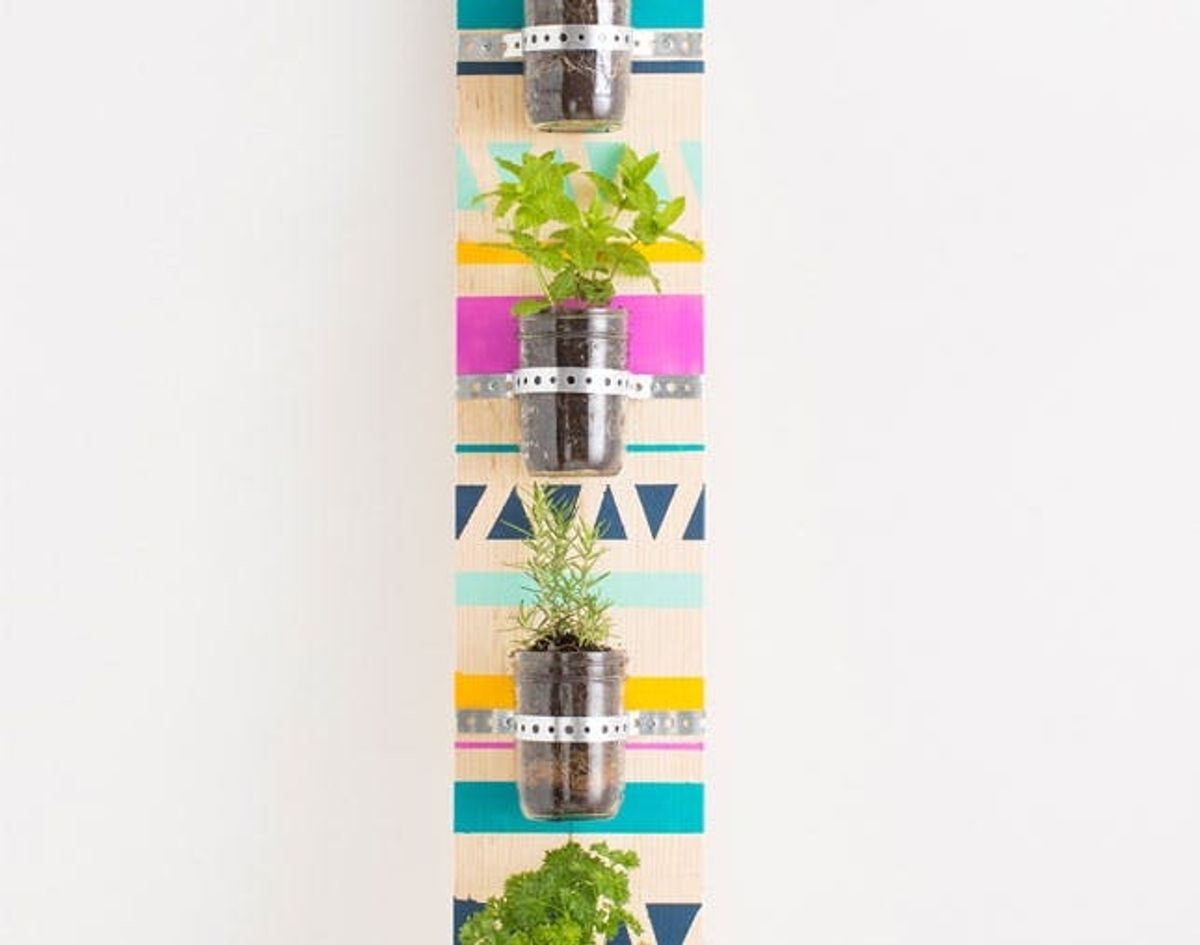
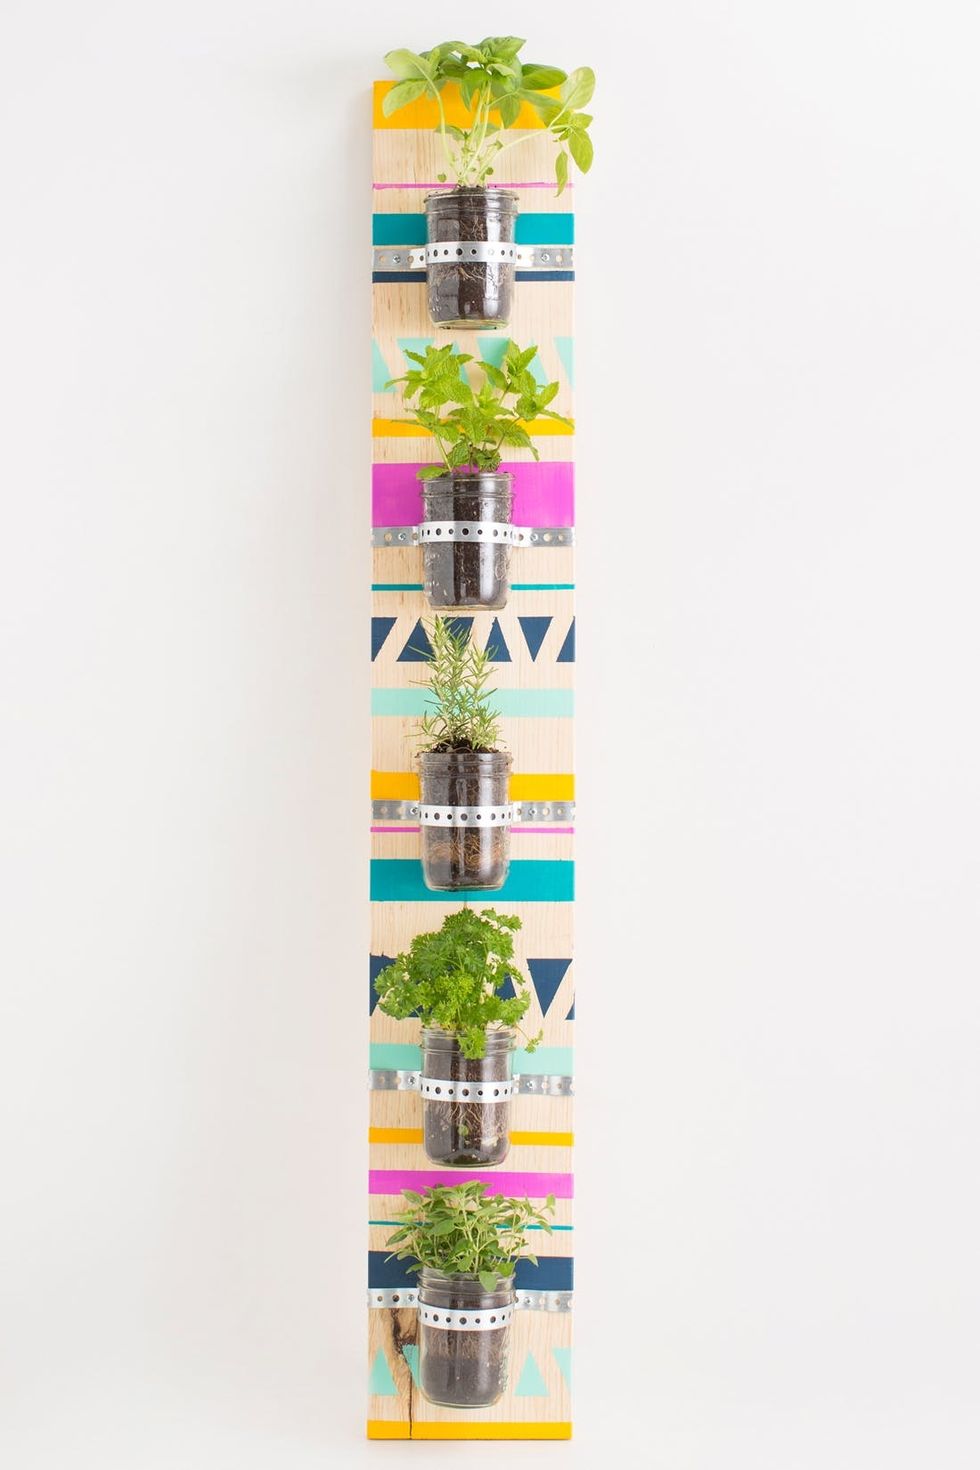
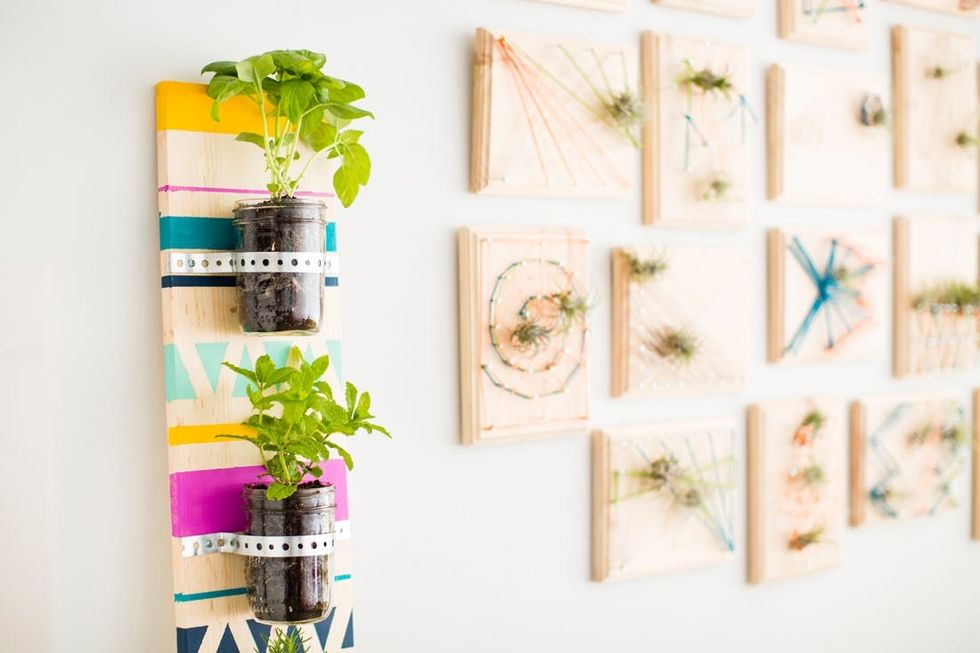
When it comes to space, we seem to be always running out of it! Whether we're trying to bring a little greenery into the teeniest of studios or we're looking for an easy and efficient way to grow herbs in the kitchen, there are few places to go but up. Literally ;) We teamed up with Method — a brand that can get behind all things green — to create a hip vertical herb garden to fit even the smallest of spaces.
Thanks to our friends at Method, we had Method Foaming Hand Wash and Method Laundry Detergent on hand to do the dirty work.
Materials:
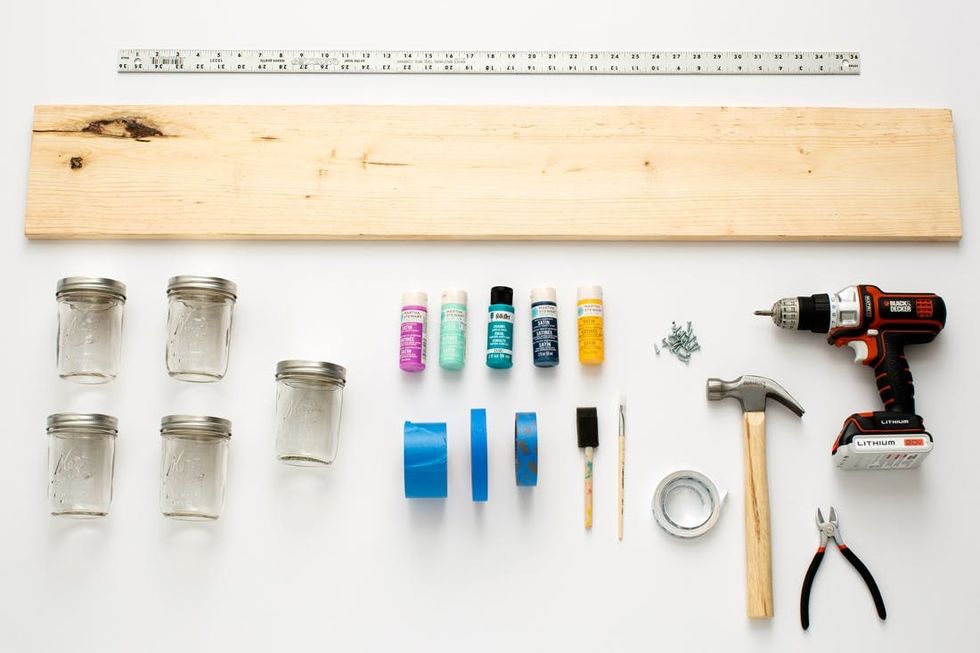
– wood – 4 feet x 6 inches
– paint
– painters tape (three different widths)
– screws
– galvanized metal tape
– 5 mason jars
– 5 different type of fresh herbs
Tools:
– electric screw driver
– hammer
– wire cutter
– paint brushes
– yard stick
Instructions:
1. Using three different widths of painters tape, create a pattern on your wood.
2. Paint and let dry. Wait about an hour before peeling off the tape.
3. Time to create the holders for your plants. Wrap the galvanized metal tape around your mason jar, leaving room for tabs to attach to the wood. Using a wire cutter, cut the metal and then bend. Our piece measured about 12 inches — 2 inches per tab plus 8 inches for the circumference.
4. Measure about 4-5 inches from the top of your wood. This will be where the top edge of your first planter will lay. Place the mason jar centered on the wood and lay the metal piece on top. Using the holes, mark the spot where you will need to place a screw.
5. Create these marks on the wood for all five mason jar planters. Each top edge of the jar should be placed 4-5 inches from the bottom edge of the previous jar.
6. Remember those screw marks? Time to secure one edge of your metal tape. Place the mason jar under the metal tape and secure the opposite side to the wood. The jar should fit snugly but should still be removable.
7. Time to plant! We planted basil, oregano, mint, parsley, and rosemary. Add some extra planting soil in your mason jars with the fresh herbs.
8. Display your new 2-in-1 wall art and garden!
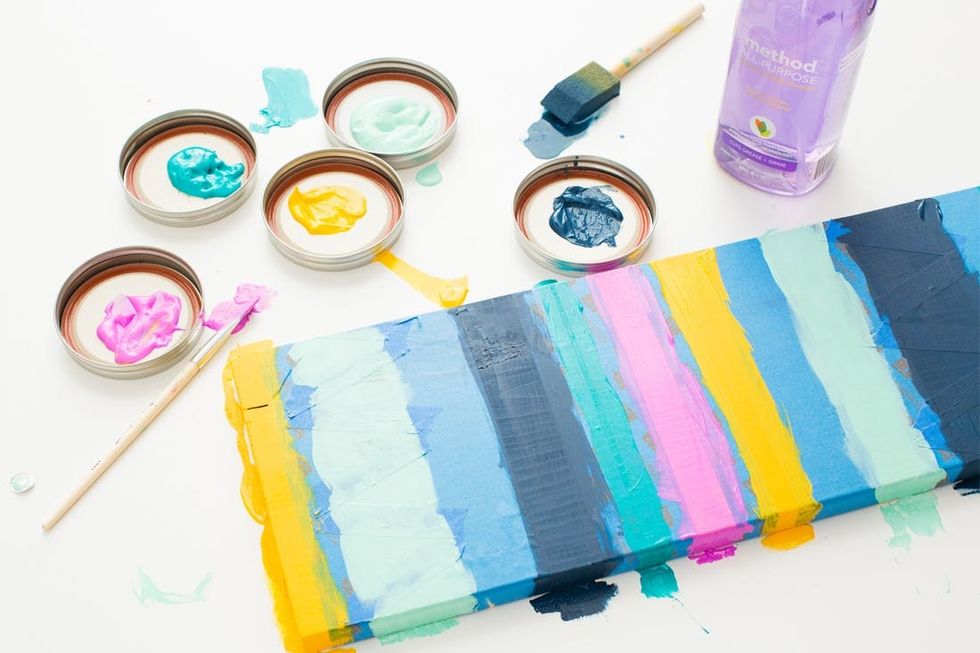
We chose colors that remind us of summer,but you can choose any mix of hues that fit your style.
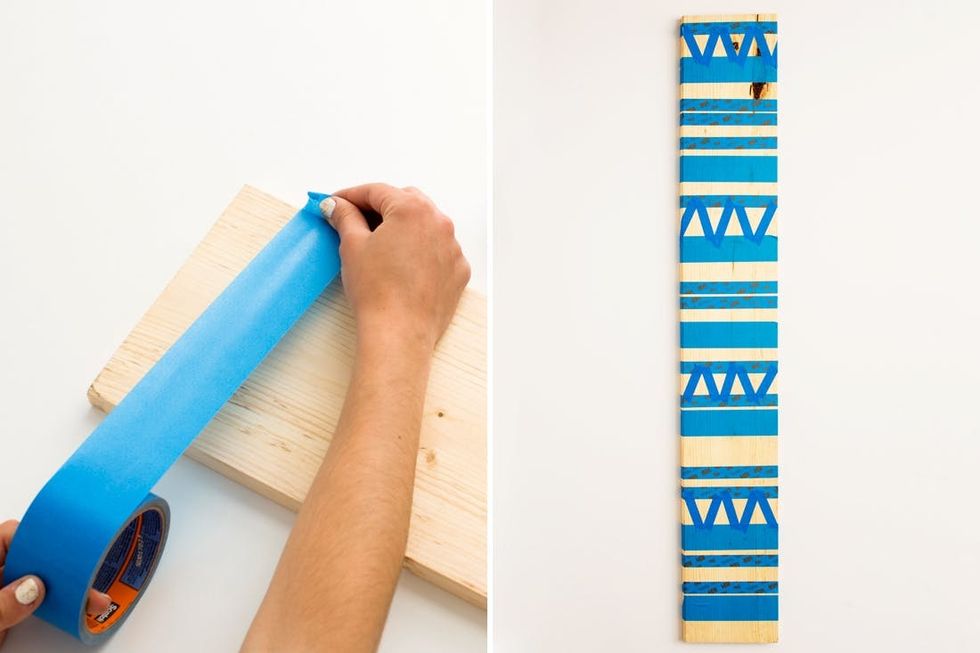
Tape off a fun pattern using your three different widths of tape. We created strips and added some triangles in between for some flare.
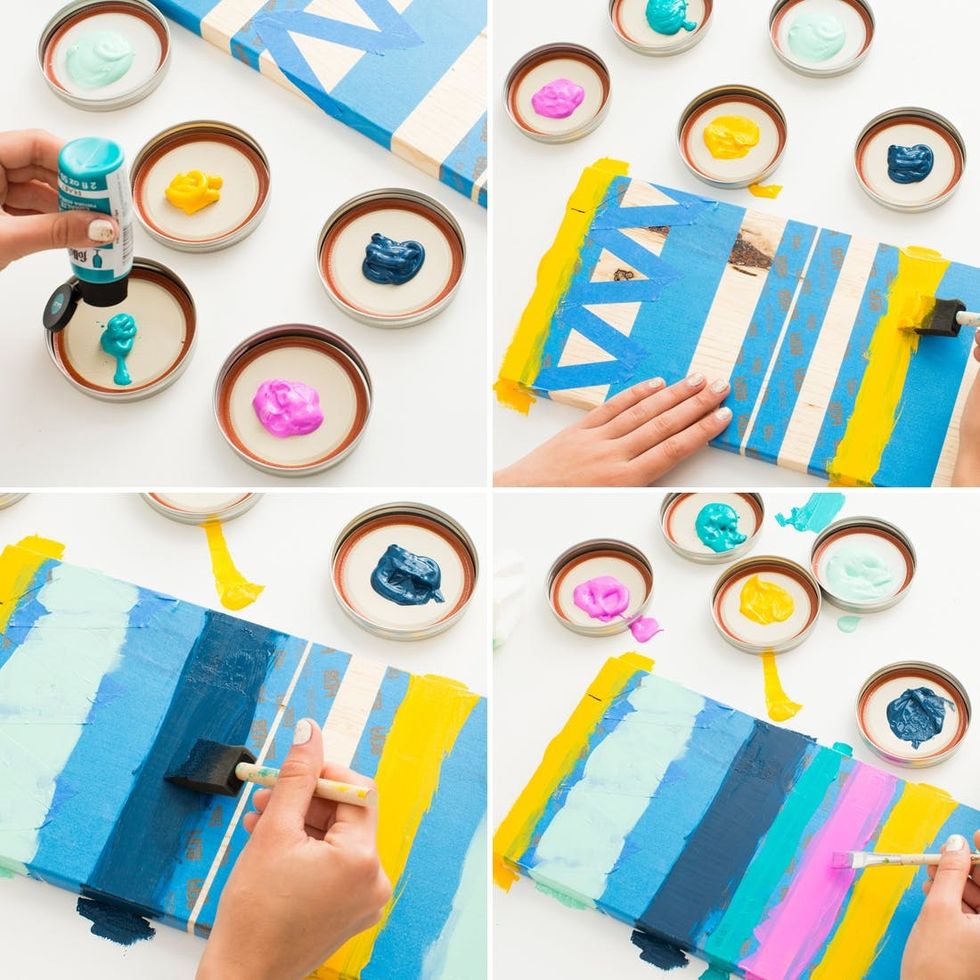
Start painting! We used five different colors and painted them in a repeating pattern.
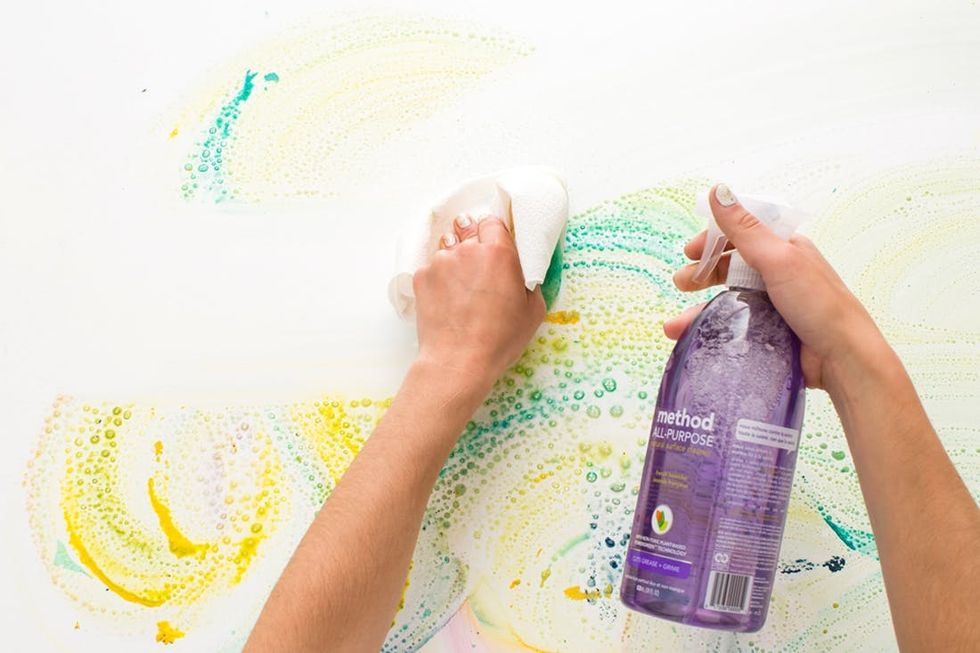
Never worry about messy paint, Method All-Purpose Cleaner will remove it from almost any surface.
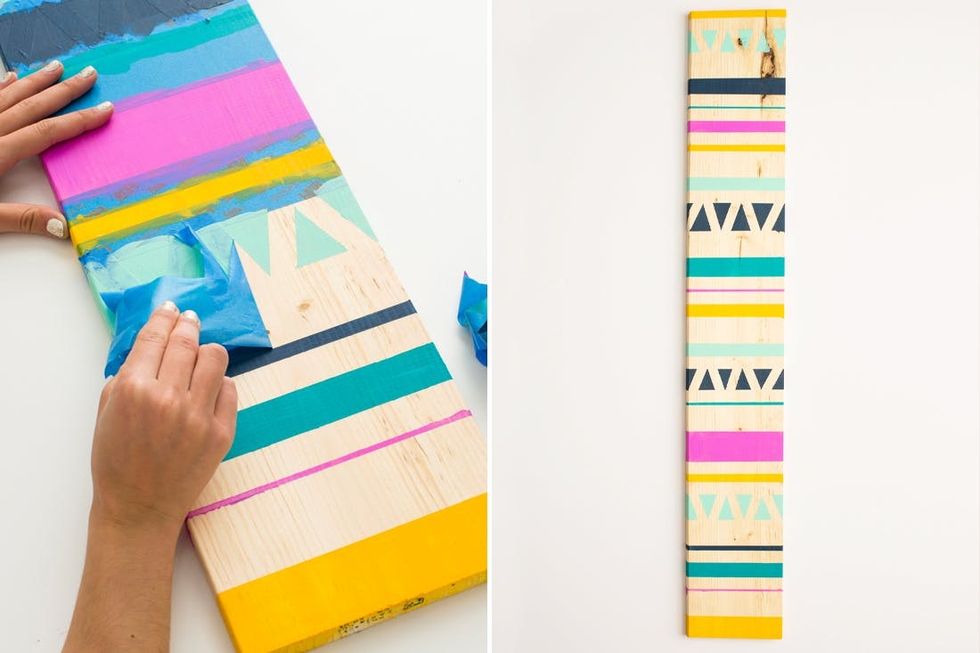
When the paint has dried, peel off the tape to reveal your amazing design.
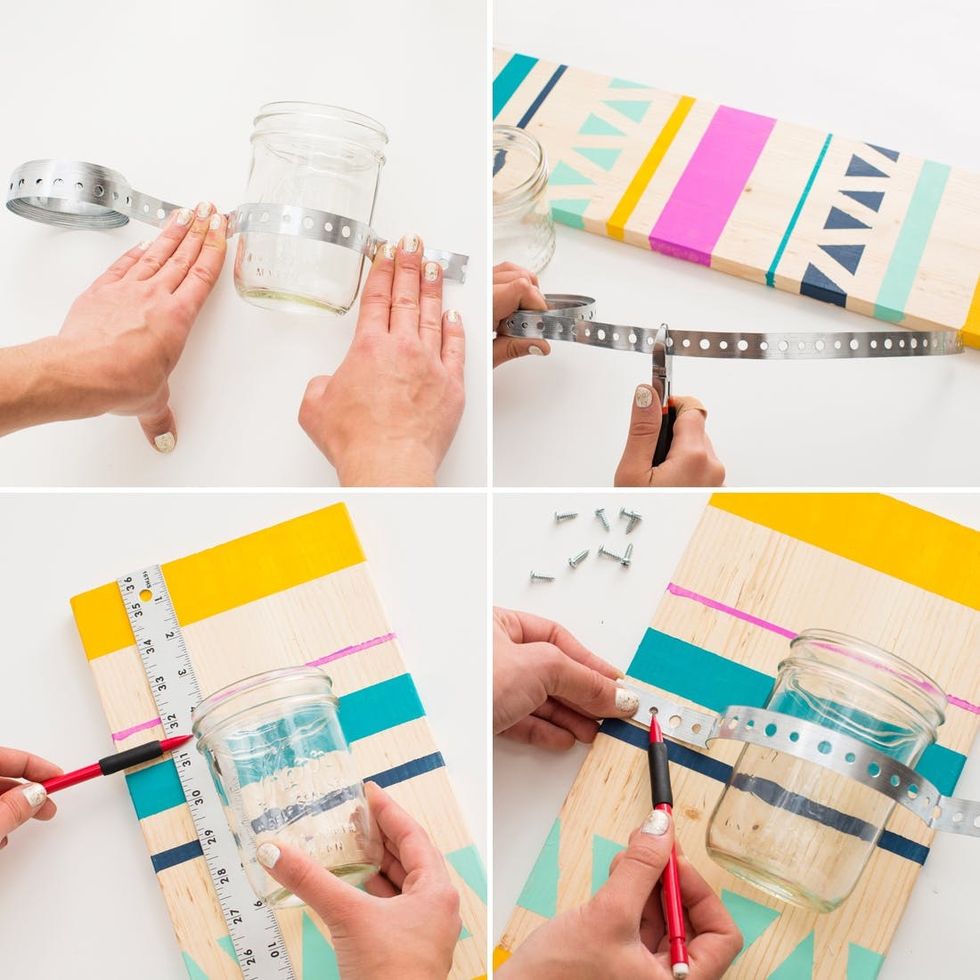
Now this is where it gets tricky! The galvanized metal tape is malleable but sharp, beware! Wrap it around the circumference of the mason jar, leave room for 2-inch tabs on either side. Ours measured about 12 inches. Place your first jar 4-5 inches from the top of the board. Place the galvanized metal tape around the middle of the jar and mark where you will be drilling. Repeat this process for all five jars.
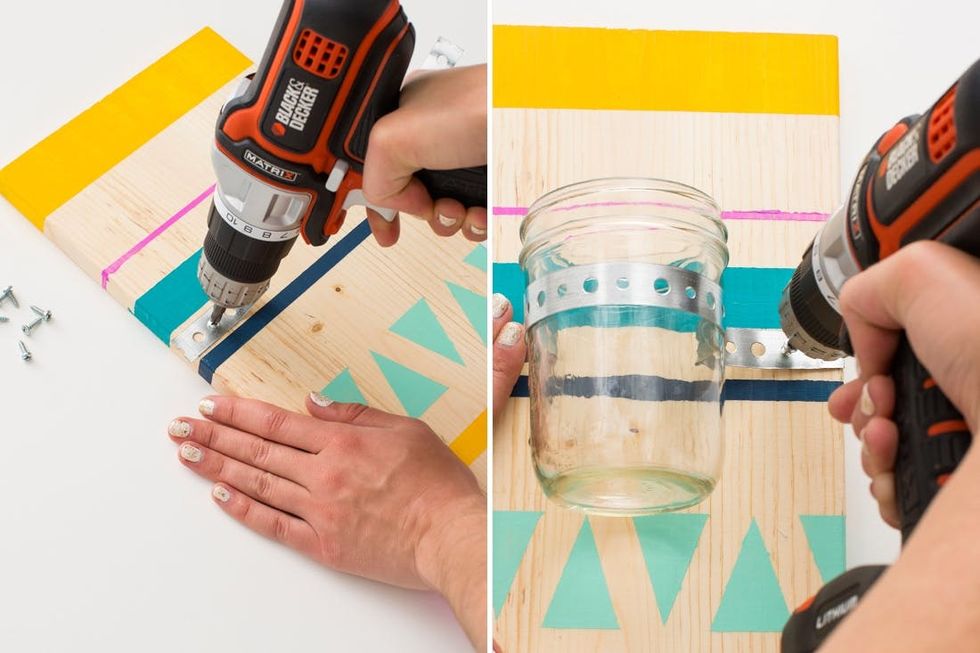
Screw one side in at a time. This may be a two person job depending on your comfort with power tools.
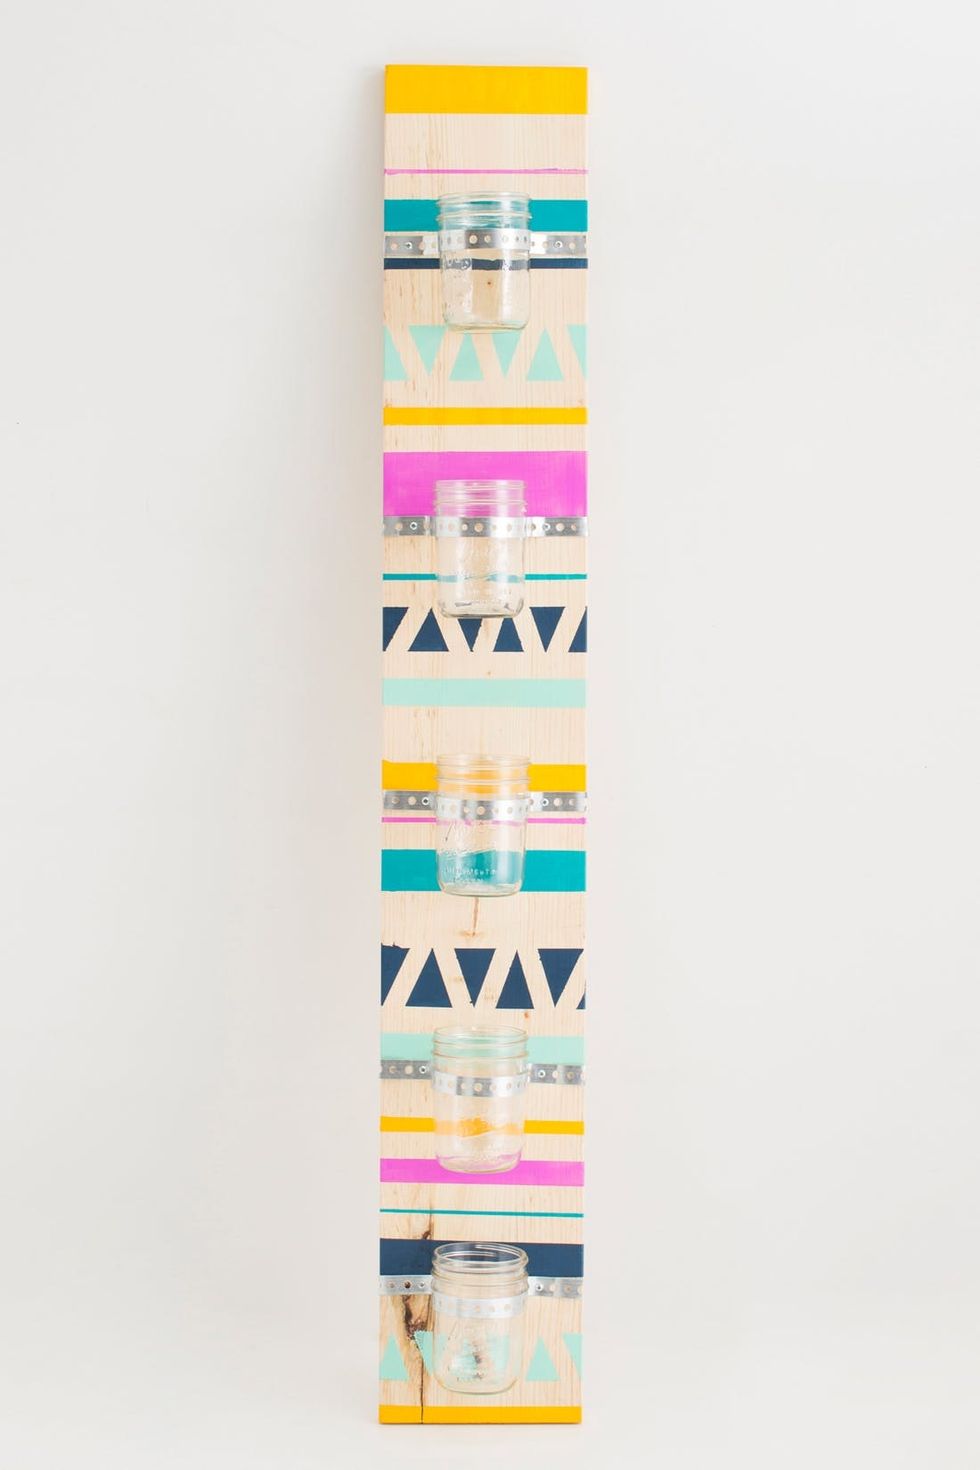
Jars attached to wood = check!
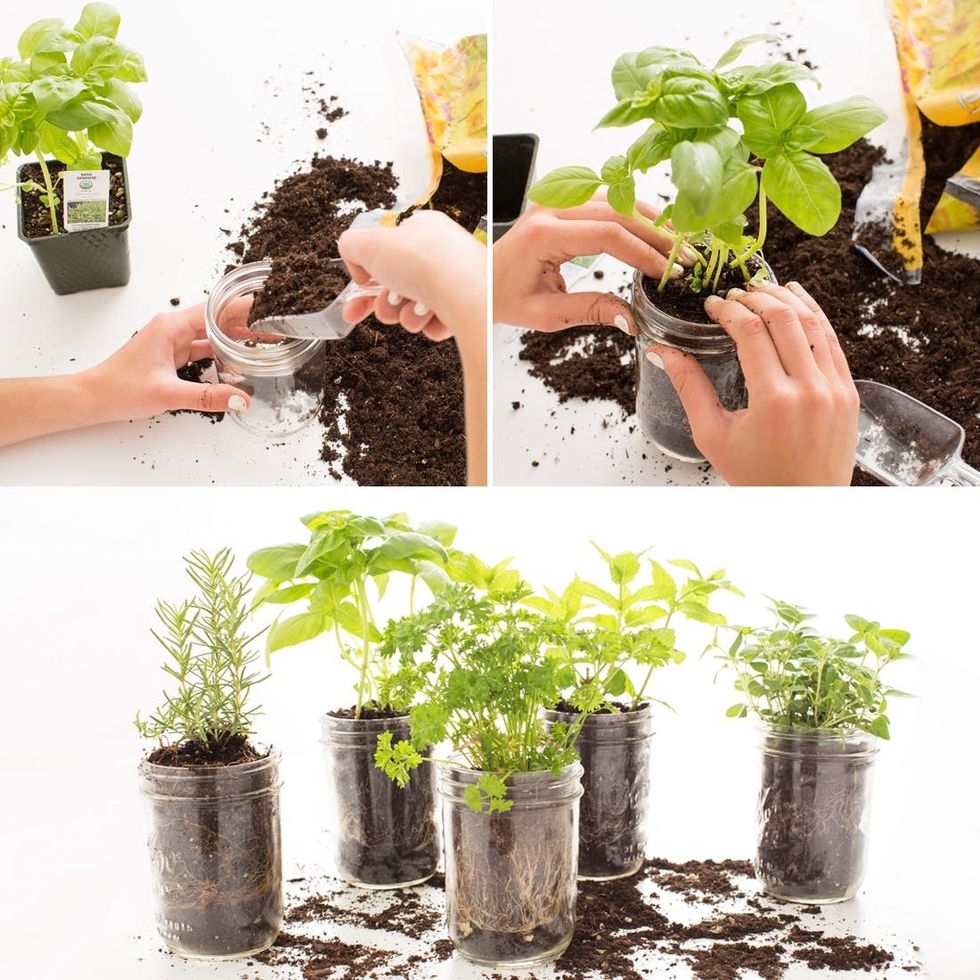
For our vertical garden we decided to fill it with herbs that we use everyday in our kitchen: parsley, rosemary, basil, oregano, and mint. Spoon some loose soil into the bottom of the mason jar, then add in your herbs.

And for a little paint splatter or dirt on your shirt, pre-treat with Method Laundry Detergent before you throw in the laundry pile. This will ensure maximum stain removal when you finally toss in the washing machine or handwash.
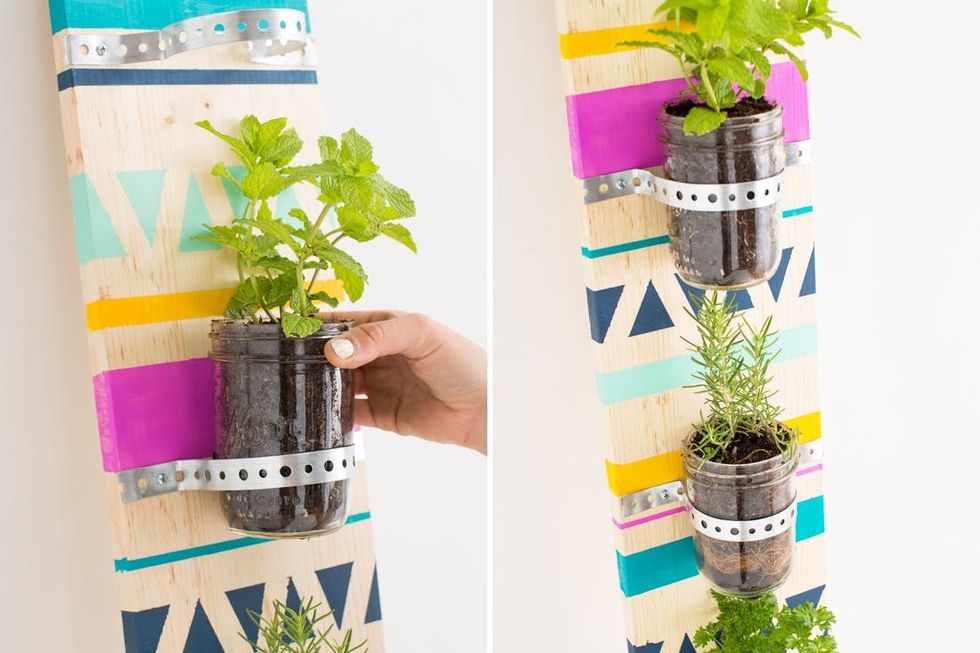
Slide the jars into your newly made brackets.
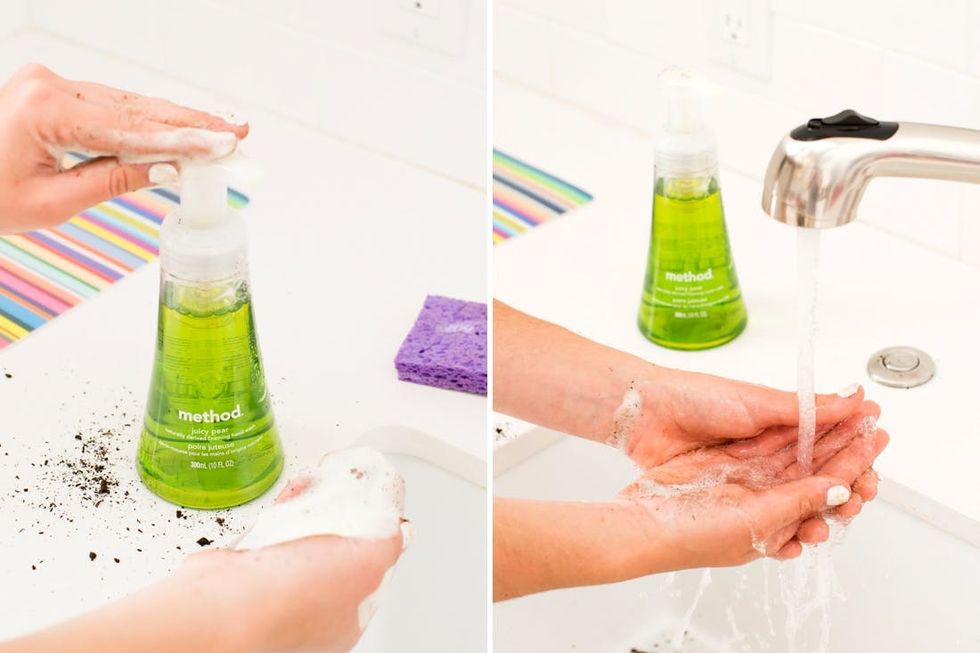
After dealing with all that dirt, you will definitely want to wash your hands. And then you’re done!

We have to admit, we’re pretty obsessed with this vertical garden. The mix of wood, metal, color and patterns is an instant win.
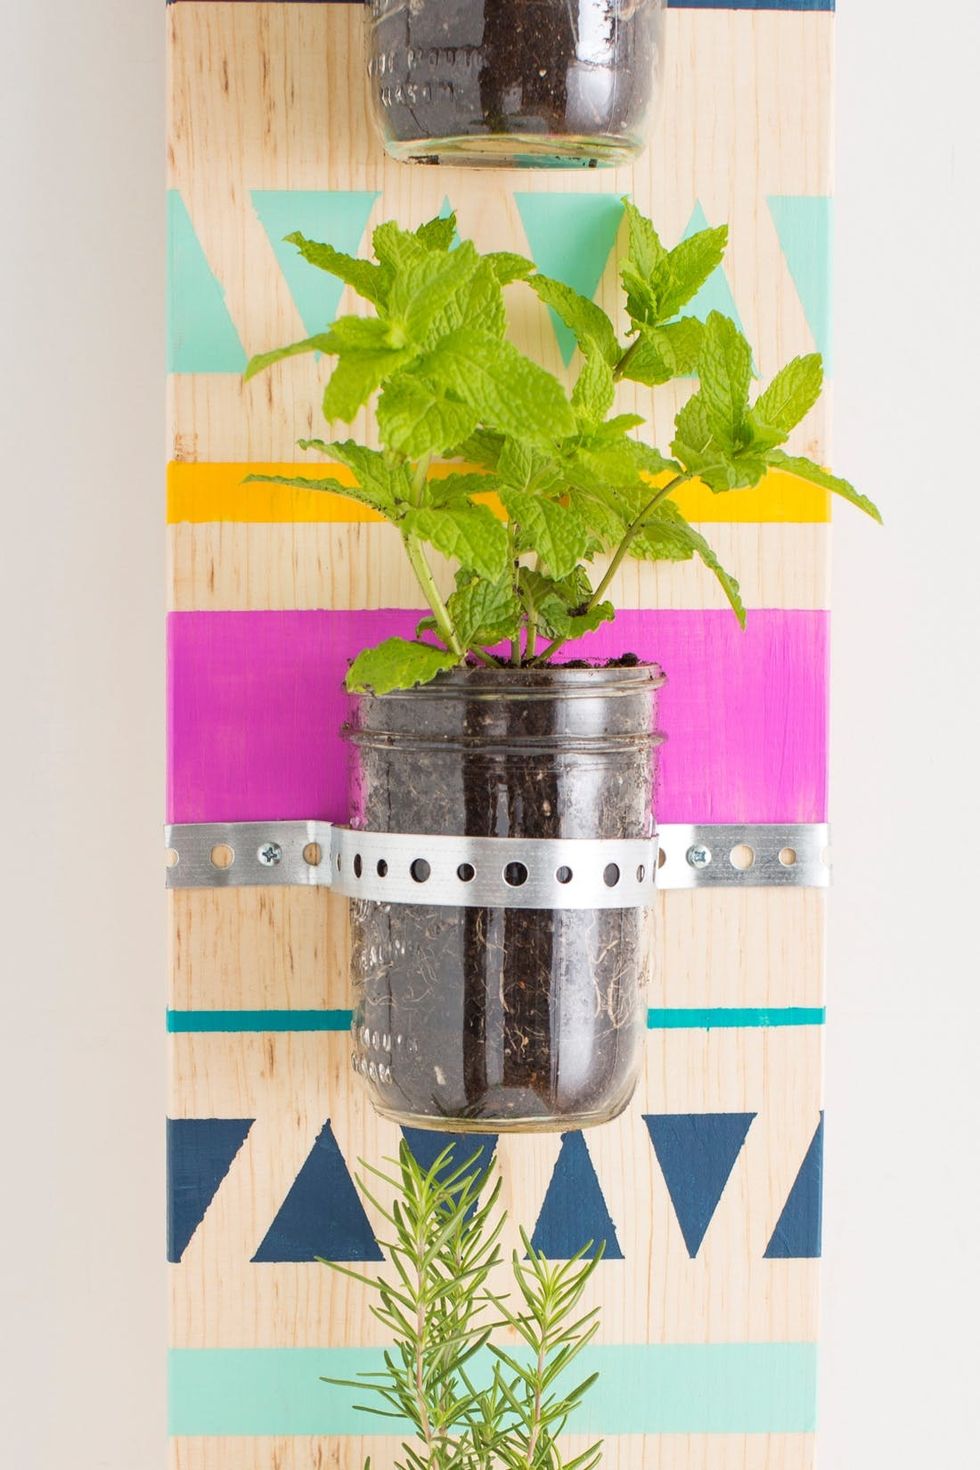
Mmmm, that mint is making me want a mojito…
Do you have any homemade planters or garden projects in your home? Tell us about them in the comments below.


