Check out these easy peasy Easter DIYs as seen on the Today Show.
As Seen on the TODAY Show: 7 Easy Peasy Easter DIYs to Make With Your Family
Hi, I'm Brit, the founder and CEO of Brit + Co. I'm a young mom of two, tech nerd and design-inclined lady who has a zillion hobbies and curious about... just about everything! My mission from the beginning has been to unlock women's creativity and courage to try new things so that they can find the path to their true passions.
‘Round these parts, Easter DIYs are our bread and butter. Yesterday, I shared some of my favorite un-egg-spected (and easy!) Easter DIYs with my friends over at the TODAY Show. Scroll on for the DL on all the DIYs that were featured in the segment. Now, hop to it!
PSA: All puns in this article were 100% intended.
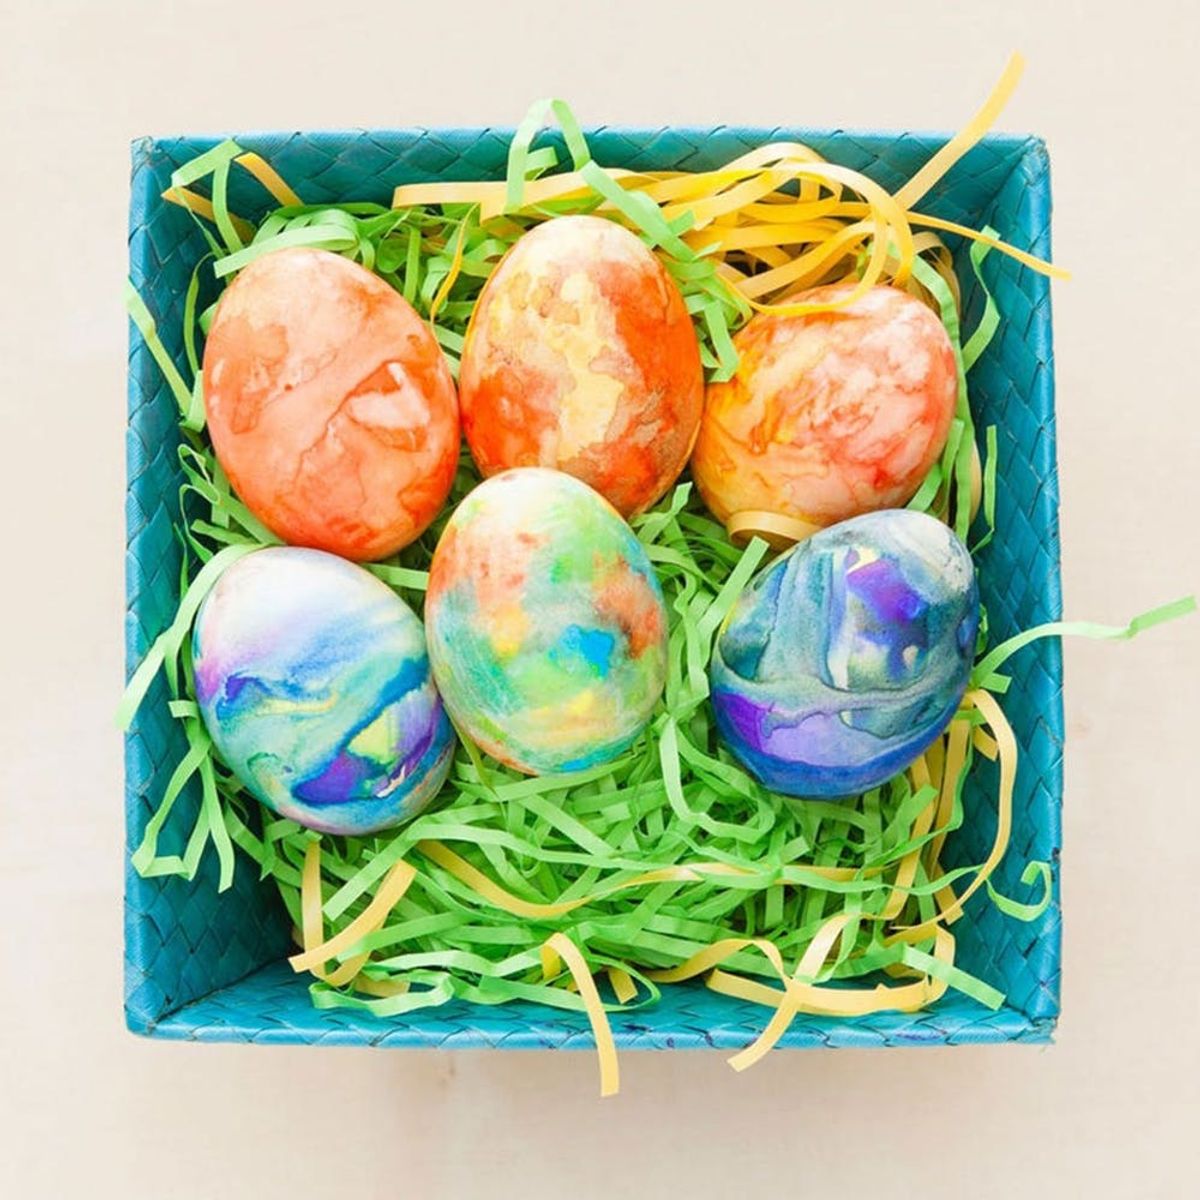
Sharpie Tie-Dye Easter Eggs
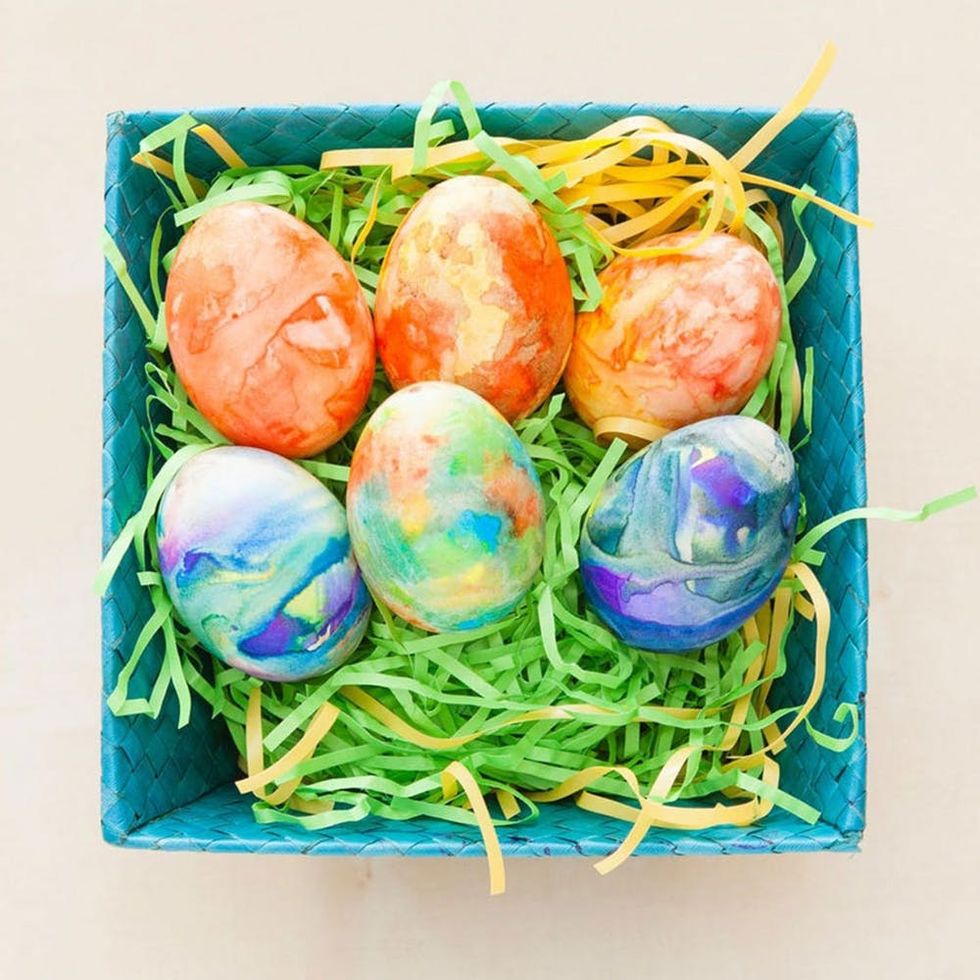
That’s right. We’re using Sharpies to tie dye. It’s one of my all-time favorite hacks, and you probably can find almost all of the materials for these (besides the egg!) in your junk drawer.
Materials + Tools: (makes 1 egg)
- hard-boiled egg
- colorful Sharpie markers
- 2 Tablespoons nail polish remover
- Q-Tips
Instructions:
- Cover your hard-boiled egg in Sharpie marker. Don’t be afraid to use tons of colors!
- Pour nail polish remover into a small container, dip a Q-tip into the container, and dab it onto your egg. The solution will blend the colors.
- Set aside and allow them to fully dry. You’re done!
Check out the full Sharpie Tie-Dye Egg tutorial!
Baker’s Twine Easter Eggs
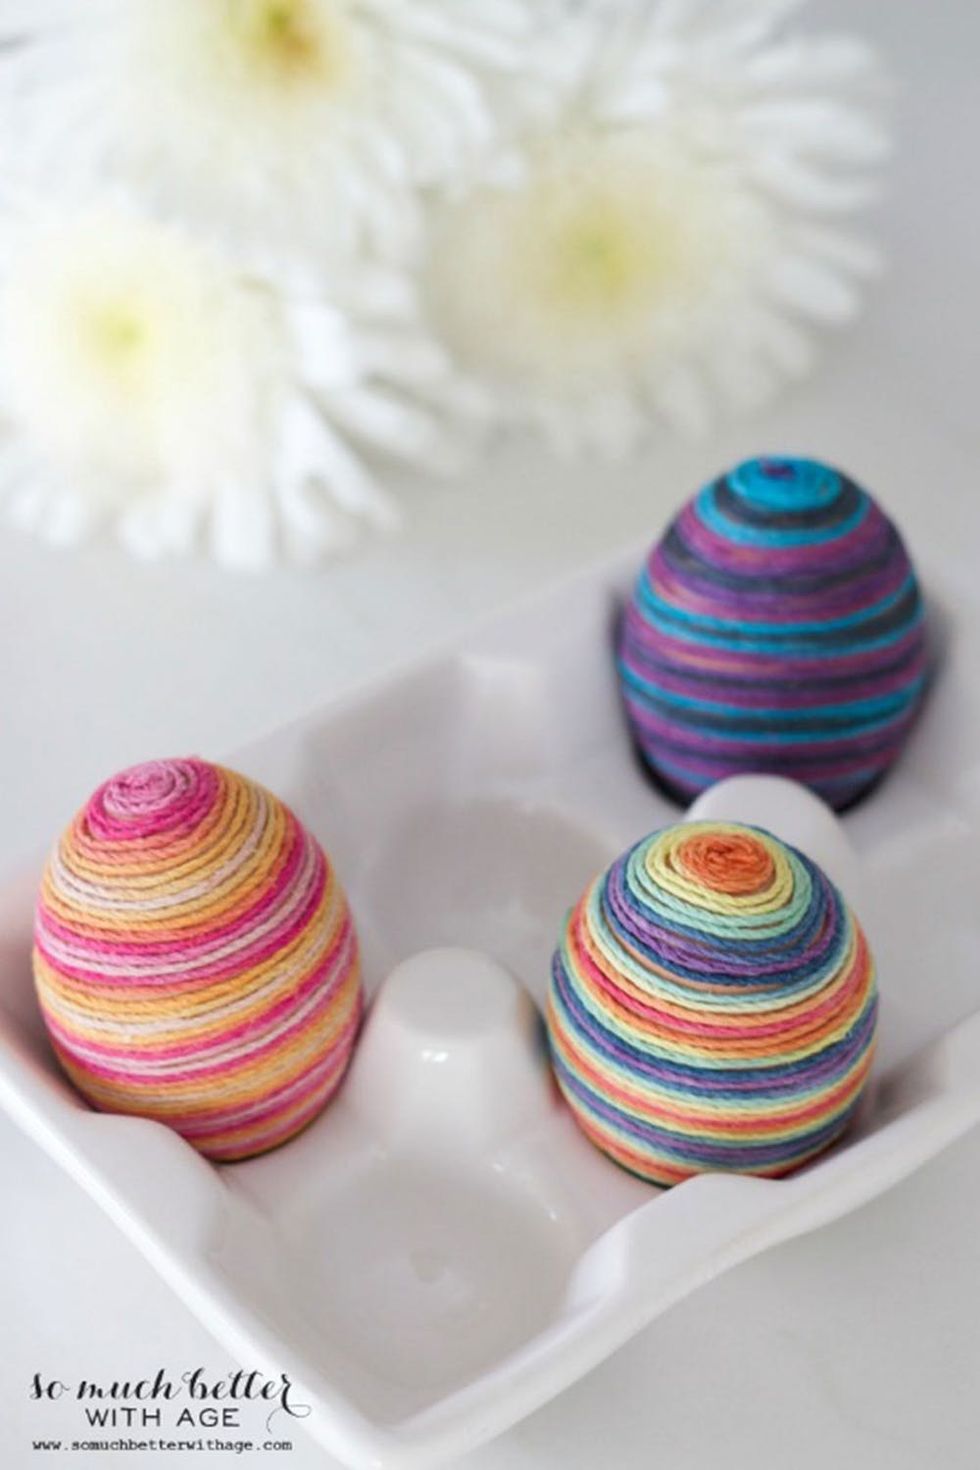
Wanna skip the mess? Try this baker’s twine DIY instead. Bonus: Using wooden eggs means you can keep these year after year.
Materials + Tools:
- colorful baker’s twine
- wooden eggs
- spray adhesive
- school glue
- scissors
Instructions:
- Spray the bottom of your egg with spray adhesive.
- Starting at the base, wrap the twine around the egg.
- Once you reach the middle, coat the top of the egg with spray adhesive.
- Keep wrapping until you reach the top of the egg, then secure the end of the twine with a drop of school glue. Cut the excess twine. Voilà!
Find the full tutorial over at So Much Better With Age. (Photo via So Much Better With Age)
Temporary Tattoo Easter Eggs
Turns out, it’s just as easy to put temporary tattoos on eggs as it is on your skin! Ink up your eggs with this easy breezy DIY hack.
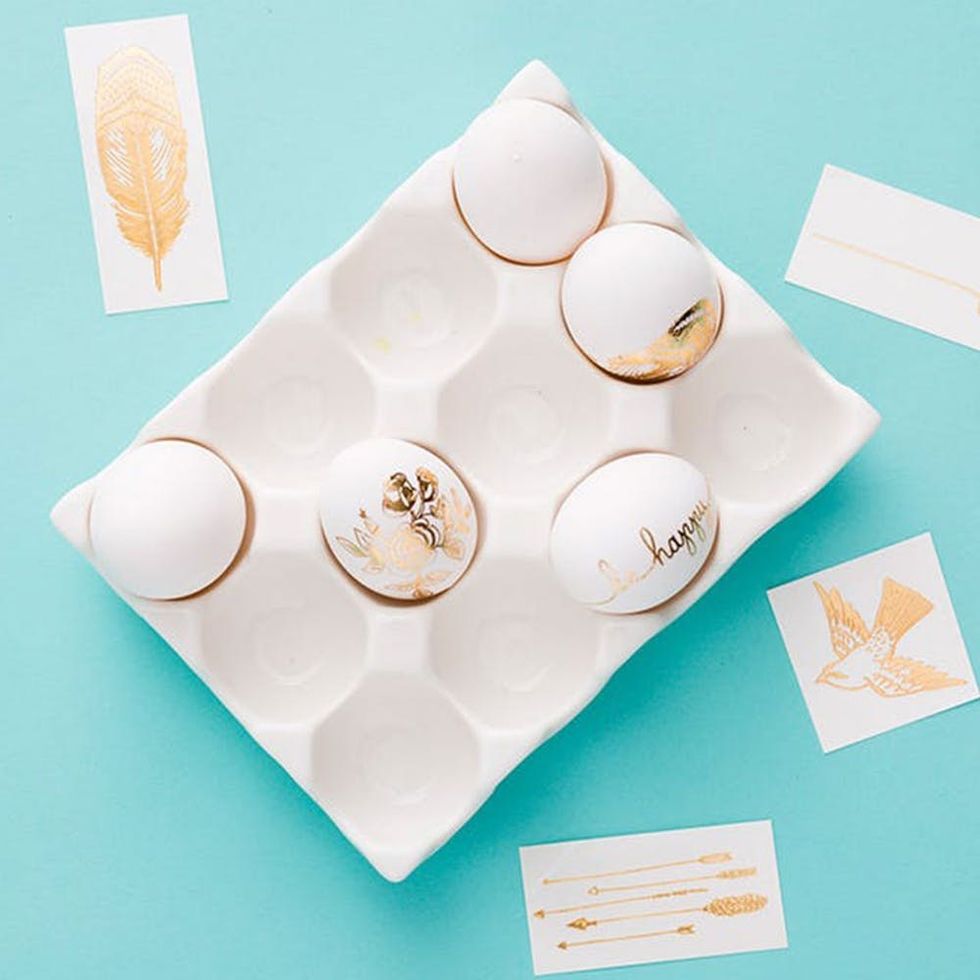
Materials + Tools
- temporary tattoos
- hard-boiled eggs
- paper towel
- water
- small sponge
Instructions:
- Remove the clear plastic sheet from the temporary tattoo, then carefully press the exposed tattoo to your egg.
- Slowly cover the tattoo sheet with a wet paper towel, then hold firmly in place for 30-60 seconds.
- Carefully remove the paper towel and tattoo sheet — the tattoo should be fully transferred to the egg. Let dry.
Check out the full Tattoo’d Egg tutorial for more info!
Cacti Easter Eggs
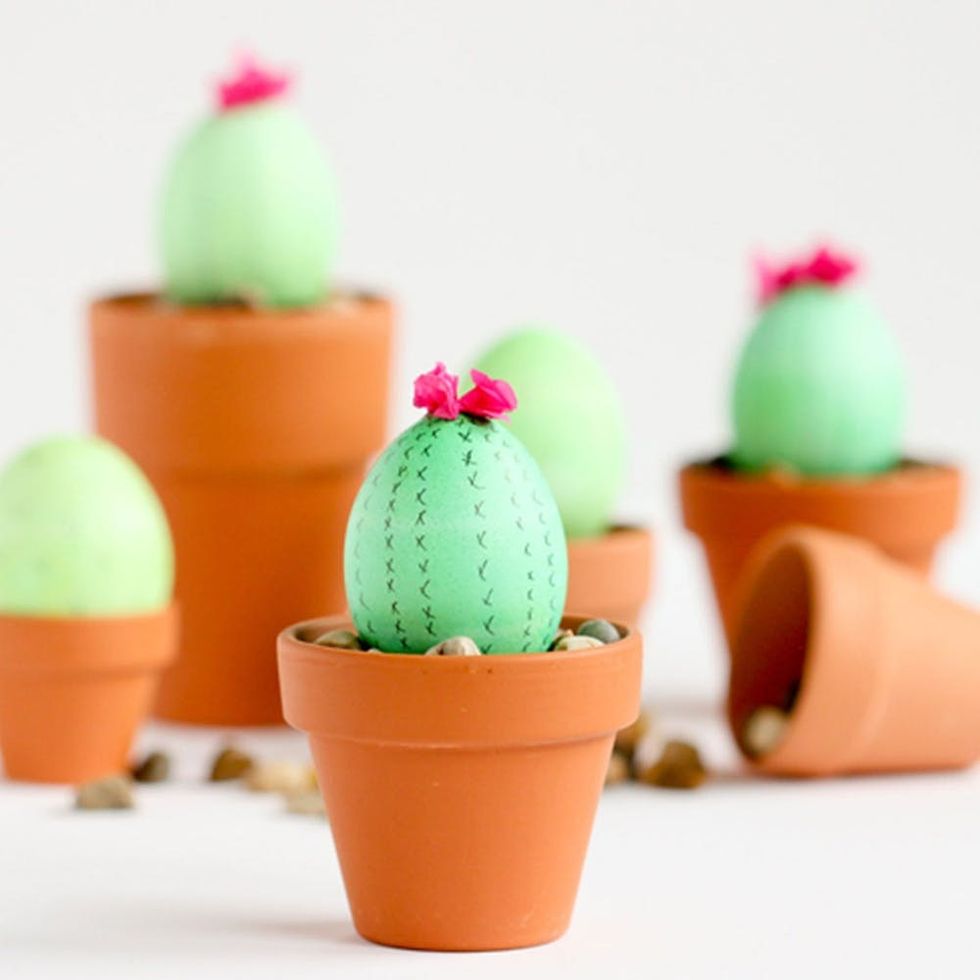
Not that I’m playing favorites, but this might be my favorite Easter DIY yet. I totally got back to my Texas roots with this charming cactus egg.
Materials + Tools (makes 1 egg):
- hard-boiled white egg
- green food coloring
- ½ cup boiling water
- 1 teaspoon white vinegar
- fine point black Sharpie
- mini terracotta pot
- pink tissue paper
- school glue
- plant pebbles
- spoon
- scissors
Instructions:
- To create your dye, mix together boiling water, green food coloring, and vinegar in a heat-safe cup or bowl.
- Drop your egg into the dye with a spoon. The longer you leave the egg in, the darker the color will be.
- Remove egg from the dye and let it dry completely.
- With your fine-tip pen, draw on cacti needles and flourishes.
- Glue pink tissue paper to the egg’s top to create cactus flowers. Let the glue dry completely.
- Add a handful of plant pebbles to the terracotta pot, then top with your cactus egg. Ta-da!
The full tutorial can be found over at Delia Creates. (Photo via Delia Creates)
Glow-in-the-Dark Easter Egg
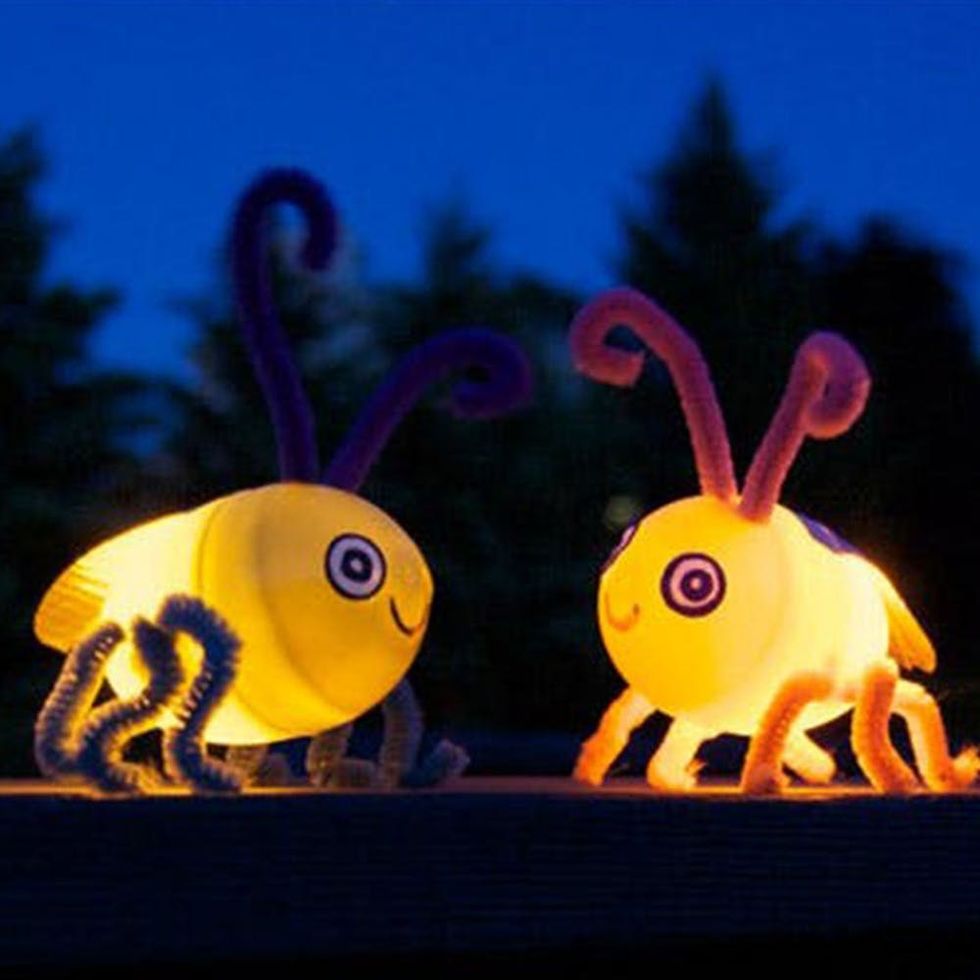
How sweet are these little light-up critters? Up-level your Easter egg hunt with these darling glow-in-the-dark bugs.
Materials + Tools (makes 1 egg):
- 1 plastic egg
- 1 battery-powered LED tea light
- pipe cleaners
- hot glue + glue gun
- sticker or googly eyes
- scissors
Instructions:
- Turn on the LED tea light and place in your plastic egg.
- Create legs and antennae from pipe cleaners, then glue them to your egg with a hot glue gun.
- Add sticker or googly eyes. You’re done!
Peek at the full tutorial over at Apartment Therapy. (Photo via Apartment Therapy)
Paper Plate Bunny Baskets
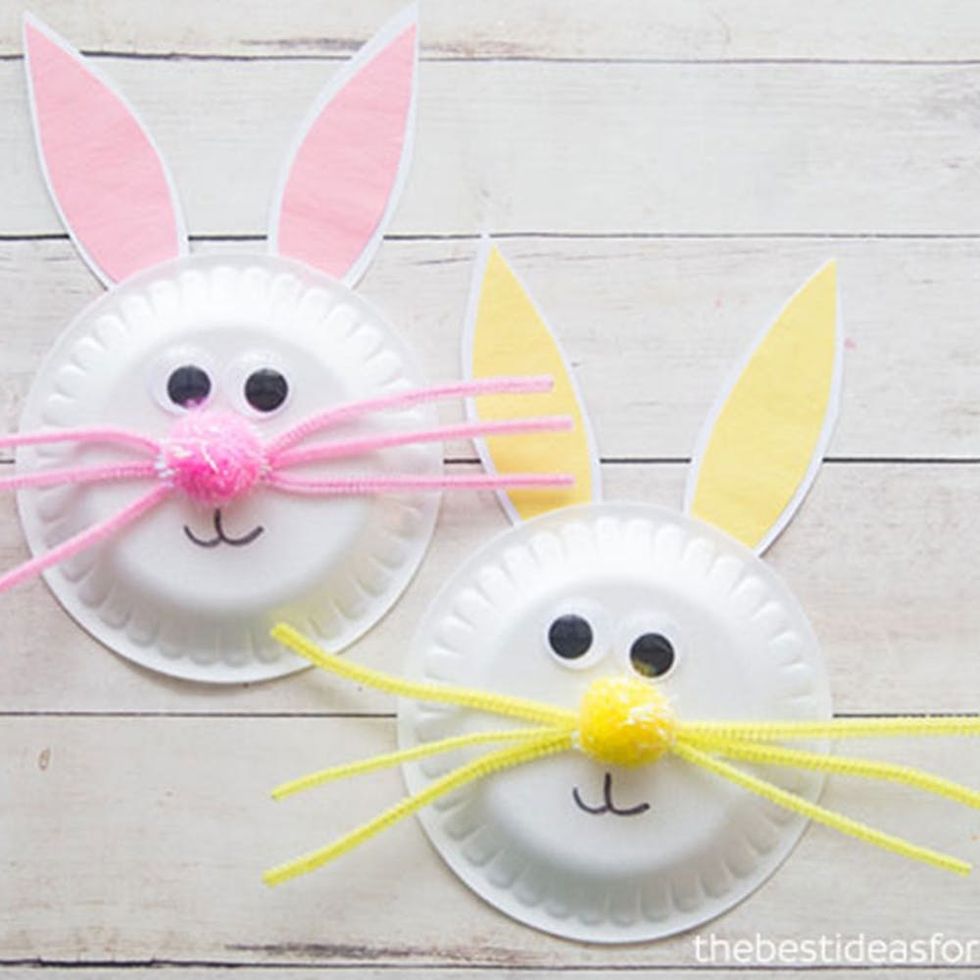
Made with paper plates, this bunny basket is easy as pie. Grab your pom-poms and get gluing!
Materials + Tools (makes 1 basket):
- 2 white paper plates
- scissors
- 2 googly eyes
- 1 light pink + 2 white pom-poms
- hot glue + glue gun
- 1 piece of light pink construction paper
- hole punch
- 24-inch pink ribbon
- Easter candy to fill (Psst: Make sure it’s thin enough to fit in the basket pocket!)
Instructions:
- To create the back, cut one paper plate in half. Set aside for now.
- Onto the front side! Start by hot gluing googly eyes onto the back of a whole paper plate.
- Next, glue the 3 pom-poms to create the nose.
- For the cheeks, cut and glue small circles of pink construction paper.
- Cut bunny ears out of your leftover half-plate, then glue pink paper to the insides.
- Glue each ear to the back of your front plate, then let dry.
- Glue front and back plates to one another along the rims, then let dry.
- To make a handle, use a hole punch to make a hole on either side of the bunny basket, then thread through your ribbon. Keep ribbon in place by making a knot at each end.
- Fill with candy. That’s it!
Inspired by The Best Ideas for Kids. (Photo via The Best Ideas for Kids)
Upcycled Fruit Carton Easter Baskets
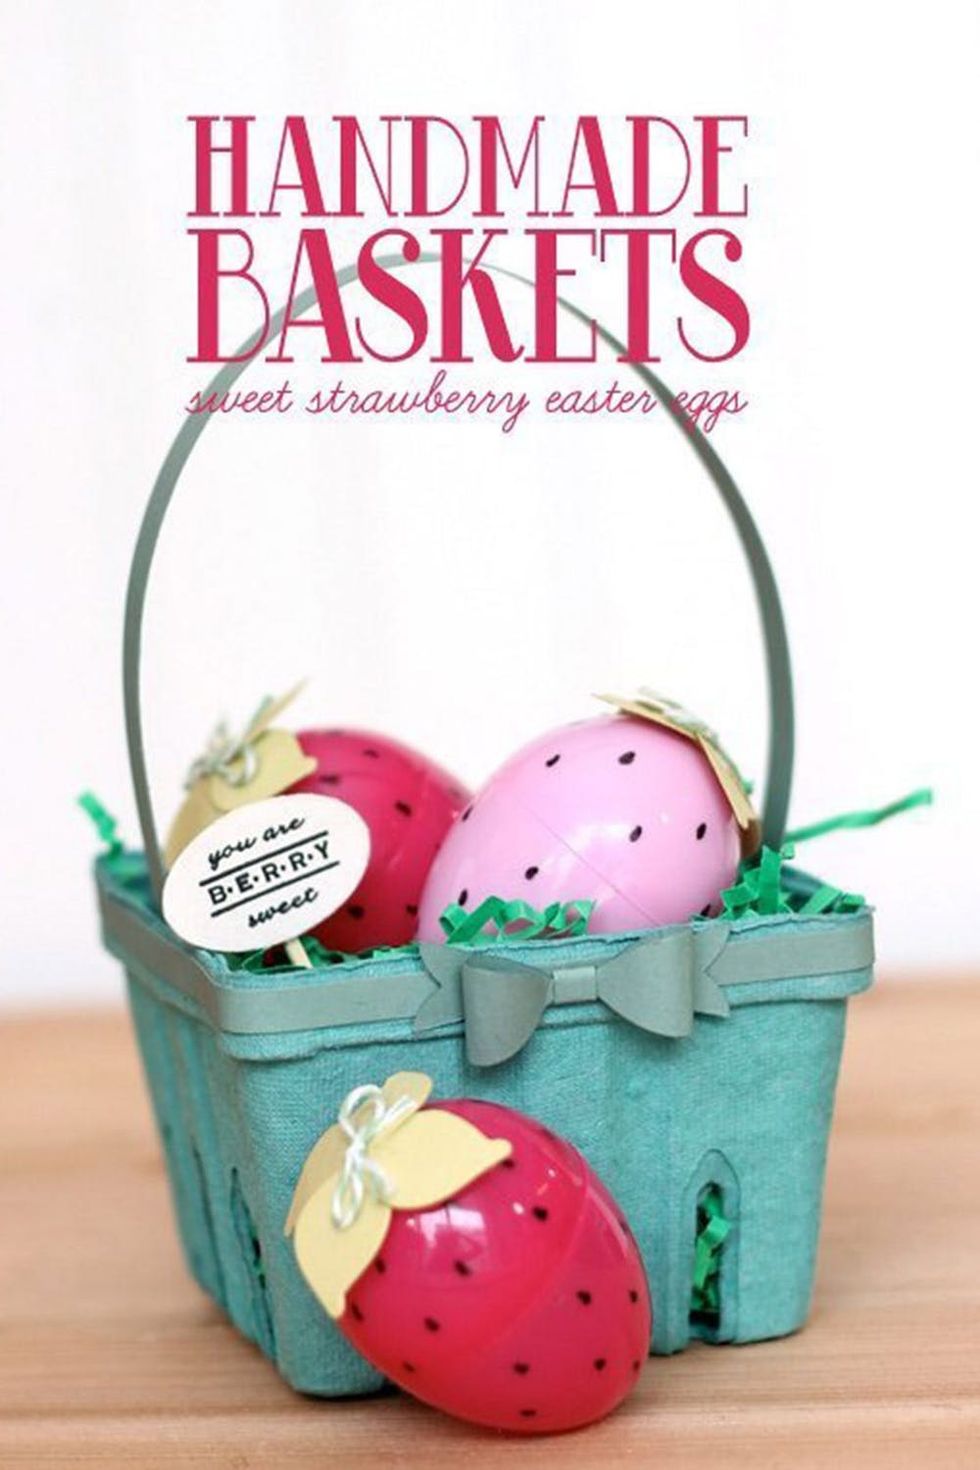
Skip the wicker and make your Easter baskets with upcycled fruit cartons. Add some trusty pipe cleaners, pom-poms, and crinkle paper, and you’ve got a winner.
Materials + Tools (makes 1 basket):
- fruit cartons
- pipe cleaners
- floral wire
- mini pom-poms
- hot glue + glue gun
- crinkle paper
Instructions:
- To make the basket handle, poke the end of a pipe cleaner through the outer side of the carton, then bend inward. Arch the long end of the pipe cleaner over the top of the basket, then poke through the outside of the opposite side. Bend the remaining piece of pipe cleaner inward. If your pipe cleaner comes loose, you can secure it in place using floral wire.
- Hot glue mini pom-poms around the top of the carton.
- Fill the carton with crinkle paper and Easter treats, such as dyed eggs and marshmallow bunnies. Voilà!
Full tutorial can be found at DIY Real. (Photo via DIY Real)
And there you have it, enough fun projects to keep you and the kiddos “hoppy” all Easter weekend long.
Need some more eggy inspo? Follow us on Pinterest for more Easter DIY action!


