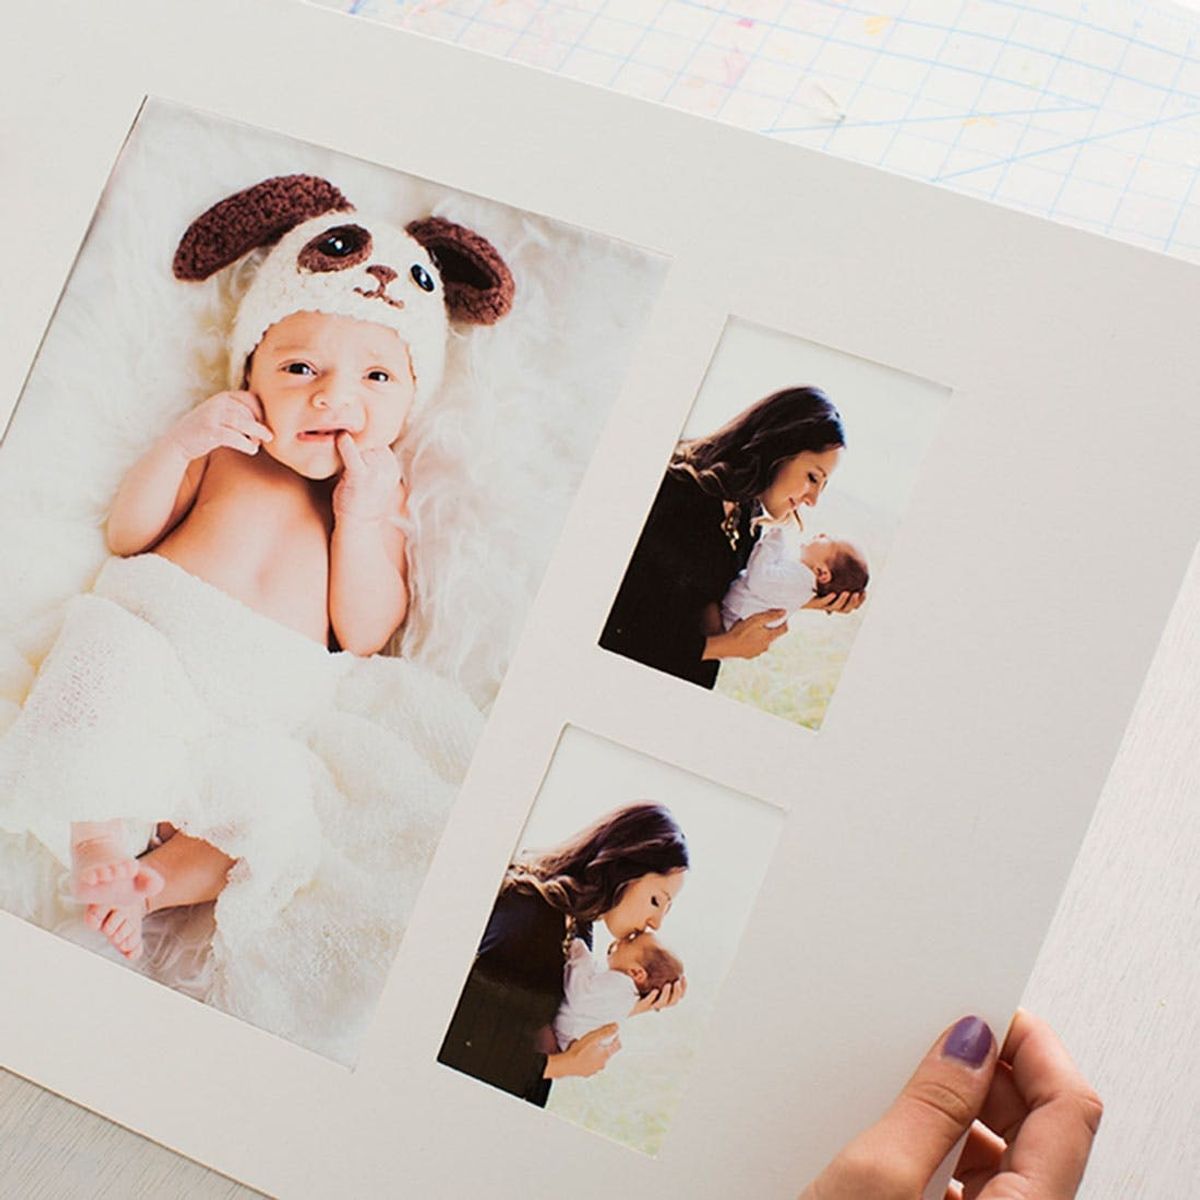
Babies, baby photos and DIY projects for babies are a constant here at Brit HQ.
9 Baby Photo Ideas + How to Frame Those One-of-a-Kind Moments

Babies, baby photos and DIY projects for babies are a constant here at Brit HQ. Whether it’s the fact that so many of the women that work here are new-ish mamas or that we can’t get enough of all the new baby names popping up in pop culture, it seems that we’ve all got babies on the brain. Today, we’re pumped to share 9 creative baby photos ideas that capture those touching moments between parents and their babies. PLUS, we’ll tell you everything you need to know to frame them, in partnership with JOHNSON’S®.
Part framing 101, part celebration of those beautiful early moments of touch with your baby, this project is all about highlighting love between parents and babies. Many parents don’t even realize it, but baby’s touch to a mom can be just as impactful as mom’s touch to a baby. As part of their Mother’s Day and Father’s Day campaigns, we’re partnering with JOHNSON’S® to celebrate beautiful moments of reciprocated love. Though your baby may be too young to make you a handmade pop-up card or serve you a delicious breakfast in bed, it’s the simple touch, hug or kiss that’s all you need to feel unbelievable amounts of love and bonding. Follow the JOHNSON’S® campaign by checking out the #SoMuchMore hashtag on Instagram, Twitter and Facebook, and by taking a peek at the video below.
If you’re a mom, a dad, an auntie or an uncle, we’re betting you’ve got hundreds of photos of the little ones in your life saved on your phone or camera. The trouble is, most of us don’t take the time to actually print and frame those special moments. Before we get to our framing 101 tutorial, we’ve rounded up 9 creative photos to inspire your own newborn photography. Through creative settings, colorful props and quirky setups, it’s fun to dream up all the different ways to capture the bond between parent and child.
Capture a Family Moment
Beach Day
Hipster Baby FTW
Boho Babes
Mama Bird
Family Portrait Series
Giggling Dad and Son
Confetti Party
Mom and Baby Snuggles with the Pup
Now that you’re feeling sufficiently inspired, it’s time to get to the DIY! Follow along to see how we turned our founder Brit Morin’s first set of baby and family photos with her son Ansel Morin into a triptych of wall art.
Materials:
– mat board
– frame
– photos
– tape
Tools:
– box cutter
– cutting mat
– pencil
– ruler
Instructions:
1. Cut the mat board down to fit the size of your frame. We traced the glass that came with our frames to get the right dimensions.
2. Trim your pictures to the appropriate size. Determine what size rectangle your photos will fit into.
3. Measure that rectangle in the center of your mat board. You’ll know it is in the center if the two side borders, along with the top and bottom border, equal the same measurements.
4. Lay your photos in the large rectangle to determine the placement. Remember that you are working on the backside so the images will appear in a reverse order.
5. Use your ruler to measure the appropriate size rectangles in the larger area. Cut out with the box cutter.
6. Tape your photos to the mat board and place back into your frame.
How adorable is that photo of little Ansel?!
Cut your mat board to the appropriate size for your frame. We used the glass to find the correct measurement. Mat board is thick and sturdy so your normal X-acto won’t cut it ;) You’ll need to grab the box cutter for this one.
Print and trim your favorite photos of your little one.
Determine the size rectangle that all your photos will fit into. We had one 8-inch x 10-inch photo and two 3-inch x 4 1/2-inch photos, so we decided to create a rectangle that measures 11 1/2-inches x 10 1/2 inches. Lightly draw this rectangle onto the back of your mat board. Jot down some math to figure out the measurements to make sure your rectangle is in the center of the board.
Place your photos in the rectangle to figure out how you want them to be displayed. Remember that you are working on the backside of the mat board so your layout will be flipped when you see it from the front.
Make sure everything is as even as can be. We went with a half inch border between all photos. Now this part is important! Don’t measure exactly to the height and width of your photos or they will fall out of the mat. When creating measurements mark 1/16th or 1/4th less than the length or width of the photo.
Cut and pop those rectangles out.
Grab some tape to adhere your pictures in place.
Cute as can be!
If you can master the three-photo mat collage, then a simple single-photo mat will be no problem for you!
For more unconventional ways to snap pics of your little one, check out this roundup of creative baby photo ideas!
Keep snapping photos of your precious little one and switch them out as he/she grows older. Just pop off the backs, remove the tape, and voila — you’ve got brand new wall art!
It’s amazing to capture these moments through photography but it’s also important to know the power of your loving touch nurtures baby’s healthy development, something that isn’t so tangible to see. When a child expresses their love for you though touch, you realize the moments you shared with them have turned into much more than you imagined.


