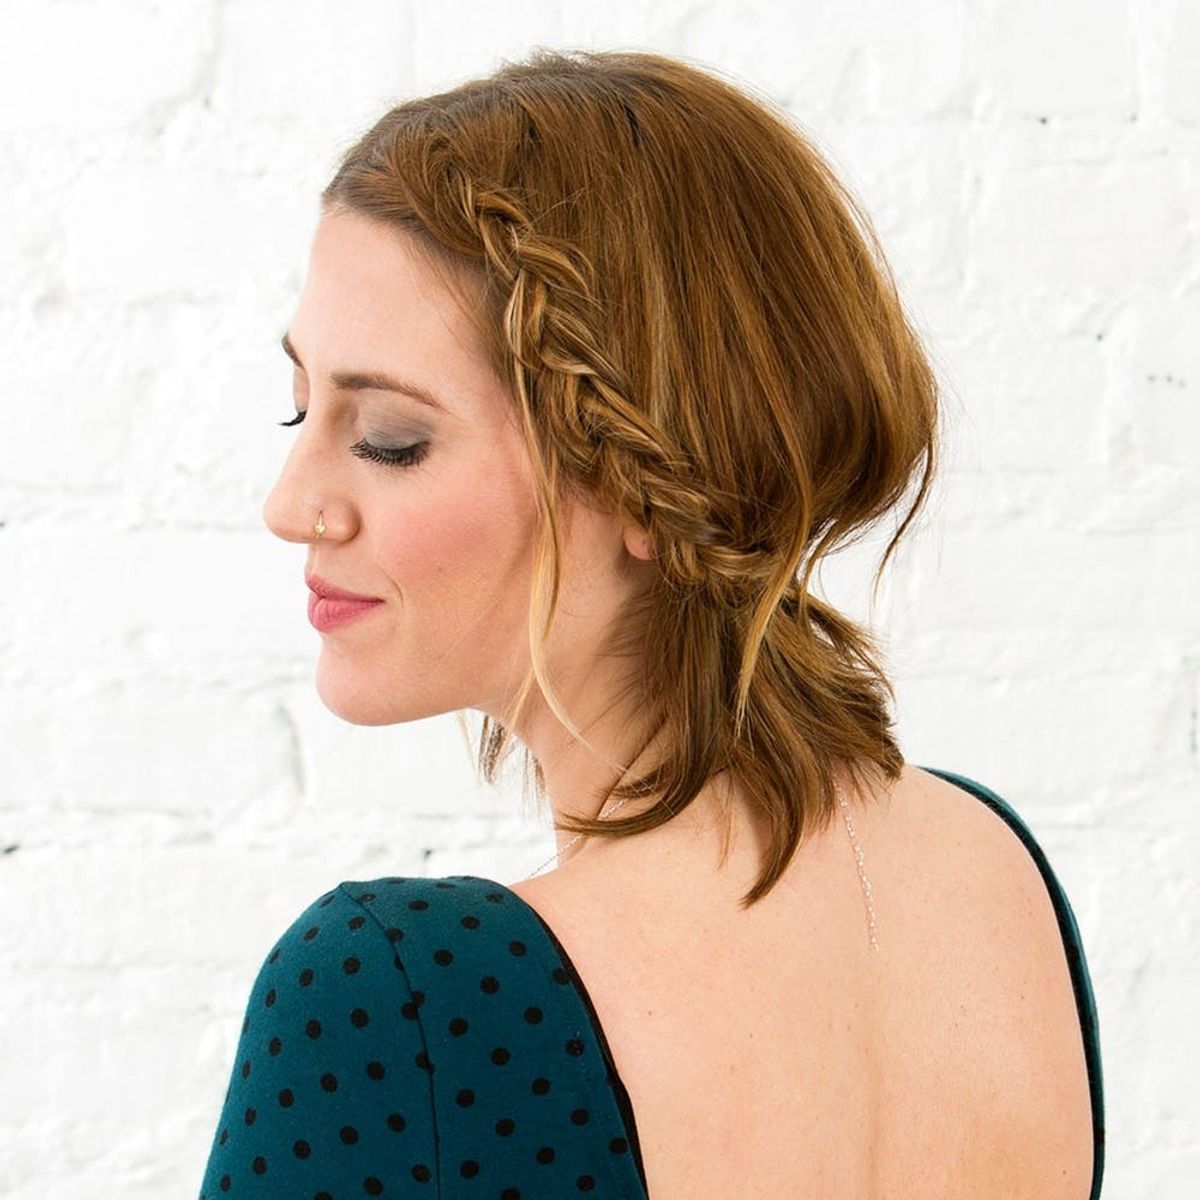
Add this to your bag of beauty tricks ASAP.
The 1 Hack You Need to Know to Give Short Hairstyles Life

I’ve been styling above-the-shoulder short hair on myself for a while now, and if you’re anything like me, there are usually two types of styling sessions you’re used to. One is the gather-up-your-products-and-tools-and-bunker-down kind — you know, the time-consuming sesh you need to make sure short hair looks just right. The other is, well, wake up and go. If you’ve let your bedhead do the talking a few more times than you’d like to admit, try this hairstyling hack the next time you wanna sport an elegant style that’s quick and easy: backcombing. It’s an approach that will add long-lasting lift to your rotation of go-to hairstyles that you can complete in a matter of minutes. In other words, this done-in-minutes technique will give your hair life. Short-haired girls, add this to your bag of beauty tricks ASAP.

Prep: Center Part + Back Comb

Part your hair in the center or wherever you feel comfortable. Follow this backcombing tutorial to add texture to your hair that will help hold your hair in place as you style it as well as give you extra height.
Step 1: Begin Dutch Braid

Start with one side of your hair and pick up a section starting at your part. Begin your Dutch braid, pulling hair into the braid by crossing strands under each other instead of over each other. As you go, pick up new pieces of hair and incorporate into the braid. You’re essentially making a Dutch French braid, but you’re only adding hair into the braid from the section of hair that is along your hairline, not the other side of the braid.
Step 2: Finish Dutch Braid + Pin in Place

Once you get to the end of the braid, pull the braid behind your head and pin in place with a couple bobby pins.
Step 3: Braid the Other Side + Pin Hair All Around

Repeat the braid on the other side and then pin in place behind your head. Depending on the length of your hair, you may need to pin up the middle section of your hair in the back to bridge the gap between the two braids you already pinned. To do this, simply use a cross pin technique: Place a bobby pin over the section you wish to secure and then use another bobby pin over it in an “X” shape to keep it in place and to make it look cute ;)
Step 4: Loosen + Texturize

Now use your fingers to gently pull the strands of your braid apart to loosen and add more texture to your braid.

Then go around your hair and pull out little strands of hair from what you pinned in place. This will create a slightly disheveled messy finish, and that is exactly what you’re going for!

To finalize this look, you will use the end of a rat tail comb, or you can use the end of a thin makeup brush if you don’t have one (but seriously get one if you don’t)! Place the end of the comb or whatever device you can use inside the braid and carefully pull out strands of hair.

The back is simple, messy and pretty!

Pretty from all angles!

Five steps, 10 minutes and you have a super simple look that can be paired with jeans and t-shirt or take it up a notch and rocked with your fancy pants! Point is, this look is versatile and universal. Yay for short-haired gals, although long haired-ladies can easily make a couple adjustments to make this look work for them as well. Remember these are just guidelines, not rules! Have fun and be creative.
Tag us in your Insta photos so we can see what you create!
Get Misty’s Look: Upper Metal Class Being Collar Necklace in Bronze ($115)


