We’ve got tassels, pom poms and brush strokes coming your way.
3 Fresher Than Fresh Backpack Hacks to DIY With Your Kids for Back to School
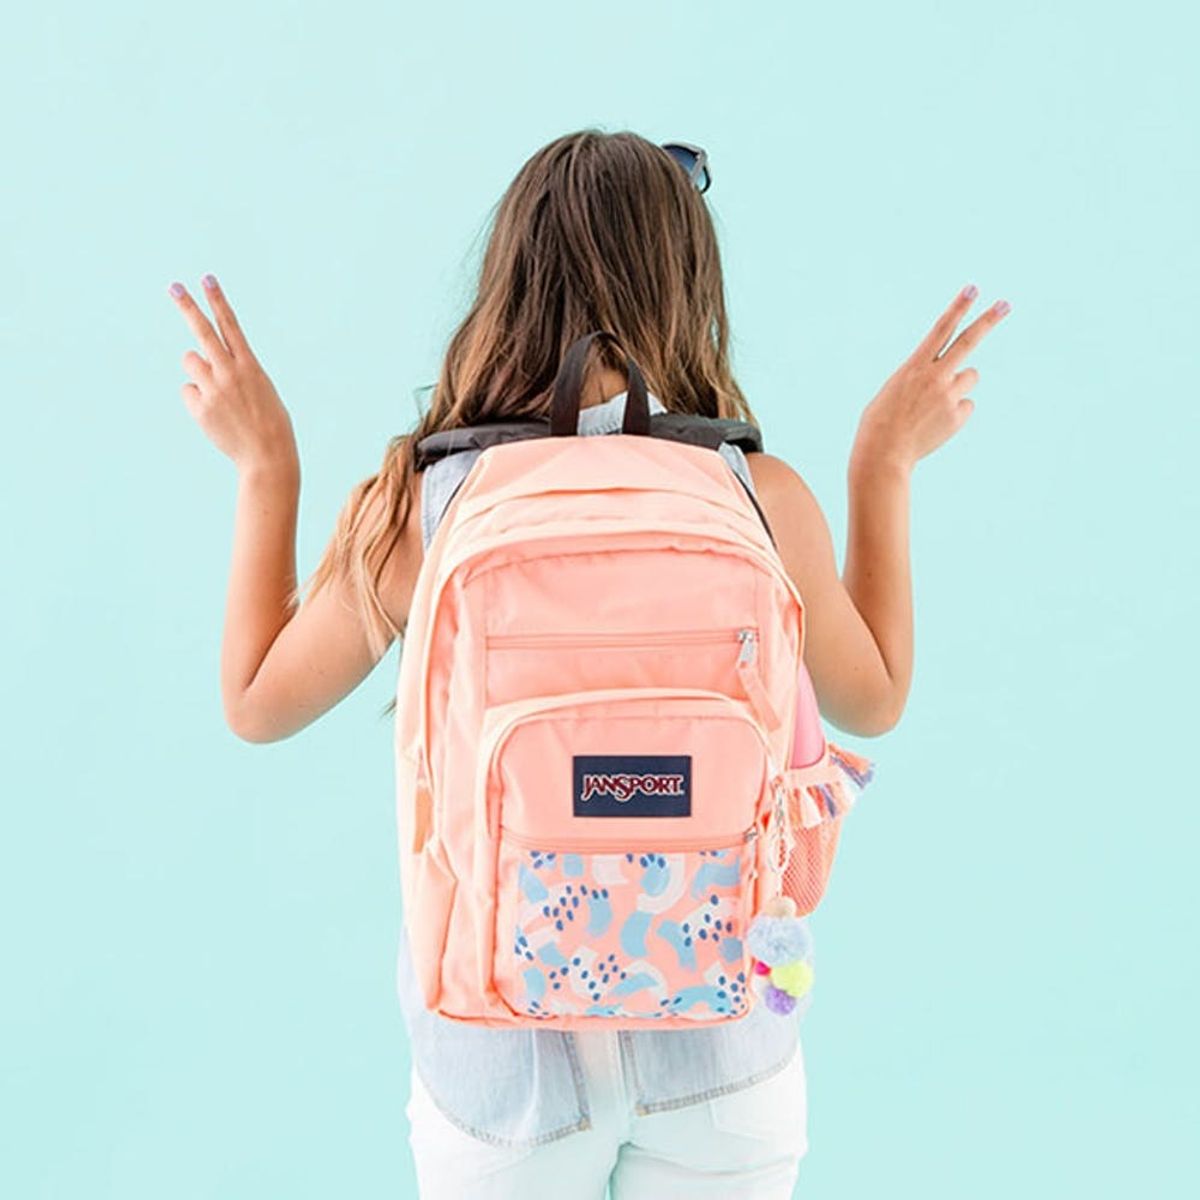
Individuality is KEY when your kids are starting a new school year, so help them personalize their most-used daily accessory in a fun, easy and cost-effective way with these three simple backpack DIYs. We hit up JCPenney for the perfect “blank canvas” basic bag and then gave it a whole new look that anyone (YES anyone!) can create at home with a few simple craft supplies.
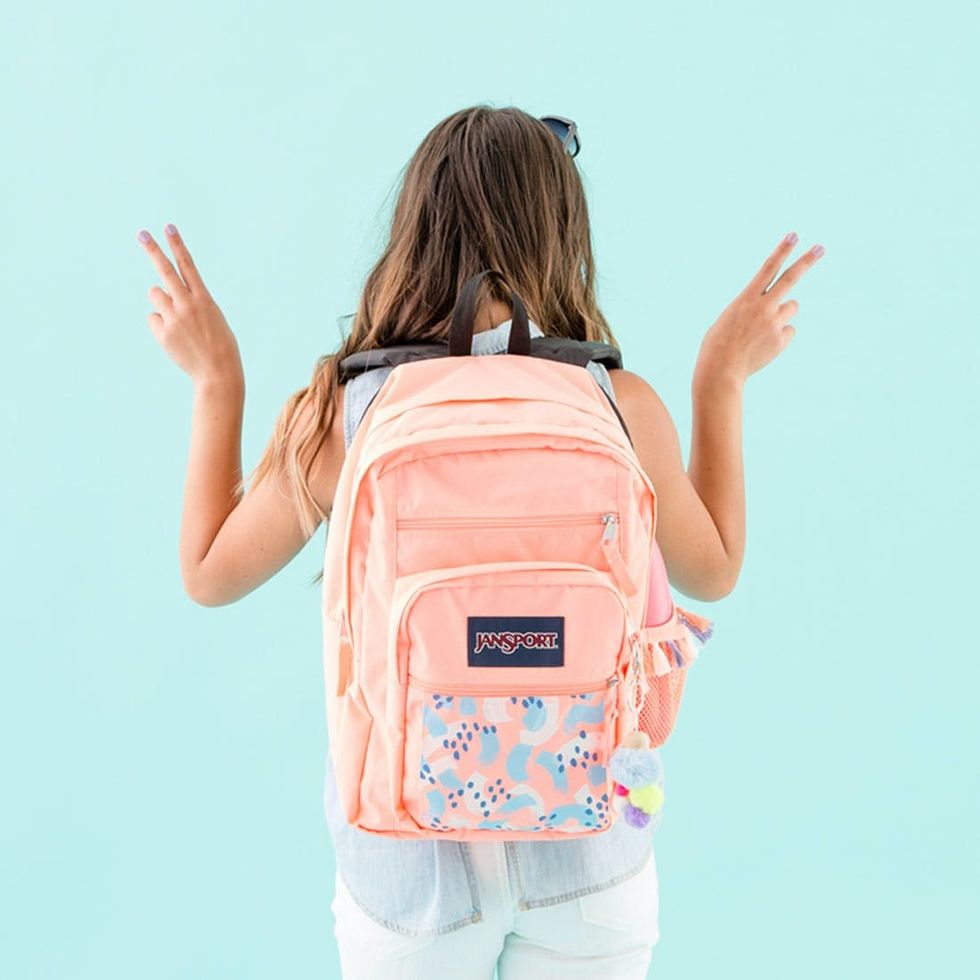
Scroll down to see how we added three custom DIY elements to this basic bag, and the kiddos will be lookin’ fly in no time.
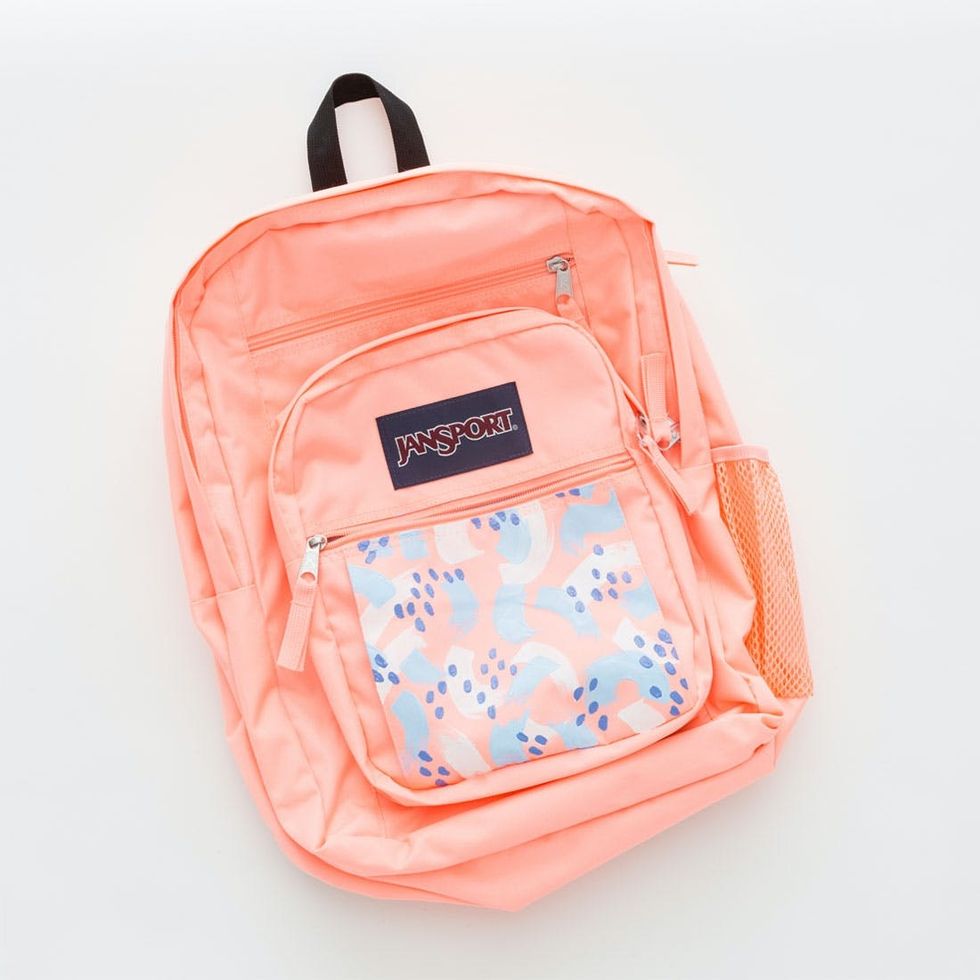
This DIY may sound like an obvious one, but man does it work every time – AND it’s durable and washable! In this tutorial, we’ll go a step further and teach you exactly how to create this patterned panel, including how we chose colors and how to layer on different shapes.
PAINTED PANELS
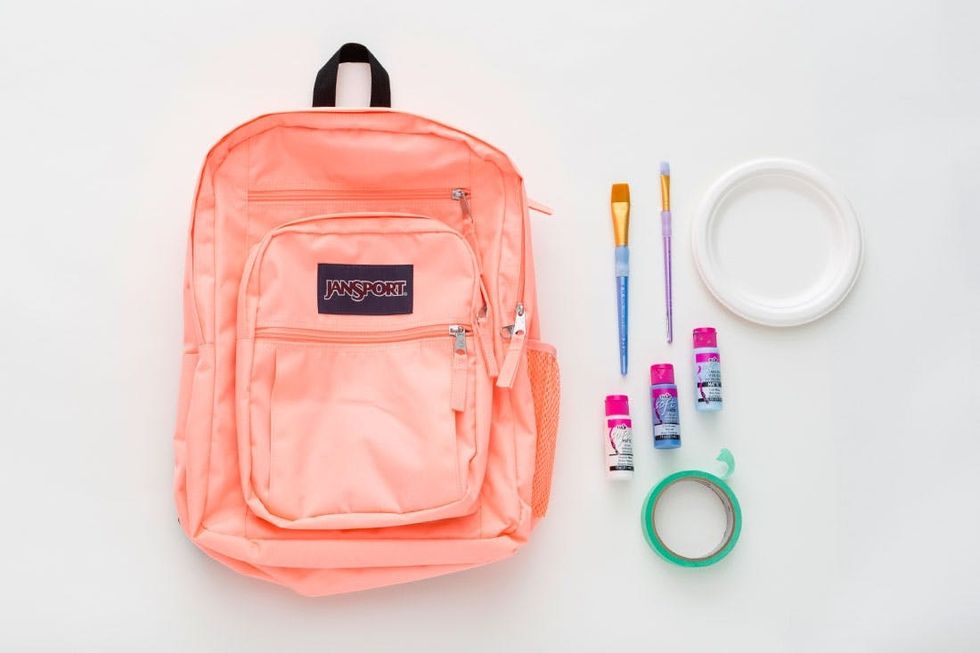
Painting Materials:
— plain backpack (we snagged this Jansport)
— fabric paints (in assorted colors)
— large paintbrush
— small paintbrush
— painter’s tape
— paper plate (or other disposable surface)
Painting Instructions:

1. Tape off a flat panel of your backpack with painter’s tape.
2. Brush a generous amount of fabric paint onto your taped-off panel, making a random brushstroke pattern with your larger paint brush.
3. Let this layer dry for 30 minutes to an hour or so, and then add on a second and third layer of color brush strokes and polka dots.
4. Let everything dry completely for four hours and peel off your tape.
5. Backpack will be spot or hand washable after 72 hours.
Grab a plain backpack and some painting supplies, and let’s get started!
First, you’ll want to tape off a panel of the backpack to keep those paint edges nice and tidy! Generally large, flat panels on the smallest front pocket of a backpack are the easiest place to paint on designs. PS. Don’t forget to tape off any nearby zippers so they don’t accidentally dip into paint!
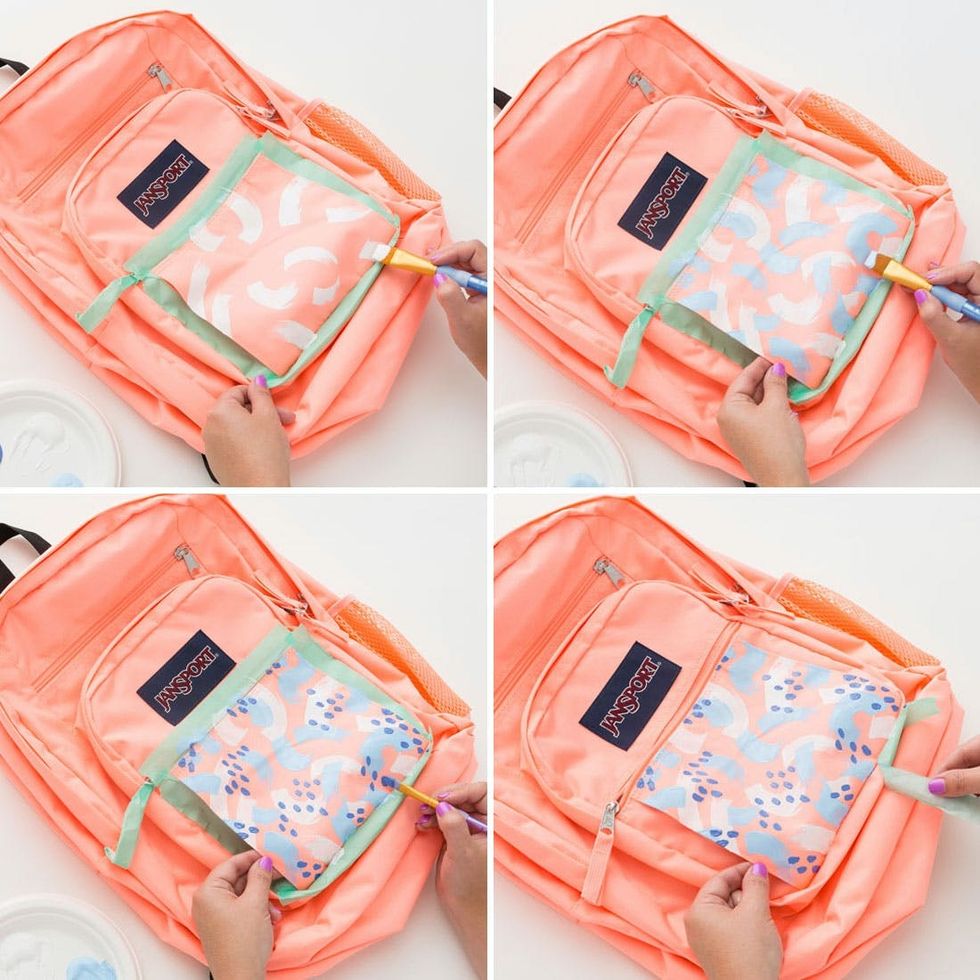
Now we’ll take this process one square at a time. First off, you’ll want to start with the lightest color you have and the largest brush. In this case we brushed about 10 large white brushstrokes onto this panel, curving in all different directions and slightly overlapping the taped edge. Let that dry slightly and then paint a second layer of brushstrokes on top in your next lightest color. We brushed on a light blue (to complement, but not compete with, the vibrant coral), filling in the gaps between the white brushstrokes and overlapping them a teeny bit here and there. Lastly, we added clusters of dark blue dots on top (all running in the same direction as each other), using the smaller paint brush, to give some more contrast and texture. Let everything dry completely for four hours and then peel away your tape!
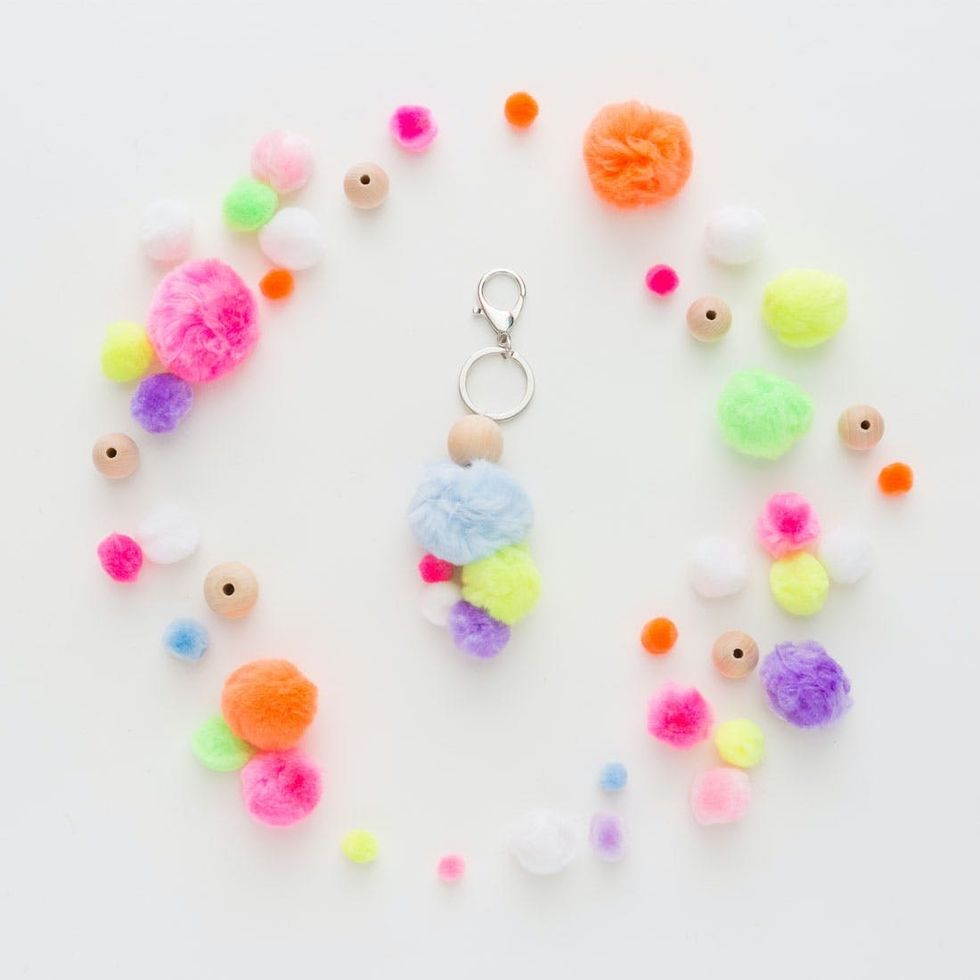
So easy, so fun AND so removable. Every backpack could use a pop of neon fluff, in our opinion, and this one you can make in literally 10 minutes flat.
POM POM KEYCHAIN
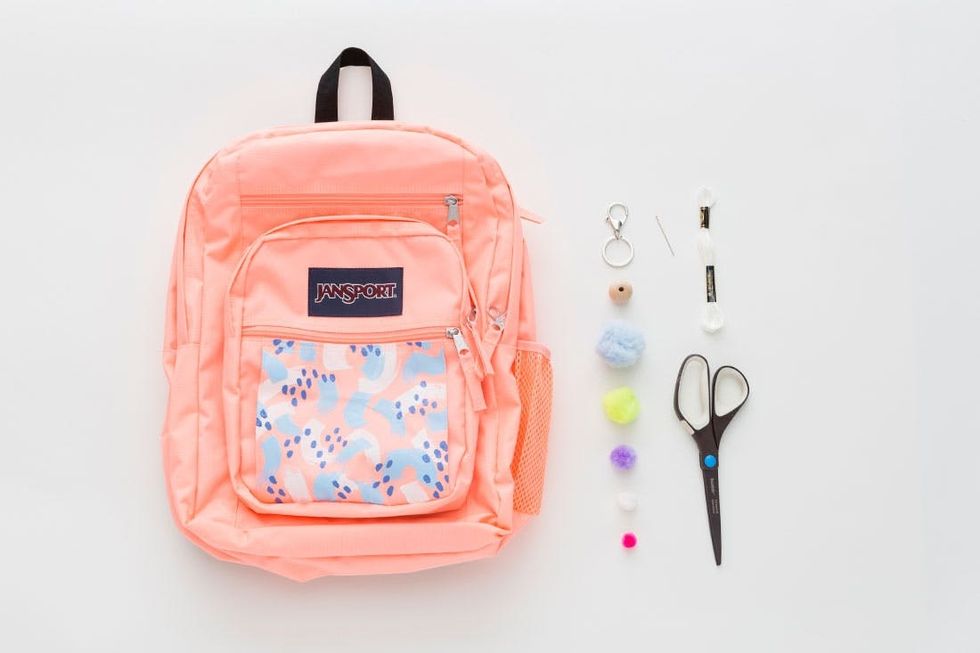
Keychain Materials:
— plain (or your freshly painted!) backpack
— key ring (with or without a clasp)
— pre-made pom poms (in various sizes and colors)
— round wood bead
— embroidery thread
— embroidery needle
— scissors
Keychain Instructions:
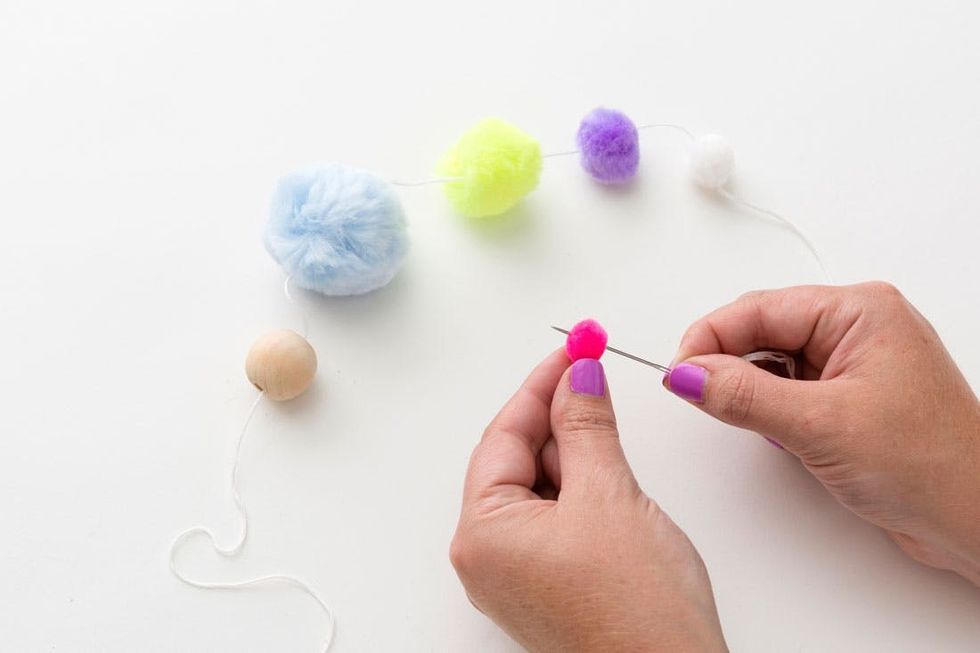
1. Thread a long piece of embroidery thread through your needle and then string on your wood bead and five pom poms, starting with the largest and ending with smallest.
2. Slide all the pom poms next to each other and then pierce your needle back through the first, largest pom pom.
3. Thread both ends of your embroidery thread through the wood bead and tie onto your keyring with a double or triple knot.
4. Trim the loose ends of thread with scissors and clip onto your backpack or keys!
Grab a handful of pom poms and supplies and you’re already halfway there!
First off, cut a piece of embroidery thread to two feet long or so and thread one end through your embroidery needle. String on your wood bead first and follow with five pom poms, going from largest to smallest. You’ll want to make sure you get the needle right through the middle of the pom pom so that it doesn’t just fall out through all the fluff.

Slide all those pom poms next to each other and then pierce your needle back through the middle of the first, largest pom pom.
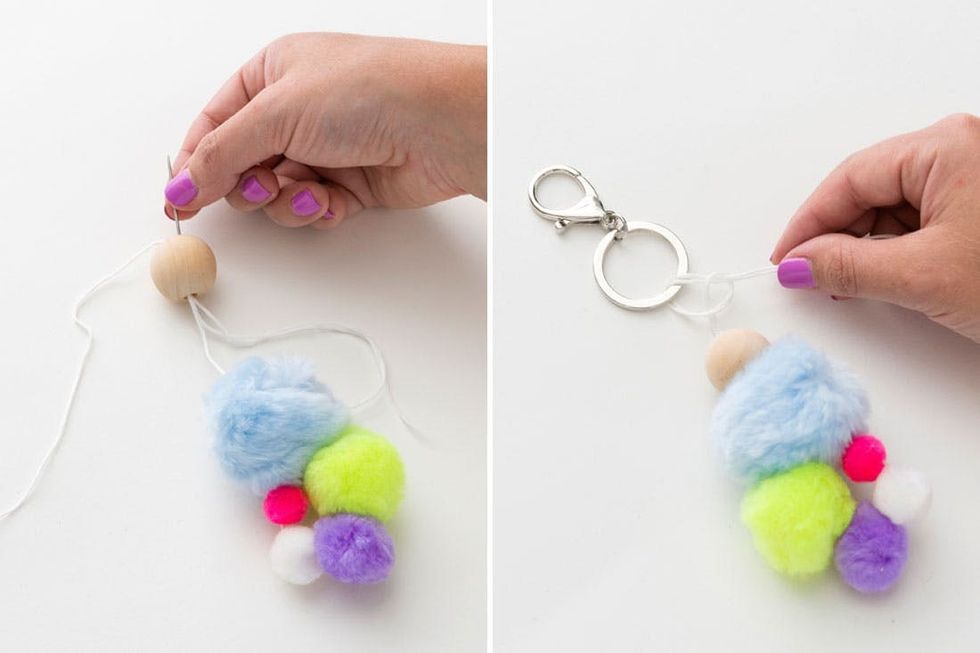
Take both ends of your embroidery thread and string them through the wood bead and then tie both ends onto your key ring, securing with a double (or hey, go for triple) knot.
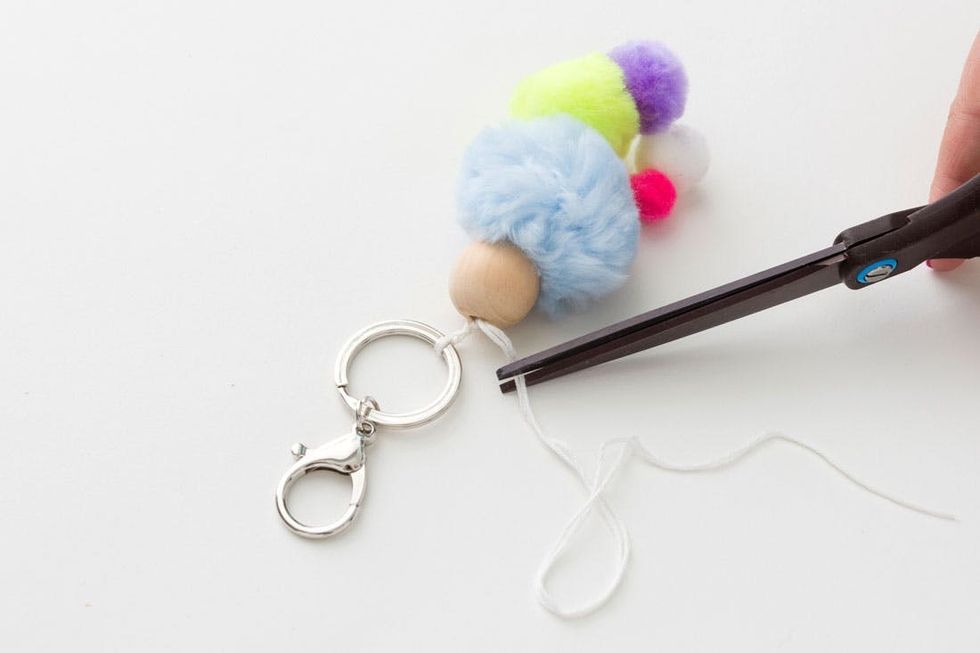
Trim away the loose ends of your embroidery thread, and you’re done!
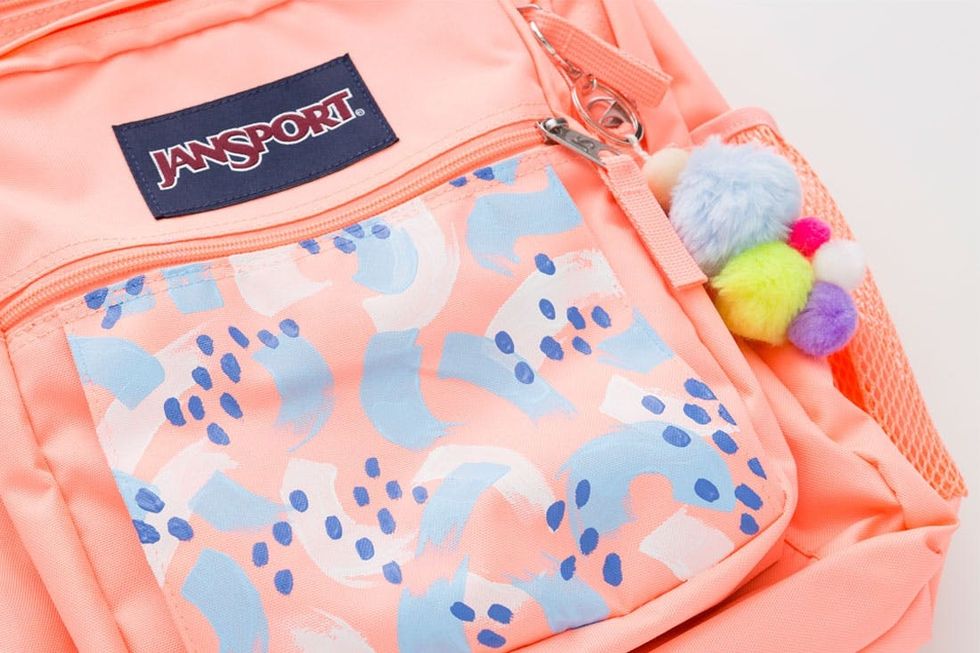
Clip that bad boy onto any of the backpack zippers for a fun, fluffy zipper pull.
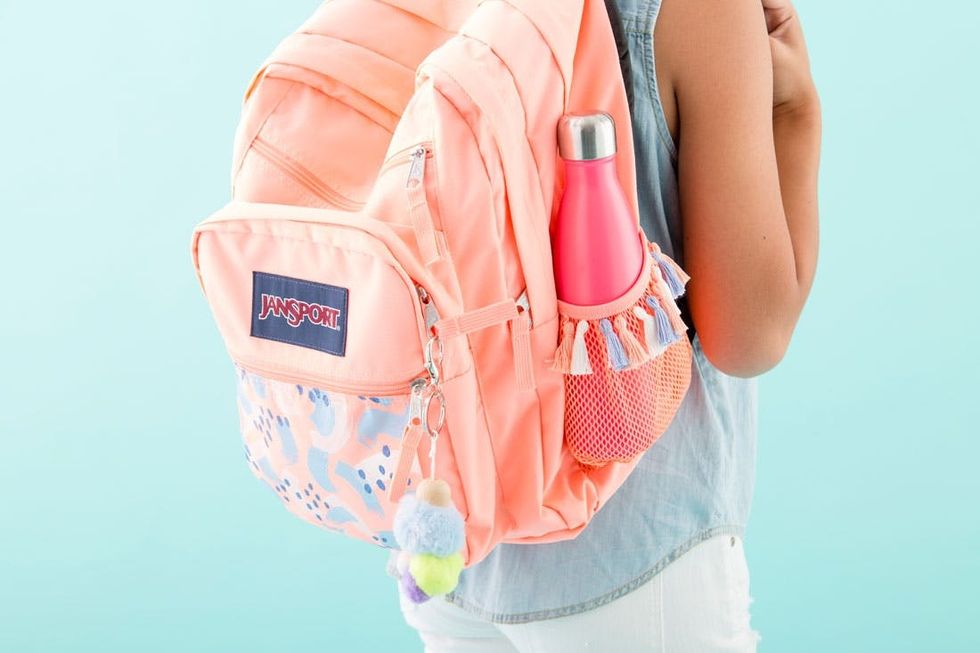
When we first saw this mesh pocket we knew EXACTLY what to put there – we’ve been super into tassels lately (check out our latest Tasseled Tee’s DIY), and this looked like the perfect spot!
TASSEL POCKET
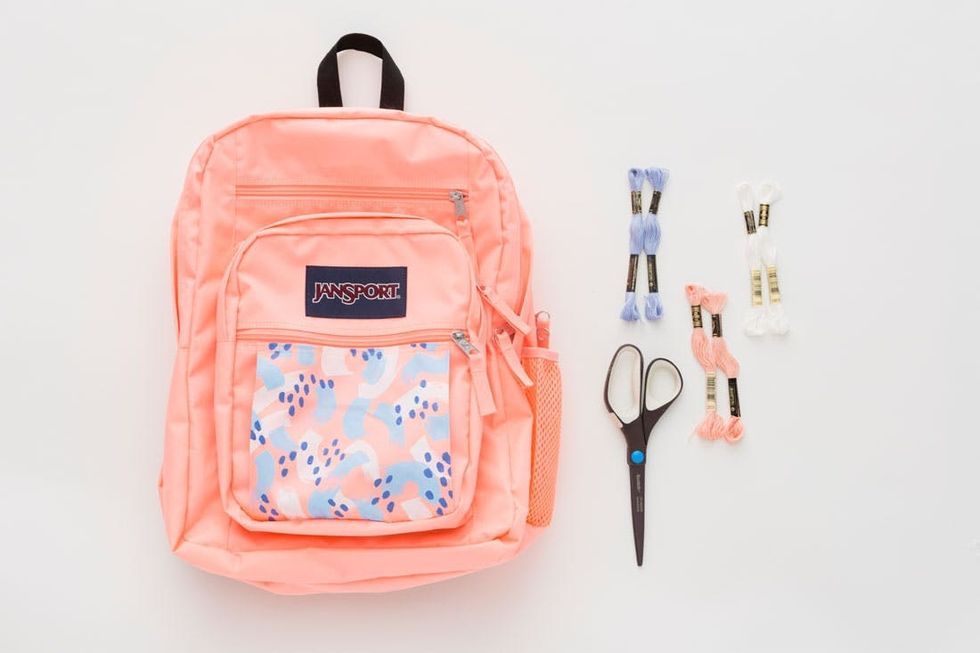
Tassel Pocket Materials:
— plain (or your freshly painted and pom pom-ed) backpack
— embroidery thread (in a variety of colors)
— scissors
(Seriously, that’s it!)
Tassel Pocket Instructions:
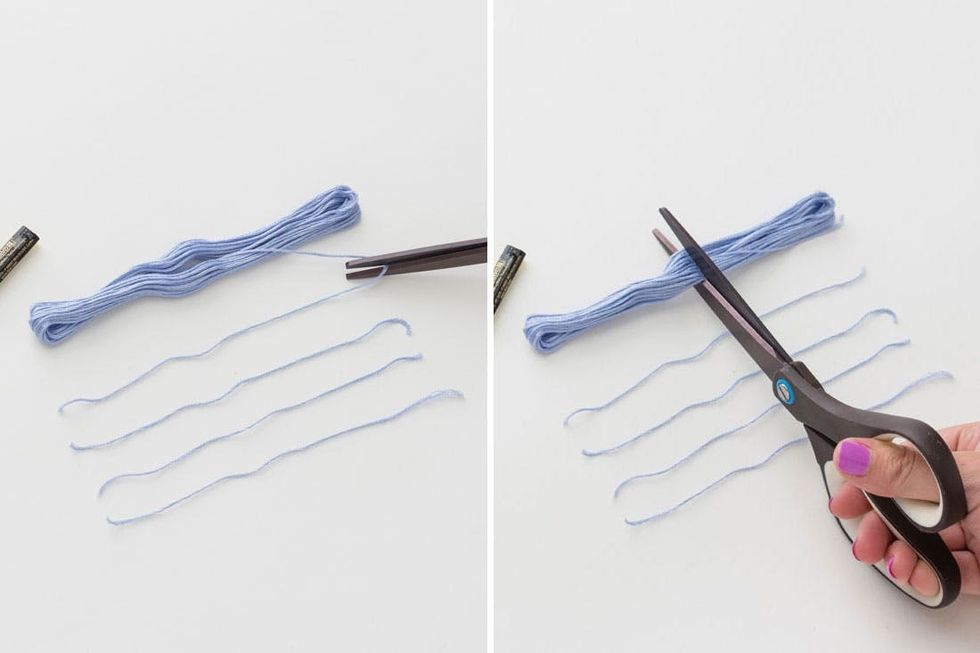
1. Remove the labels from a skein of embroidery thread, cut four pieces of thread to the same length as the skein and then cut the rest of the embroidery thread directly in half.
2. Tie one of the four short pieces of thread around the middle bend of each thread bundle, using a double knot and then leaving the extra ends long to use later.
3. Then tie another short piece of thread around the entire bundle to create the top of the tassel, securing with a double knot and trimming off the extra ends.
4. Trim the bottom edge of the tassel down to the length of your choice. We trimmed it to about an inch.
5. Tie your tassels onto the top edge of the mesh pocket, securing with a double or triple knot and then trimming the excess with scissors.
6. Repeat to complete a full line of tassels in the colors of your choice.
Grab your embroidery thread and a pair of scissors, and you’re good to go!
Remove the labels from a skein of embroidery thread, cut four pieces of thread to the same length as the skein and then cut the rest of the embroidery thread directly in half.
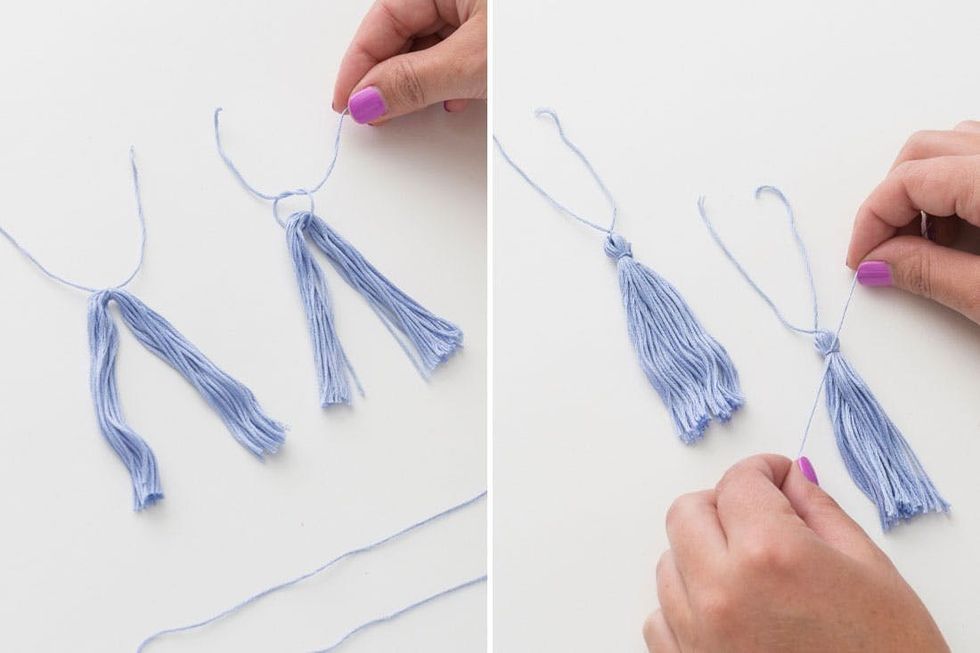
Tie one of the four short pieces of thread around the middle bend of each thread bundle, using a double knot and then leaving the extra ends long to use later. Then tie another short piece of thread around the entire bundle to create the top of the tassel, securing with a double knot and trimming off the extra ends.
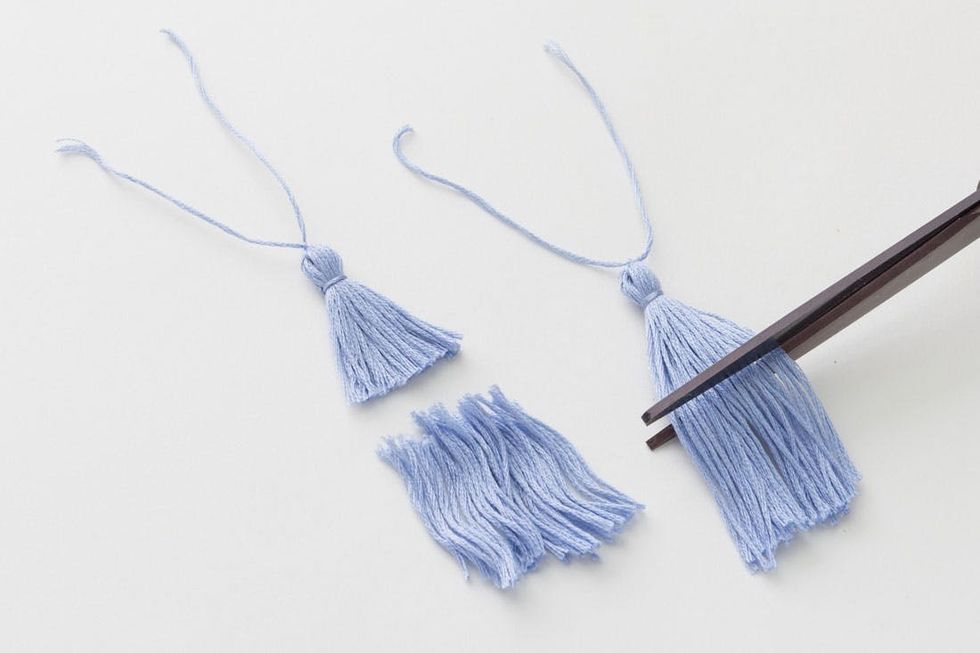
Trim the bottom edge of the tassel down to the length of your choice. We trimmed it to about an inch.
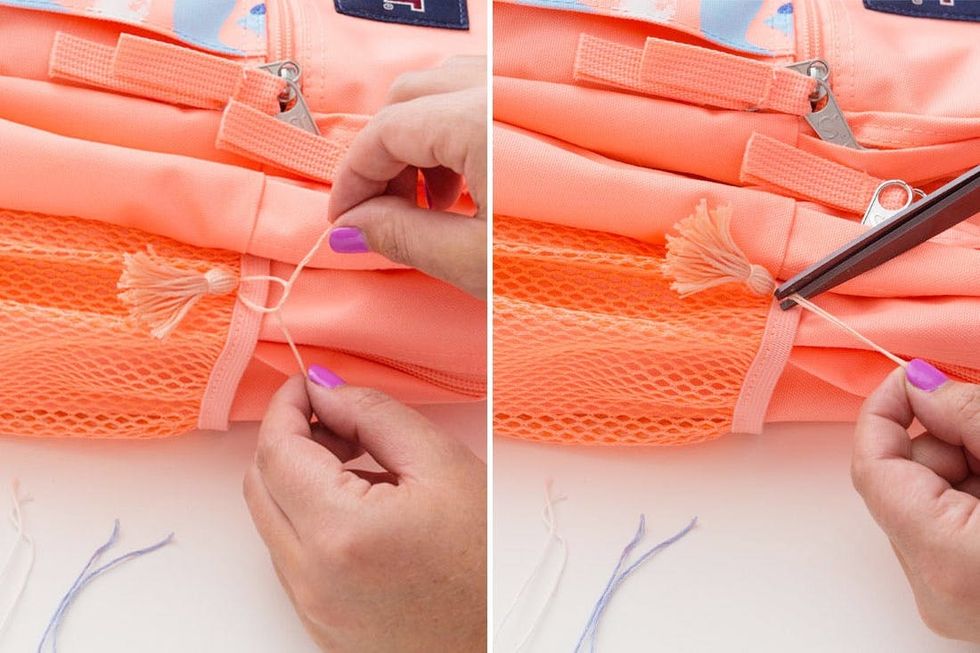
Tie your tassels onto the top edge of the mesh pocket, securing with a double or triple knot and then trimming the excess with scissors.
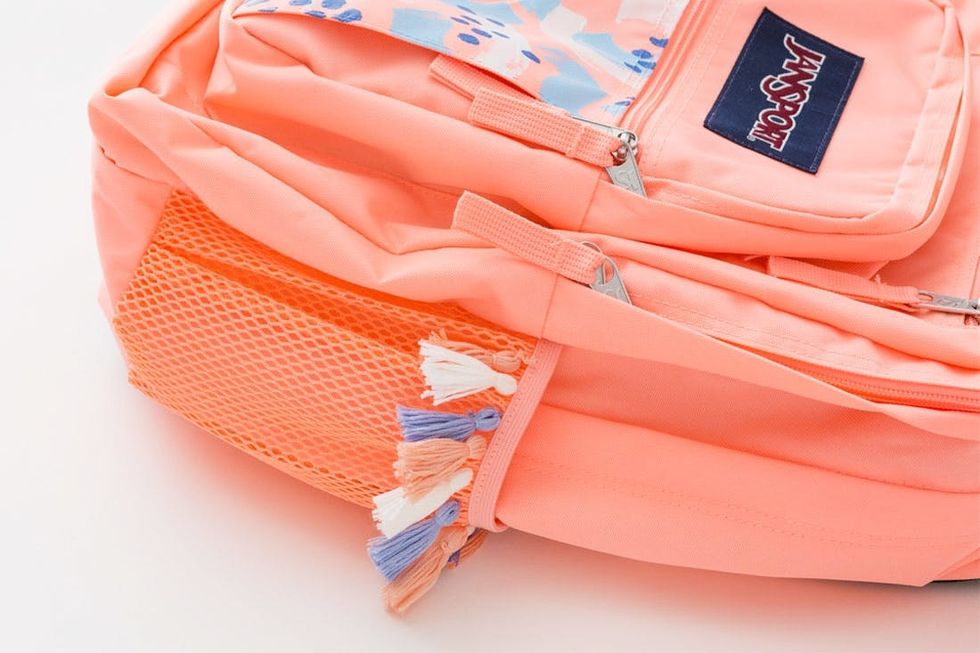
Repeat all of these steps to complete a full line of tassels in the colors of your choice. We wanted these to be a subtle detail (versus a loud contrast-y statement), so we kept it cohesive with the same colors used in the painted panel and of the backpack itself.
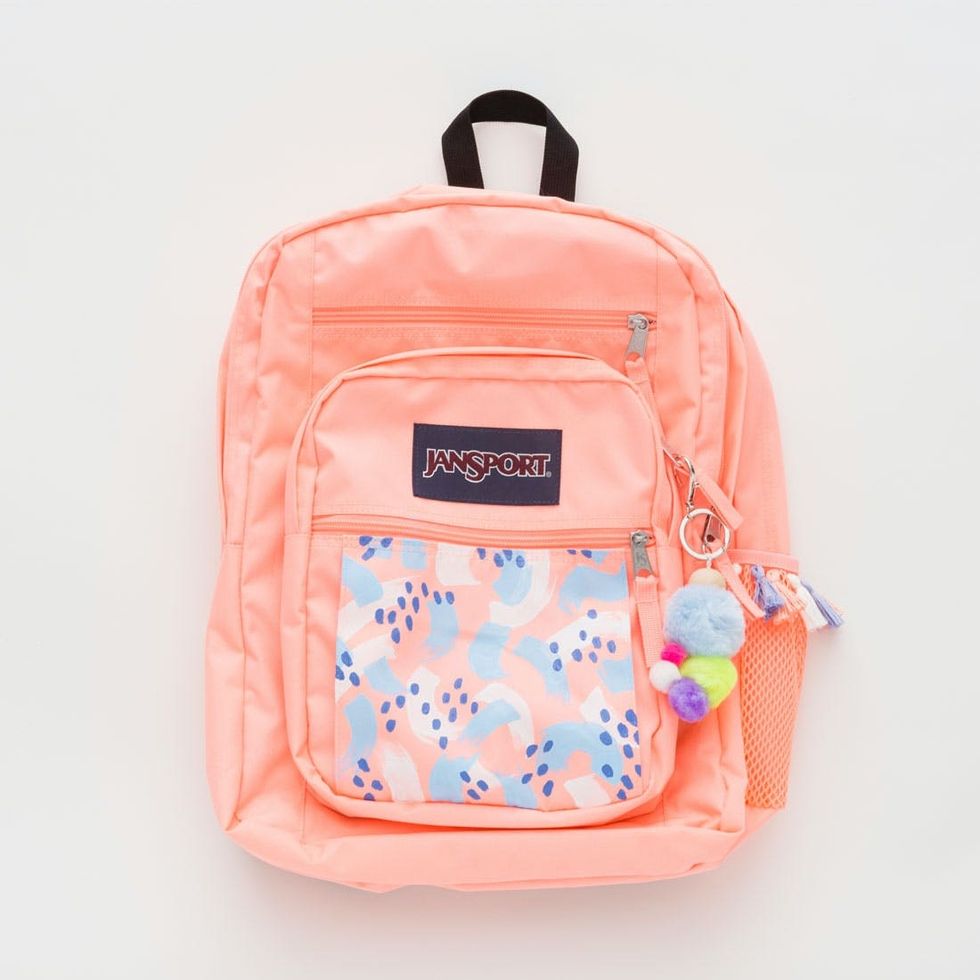
Choose one technique or put them all together for a seriously decked-out pack!

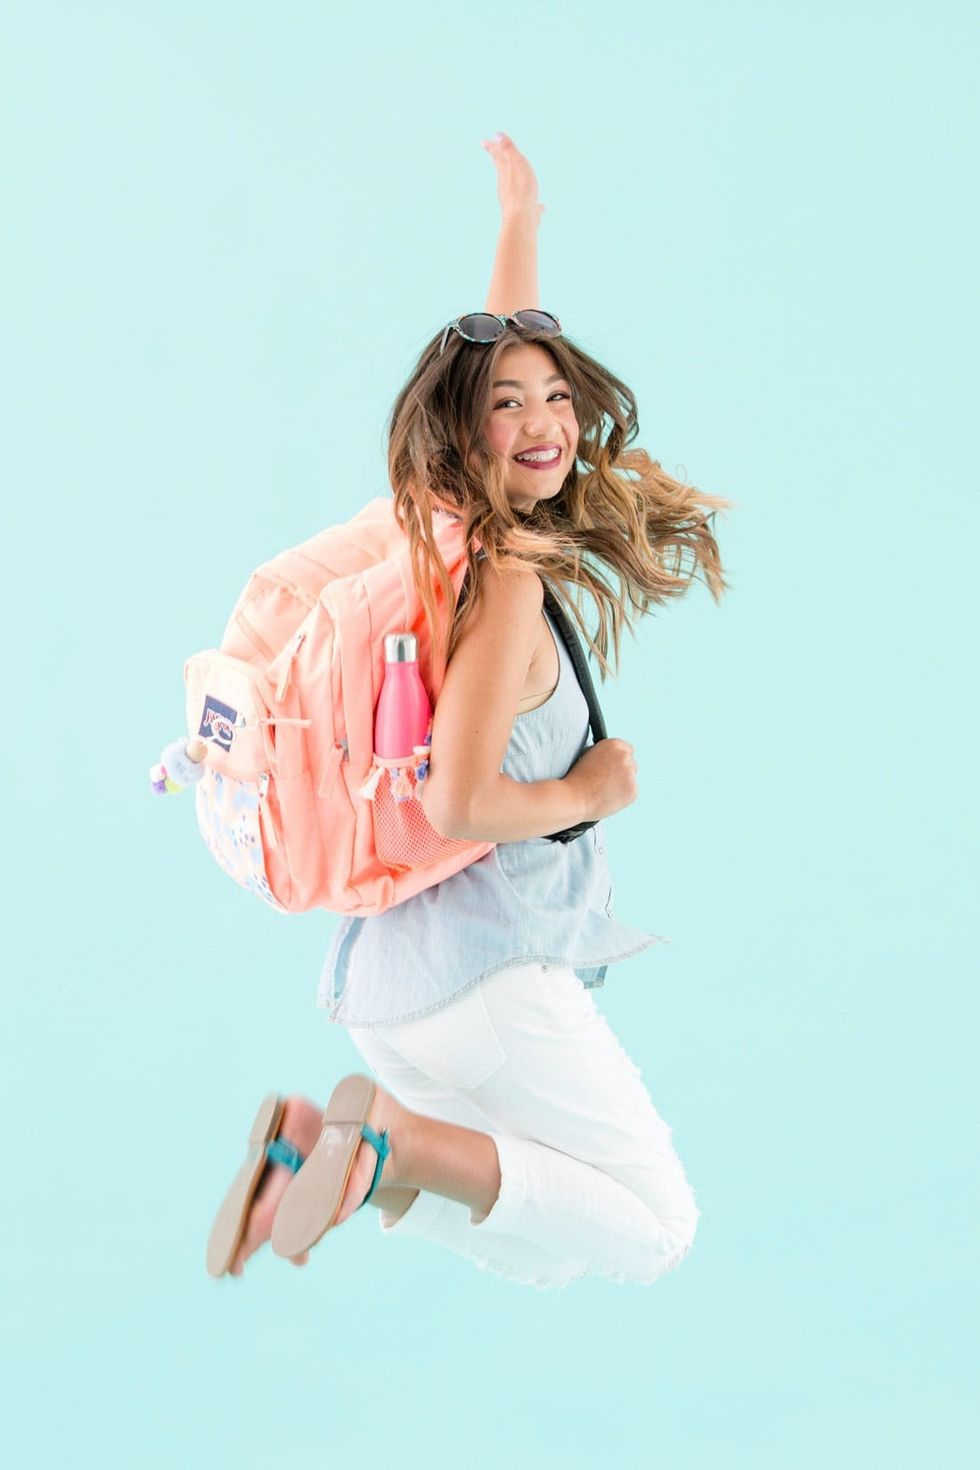
Our lovely, talented model Amber is looking ON POINT with that color-coordinated first day outfit. PS: Our cool kid sources tell us that the one-strap look is back in! (Meanwhile, my shoulders hurt just thinking about high school.)

Aaand look how nicely it all pulls together! All packed up and ready to go. #SoWorthIt
What other ways would you personalize backpacks for the new school year? Share with us on Twitter @BritandCo!


