Get Free Printables to Make Beautiful, Block-Printed Valentines
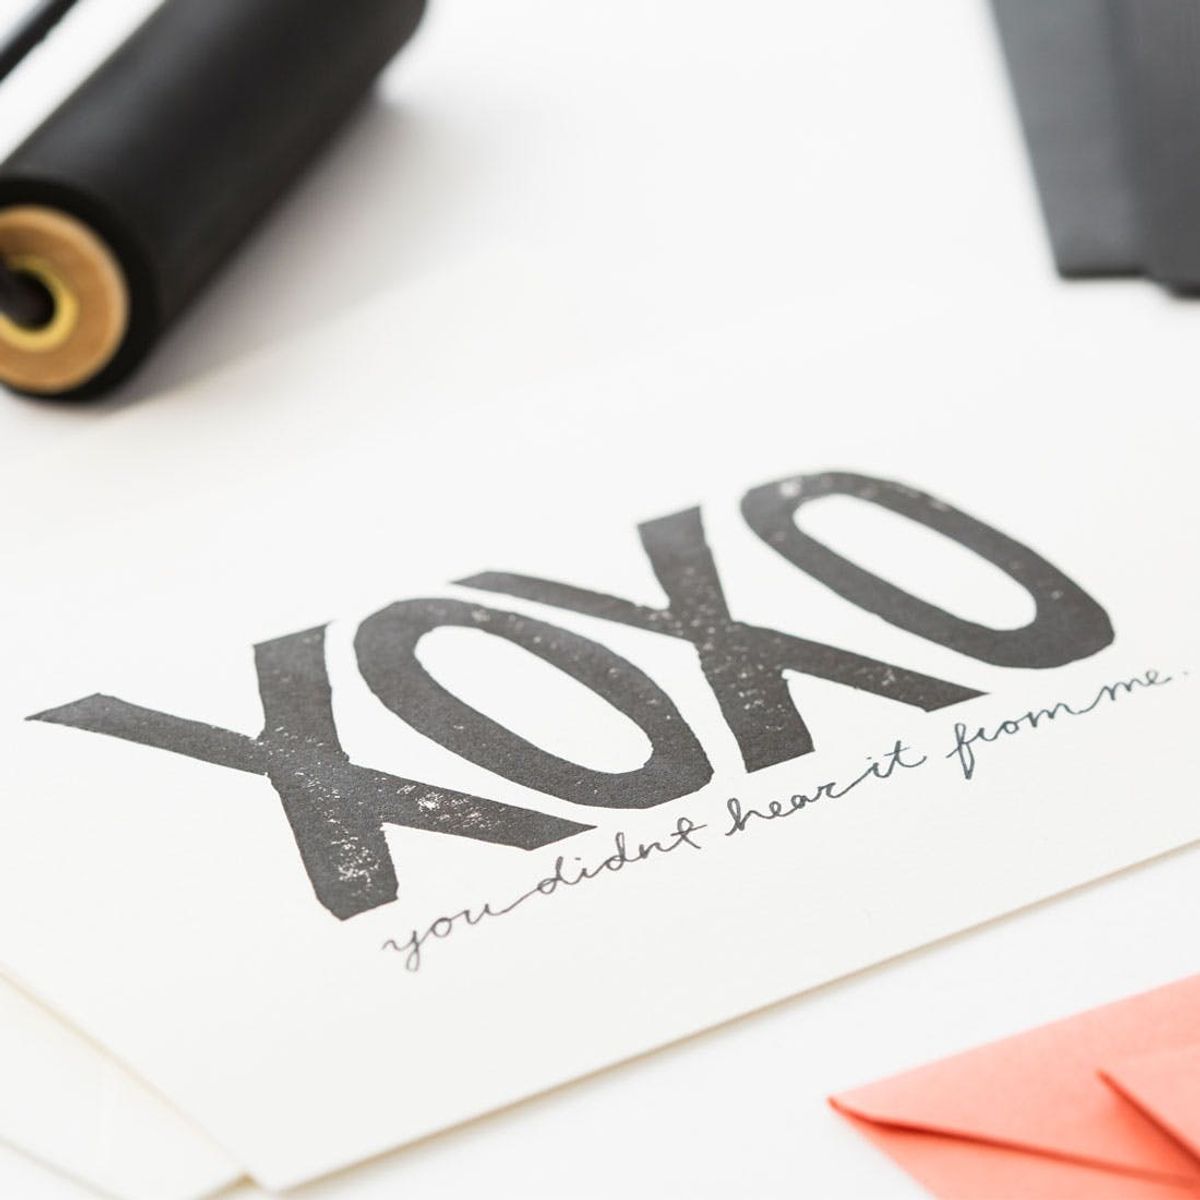
Looking to put a little extra love into your cards this year? Think carving a big block of rubber just sounds way too fun? Well, grab a linoleum cutter and join us in making these bold block-printed cards!
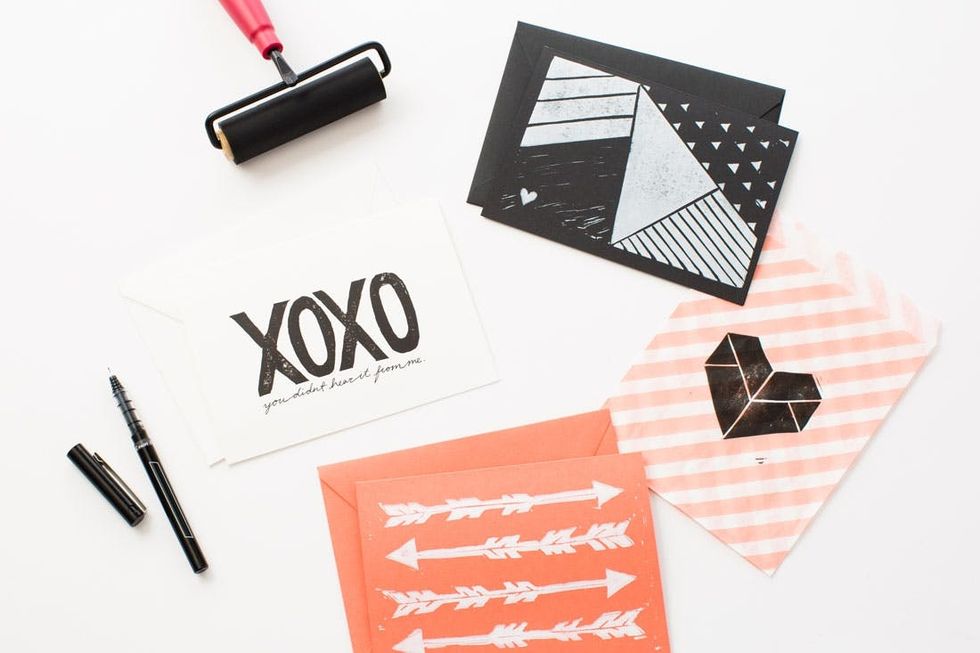
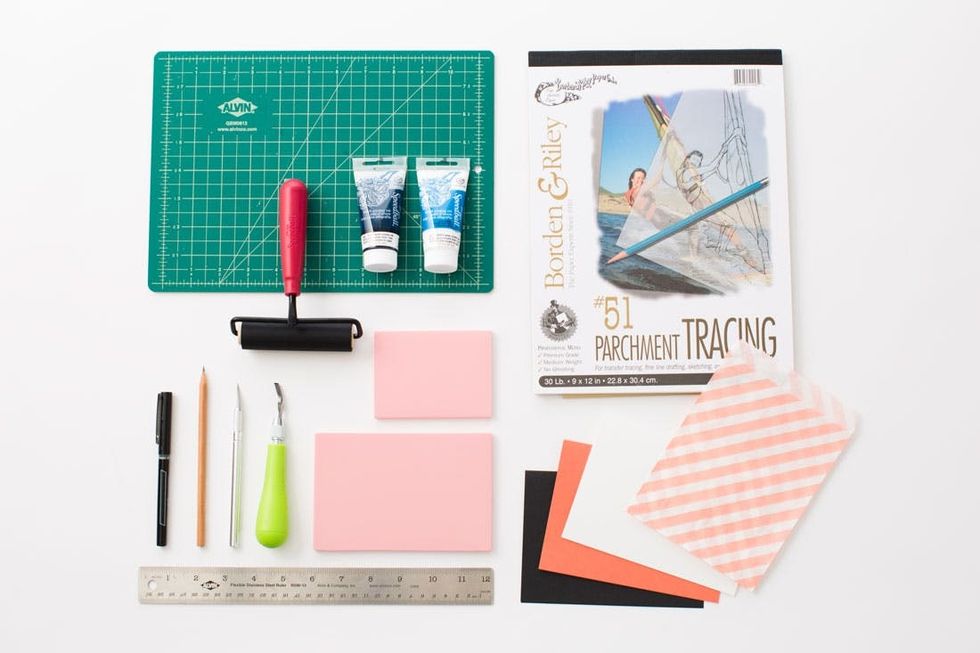
We used some of the materials from our Calligraphy 101 Kit and added a few block printing essentials to make a sweet set of designs, perfect for telling all your boos and baes how much you care!
Calligraphy 101 Kit
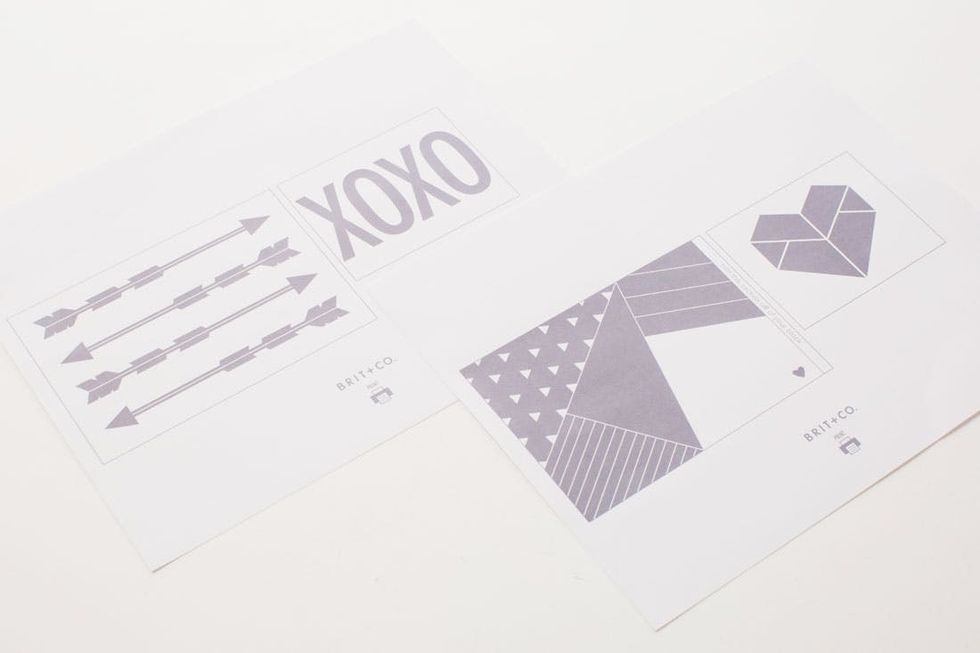
 download these printable templates here.
Alright, let’s carve it up!

The easiest way to start a design is to trace an existing print. Just print out your chosen phrase, photo or design, place it beneath a sheet of tracing paper and trace it in pencil. Don’t worry about the small details quite yet – basic shapes are all you need.
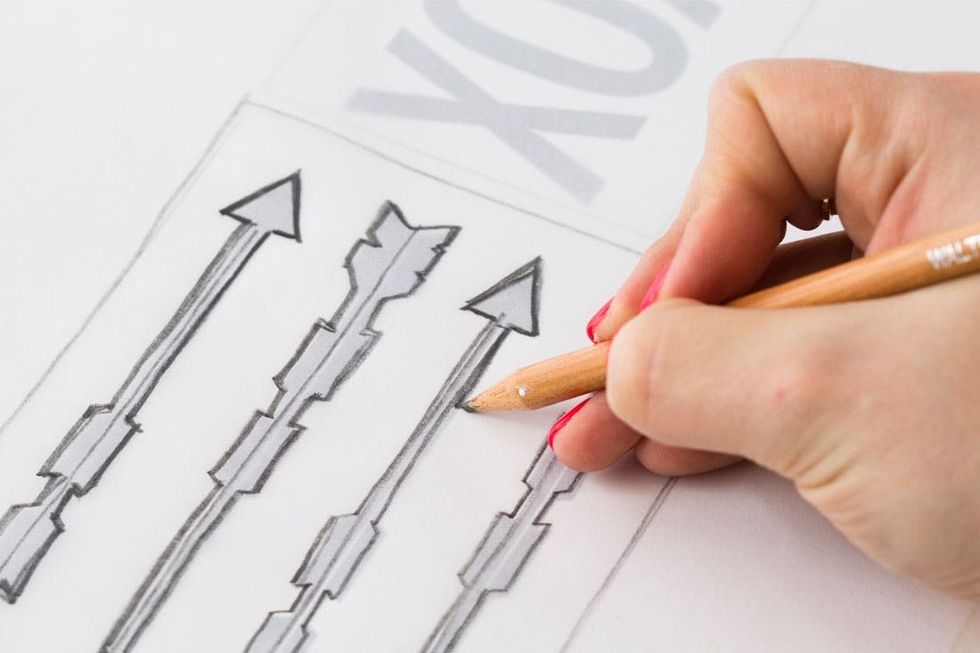
You could also draw an original design straight onto the tracing paper. Either way, make sure to press down firmly with your pencil or go over it a second time for an easier transfer later.
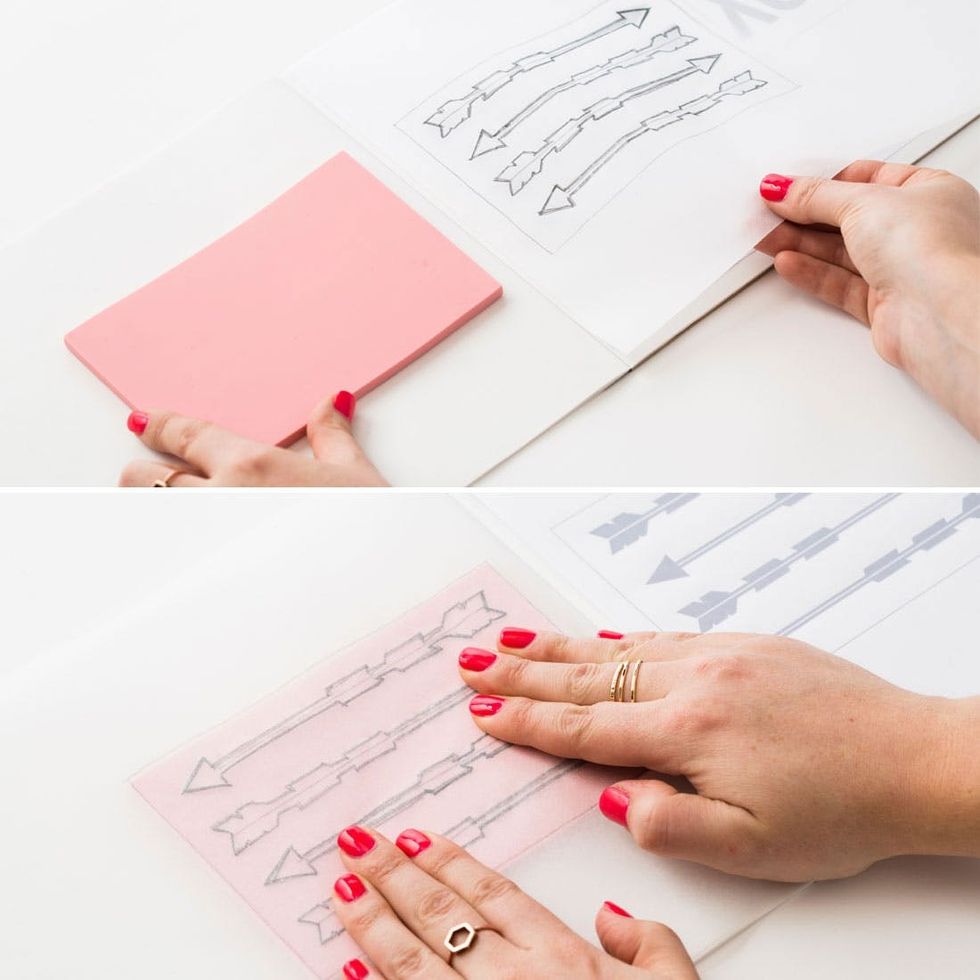
Place your tracing paper design on top of a rubber block and press down firmly so the pencil transfers. Take the time to really press it into the rubber block here.
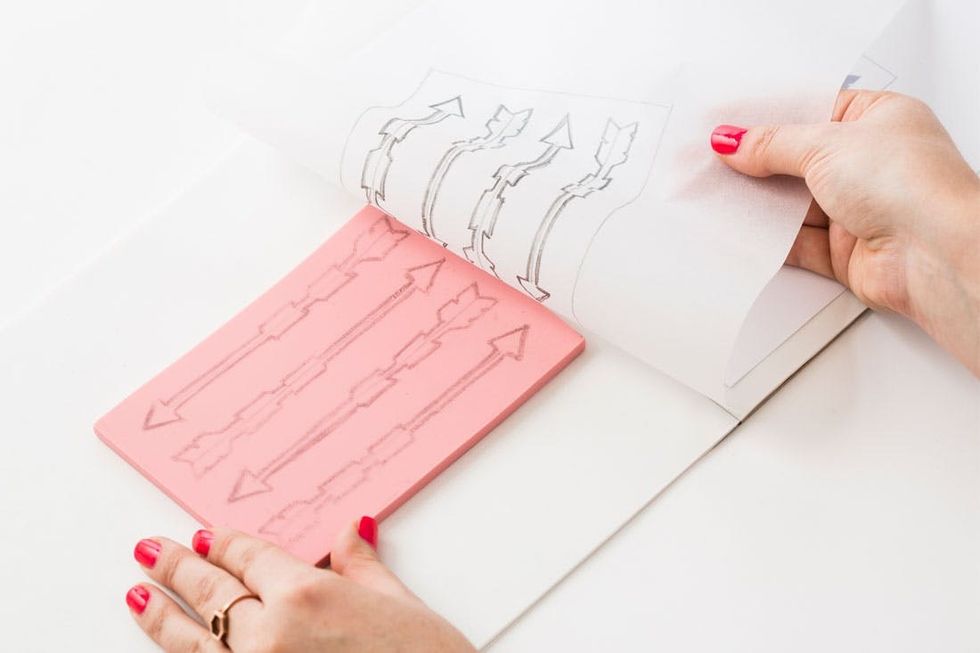
Lift up your tracing paper to reveal your transferred design and get ready to start carving.
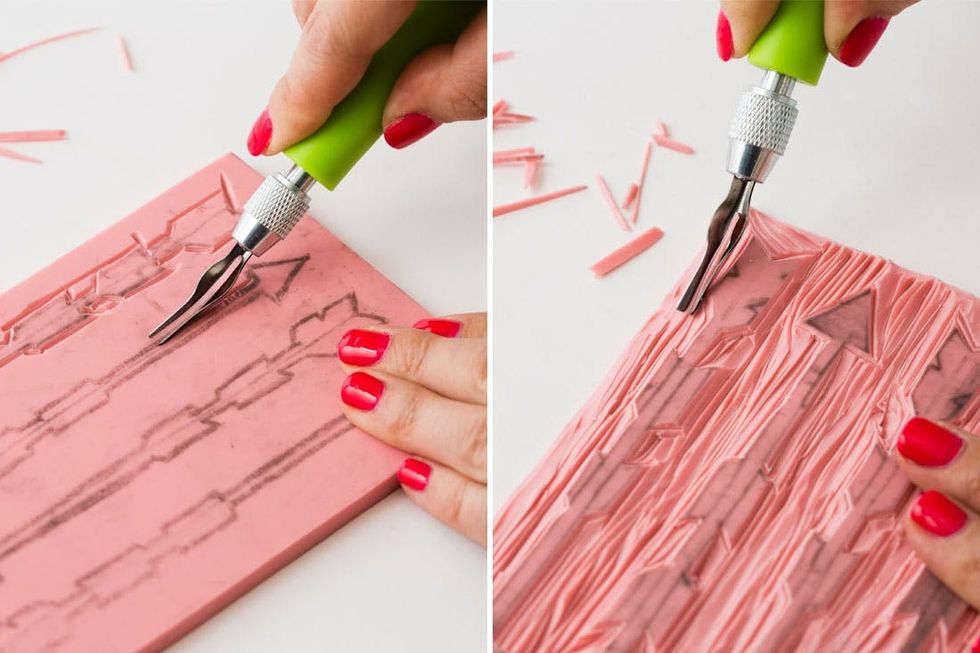
First, cut out the basic outlines of your design, making sure to always carve away from yourself and never toward your body or hands. Put on some good tunes and have a carving party, getting all the areas you don’t want to be inked. Note that the more pressure you use, the wider a cut you’ll make.
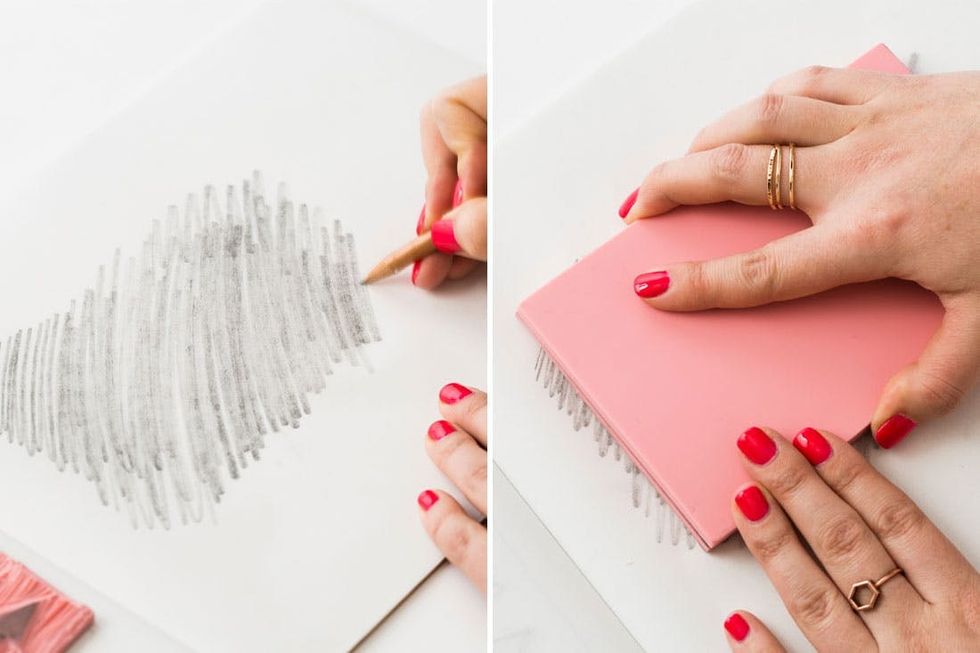
Now that your basic shapes are cut out, its time to get into the details. Shade an area the size of your block on tracing paper and rub your rubber block face down into the graphite.
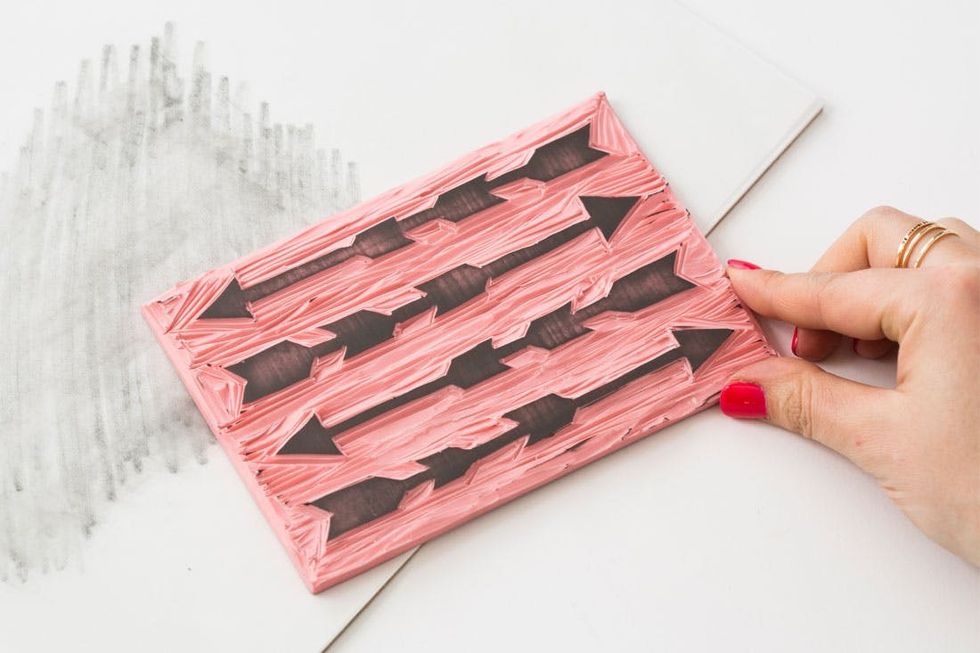
Look at this like a practice run for your ink. Now that you can see what you’re working with, clean up any edges and white spaces that you want clear. This doesn’t need to be perfect – the rough look is half the fun of block printing!
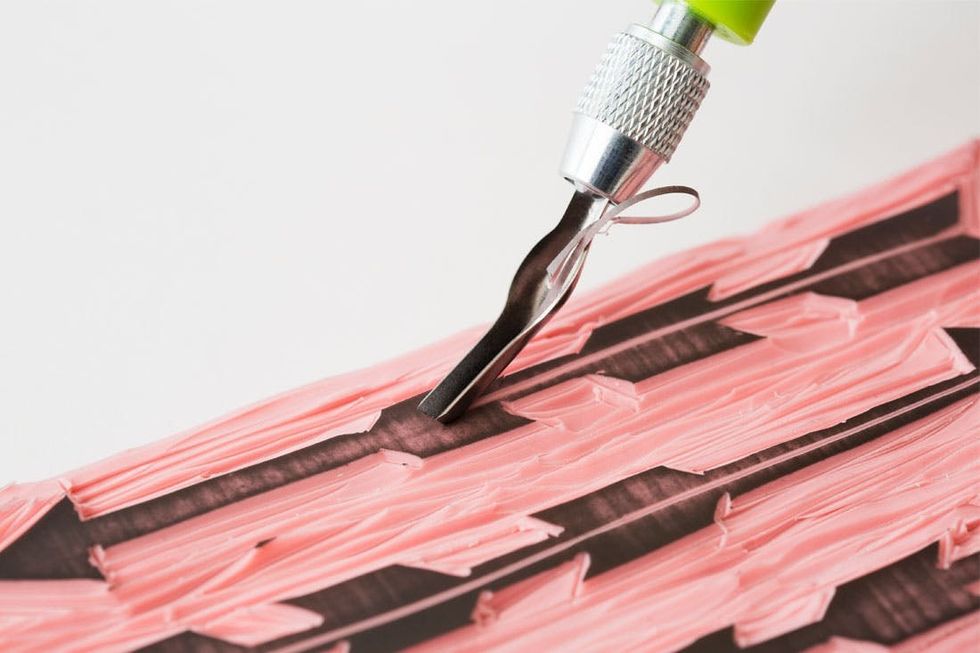
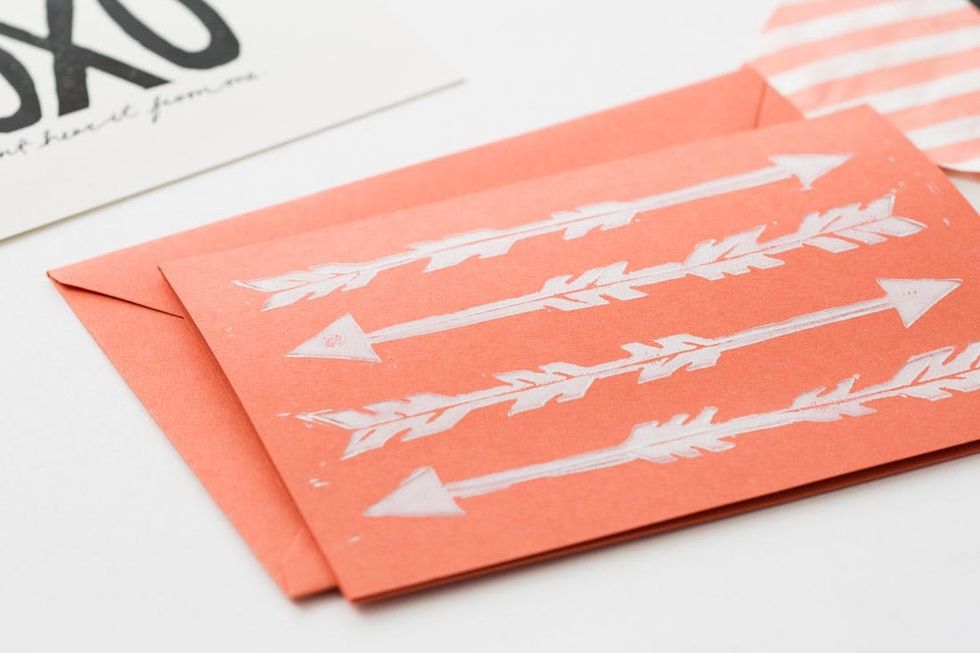
For this design we wanted to add some thinner detail lines to the center of the arrows and in the feathers. Remember, the lighter the pressure you use while carving, the thinner the line.
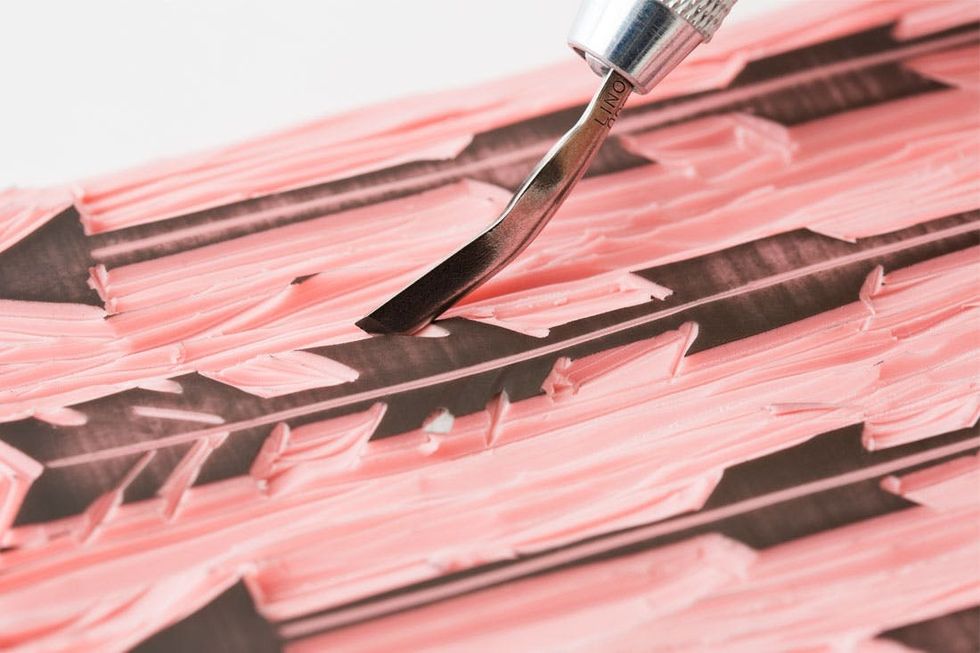
Cut out some little notches in the feathers to give this print some added texture and interest.
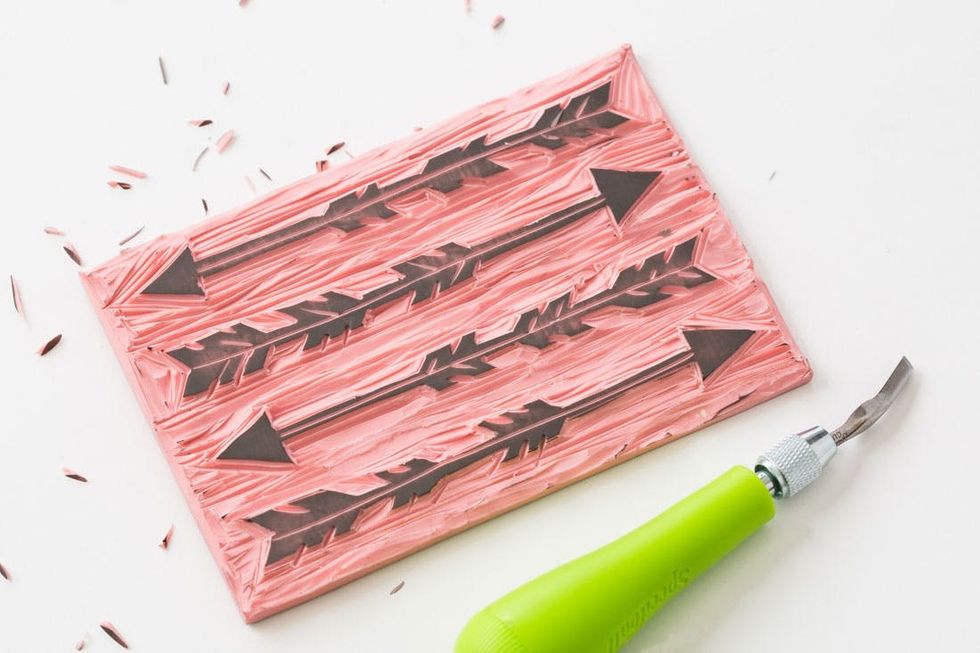
Whew! Check out your hard work.
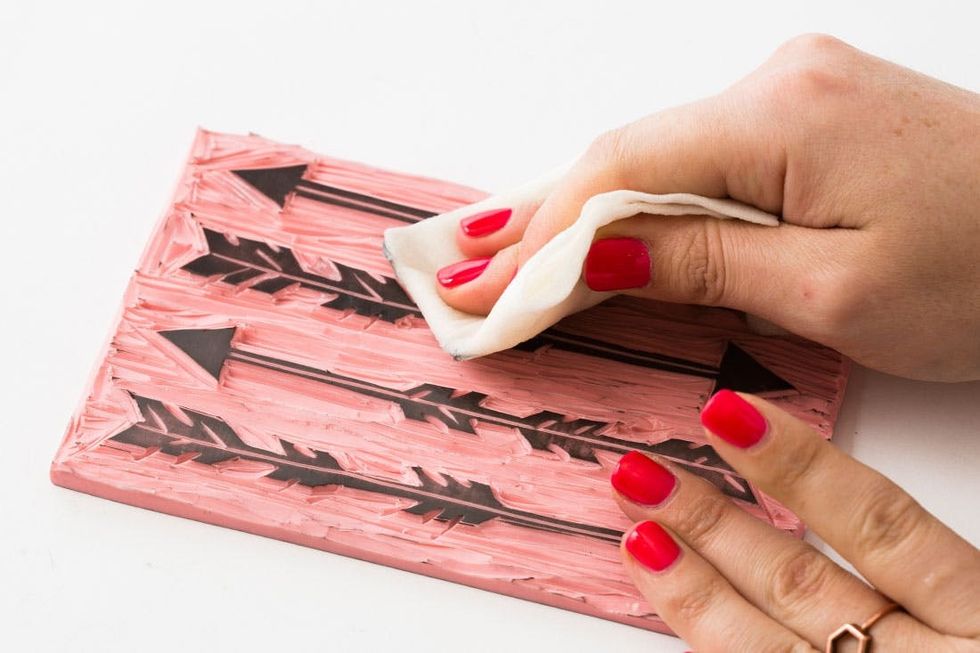
Once you’re happy with your design, wash off as much of the graphite as you can in the sink using soapy water and then dry with a paper towel. You won’t get it all off, but it still helps.
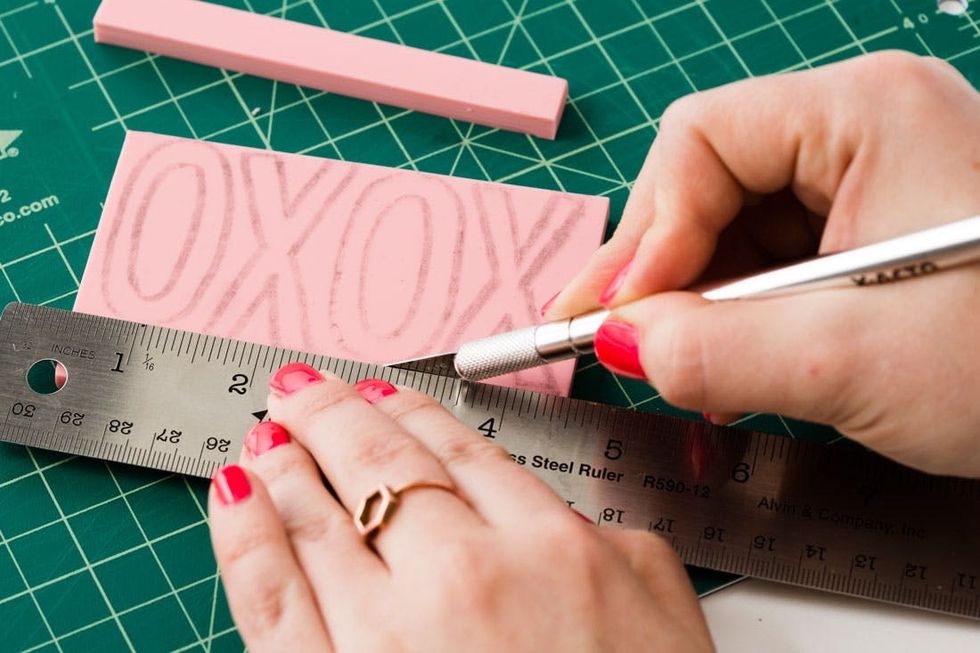
Next we’re going to try out some other designs that are included in our printable templates. For smaller shapes, save yourself some carving time and trim off the excess space with an X-Acto knife beforehand.
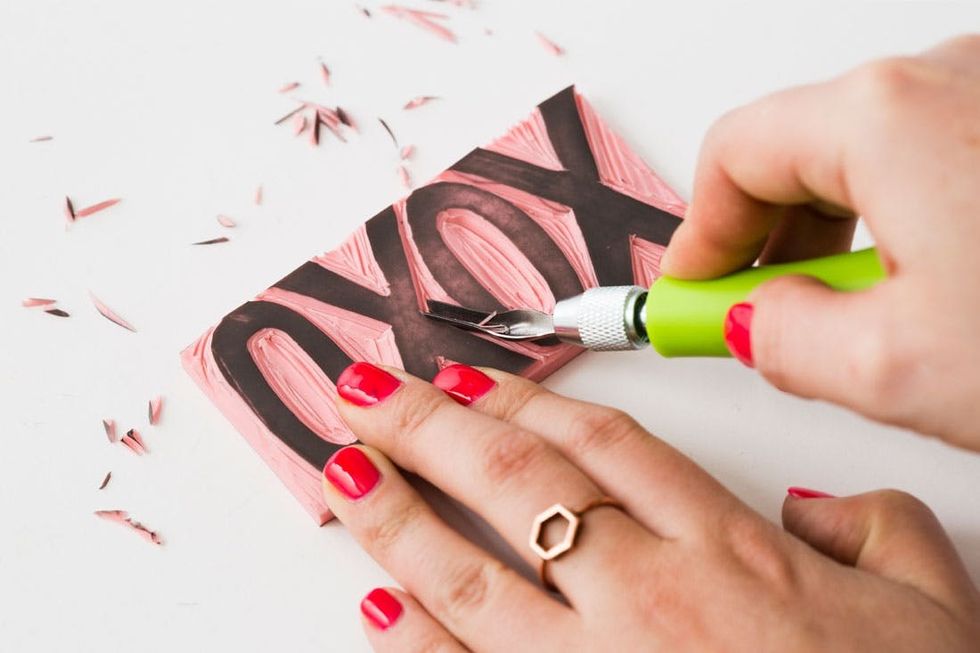
For typographic designs, your carved block will appear to read backwards. This is good! Your final prints will be reversed back to read normally.
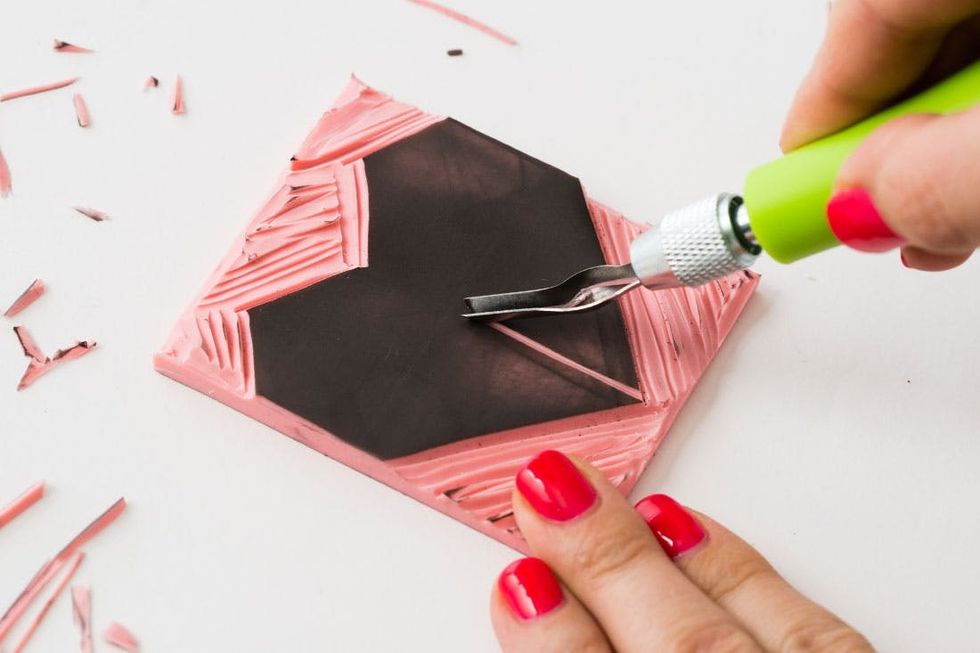
See how we carved out the basic shape first and then added in thin details later?
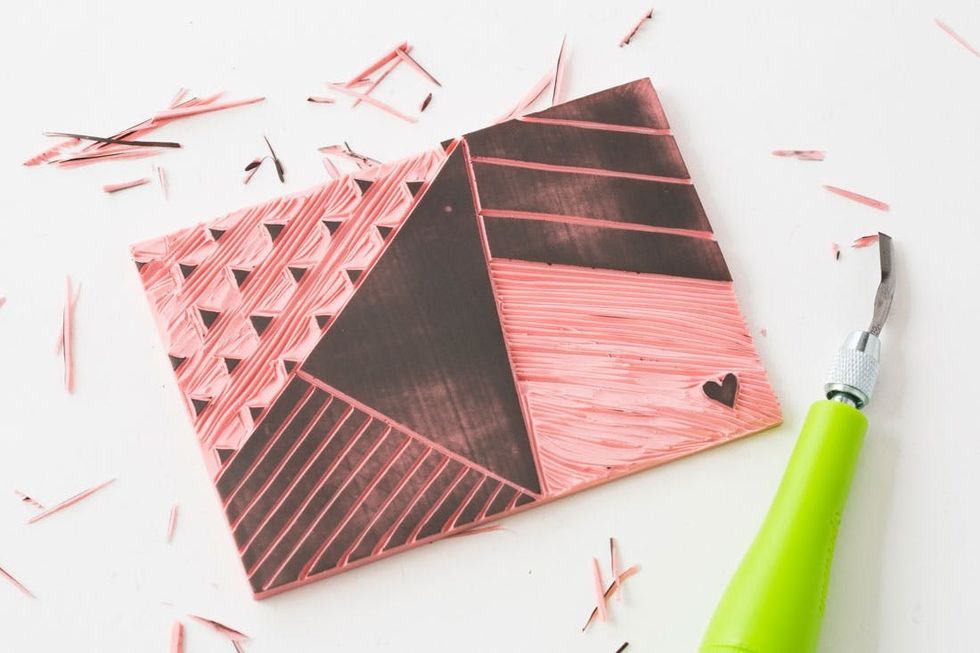
In this last one we went with some abstract shapes and textures to make a full-page design.
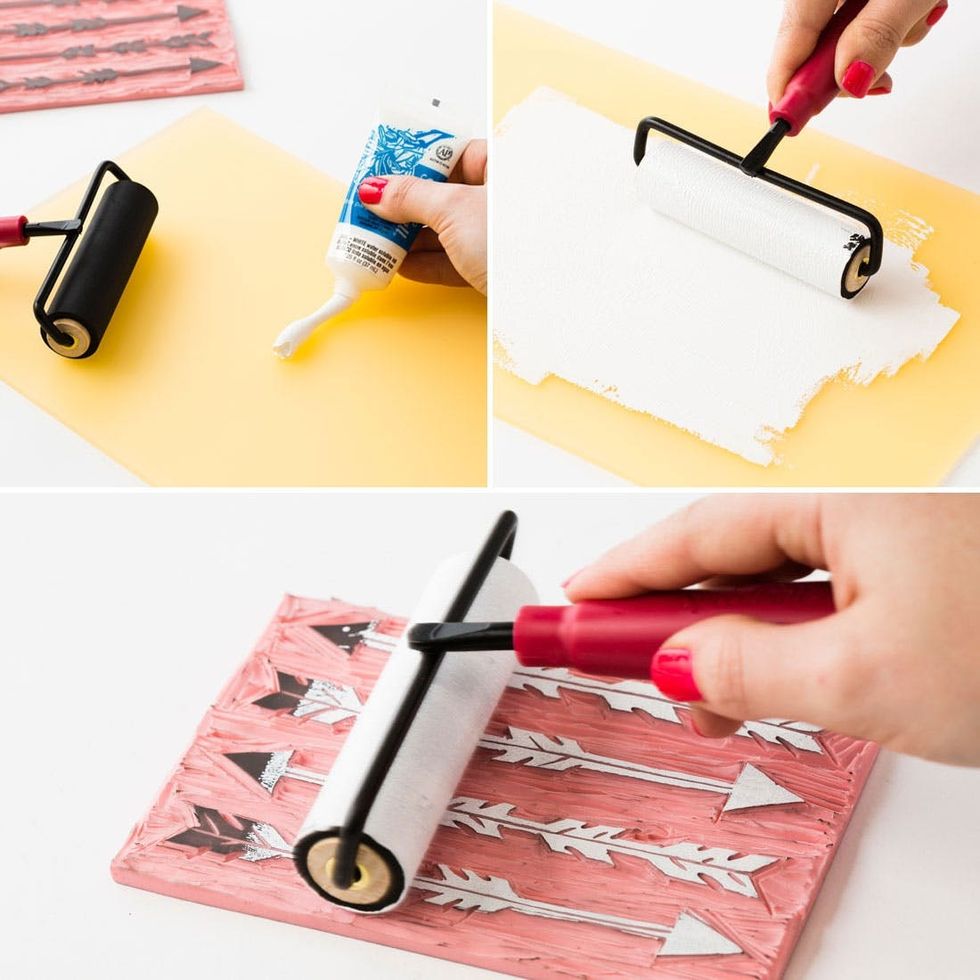
Now it’s time to ink it up! Squeeze out a small amount of block printing ink onto a flat dry surface (we used a sheet of plastic), and spread out the ink into a thin layer using your roller. Once the whole roller is covered, lightly roll a thin layer of ink onto your stamp until your whole design is coated.
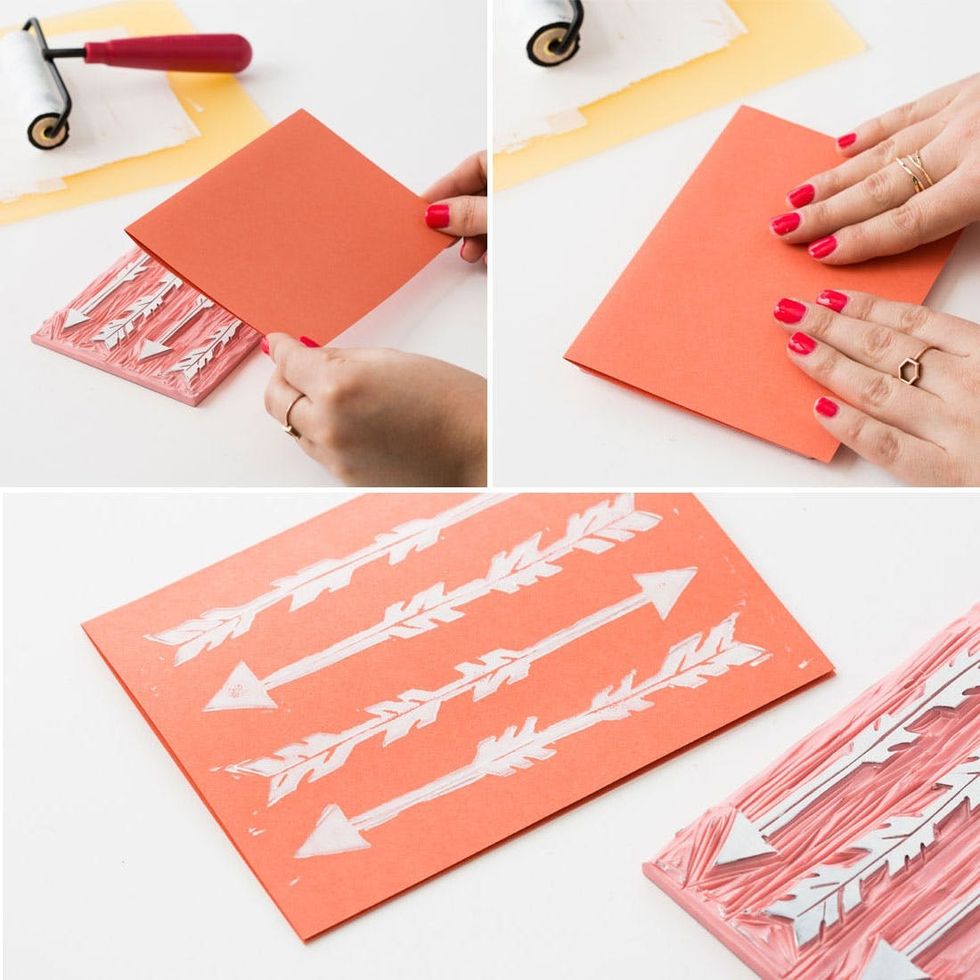
You may want to do a practice stamp on scrap paper first. When you’re ready, firmly press a card face down onto your ink-covered block and carefully peel away your card to reveal your design.
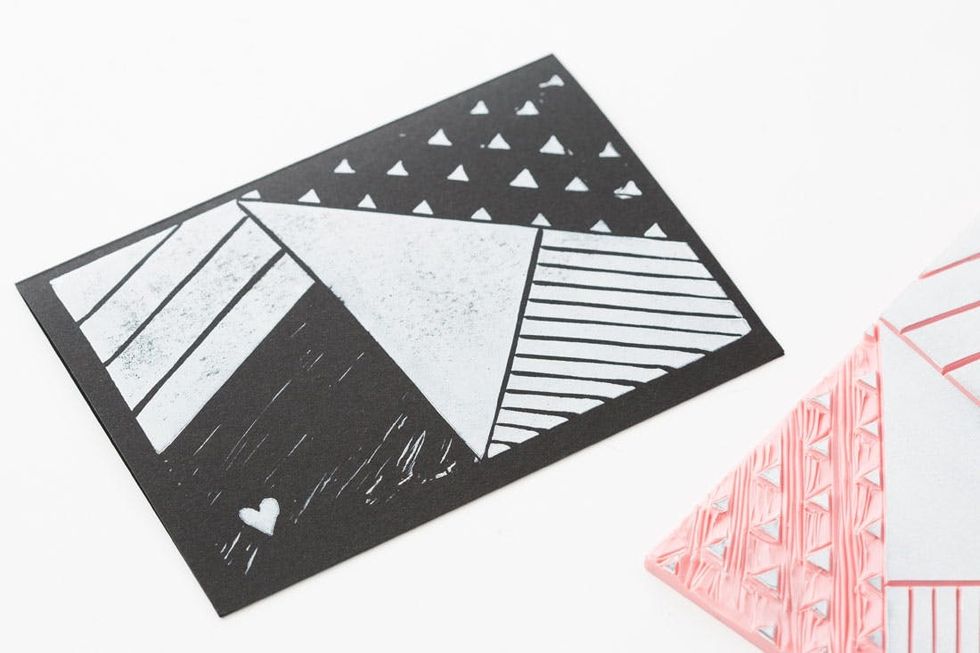
Here’s the abstract print in black and white. See how the carving lines surrounding the heart give it some added texture?
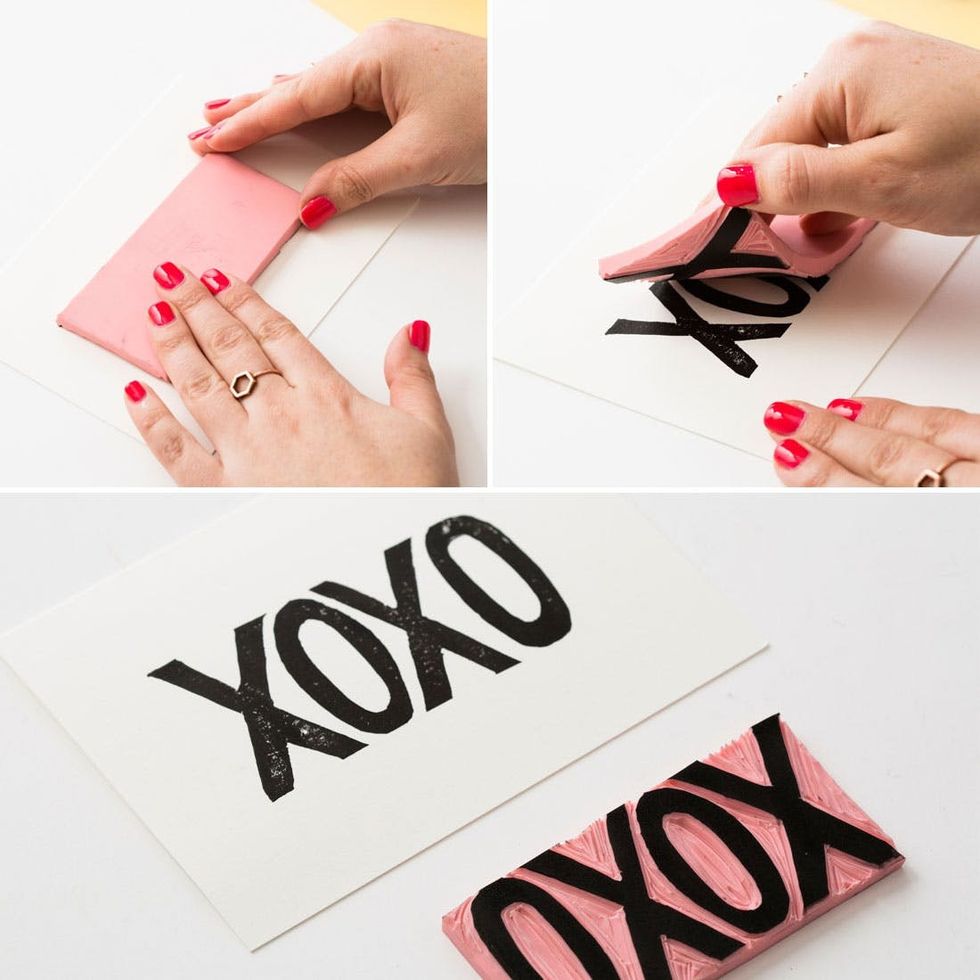
For the smaller stamps, we went the other way and placed the rubber block face down on top of the cards and treat bags.
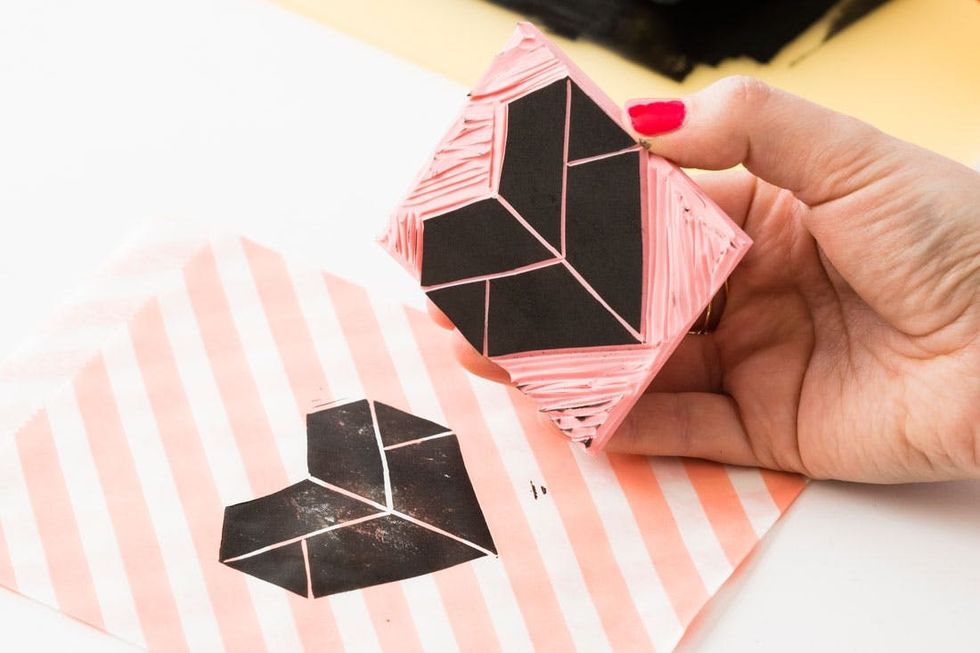
Check out how that black ink pops against these striped paper bags!
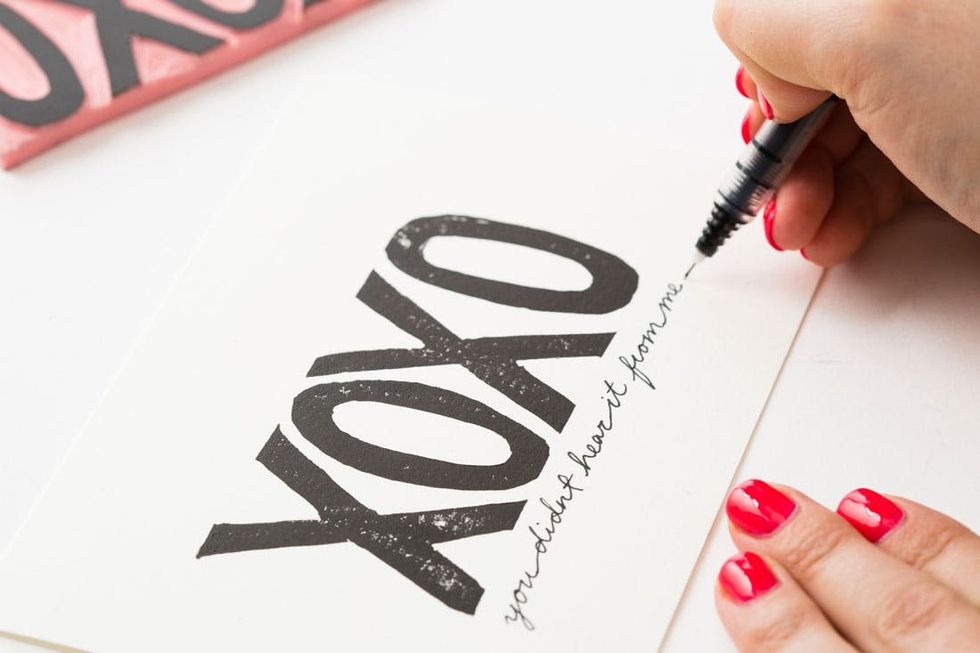
To give some of these cards a little extra something, add a little cursive note with a thin black pen. For this design we channeled our inner gossip girl in a secret admirer valentine.

Take a look at the whole fam! All these cards, envelopes and paper treat bags can be found in our Calligraphy 101 Kit. Combine these block-printing techniques with sophisticated calligraphy skills and you’ve got an unstoppable combination.
How will you personalize your cards this year? Tell us in the comments below!


