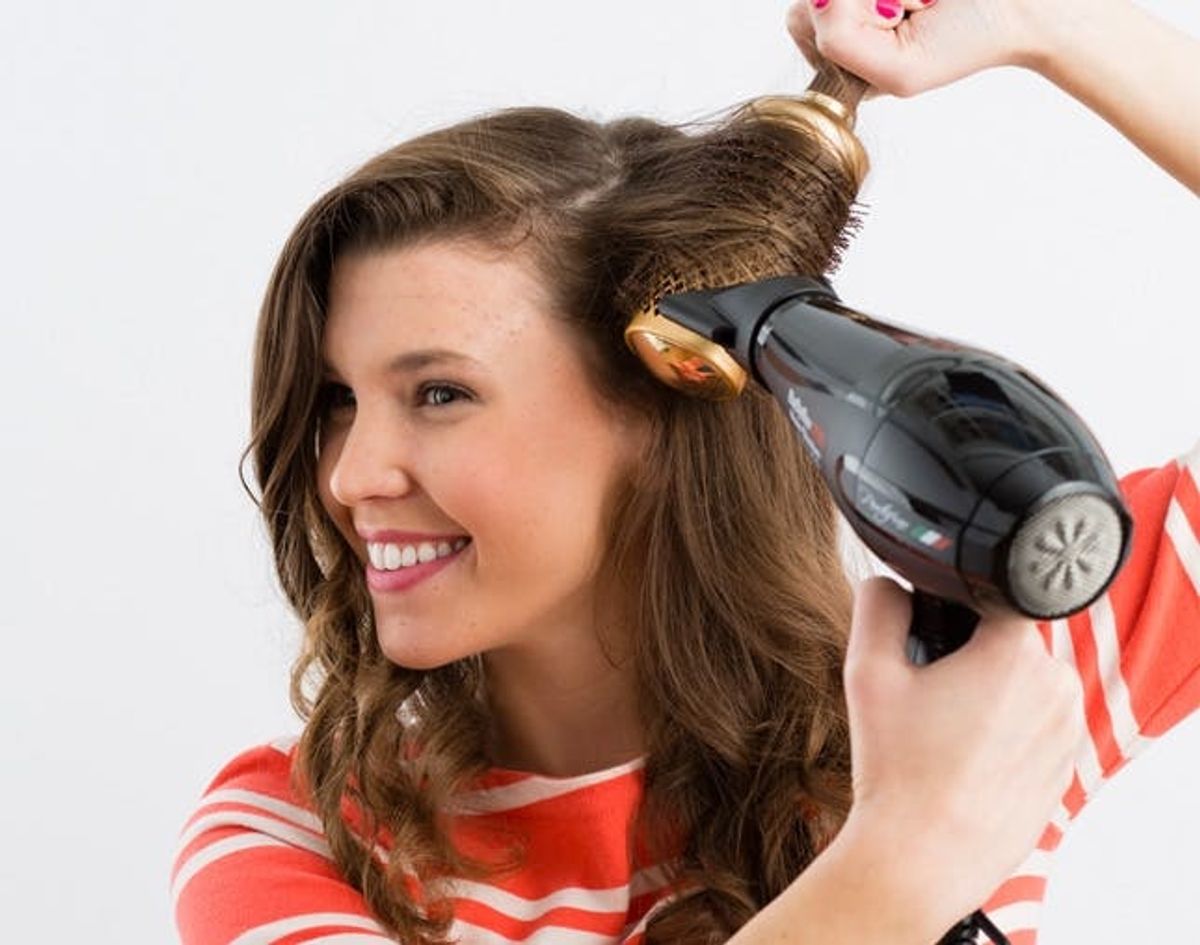
Afraid of sacrificing your waves to your blow dryer? Fear not! We’ve got three ways to show you how to use your blow dryer to create, enhance and tame those waves.
3 Ways to Master Waves With Your Blow Dryer

It’s time to talk about those random accessories that come with your blow dryer — you know, that totally weird diffuser that looks like it’s designed to tangle your hair? Or what about that fish-nose-looking attachment that makes airflow seem way less powerful if you don’t know how it works? Well, fear not! We are here to teach you how to use those crazy-looking tools!

Here are three different approaches to using the accessories as they are intended so you can either rock your natural wave, get waves if you have none or tame your locks if they are just too crazy for your style!

Use a Diffuser: Believe it or not, this little tool is a gem for our naturally wavy-haired gals. A diffuser allows your hair to dry quickly in its natural shape, keeping the frizzies away.
ENHANCE NATURAL WAVES

1. Start off by using a small amount of a smoothing product to help eliminate frizz. We used TIGI Rockaholic Smoothing Cream. Rub the product together and apply to towel dried hair from the mid hair shaft down to the ends.

2. Use the diffuser attachment to get your natural curl to come out quicker. Simply move the dryer up towards your head allowing your hair to scrunch up onto the diffuser. Repeat this process all over.
3. Once you are done you can use one of my favorite products ever, KMS Anti Humidity Spray Seal. This stuff keeps your hair smooth all day!
Use Braids and a Nozzle: For us gals with super straight hair, here is a fun little hack to get a little wave action using braids and the funny little flat nozzle with your blow dryer.
MAKE STRAIGHT HAIR WAVY

1. If you have fine hair like me, you will want to use something to give your roots some texture and volume. I used our very own concoction of Lavender Sea Salt Spray and sprayed it all over the roots of my hair.

2. Now apply a heat protector like Kenra Platinum Blow Dry Spray on the rest of your hair (avoid your roots, you don’t want them to get greasy).
3. Use your fingertips to lift the roots of your hair in an upward direction while blow drying in an upward direction. Use the flat nozzle that comes with your dryer. This will help focus the direction of airflow and help you keep control of your hair.
4. Position your hair into the part that you are most comfortable with.
5. Pick up a section of hair starting at the top of your head, braid it and then lift the roots to keep the volume in there.
6. Continue on with those braids until you have all of your hair completed.
7. Blow dry all of the braids for around five to 10 minutes or until they feel dry.
8. Once dry, pull out all of the braids.
9. Remove the nozzle and scrunch your hair as you give it one last heat blast. Then switch the cool blast button and scrunch your hair while you cool it off. This will help hold the wave in place longer.
10. Give another spritz of the sea salt spray and scrunch, scrunch, scrunch!!!!
11. Apply a small amount of hair serum like our own DIY blend to the ends of your hair and give your whole hair a good flip to finish off this playful look.
Use a Round Brush and Nozzle: What is that golden saying “We all want what we can’t have”? Here Miss Sammy, our marketing intern has the most AMAZING natural curls and of course all she wants to do is tame them down. Using a round brush and the flat nozzle on your blow dryer you can get a more polished, controlled look.
TAME THOSE CURLS

1. Prep your hair with a smoothing treatment like KaHm Daily Smoothing to help keep the frizz away.

2. Take out a small section of hair and pin up the rest of it for more control and a smoother finish.
3. Use the round brush and flat nozzle on your blow dryer to smooth the curls down. Once the section of hair is feeling dry, use the brush to twist the hair around in the direction you want the curl to go in and gently pull the brush out leaving the section twisted.
4. Repeat this all throughout your hair.
5. This is another style that is good to use KMS Anti Humidity Spray Seal in.
6. Gently shape your curls with your fingers and add a little body by fluffing your roots up a little.
And, of course, we’ve got a few outtakes to share as well ;)
What hair tutorials would you like to see on Brit + Co? Talk to us in the comments below.


