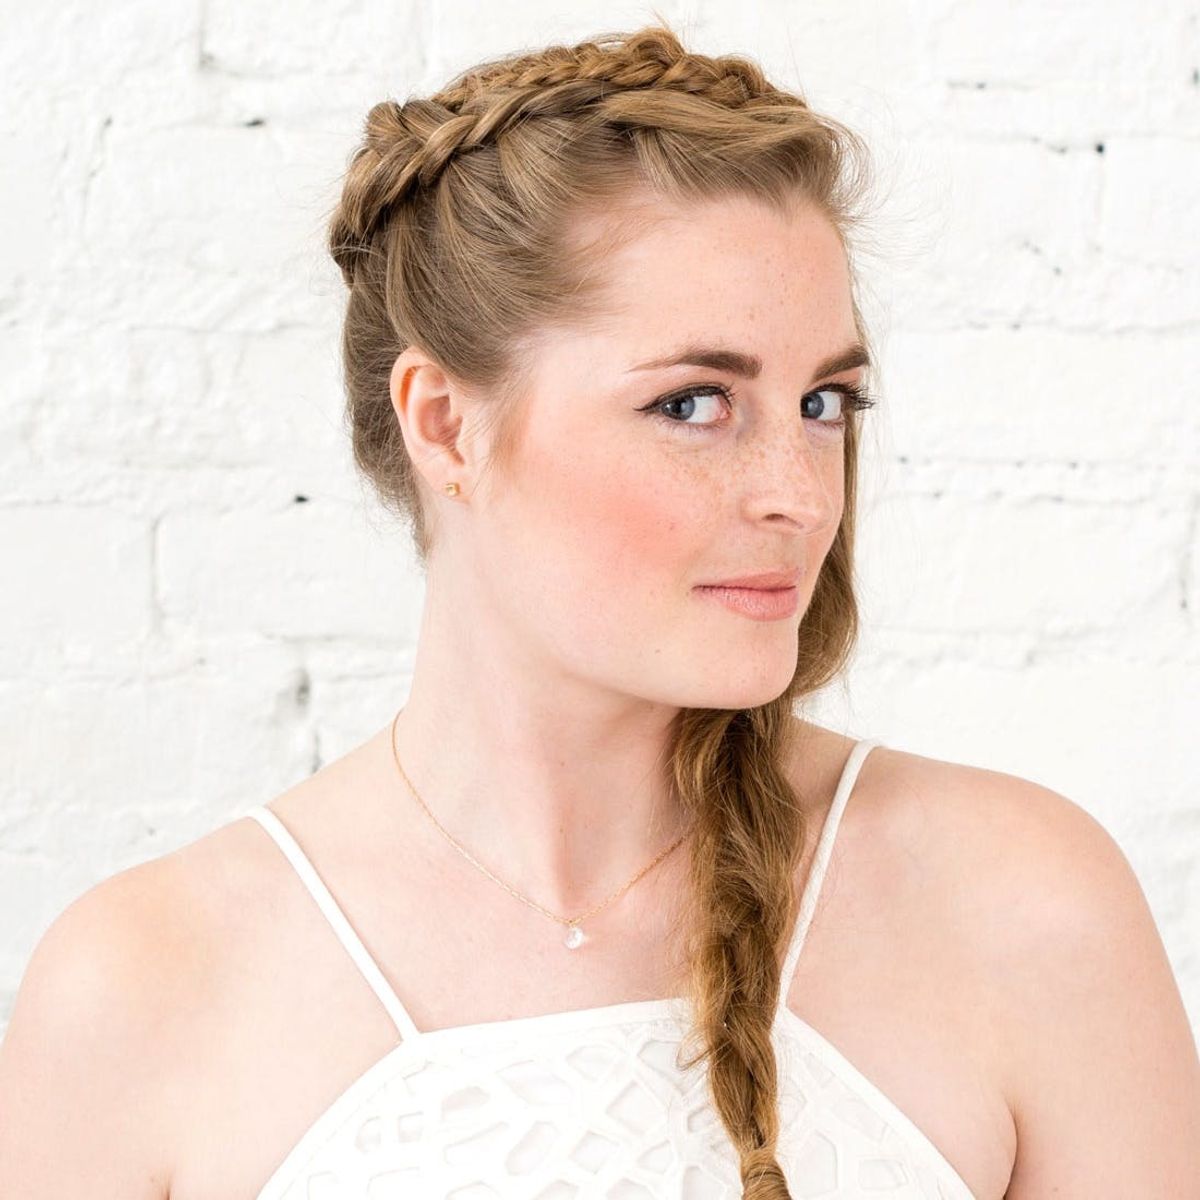
Bridesmaids, brunch-goers, this one’s for you.
You Need to Try This Boho Crown Braid for Your Next Special Event

Wedding season is upon us! Whether you are getting hitched, attending the “I dos,” or repping your girl in her wedding, you’re going to want to make sure your hair game is up to par. I had fun taking parts of some of my favorite and most Pinned hairstyles to create an ultra romantic crown braid hairstyle that you can DIY for your next special event. Truth: this is definitely a little more on the advanced end of the braiding spectrum, so if you aren’t yet a braiding veteran, then you may want to brush up on all things plaiting with our braiding 101 tutorial. Get a practice run in — we recommend making a night of it with your bffs + fave bottle of wine — and then get ready to turn heads with this dreamy updo!

Step 1: Place Extreme Part

Place an extreme side part in your hair on whatever side feels more comfortable and comb over your hair.

Pick up the front section of your hair to start your braid. To gauge how thick your sectioning should be, think of having bangs and pick up that section of hair. If you have bangs that are too short to braid back, just start with the section of hair right behind them.
Step 2: Section Your Hair
Dutch braid
 underneath the middle section versus crossing over the middle section of hair like in a traditional braid.
Step 3: Dutch Braid + Add Hair As You Go

Once you have the beginning of the braid established, pull up another similar-sized section of hair from the hair below the braid. Incorporate that piece into the strand you just crossed under. Now, continue your Dutch braid by pulling a small section of hair from the top of your head over the braid and incorporate it into the section you just crossed under.

Continue these steps over and over again until you get to the lower nape of your neck on the opposite side of your head. At this point, stop picking up new sections of hair to add into the braid and simply complete the braid (still crossing under instead of over) until you get to the ends of your hair. Tie off with a small elastic.
Step 4: Repeat Repeat Repeat!

Go through and add bobby pins to the braid to make sure it stays in place. Then gently pull the braid apart with your fingers to create a soft, romantic look.
Step 5: Secure Braid + Loosen

Use a rat tail comb to gently backcomb the remaining hair. This will create BIG texture. Pro tip: you’ll get the best results by backcombing small, thin sections of hair at a time.
Step 6: Add Texture

Loosely braid the remaining, now-textured hair, being sure to incorporate the end of the braid you pinned into the end, so the look appears seamless. When you reach the end, tie your hair into a knot, then use a small elastic to discreetly hold it in place.
Step 7: Braid, Knot + Elastic

This hair can stand up to the fanciest dress you own — even your wedding dress — but really, you can rock this hair style with a pair of jeans and your favorite summer top to the beach or that music festival, no flower crown necessary. If you want a more refined version of this style, skip loosening the braid and tone down the texturizing to get a more polished final braid. Throw on your chicest black dress and take this look out on the town with your gals or lover. Bonus: your next-day hair when you pull out the braid is a game changer! You’re welcome :)


