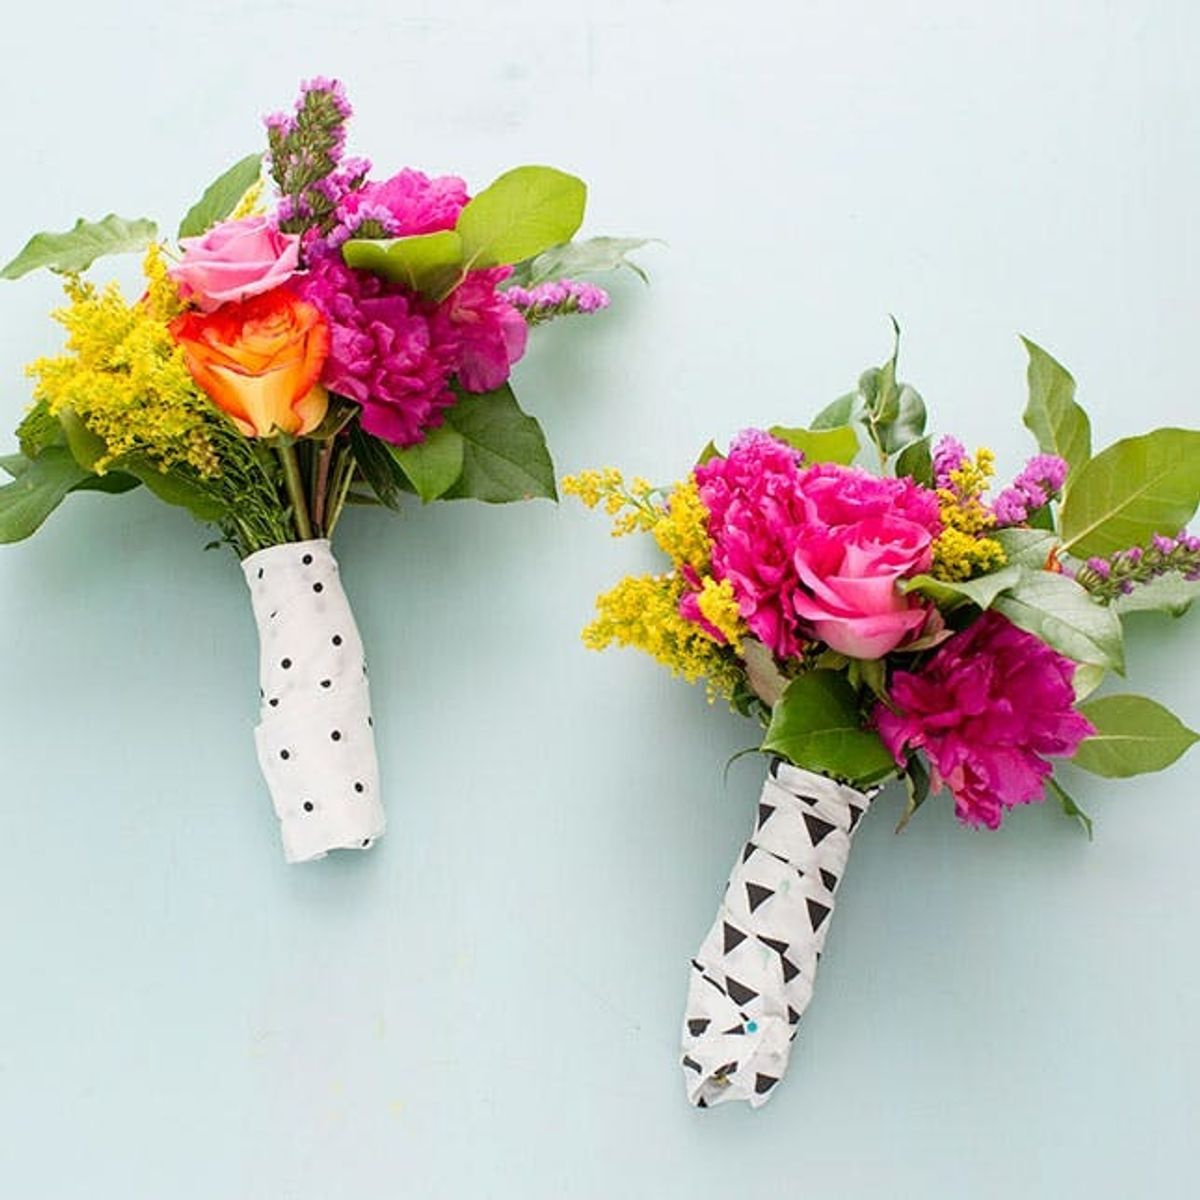
Cotton bouquet wraps are the new ribbon.
You’ve Gotta Make This Adorable Bridesmaid Gift!

It’s that time of year when couples in love are saying “I do,” which means it’s time for soon-to-be-brides to think about special ways to show their bridesmaids some love. Rather than buying them a gift, in true Brit + Co fashion, we’ve got an adorable project you can make for your gal pals. Today we’re teaming up with Cotton to show you how to create a bouquet wrap that doubles as a keepsake headband or apron!
fabric is the perfect material to use for this project. It’s thin, so it doesn’t look bulky around the stems. It’s easy to wash — just throw it in the machine. It’s also durable, so it will last well beyond the wedding (which is great since it’s a two-in-one gift). Plus, you can customize cotton fabric using companies like
 . They’ll even print a photo on the fabric! How cute would it be to print memorable photos of you and your friends on your fabric?!

Materials + Tools:
– cotton fabric
– pins
– fabric scissors
– sewing machine
– iron
Headband Bouquet Wrap

It’s the day after the wedding and your bridesmaids’ hair is still perfectly coiffed thanks to the entire bottle of Aqua Net that’s holding it in place. You’re having a brunch, so they will be wearing different outfits for the morning festivities. Good thing you gave them a headband to put in their hair to change it up a bit :)
This project is super easy and perfect for the sewing newbie. Just cut out a 1 ½ foot square and hem the edges. Fold and iron each side. Then make a second fold and sew it in place to make a hem.

If you thought that hem was fun, try our sewing e-class!

Fold your headband into a long strip and then wrap it tightly around your bouquet.

Add pins to hold the headband in place.

Talk about amazing post-wedding hair game!

If your besties spend a ton of time in the kitchen, they will love this adorable apron bouquet wrap. When they unwind the cotton fabric from their flowers, they’re going to be so surprised to find that it’s more than just a wrap.
Cut a rectangle of fabric approximately 1 ¾ feet by 1 ¼ feet.
Apron Bouquet Wrap

Then cut a small rectangle for the pocket, about 3 by 4 inches. Fold and iron the edges to create a hem. Sew one edge only.

Fold and iron the edges of the apron and sew around three sides. On the fourth side, fold the edge over a belt to measure how large the space needs to be. Remove the belt and sew this side in place. Position the pocket on the apron and sew the three unfinished edges.

Finally, give your bridesmaid a belt or let her use one she already owns.

So cute!

And even cuter on!

Fold your apron into a long piece and wrap it around the stems of your bouquet, overlapping it slightly as you wind around the arrangement.

Secure your wrap with pins.

Make sure to wrap it with the pocket on the outside. It’s the perfect place to stash some lipstick!

These wraps are a great alternative to ribbon! We just love how they turned out.

Doing your own flower arrangements? We’ve got some tutorials for you :)

What other projects will you make out of cotton for your bridesmaids? Share your ideas in the comments and your photos on Instagram using the hashtag #iamcreative.


