We’ve got the perfect kit to help you kickstart your knitting habit.
Brit + Co x Target Knit A Scarf Kit Pattern
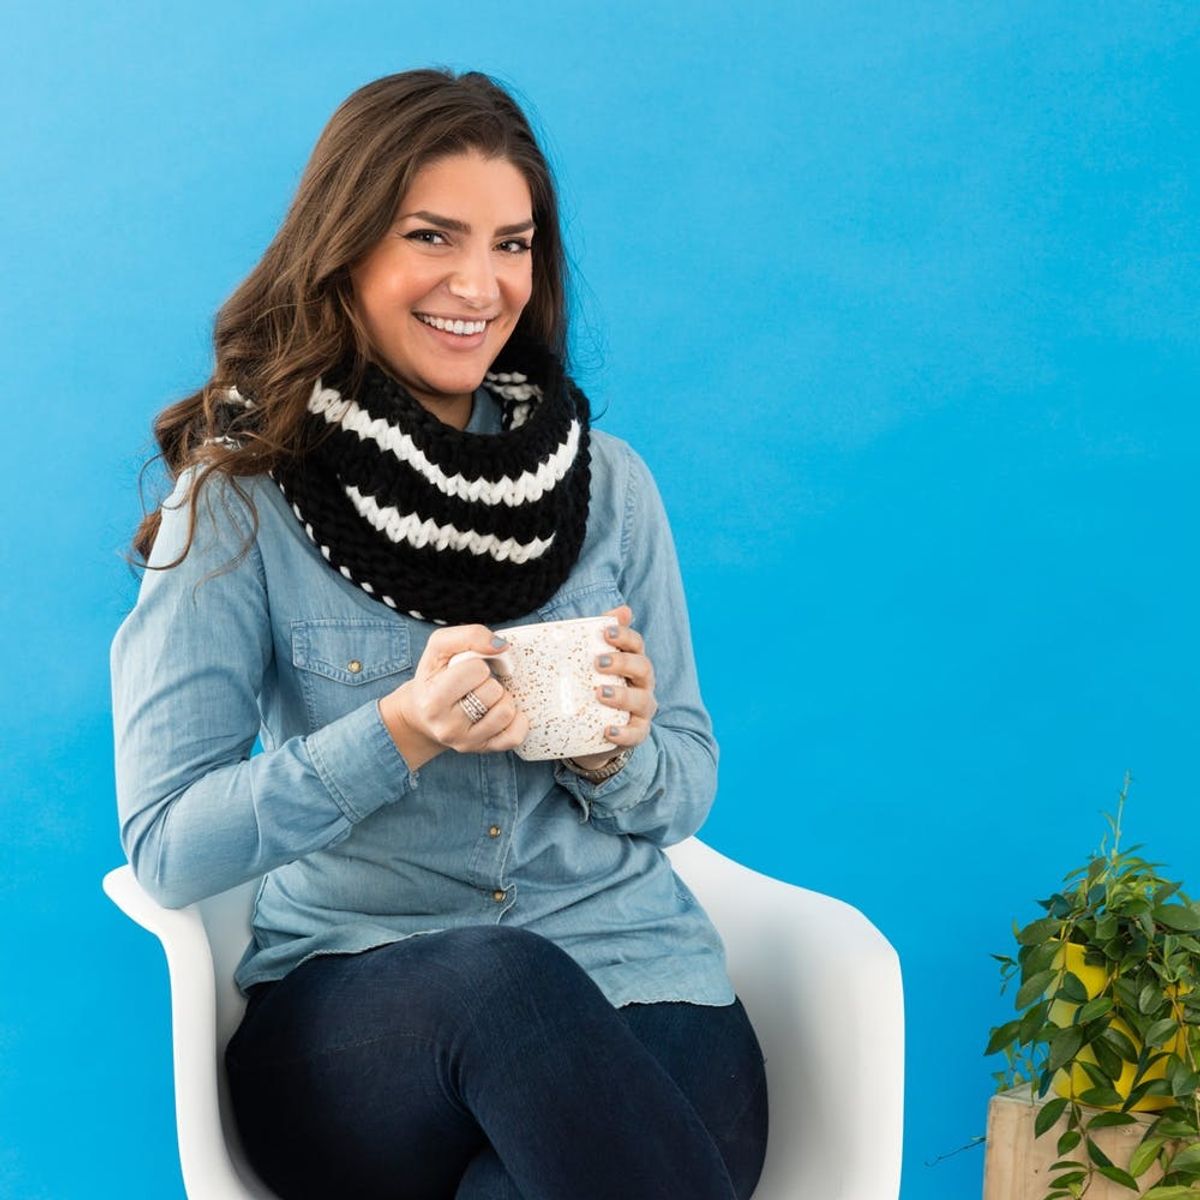
Greetings from San Francisco, where it’s ALWAYS sweater weather. This also means that scarves are year-around accessories, and the best kinds of accessories are hand made. If you’ve been thinking about picking up knitting, now’s your chance to jump right in! Knitting can be super intimidating, but with our Knit A Scarf Kit available at nearly all Target stores (and online!) you can kickstart your new hobby with a simple, beginner-friendly pattern. If you’ve purchased our kit, redeem our Intro To Knitting online class for a little extra help with the knitting basics.

This chunky black and white scarf is perfect for dressing up for the office, or dressing down for Sunday coffee and a good read. Let’s get to knitting!
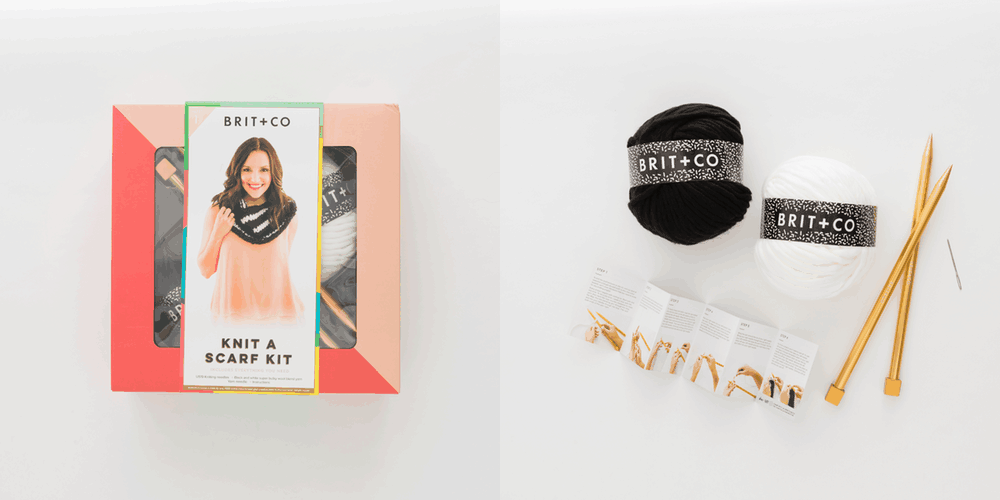
Materials and Tools:
- super bulky yarn (87 yards, black and white)
- US19 knitting needles
- yarn needleOr purchase our Knit A Scarf Kit on Target.com!
Pattern:
Row 1: Cast on 60 stitches with black yarn
Row 2: Knit
Row 3: Purl
Row 4: Knit
Row 5: Purl
Switch to white yarn
Row 6: Knit
Row 7: Purl
Switch to black yarn
Repeat rows 2-7, two times
Switch to black yarn
Repeat rows 2-5
Cast off, and stitch ends together with a mattress stitch
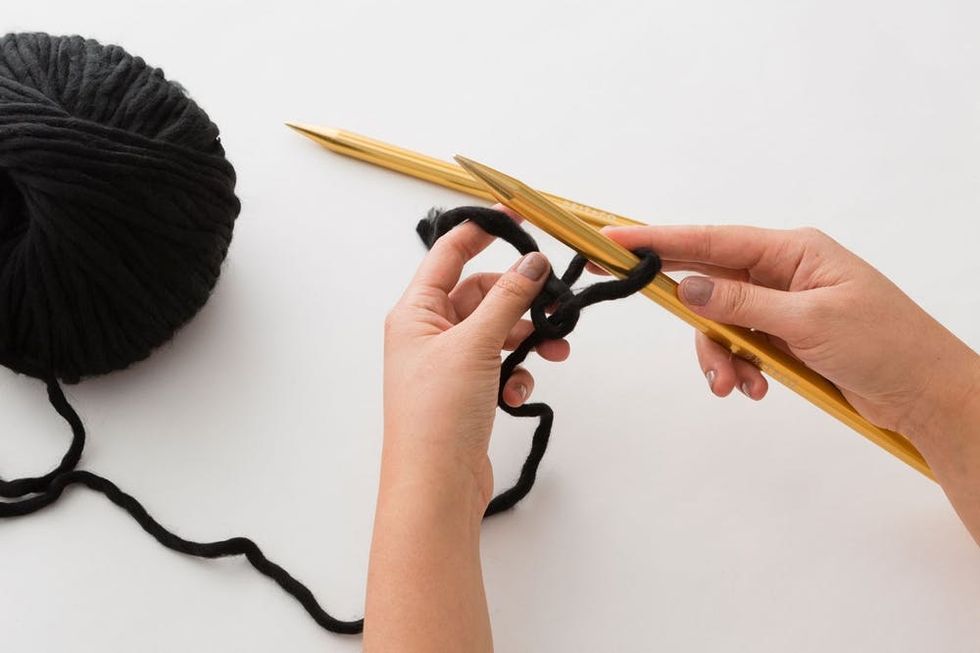
To start, tie a slip knot onto your needle. Loop the yarn around the needle, leaving a 6 inch tail, then pull the end of the yarn through the loop you’ve made. Pull the end of the yarn to tighten the knot.
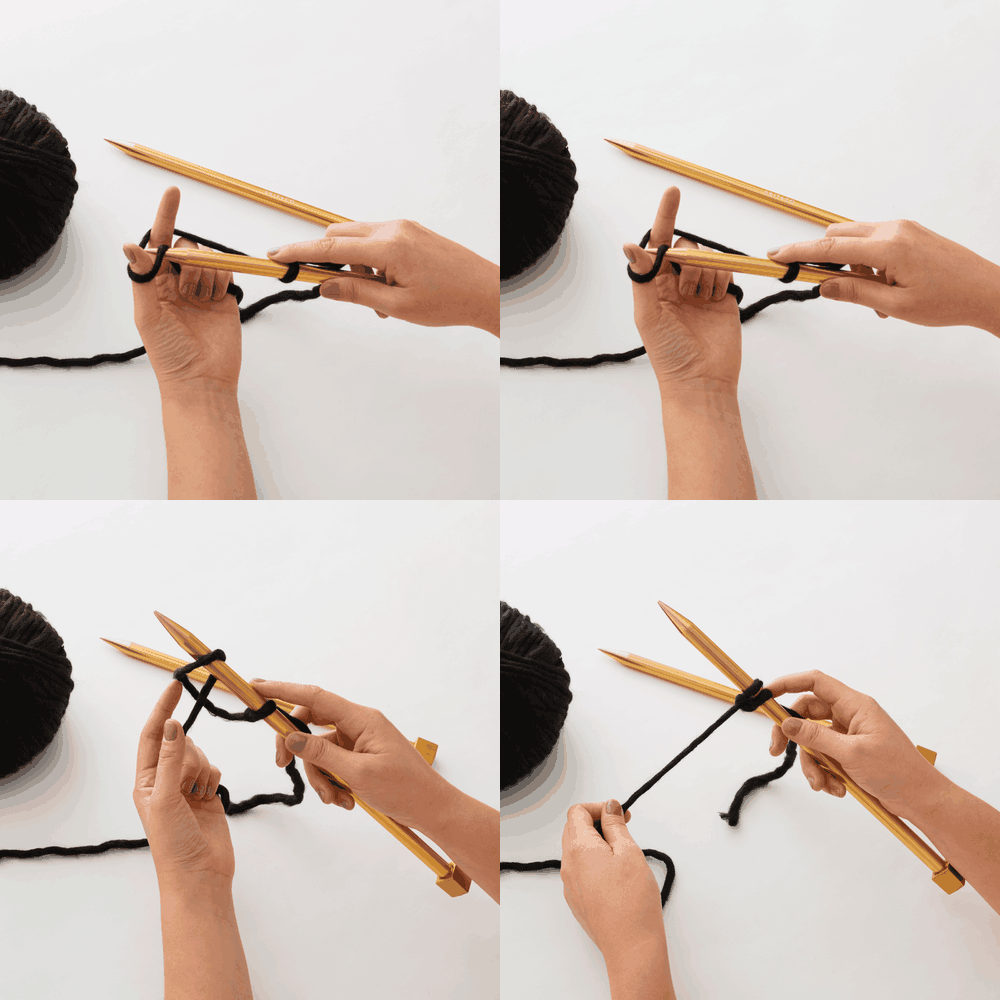
Every knitting project begins with casting on stitches. To cast a stitch, wrap the standing yarn (or the end of the yarn that’s connected to the yarn ball) around your thumb and index finger to create a loop. Slip your needle through the loop you’ve just made, and let go of the standing yarn. Pull the standing yarn to tighten the stitch. We recommend casting on between 55-60 stitches, but feel free to increase or decrease the stitch count depending on how long you’d like your scarf.
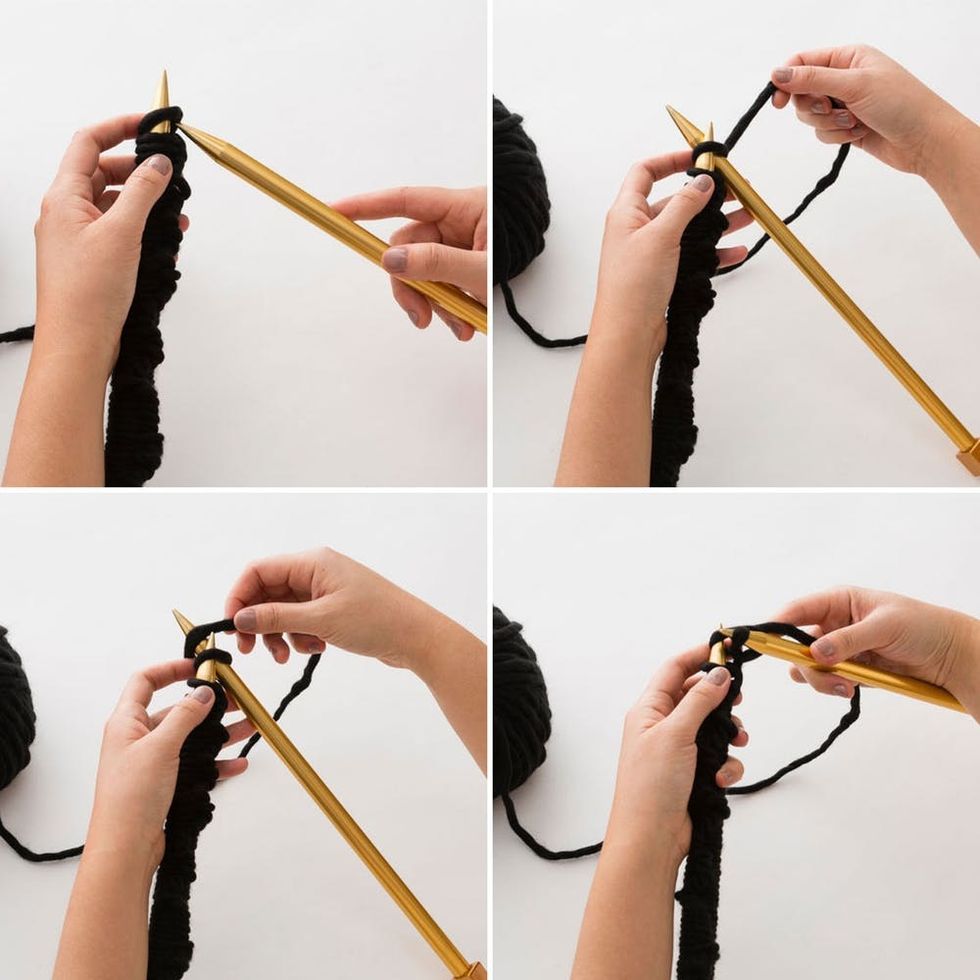
To make a basic knit stitch, insert the right needle into the first stitch on the left needle so that it’s behind the left needle. Wrap the yarn around the right needle from behind your work. Pull your right needle down and around so your new stitch is on the right needle.
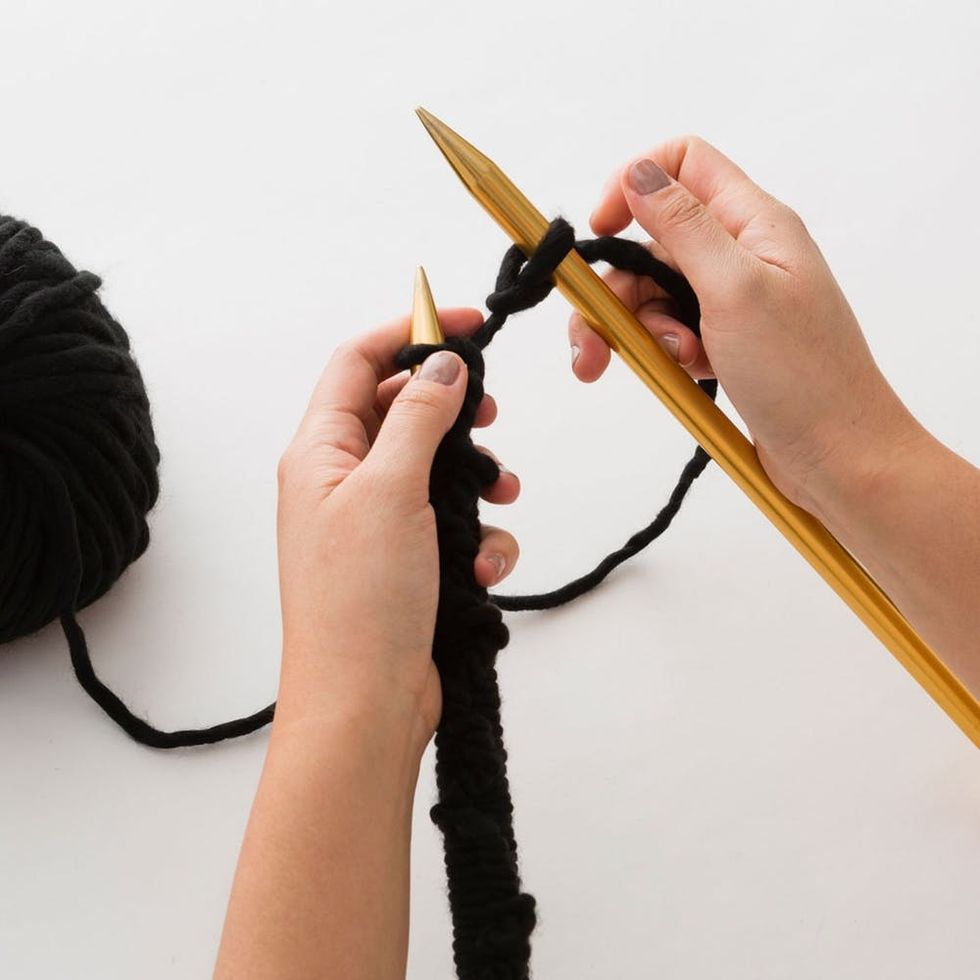
Then pop off the stitch that is on your left needle. Continue knitting until all stitches are transferred from the left to the right needle.
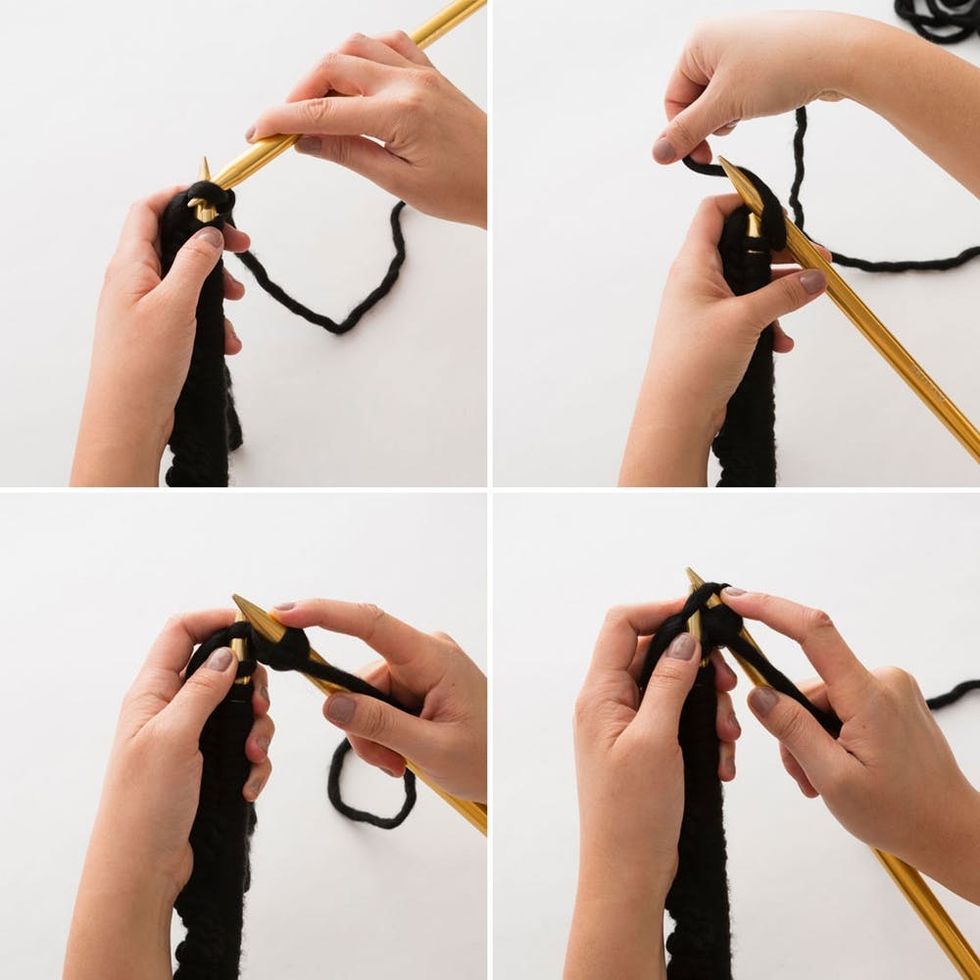
For this scarf pattern, we’ll alternate knit stitches and purl stitches. Pass your right needle into your left hand to “turn your work.” To make a purl stitch, which is a mirror of a knit stitch, start with the yarn in front of your right needle. Pass your right needle down through the top of the stitch on your left needle so your right needle is in front of your left needle. Wrap the yarn around the tip of your right needle. Bring your right needle through the top stitch on your left needle and draw the yarn through.
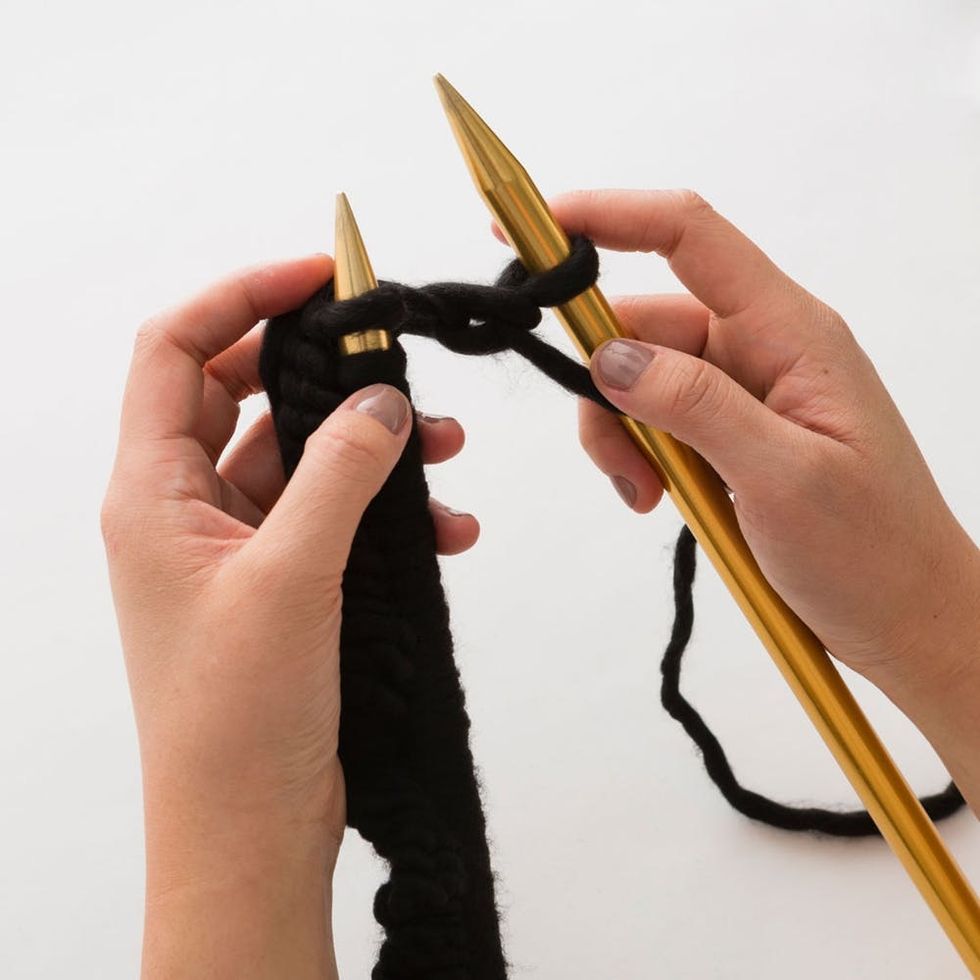
Pull the stitch off your left needle and you now have a new purl stitch on your right needle. Finish purling this row, and then knit one row and purl another row.
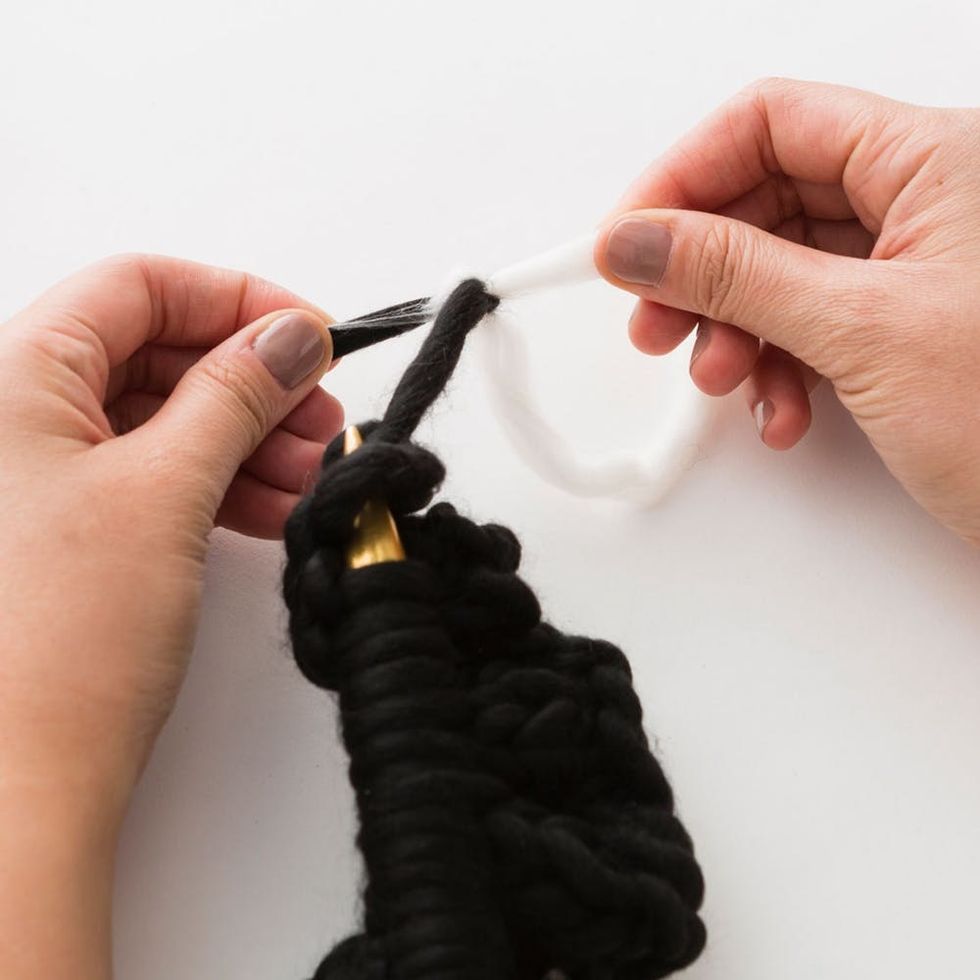
Once you have four rows stitched (knit, purl, knit, purl), it’s time to switch colors. Trim the black yarn and tie it to the end of the white yarn. Continue by knitting the next row, then purl the following row.
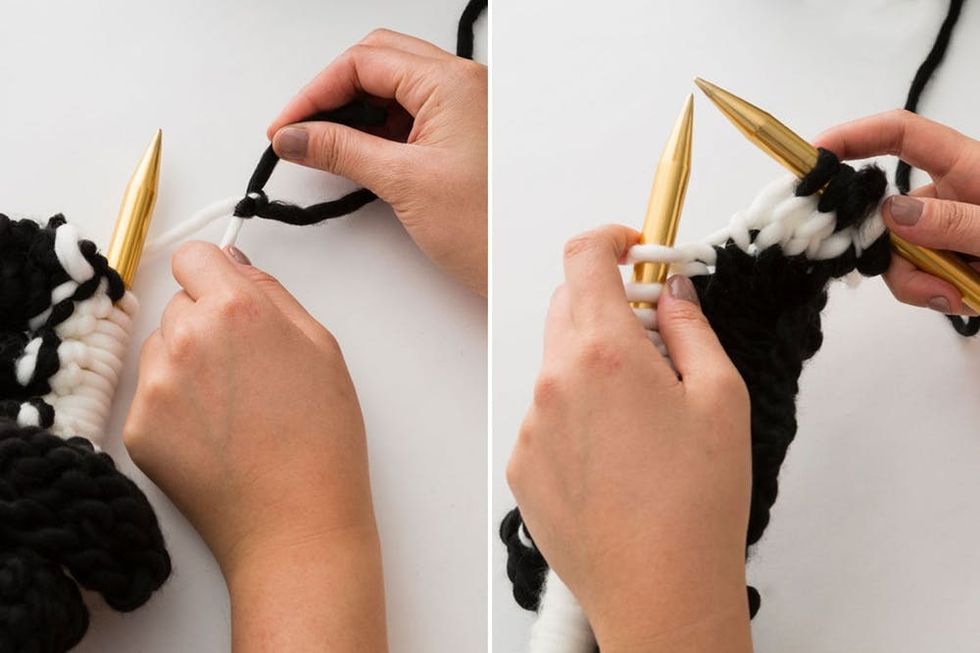
After two rows of white (knit, purl), you’ll switch back to the black yarn. Knit the next row. Repeat this basic pattern (knit black, purl black, knit black, purl black, switch, knit white, purl white, switch) twice, then finish by knitting one row of black, purling one row of black, knitting another row of black and purling a final row of black.
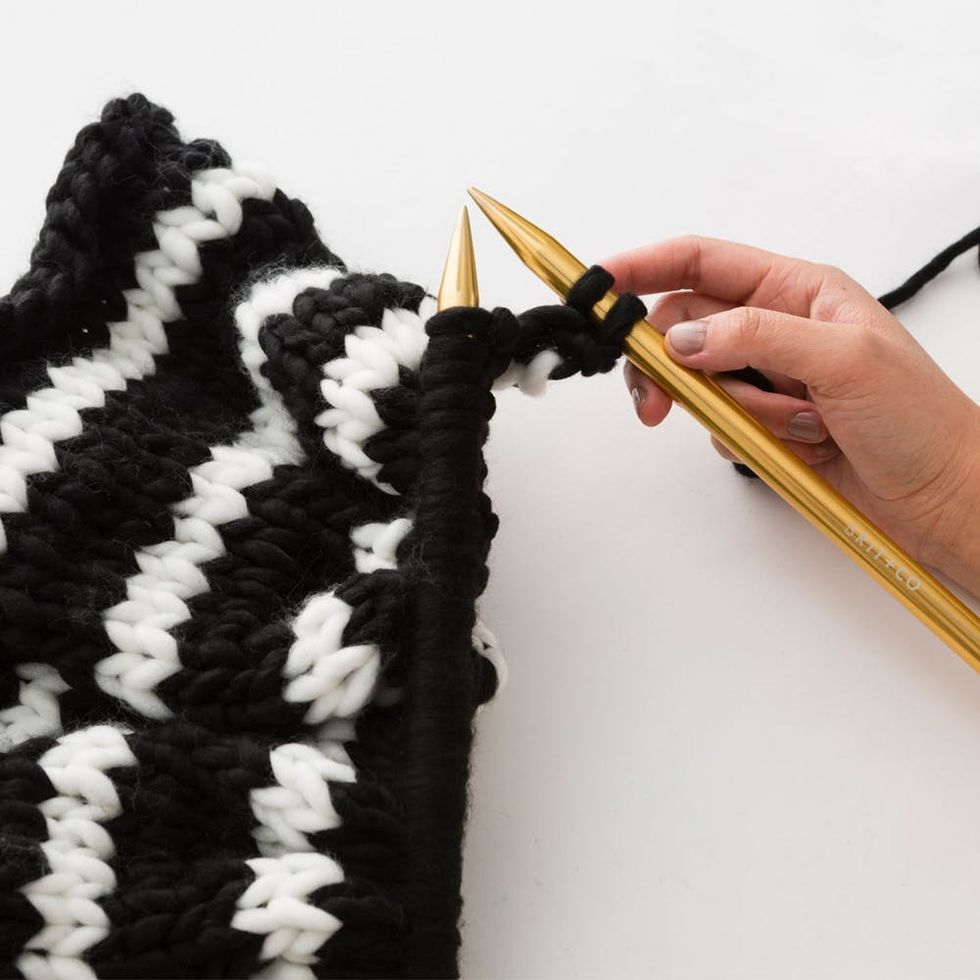
Once you’ve finishing knitting your scarf (woohoo!) it’s time to cast off. Start by knitting two stitches onto the free needle.
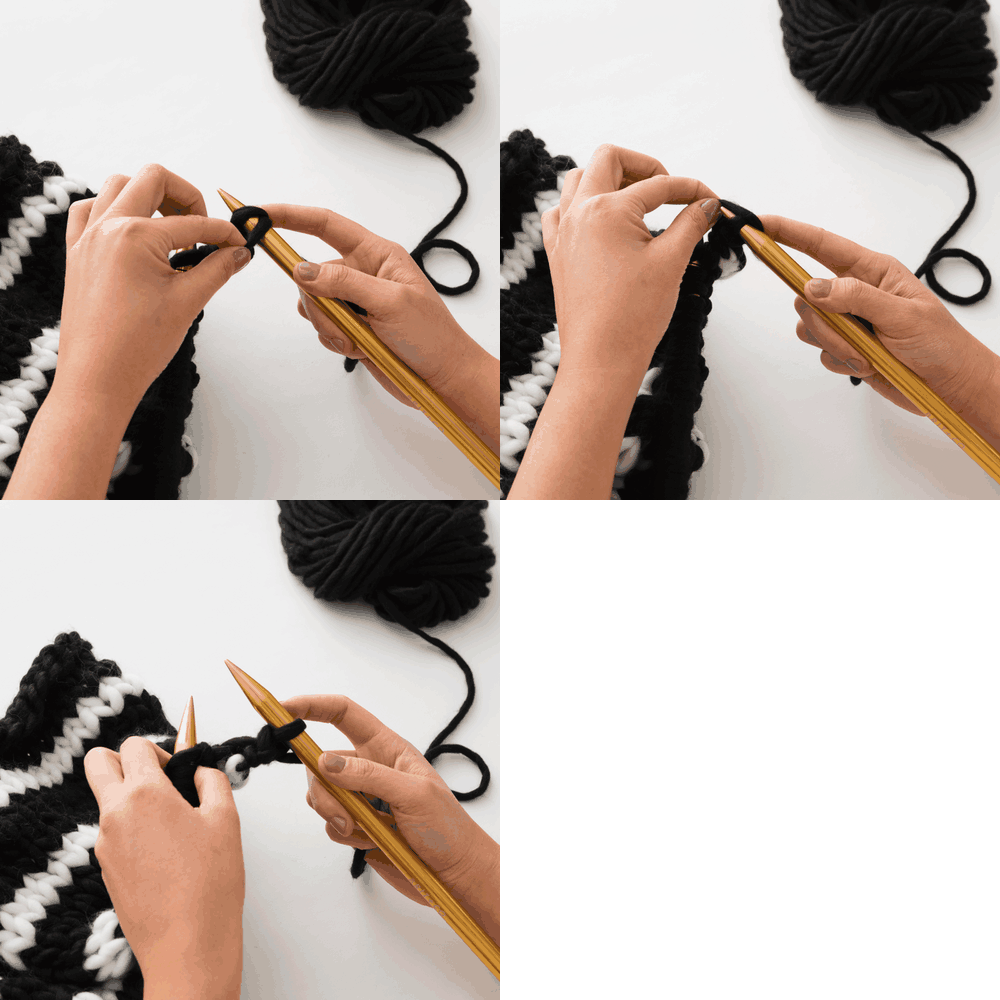
Pull the bottom stitch over the top stitch and off of the needle. Then knit another stitch, and repeat until all of the stitches have been cast off.
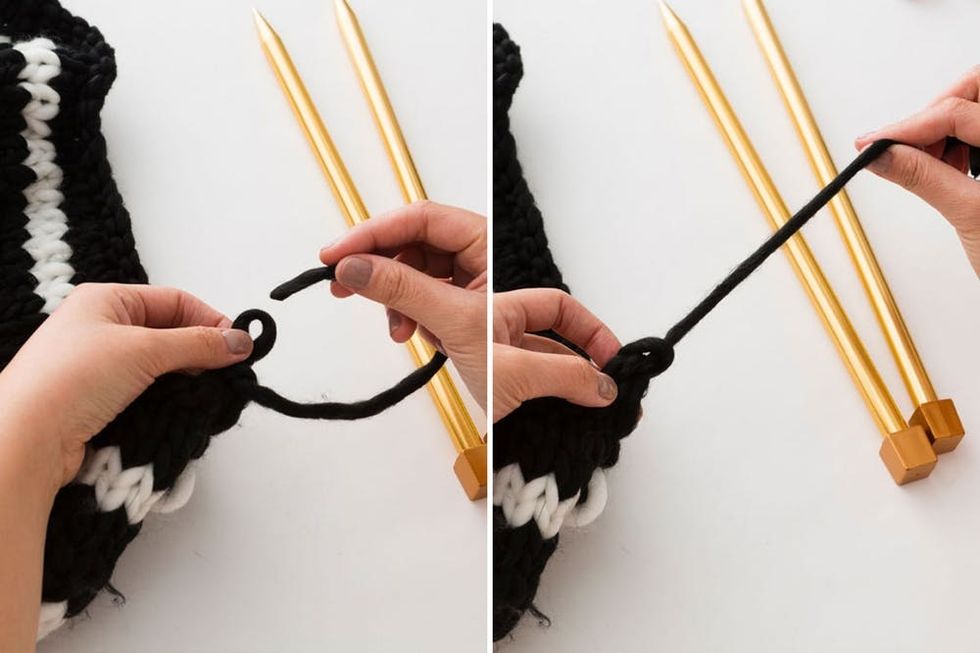
When you’re left with a single stitch, trim the yarn from the rest of the yarn ball and slip it through the remaining loop. Pull the end of the yarn to tighten the loop.
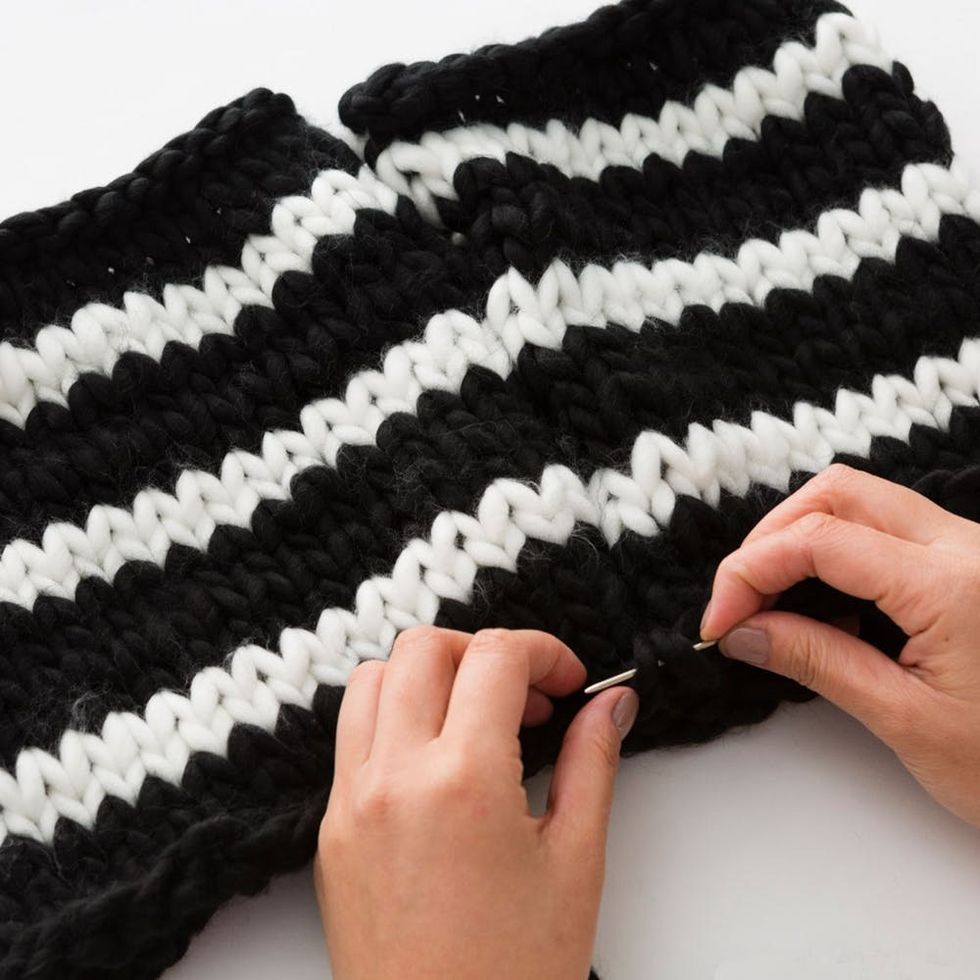
Line the two ends of the scarf up, and stitch them together using the excess yarn. Slip the needle underneath a stitch on one end and through another stitch on the other end. Work your way up to the top of the scarf, and tie off the loose yarn with a simple slip knot.
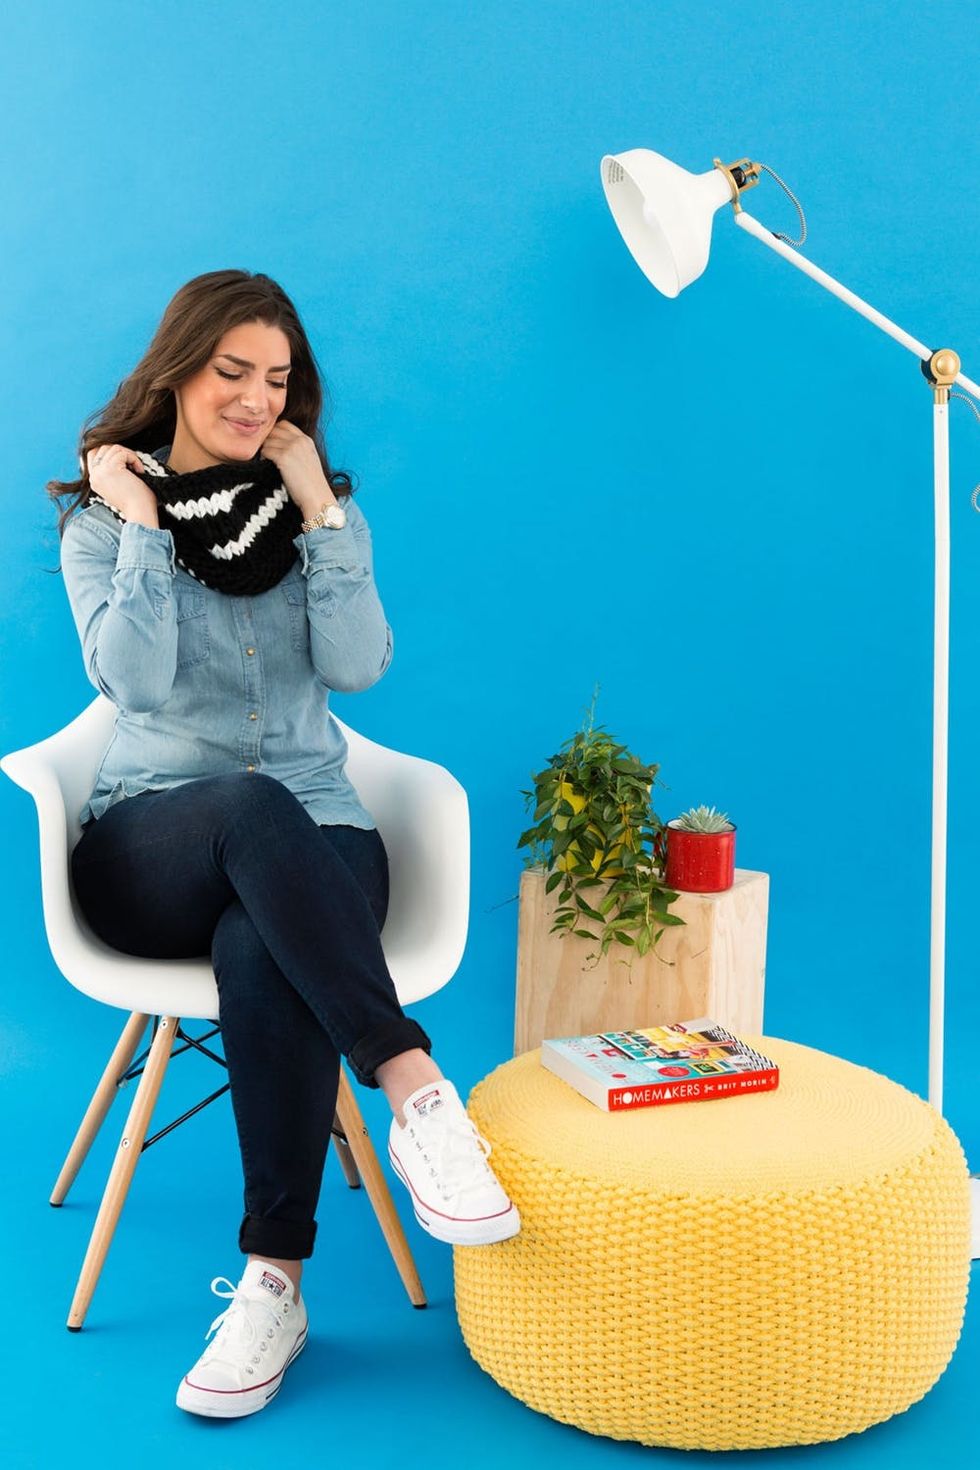
Tuck any loose ends of yarn into the scarf (big, chunky yarn is extra forgiving).
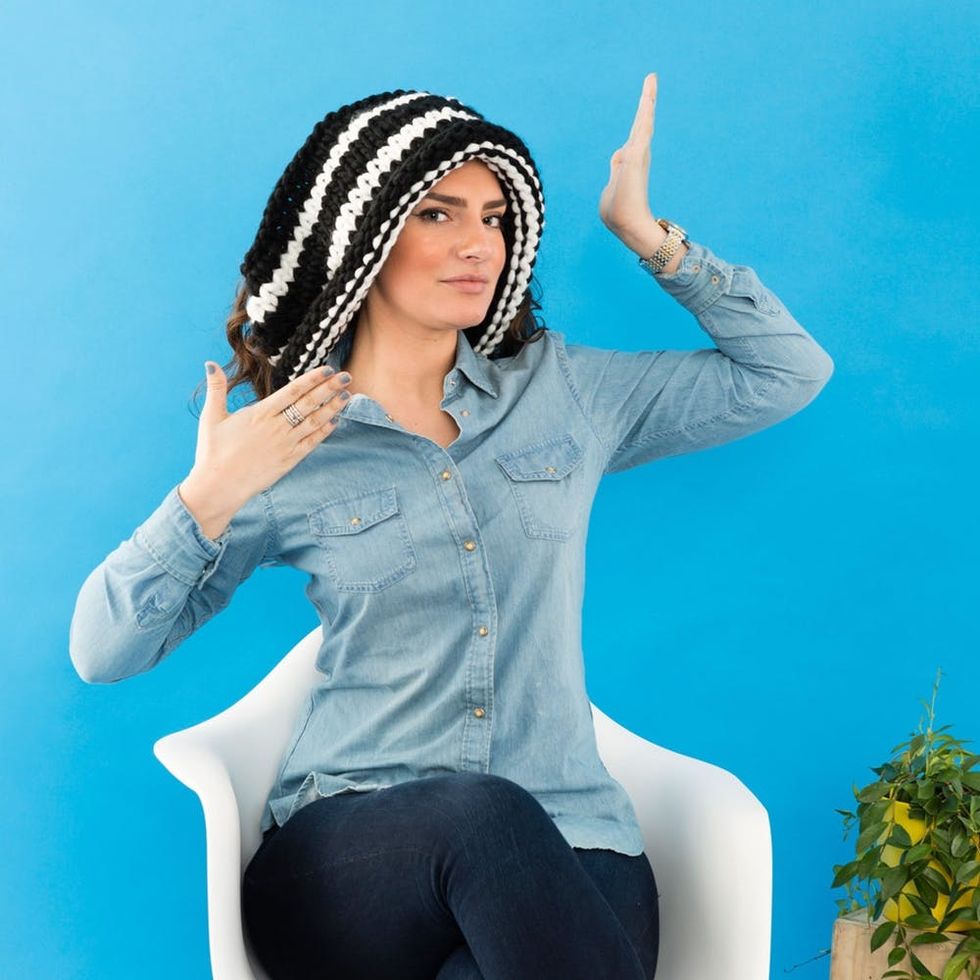
The scarf also doubles as a neat head wrap.* This is especially useful for any Girl With A Pearl Earring costumes. How’s that for value?
*We can’t guarantee that you won’t get judgmental looks from strangers.
Will you be picking up any Brit + Co DIY Kits during your next Target run? Let us know on Twitter at @britandco AND share your fave items using the hashtag #BritxTarget across your social media channels!
DIY Production: Marianne Koo
Photography: Brittany Griffin
Model: Kristina Elkus


