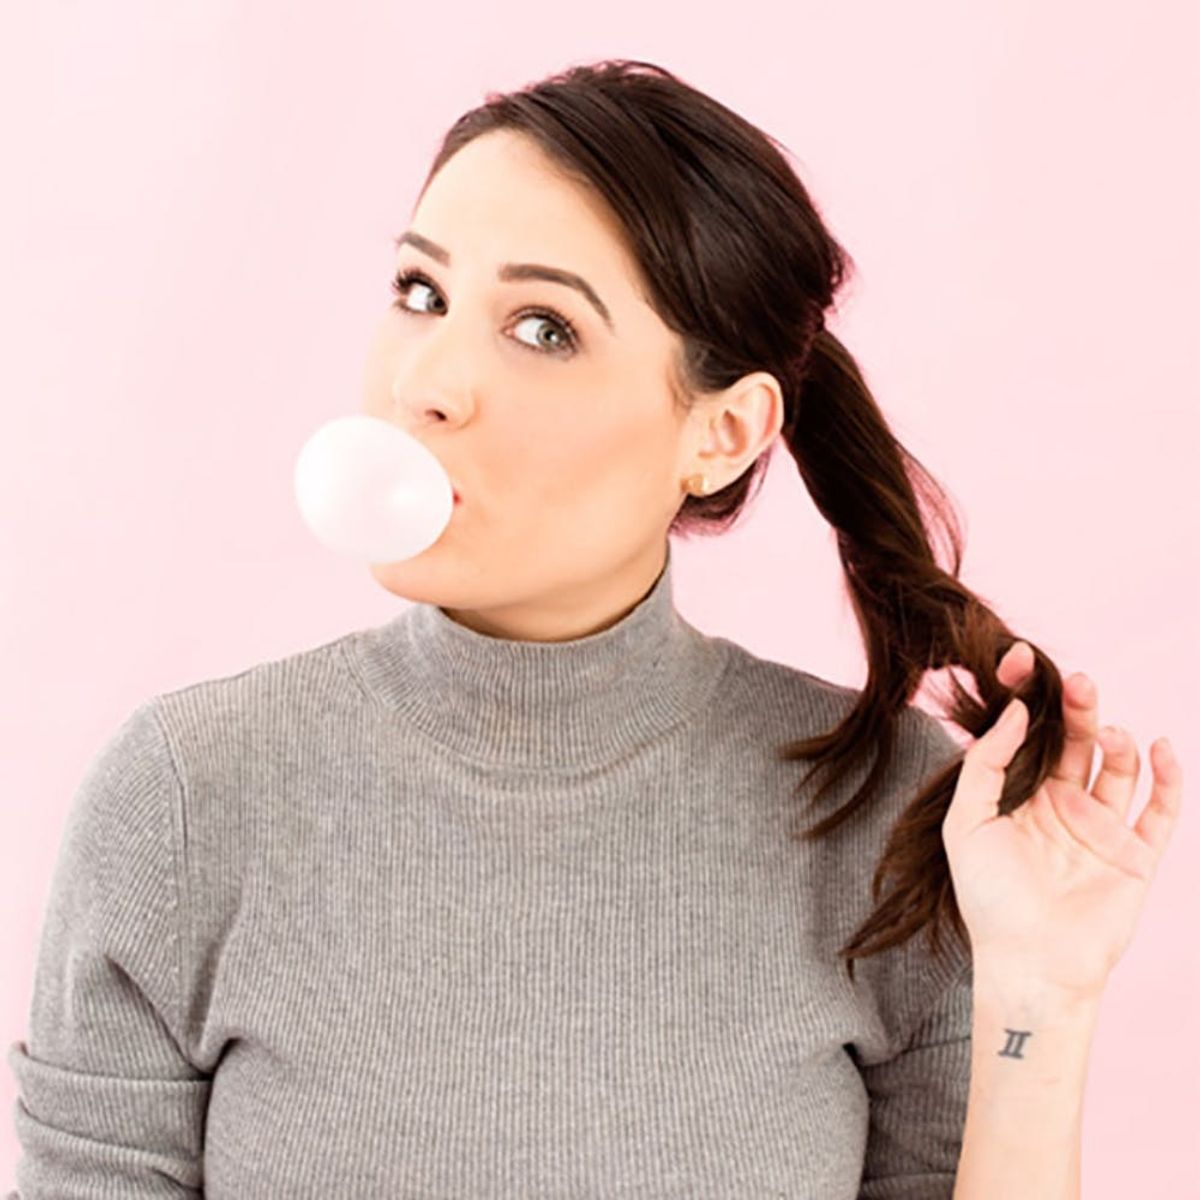
This has to be the sweetest beauty DIY ever.
I Made Lipstick Out of Bubblegum and This Is What Happened

As a beauty writer, I was pretty sure I’d seen and tried it all — the good, the bad and the ugly experiments in the name of beauty — until I stumbled upon a YouTube video that showed a vlogger making lipstick out of bubblegum. It totally blew my mind: How TF could seriously legit lipstick colors be created from gum?! I couldn’t wrap my head around the concept. But after watching the YouTube video of Rachel Levin (with her adorable pet goat by her side!) master the art of turning a candy into a cosmetic, I knew my reaction warranted way more than an audible “OMG.” Her process seemed pretty simple and the colors she created were straight-up awesome. So, I was instantly committed to giving this crazy experiment a go.

Good news: This is a really easy, silly and super fun DIY to complete, but be warned — you will need an apron, because this ish gets messy. It’s worth the mess though! And my favorite part? Customization. You can experiment using various types of gum and different flavors and colors to find your beauty sweet spot. Here’s what happened when I made lipstick out of bubblegum.

Materials:
— bubblegum
— Vaseline
— food coloring
— microwaveable bowl
— spoon

Instructions:
1. Take two pieces of your bubblegum of choice and add them to a microwaveable bowl. Pro tip: The harder, less chewy types of gum work best (like thick HubbaBubba gum) because when heated, they are less viscous than thinner options (like Juicy Fruit).
2. Add a spoonful of Vaseline and a couple drops (or more, or less) of food coloring to the bowl. Mix two colors (red + blue) to create a new one (purple!) if you want. Give it a little stir.
3. Pop this mixture in the microwave for 30 seconds, then stir again.
4. Then, microwave the mixture again for 30-45 seconds and then mix until it’s all blended together — you now quite literally have made liquid lipstick ;) Note that there might be some bubblegum that won’t 100% dissolve, which is okay, because it acts as a lip scrub when you apply it.
5. Spoon the bubblegum lipstick into a cleaned-out lipstick tube and then put it in the freezer for about 30 minutes until it hardens. Take it out, swipe it on and get ready to brag about your bubblegum beauty DIY. Take a look at the six shades I ended up with below after playing with different types of gum and amounts of food coloring.

I have to say that this was one of my favorite beauty DIYs ever. I loved the colors that resulted from this experiment — my faves were a pinky-nude (using HubeBubba Bubble Tape and no additional food coloring), a bright red (adding two drops of red food coloring to HubbaBubba Dr. Pepper) and a raspberry shade (mixing in two drops of red + 1 drop of blue with Juicy Fruit). Note that this stuff straight up STAINS your lips because of the food coloring; I actually had to use a makeup wipe to remove it at the end of the day, so you’ll get a super long-wearing color from these. My lips felt really hydrated thanks to the Vaseline base, and tasted yummy because of the bubblegum. While I’ll probably stick to buying lipsticks most of the time, this was a really fun way to create and customize my own lipstick.
Follow us on Pinterest for more DIY beauty inspo!


