Ever wanted to throw a Halloween party but didn’t have the budget to decorate properly? We know how you feel. Holiday decorations are such an investment, especially since you only use them once a year. Luckily for you, Brit + Co. has you covered on that front. We’ve created 3 super cute and super budget-friendly […]
DIY Halloween Decor: Burlap Edition
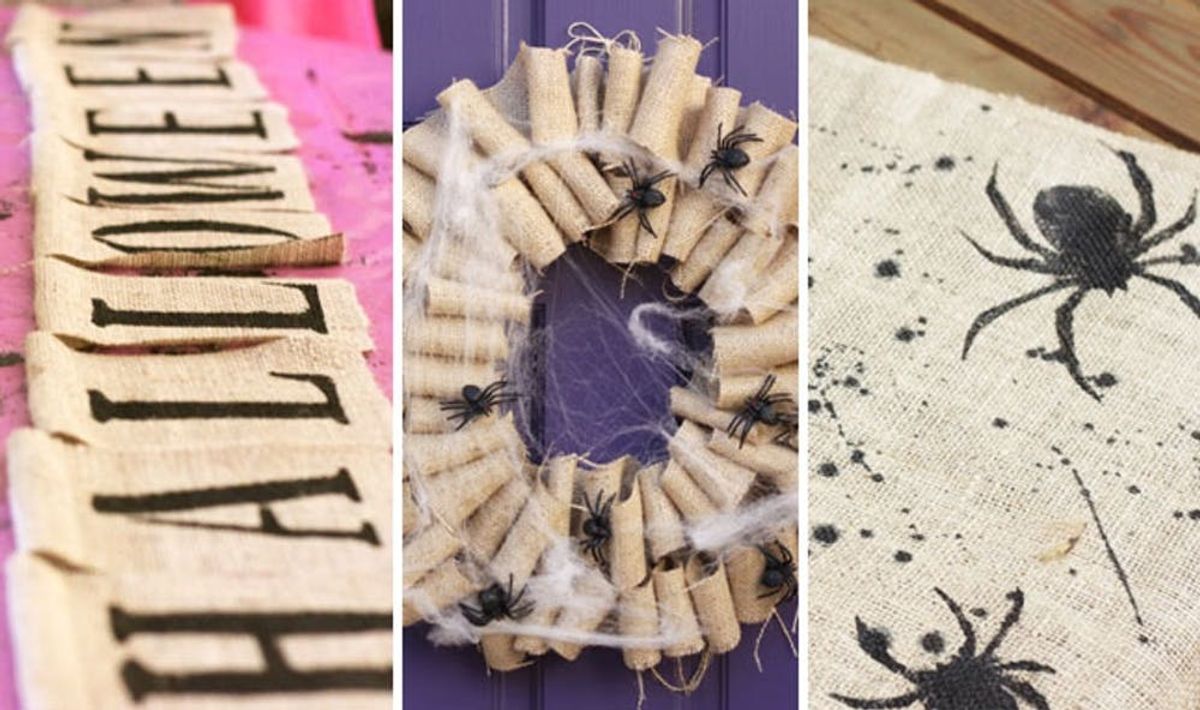
Ever wanted to throw a Halloween party but didn’t have the budget to decorate properly? We know how you feel. Holiday decorations are such an investment, especially since you only use them once a year. Luckily for you, Brit + Co. has you covered on that front. We’ve created 3 super cute and super budget-friendly DIY Halloween decor projects.
Materials:
– 2 yards burlap
– 1 large cardboard box
– box cutter
– scissors
– glue gun
– xacto knife
– spider webs
– 10 plastic spider rings
– hemp cord
– 1 bottle multi-surface black paint
– paint brush
– Crafter’s Pick fabric glue
– alphabet stencils
1. Spider Web Burlap Wreath
First thing to is to get your materials together. Cut 4 lengthwise strips from the burlap, each 3 inches wide.
Trace a large circle on the cardboard box (we used a 14-inch cake carrier base). Trace a smaller circle inside the large circle (we used a 10-inch pot lid). Use a box cutter to cut larger circle and then smaller circle, leaving you with the wreath frame.
Use a glue gun to place a strip of glue on the wreath frame. Attach two ribbons of burlap, letting the sides hang off. Place another strip of glue about an inch from the first and loosely fold over ribbon to create a loop. Repeat with all remaining strips of burlap until the entire wreath frame is covered.
Spread spider webs across the frame.
Use glue gun to attach spider rings to frame. Use hemp cord to attach a hanging cord from the frame, and you’re done!
2. Spider Table Runner
Cut 1 lengthwise strip from the burlap, 16 inches wide.
Create spider stencils by drawing a small spider on one sheet of paper and a larger spider of another sheet of paper (we used this template). Use an Xacto knife to cut out the stencils. Use stencils and black paint to create spiders on table runner.
Thin paint with a few drops of water and then use paint brush to fling paint splatters over runner. Voila!
3. Halloween Party Banner
Finally, a way to welcome all those ghouls and goblins! :)
Cut 1 lengthwise strip from the burlap, 7 inches wide. Cut the lengthwise strip into 14 rectangles, each 4.5 inches wide.
Place a thin strip of Crafter’s fabric glue across the top edge of the rectangle, then fold over about 1 inch to create a seam. Repeat with remaining rectangles. Let dry 2 hours.
Flip rectangles over. Use stencils and paint to create “Happy Halloween” letters. Let dry.
Use a safety pin to help thread hemp cord through letters. Happy Halloween!
What are your favorite ways to decorate for Halloween? Any DIY decor projects we should check out? Talk to us in the comments below.


