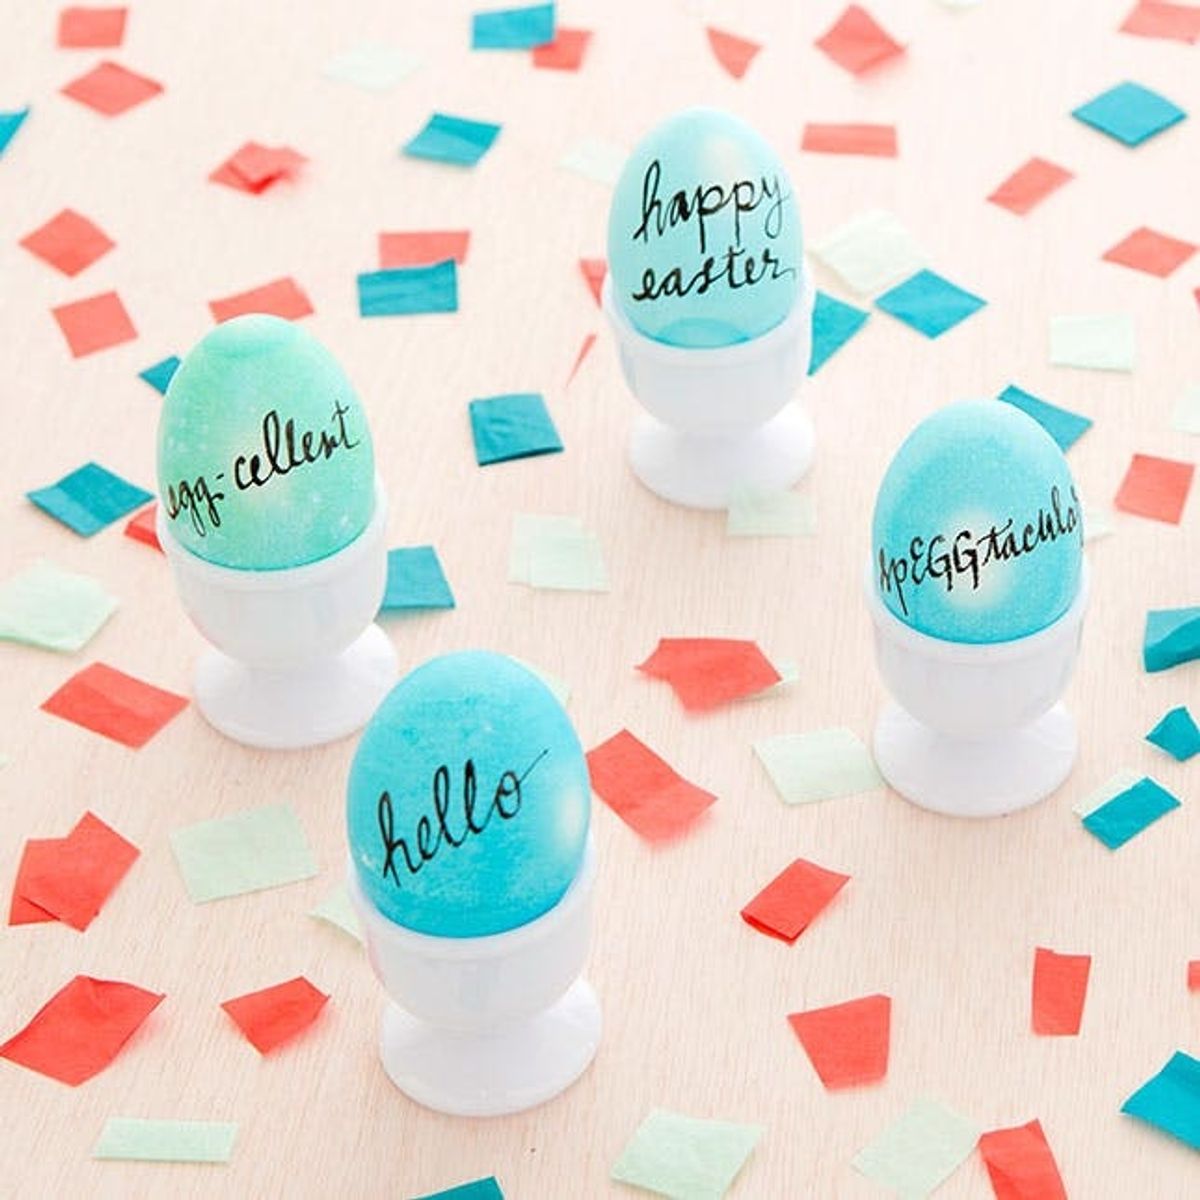
Oh. They’re pretty punny too.
How to Make Calligraphy Easter Eggs

One of our favorite parts of Easter is the opportunity for egg-regious egg puns. See? We couldn’t even get through the first sentence without one! Now it’s time to get your handwriting in order so that you can make these calligraphy eggs for Easter. Not so confident in your lettering skills? Take our calligraphy e-class and you’ll be all set.

Materials:

– PAAS Easter Egg Dyeing Kit
– scratch paper
– distilled white vinegar
– mixing jar
– calligraphy ink
Tools:
– calligraphy pen
Instructions:

1. Dye your eggs and let them dry on your DIY drying rack.
2. Practice your words and phrases on a piece of scratch paper. Egg-spress yourself.
3. Calligraph your eggs, being careful not to touch the ink.
We’re using classic PAAS dye to color our eggs. It’s super simple to make and you’ll be able to dye a bunch of eggs with the same batch of dye.
Pour distilled white vinegar into your mixing jar. Then add a dye tablet and let it dissolve. Using the tool from the PAAS kit, gently place your egg in the dye. The longer it sits, the darker your color will be.

Once your egg is the color you desire, take it out of the dye and let it dry on your drying rack.

Before you ink your eggs, we highly recommend that you practice your words on scratch paper so you can get them egg-zactly right ;)

Writing on your eggs will feel different than the paper. The shell is porous and curved, so don’t fill your nib with a ton of ink, and press lightly so you can go back over your letters and make them look egg-ceptional. Too many? We think not!

Check out all our little egg friends.

They really are spEGGtacular, aren’t they?

We’re kind of obsessed with egg puns. What other Easter egg puns are cracking you up?


