We reconnected with our long lost pal cement to show just what you can get done with a bucket of quick-dry cement and a free 30 minutes. Oh, and a muffin pan. Yep — we’re using the shape of the baking dish as a mold for cool cement coasters that can dress up a table top in an instant.
Set It + Forget It: Make Cement Coasters in Under 30 Minutes
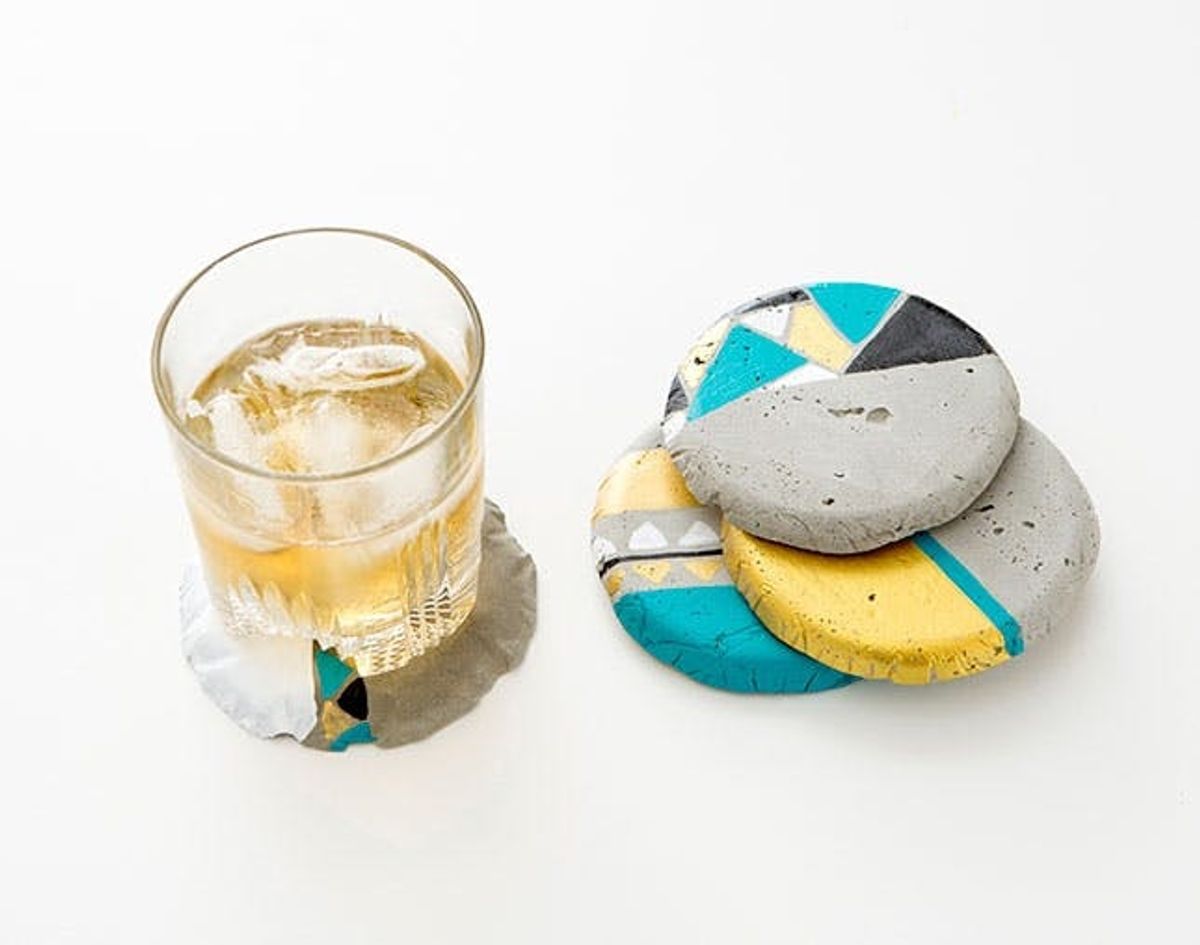
Here at Brit + Co., we don’t really play favorites with materials. We’ll laser cut acrylic, spray paint just about anything and make with DIY basics like yarn and paper. But we do tend to forget about cement :( It’s got a sloppy stigma and takes forever to dry, but honestly, why are those bad things? We’ve learned that messes are half the fun of making, plus a “set it + forget it” type of project is actually a lot easier to squeeze into our beyond busy schedules. So we reconnected with our long lost pal to show just what you can get done with a bucket of quick-dry cement and a free 30 minutes. Oh, and a muffin pan. We’re using the shape of the baking dish as a mold for cool cement coasters that can dress up a table top in an instant.
<br/>
 – quick dry cement
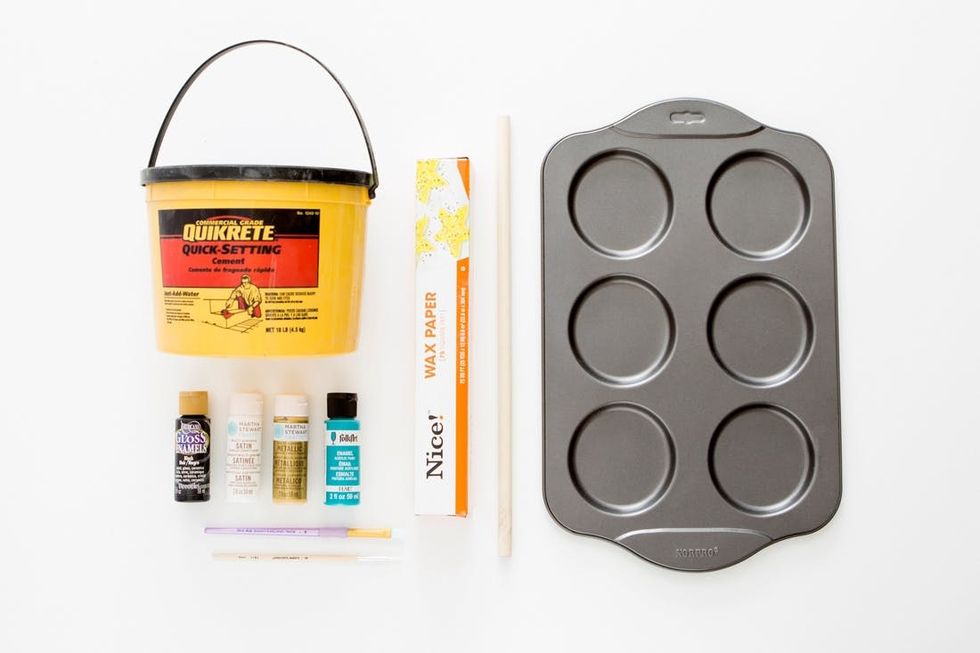
– wax paper
– acrylic paint
Tools:
– muffin pan
– paint brushes
– stirring stick
Instructions:
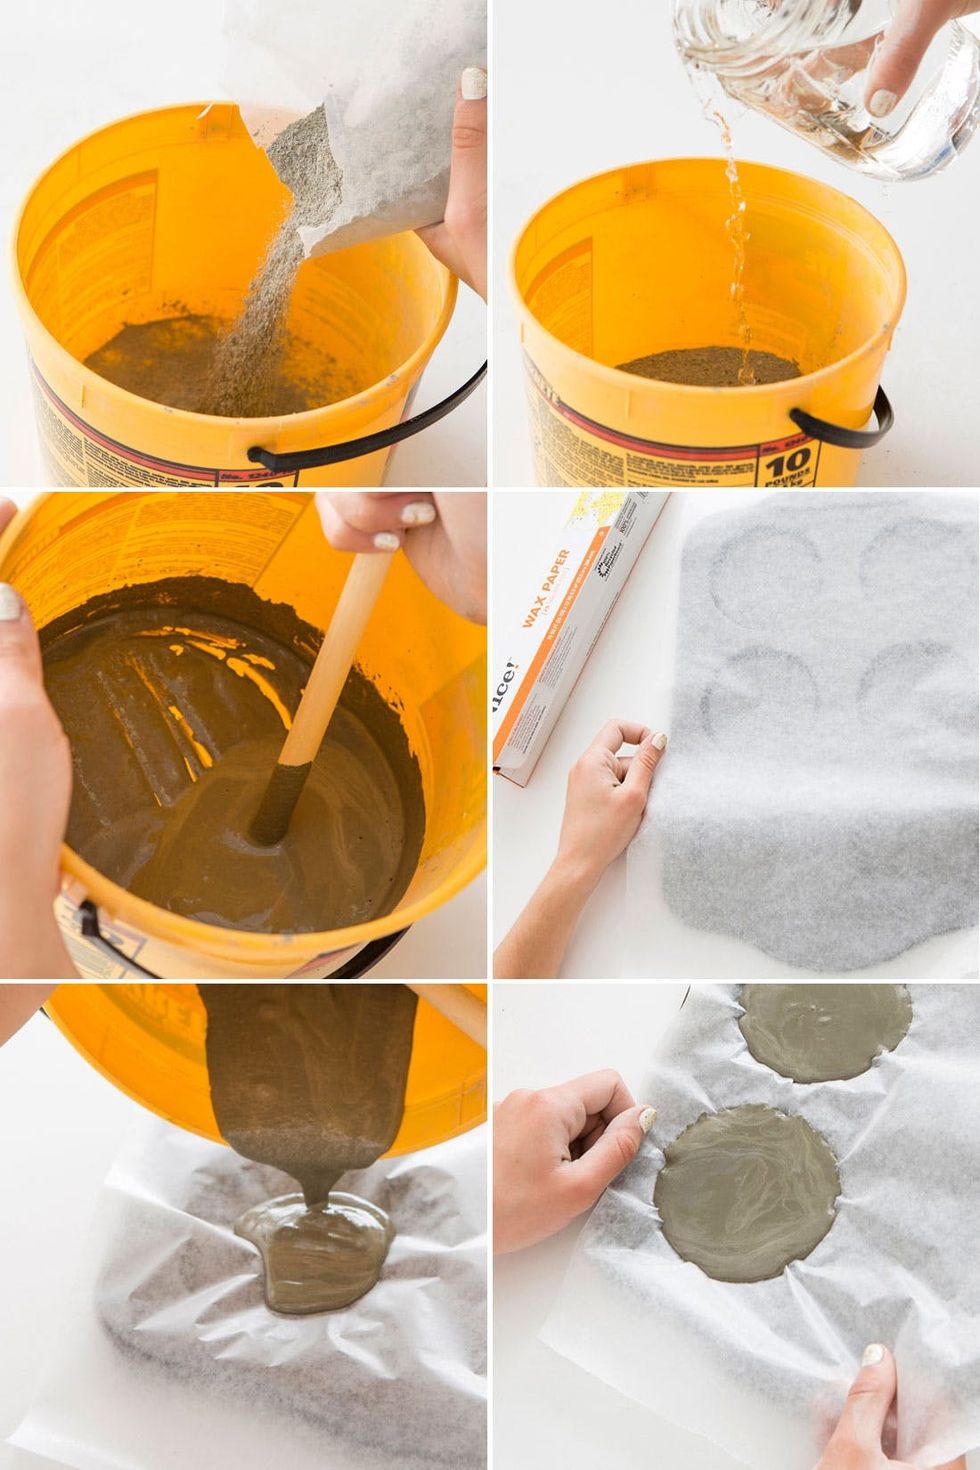
1. Mix together quick drying cement according to the package instructions. We add small amounts of water until we get it to a thick, pasty consistency.
2. Put a layer of wax paper on top of the muffin pan and pour cement into the compartments.
3. Pull the sides of the wax paper to remove air bubbles. Then, let the cement completely dry, up to 24 hours.
4. Peel coasters off of the wax paper.
5. Customize your coaters!
Mix together the quick dry cement, about two parts cement with one part water to get it the consistency of thick paste. Then, place a sheet of wax paper over the muffin pan and pour in the cement. Pull the sides of the wax paper to even out the cement and get rid of air bubbles. Then let it completely dry — go wash your laundry or get your nails did!
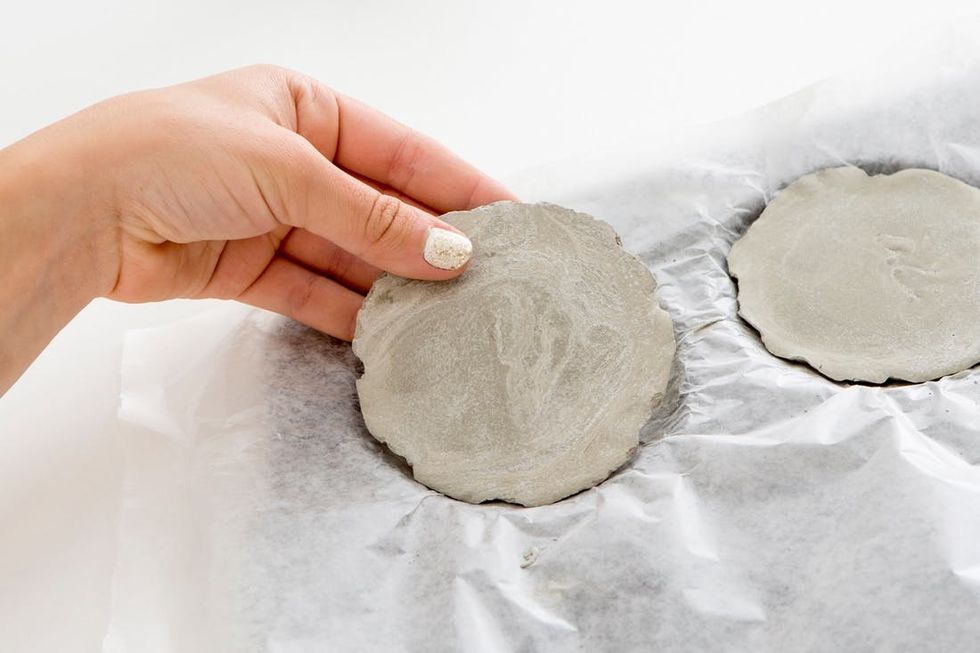
The cement should dry within 24 hours. You will notice that it is lighter in color and will peel off the wax paper with no problem! See now, cement IS totally user-friendly :)
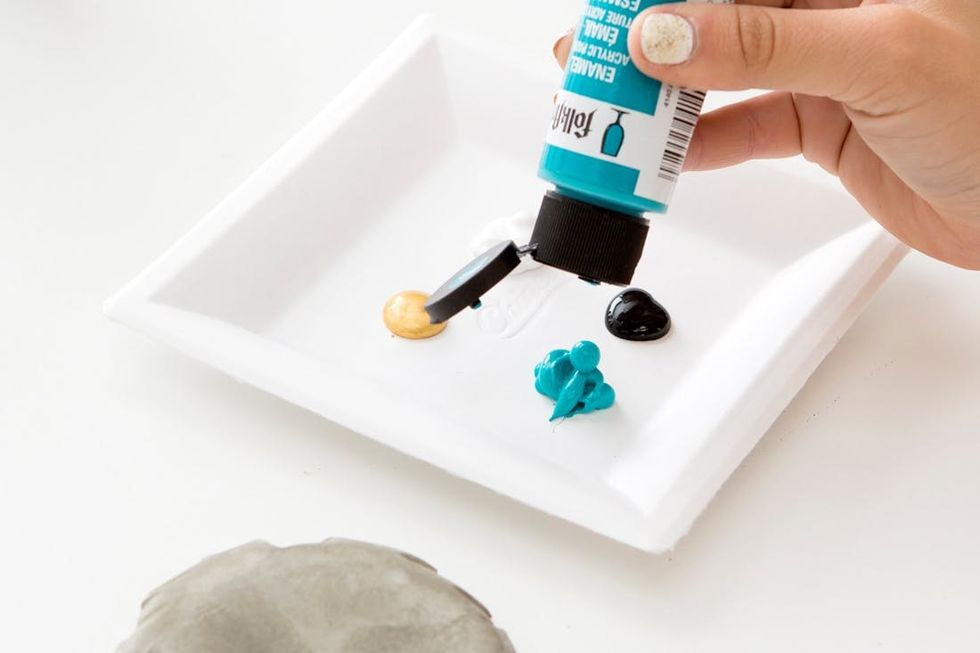
All that’s left to do is customize! Use whatever material you have on hand. You can use anything from gold leafing to a stencil + spray paint — we even broke out the acrylic paint.
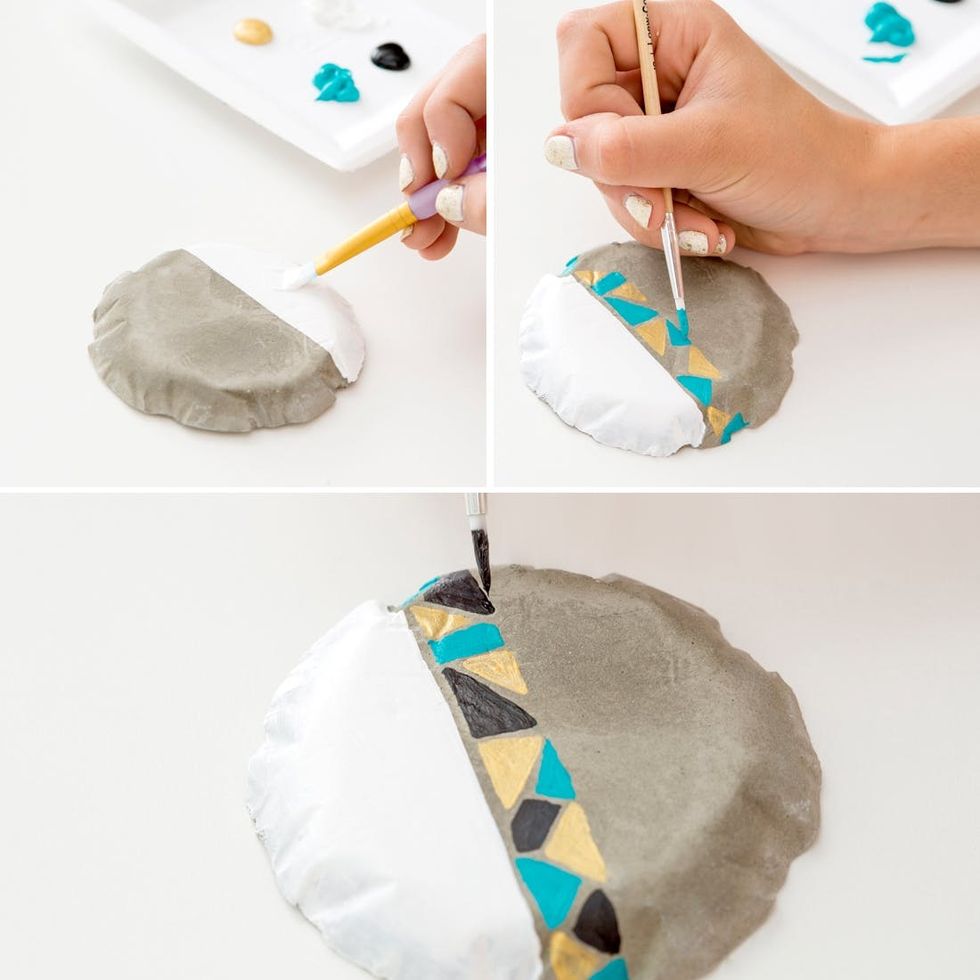
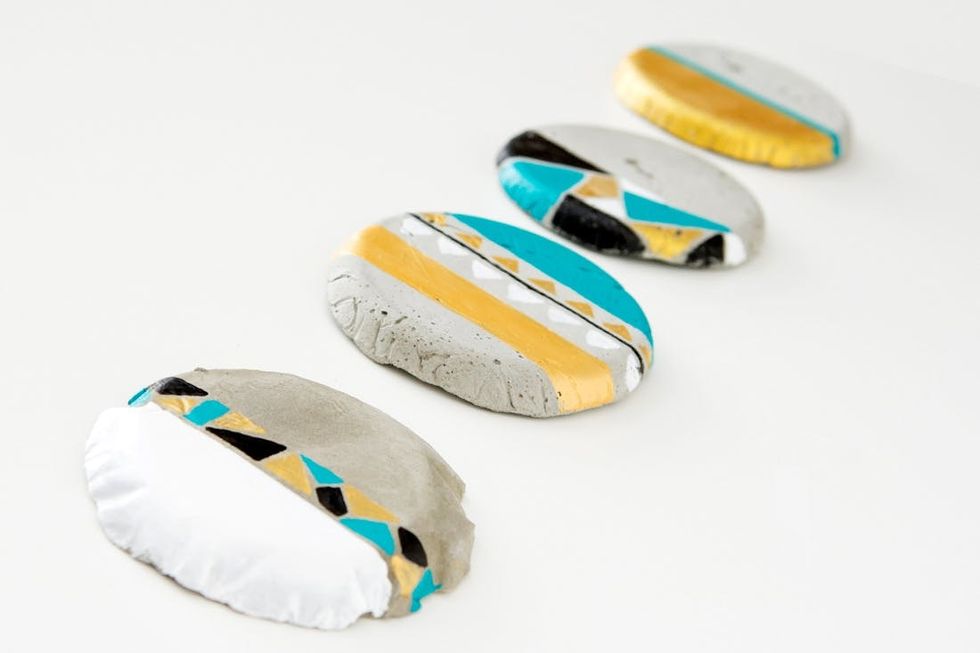
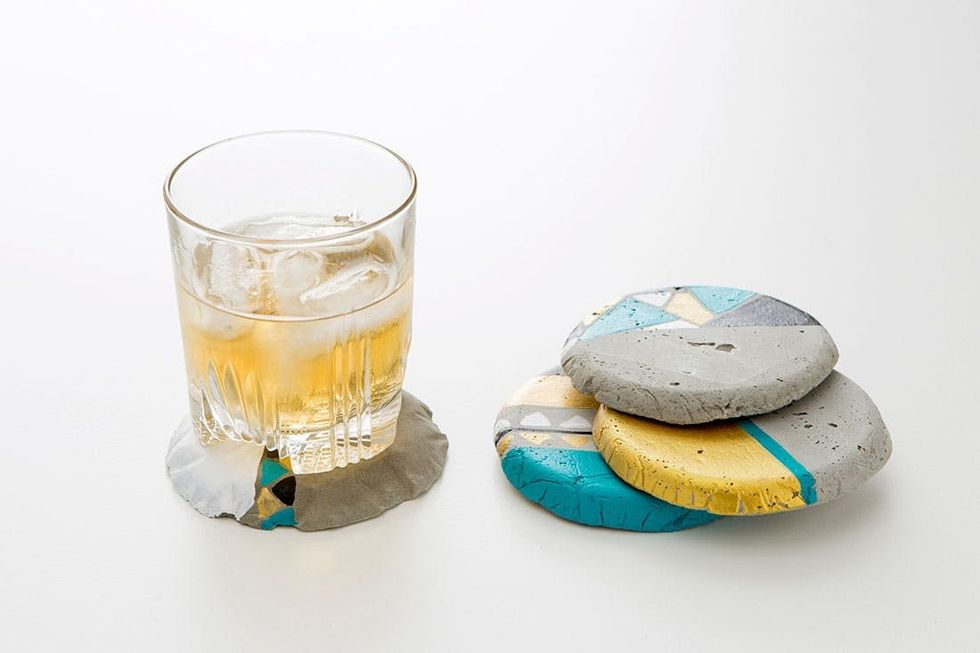
Get creative when painting! We went with a chic color palette and a geometric design. For this particular coaster, we color blocked the one side in white and added a stripe of shapes down the middle.
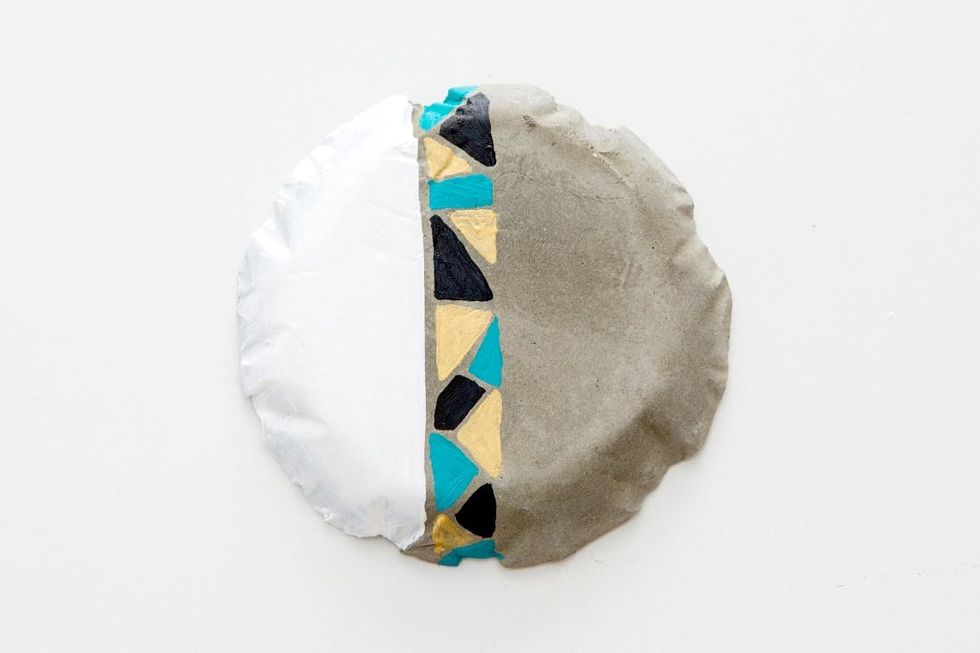
Yup, we dig it. Let’s paint some more!
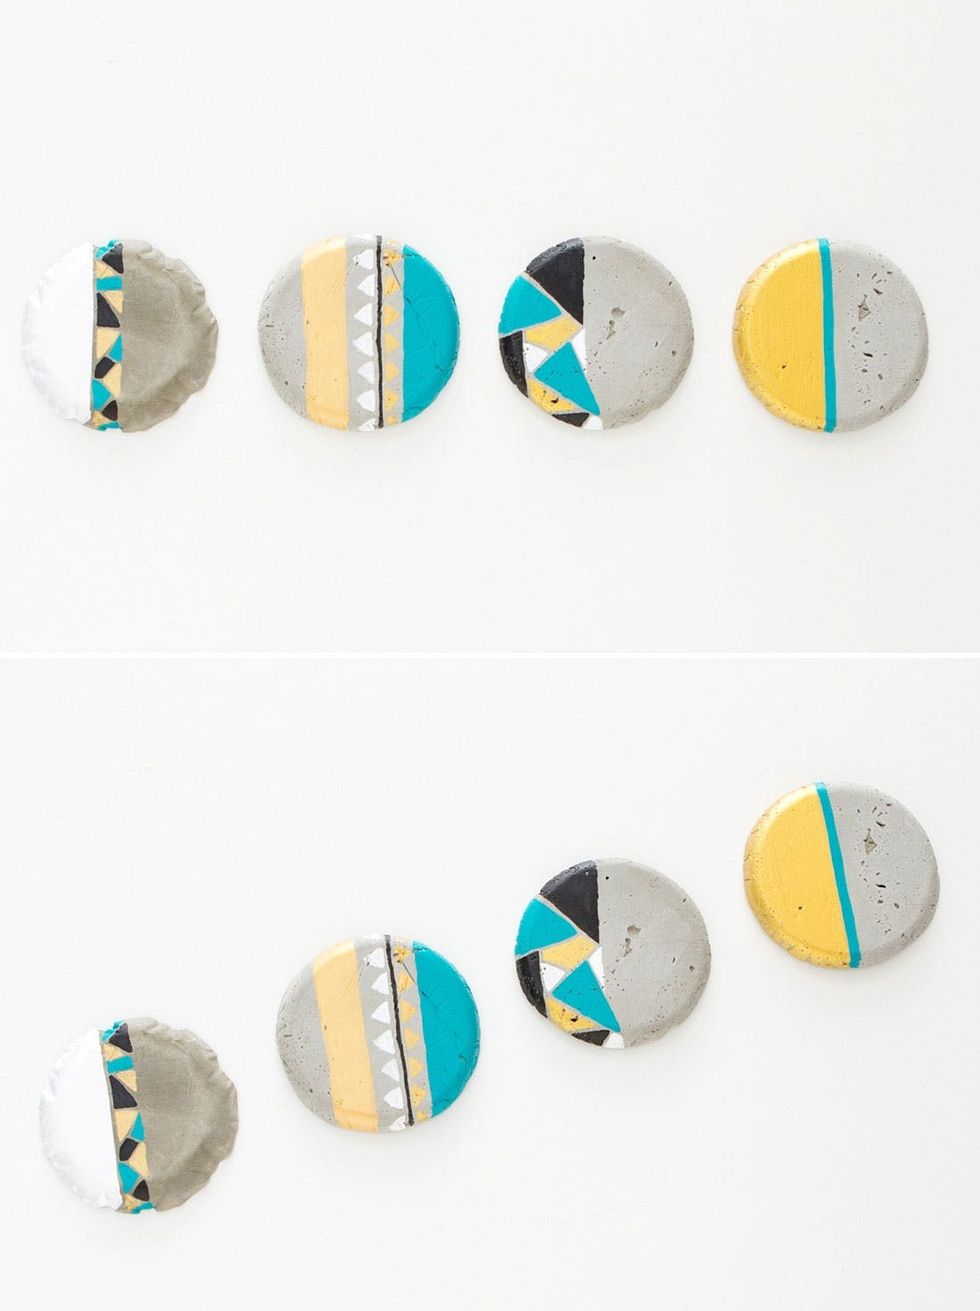
When painting, try to create a set. Choose a theme but keep each one unique. The theme and colors will keep the coasters cohesive. That means they’ll pep up your table top even more, or make a great hostess gift!
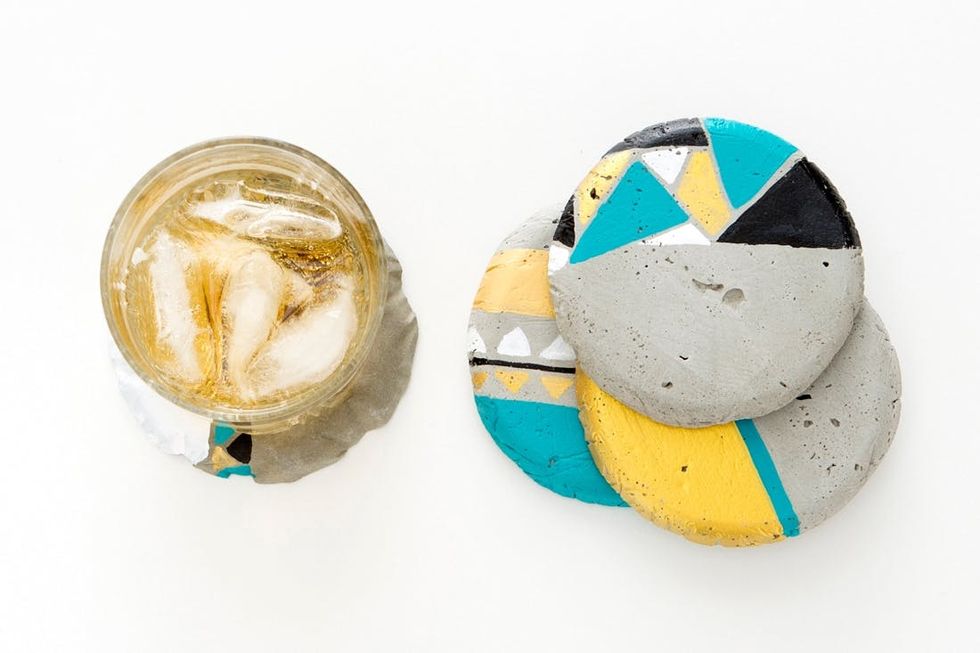
Now they are ready to be crowned with a Moscow Mule ;)
What do you think of cement coasters instead of cork? What ways would you decorate them? Let us know in the comments below!


