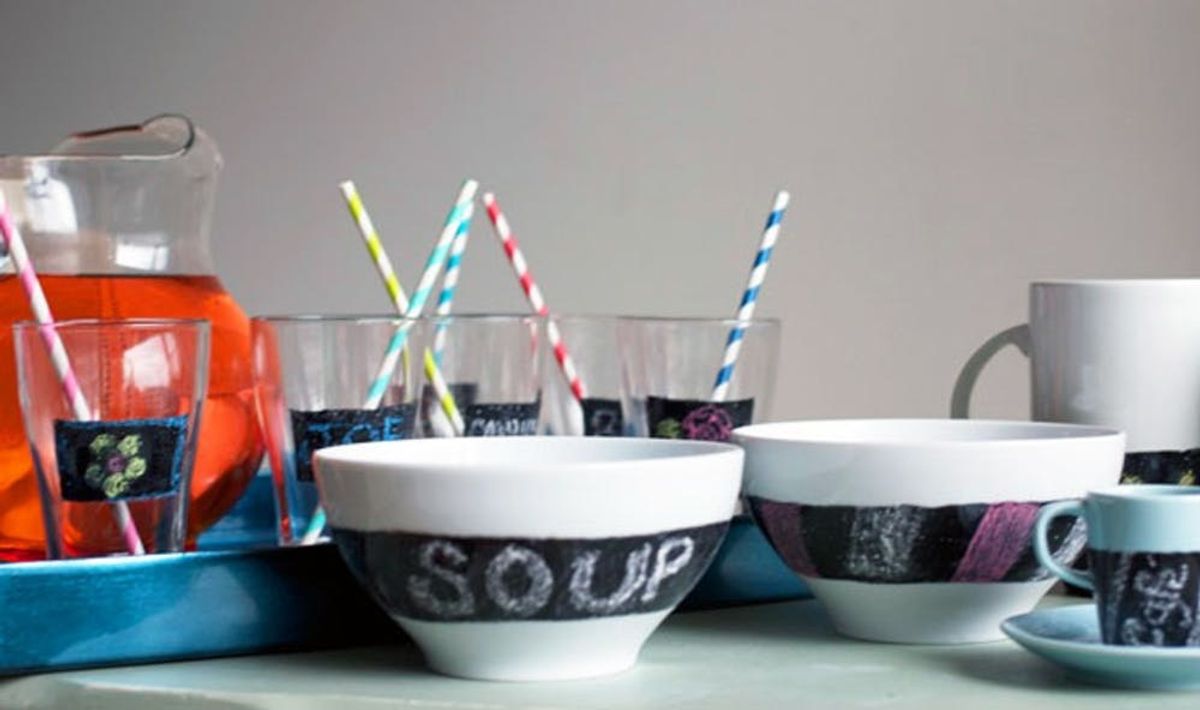
DIY Basics: Customize Your Dishes with Chalkboard Paint

Sometimes the things we use the most are the ones most in need of a little love. Take your everyday dishes and jazz ’em up with help from chalkboard paint. You can easily turn a mismatched collection of dishes into a matching custom set, and you can change them up every time you use them by drawing, writing, and doodling with chalk.
Materials:
– dishes (Ikea has great inexpensive options)
– chalkboard paint
– chalk
– paint brush (1/2 inch works great)
– painter’s tape
– oil-based Sharpies (for extra customization)
Make sure your dishes are clean and dry, then apply painter’s tape.
Apply two coats of chalkboard paint and let air-dry for 24 hours. To seal the deal, bake in the oven at 300 degrees F for 30 minutes and let cool to room temperature in side the oven. Decorate!
Tips for successful and stylish chalkboard dishes:
1. Avoid the handle since it will get “handled” the most. Also, the rim since you wouldn’t want chalk all over your mouth!
2. For any messy edges after removing the painters tape, use a damp cotton swab to clean up.
3. Hand wash instead of using a dishwasher to protect your work of art.
4. Do not microwave after painting.
Loving this whole set of dishes!
Having a party? Paint a few tumblers and everyone can write their names or draw pictures to personalize his or her glass. You’ll never mix up drinks again.
Tired of a your last drawing? The possibilities are endless. Simply erase with a paper towel and create something new.
You can customize any ceramic or glass dish and label what’s inside. Just add your favorite beverage or soup and voila!!
What other dishes would you personalize? Maybe even pots for plants? Share your ideas in the comments below.


