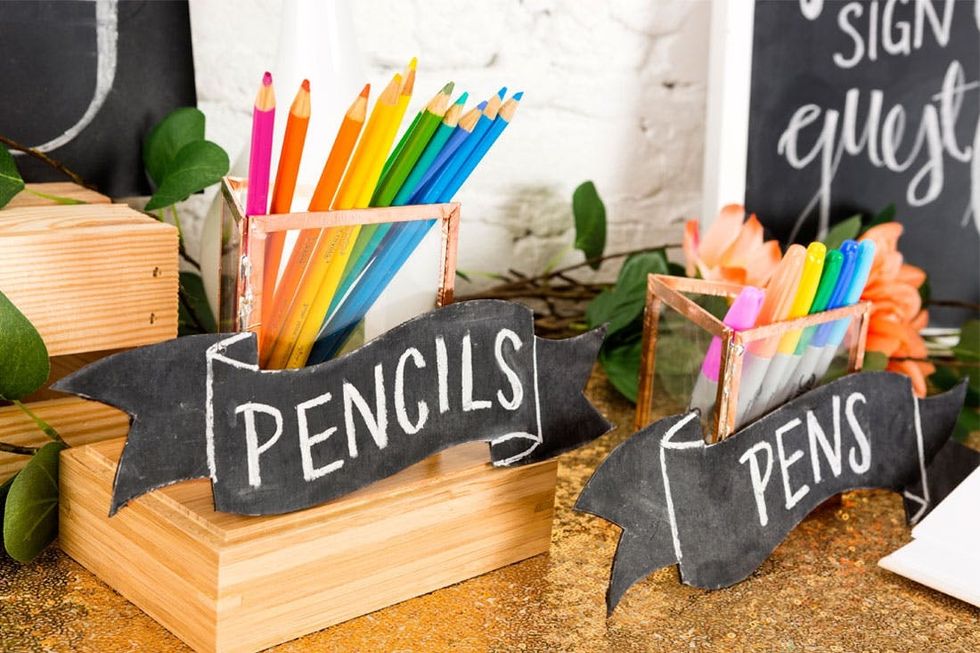
Say hello to the cheapest and easiest DIY at your wedding!
3 Cheap and Easy Ways to DIY Chalkboard Wedding Signs
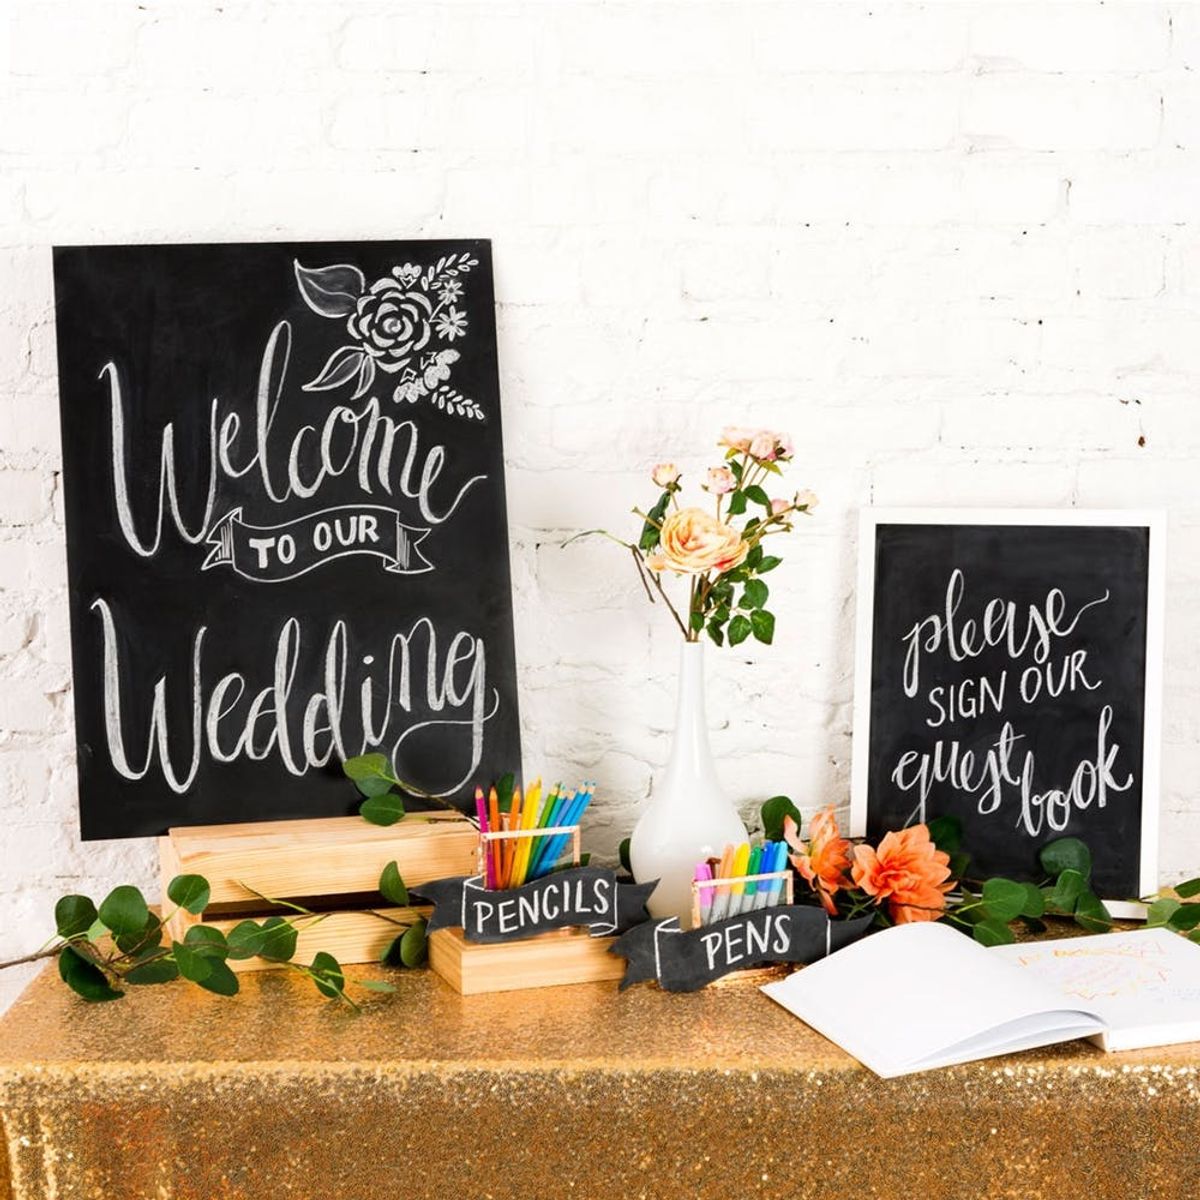
If you’ve ever had to pay for custom signage before, you know this stuff can be unusually pricey. And with all the set up involved in parties, weddings and other events, the last thing you need to be spending money on is signs that will direct people for a day and then disappear into the abyss. That’s why we decided to test out three different ways to make DIY chalkboard signs on a budget AND a time crunch. Keep scrolling down to see how we put these chalkboards together, and then check out our Intro to Chalk Lettering Online Class to learn how to fill them up! Trust us — you don’t need any advanced DIY or lettering skills to pull these off.
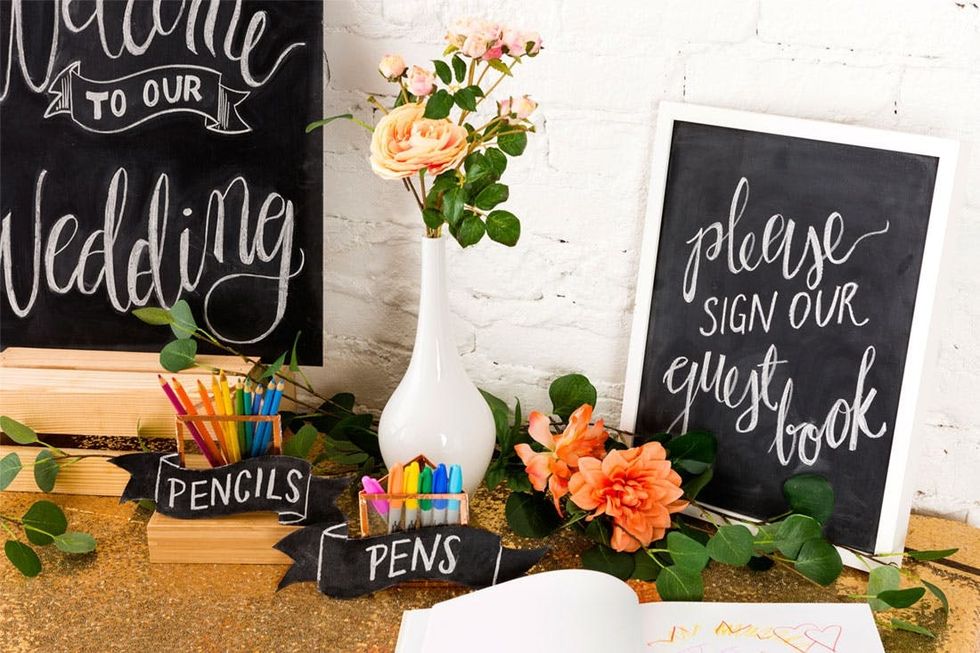
Scroll on down and we’ll show you how we made these three different styles of chalkboards on the cheap!
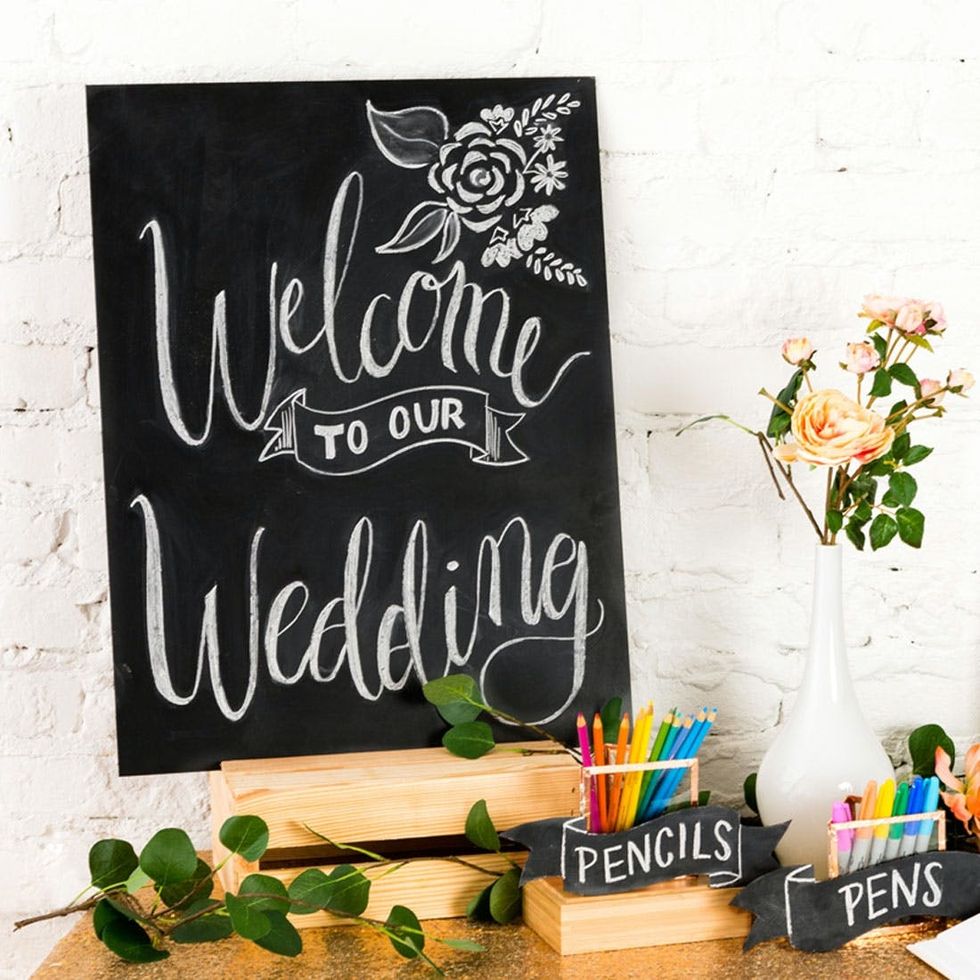
This first DIY chalkboard is by far the easiest. With the magic of chalkboard spray paint, you’ll have a board that’s ready to go in no time.
MDF CHALKBOARD
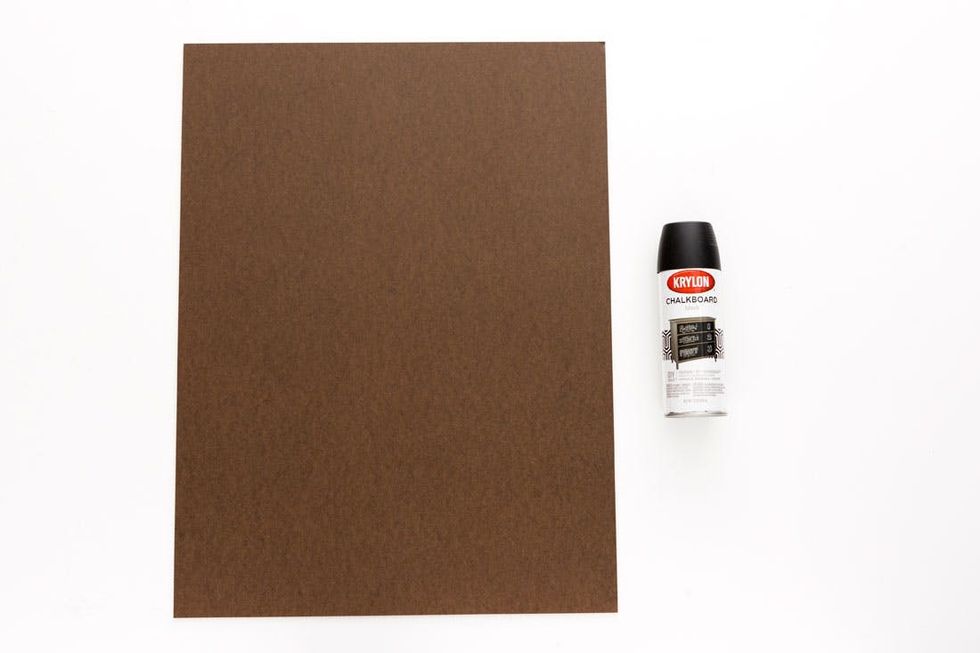
MDF Chalkboard Materials:
— large MDF board or artist’s board
Instructions:
1. Spray three coats of chalkboard spray paint onto one side of your MDF or artist’s board, letting each coat dry in between.
2. Let the whole piece dry for a few hours before adding your own chalk lettering on top.
3. Seriously, that’s it!
Grab a board and a spray can, and go for it!
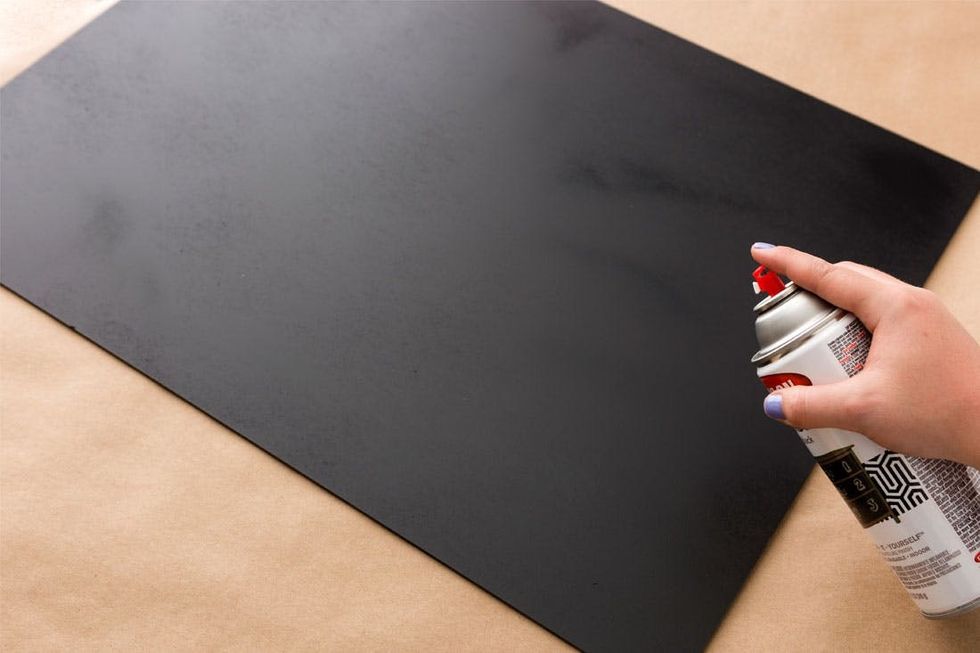
Spray three coats of chalkboard spray paint onto one side of your MDF or artist’s board, letting each coat dry in between. Make sure to do this outside and put down kraft paper, cardboard or newspaper to protect the surface you’re spraying on top of. Let everything dry fully for a few hours, and you’re done. Seriously, that’s it for number one. Moving on to chalkboard number two!
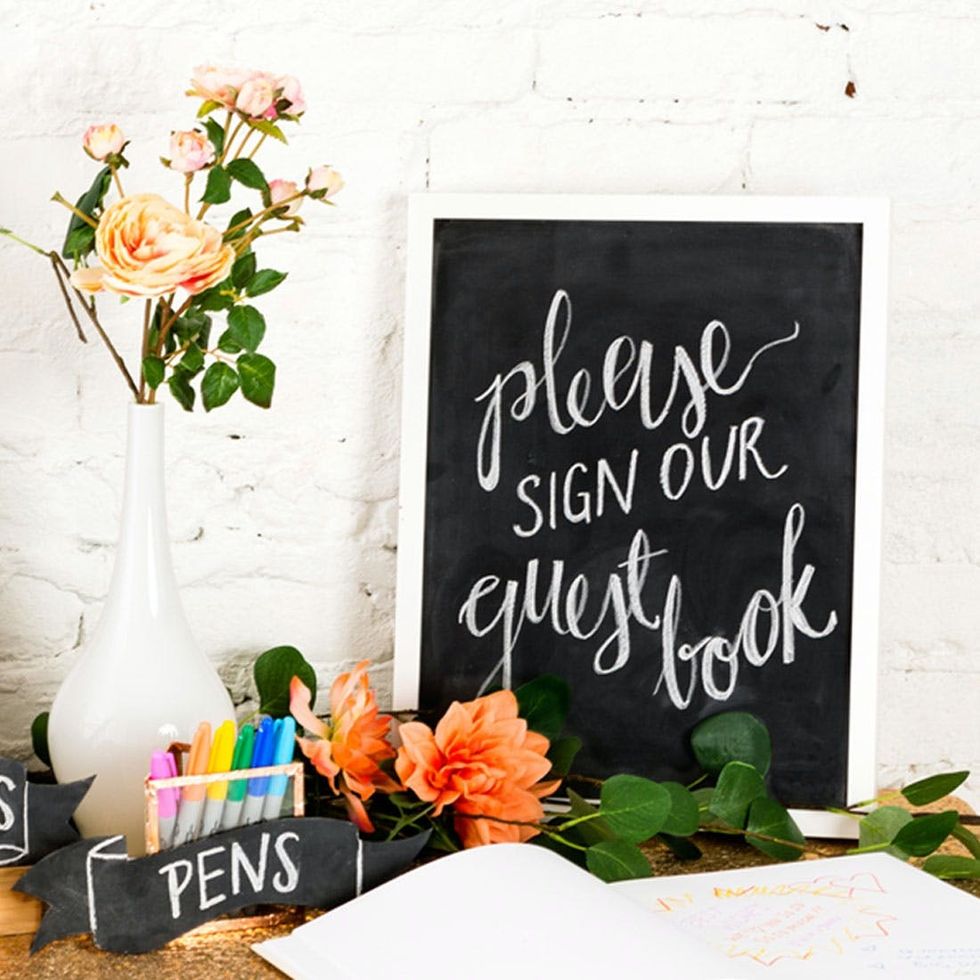
This second DIY chalkboard uses something that you likely already have sitting around the house — an empty picture frame! This one is actually even faster than the first board (and turned out to be my fave of the three), because there’s no dry time involved!
PICTURE FRAME CHALKBOARD
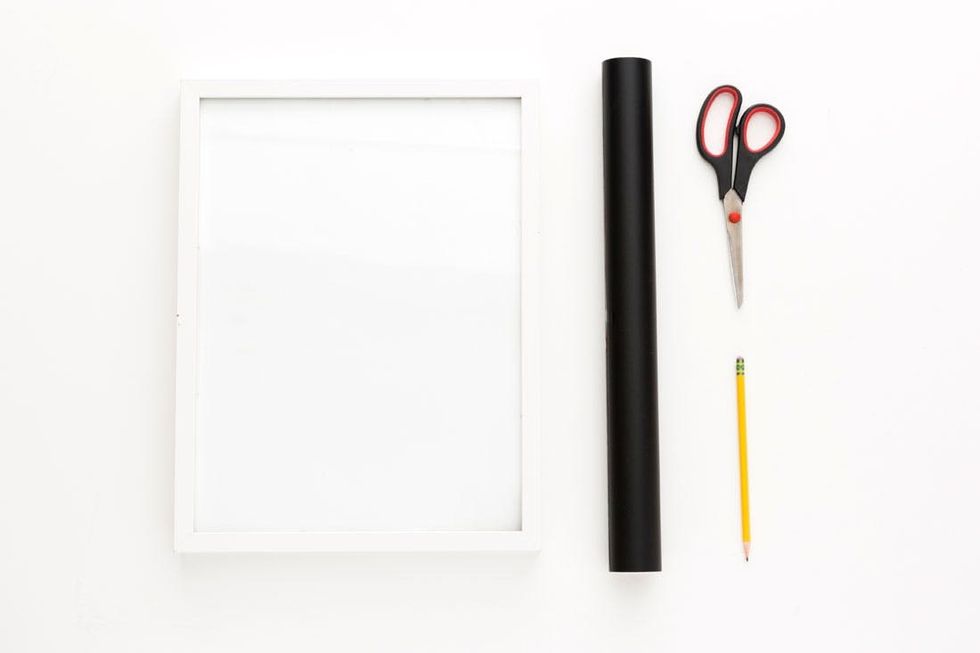
Frame Chalkboard Materials:
— empty picture frame with glass panel
— scissors
— pencil
Need an extra resource? Check out Valerie’s book, The Complete Book of Chalk Lettering: Create and Develop Your Own Style, for more chalk lettering lessons and projects!
Instructions:
1. Remove the glass panel from the picture frame and set the frame aside.
2. Unroll the chalkboard contact paper so that the paper backside is facing up, and then lay the glass panel on top of it.
3. Trace around the glass panel in pencil and then cut along your pencil lines with scissors.
4. Peel up the first two inches or so of the paper backing on your contact paper sheet and line it up with the top of your glass panel.
5. Carefully peel away the paper backing a couple inches at a time, smoothing out any bubbles or wrinkles as you go.
6. Place the contact paper-covered glass back into your frame and close the frame up.
7. Add your own chalk lettering, and hang or prop it up as you would normally!
Grab an empty frame and a few other supplies, and you’re halfway there already!
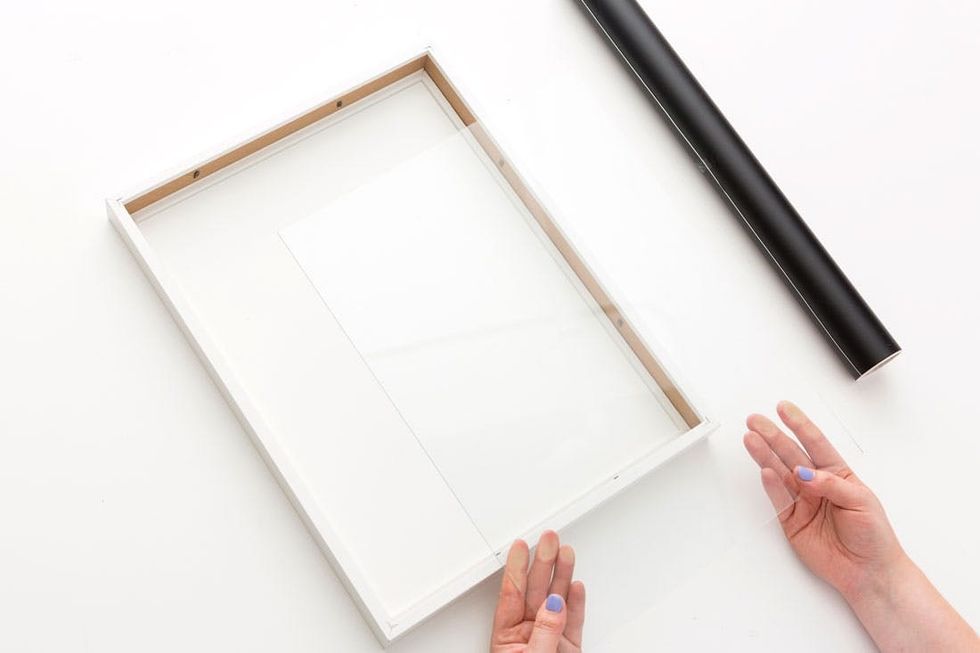
Remove the glass panel from the picture frame and set the frame aside.
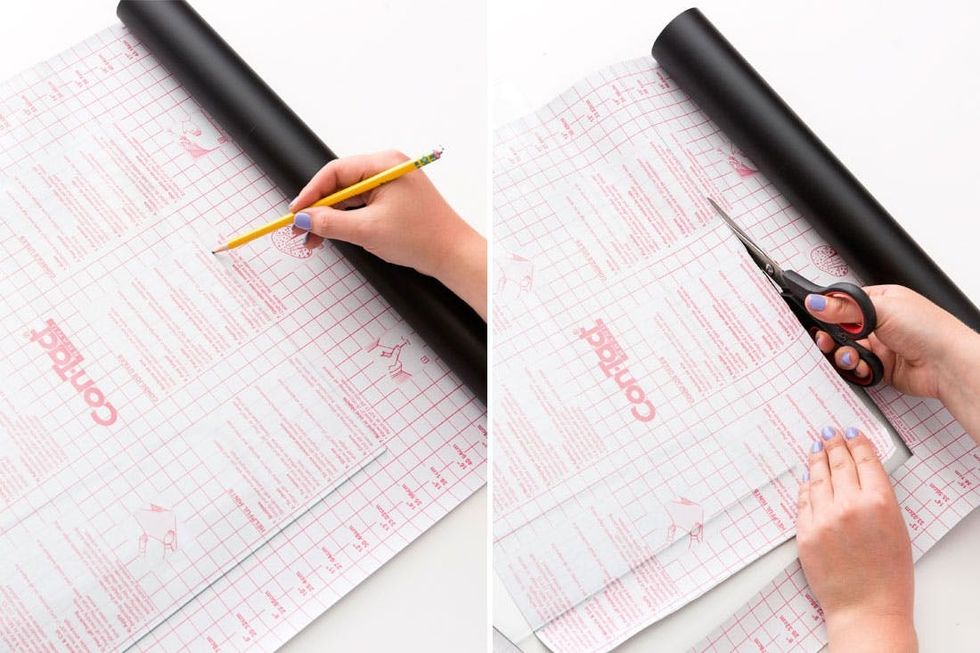
Unroll the chalkboard contact paper so that the paper backside is facing up, and then lay the glass panel on top of it. Trace around the glass panel in pencil, and then cut along your pencil lines with scissors.
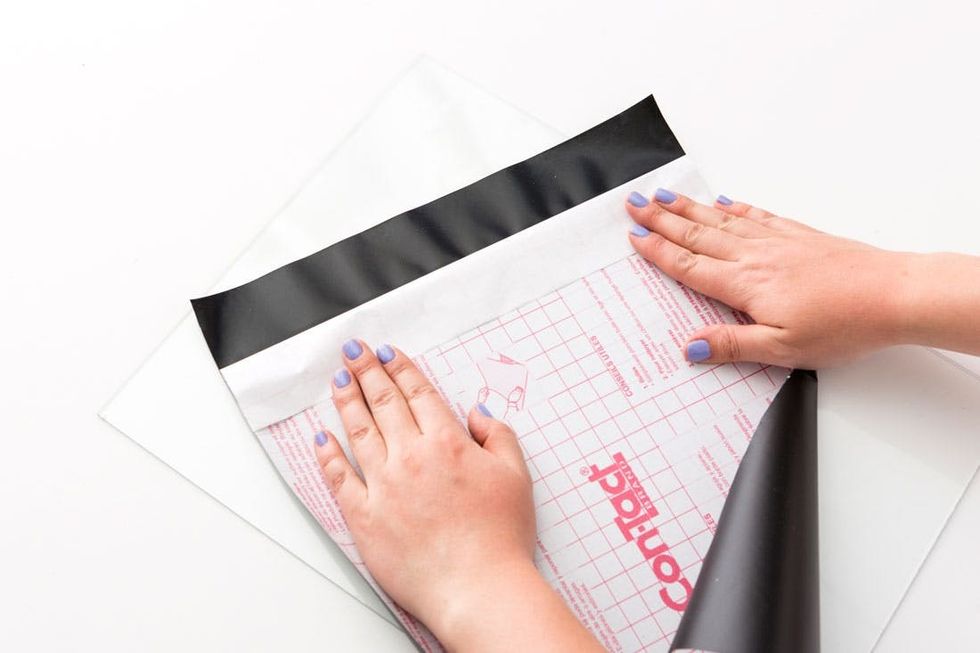
Peel up the first two inches of the paper backing on your contact paper sheet and line it up with the top of your glass panel.
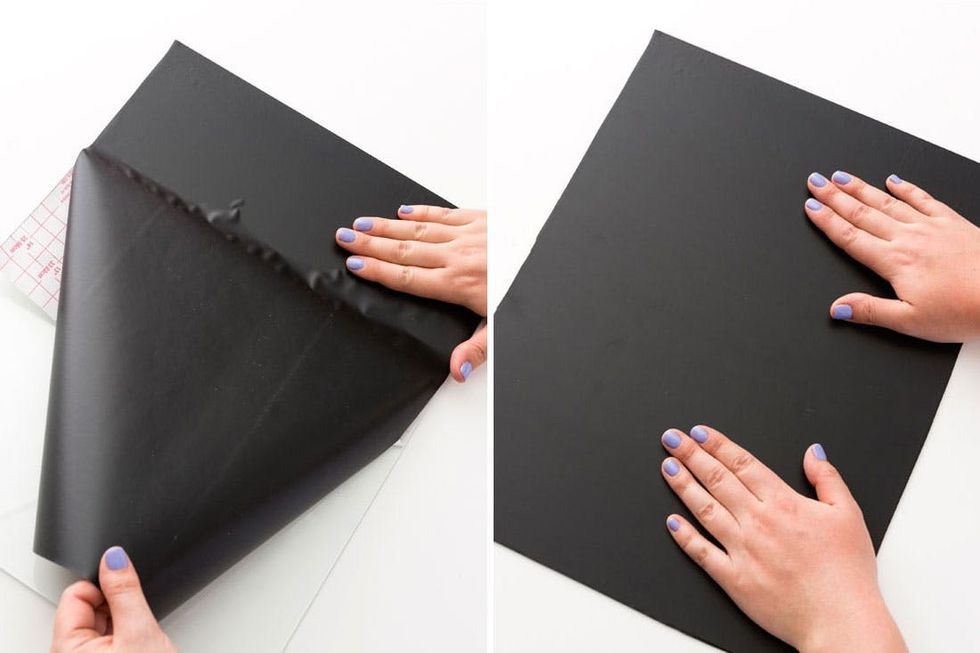
Carefully peel away the paper backing a couple inches at a time, smoothing out any bubbles or wrinkles as you go. Remember you can always stop and carefully peel it back up, but try to go slow and you’ll end up with a beautifully smooth surface like this!
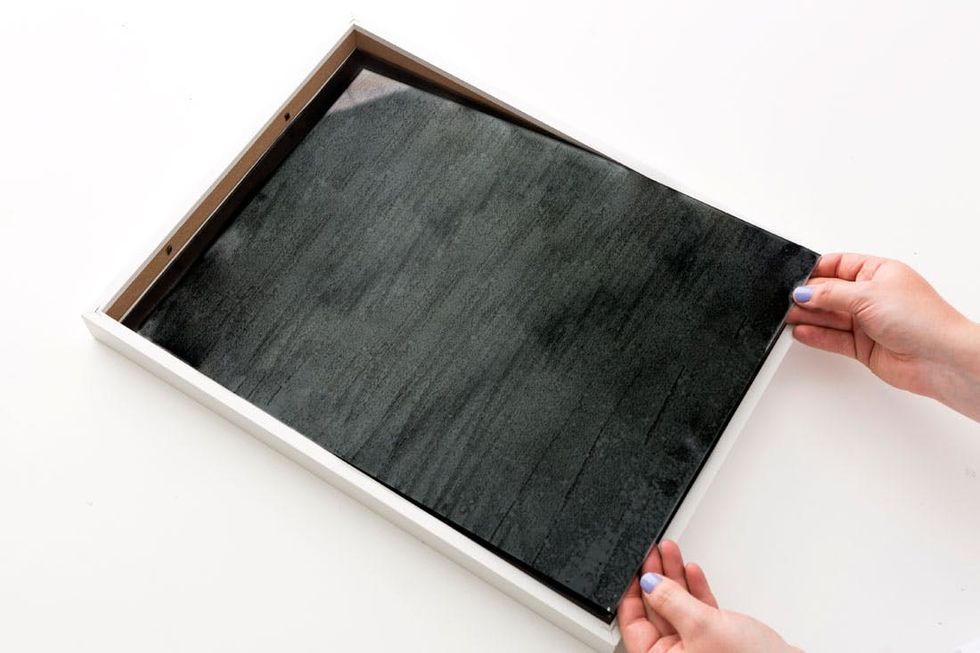
Place the covered glass back into your frame, contact paper side down, and close up your frame as you would normally.
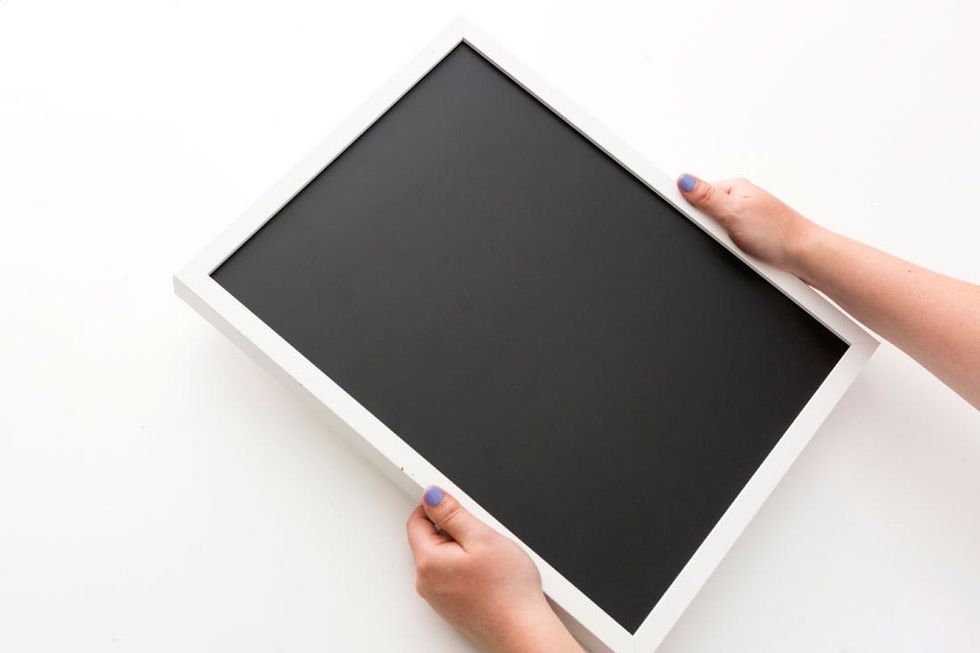
When you flip your frame over, you should have something that looks like this! Pro tip: using a white, colorful or metallic frame works best here because it’ll pop against the matte black chalkboard paper.
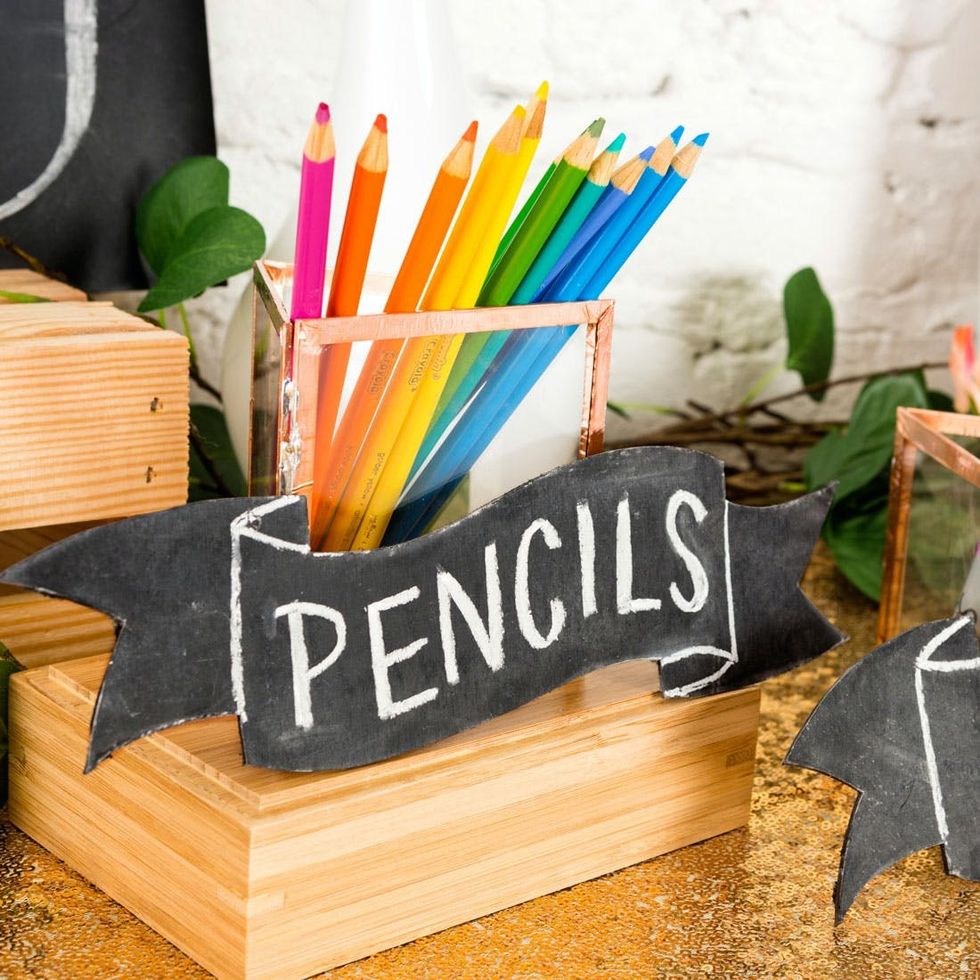
This third and last piece is a fun way to upcycle leftover chipboard (like the back of an old sketchbook) and add some small, simple signage to your party decor.
CHIPBOARD CHALKBOARD SIGNS
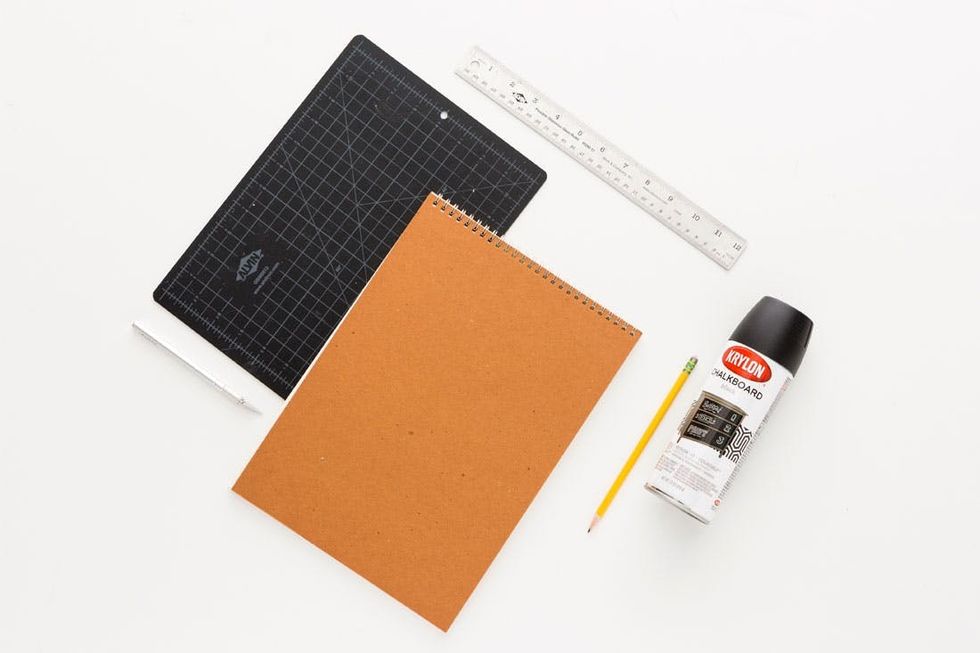
Chipboard Chalkboard Materials:
— chipboard (the thickness of the back of a sketchbook)
— pencil
— ruler
Instructions:
1. Remove the chipboard backing from an old sketchbook.
2. Draw the shape of your choice onto the chipboard using a pencil.
3. On top of a cutting mat, cut out your drawn shapes using an X-ACTO knife and a ruler for straight edges, if needed.
4. Spray three coats of chalkboard spray paint onto your cut-out shapes, letting each coat dry in between.
5. After the last coat, let them dry completely for a few hours and then draw in your chalk designs!
Grab a panel of chipboard from the back of an old sketchbook and let’s make some shapes!
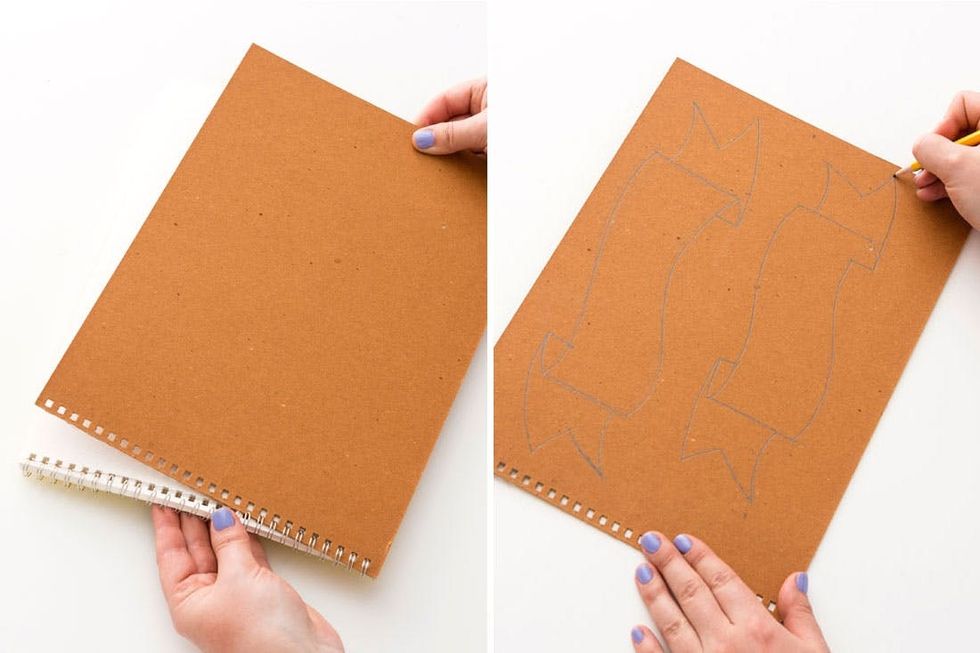
Remove the chipboard backing from an old sketchbook and then draw the shape or shapes of your choice onto the chipboard. We chose these cute ribbon banners, but any shape will work!

On top of a cutting mat, cut out your drawn shapes using an X-ACTO knife and a ruler for straight edges, if needed.

Spray three coats of chalkboard spray paint onto your cut out shapes, letting each coat dry in between. After the last coat, let them dry completely for a few hours and then draw in your chalk designs!
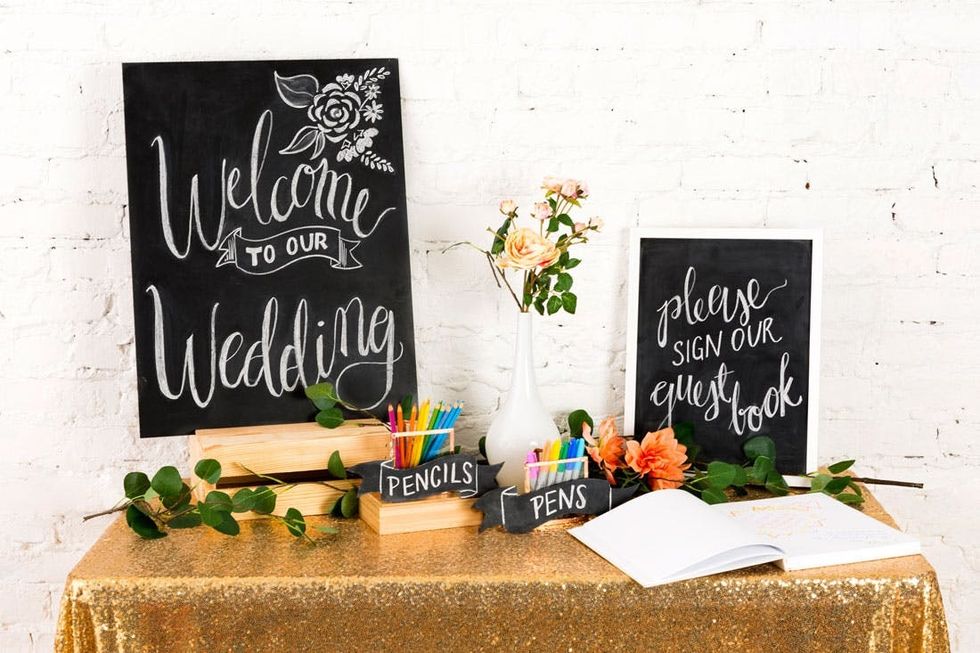
Choose one or make all three styles and display them together! With spring wedding season in full swing, we thought these chalkboards were the perfect cost-conscious answer to welcome signs, guest book signs and small table-top accents.

Chalkboards look awesome next to leafy green florals, so make sure to pile up the leaves and bloom!


