Put a Cheeky Twist on Galentine’s Day Brunch With These Paper Plate Flower Name Cards
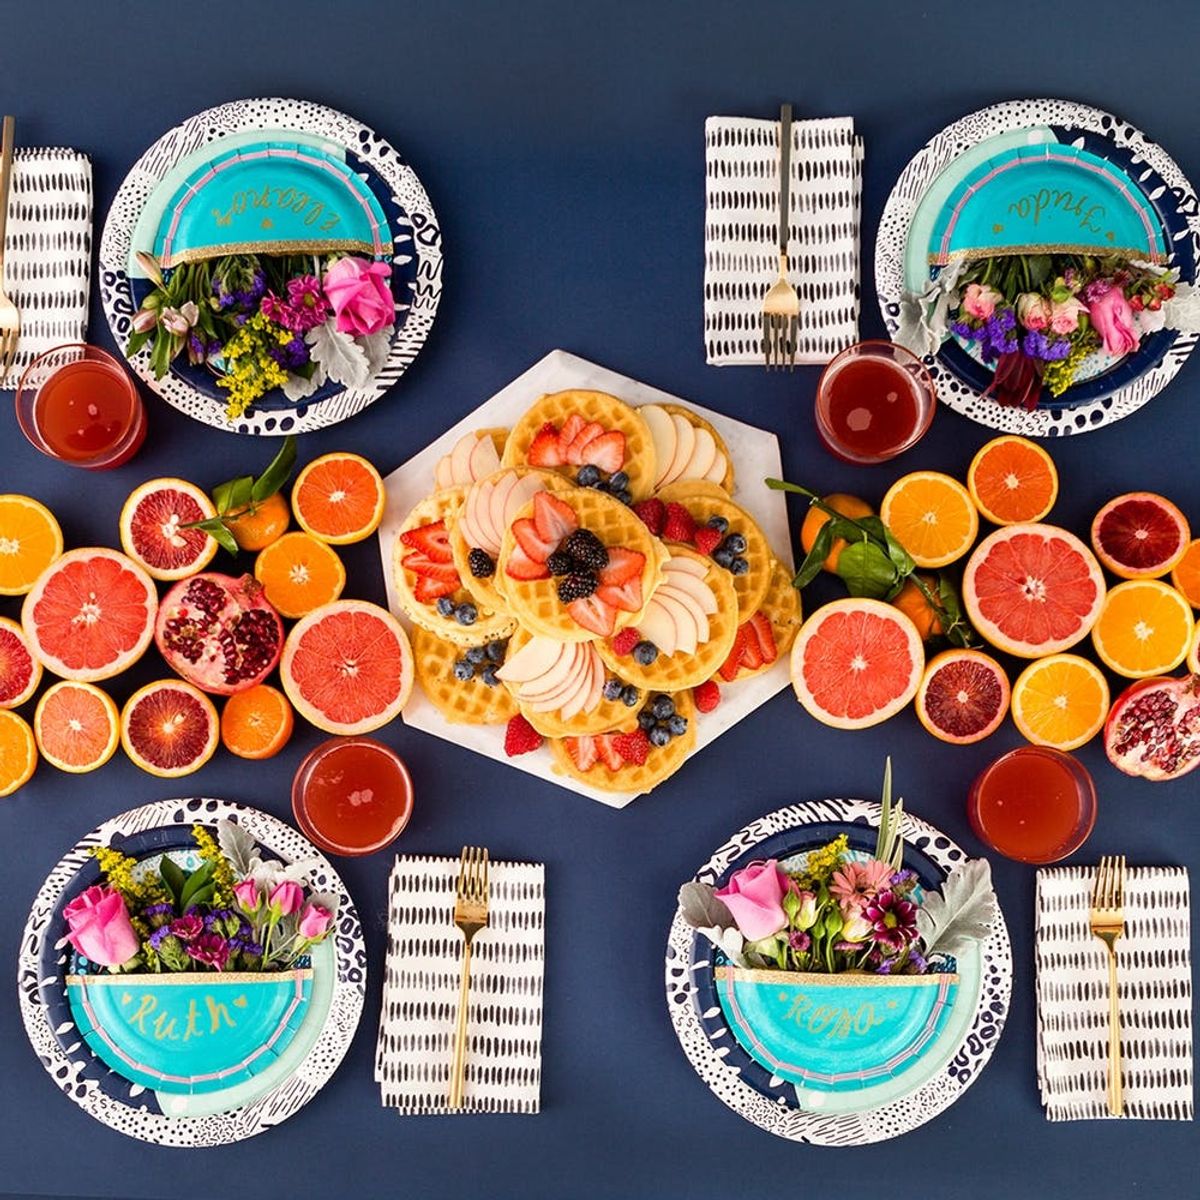
It’s no secret that one of the biggest holidays is on the horizon. It’s one filled with hearts, flowers and lots and lots of love, and it’s none other than Galentine’s Day. Duh! Galentine’s Dayis the one time of year where we get to celebrate our girlfriends, which means it’s pretty much the best day ever. For those of you living under a rock, this holiday was created by the ultimate feminist and number one gal pal, Leslie Knope (a very spunky Amy Poehler) of Parks and Recreation, as a way to enjoy an afternoon with your besties while sipping mimosas and crushing some waffles.
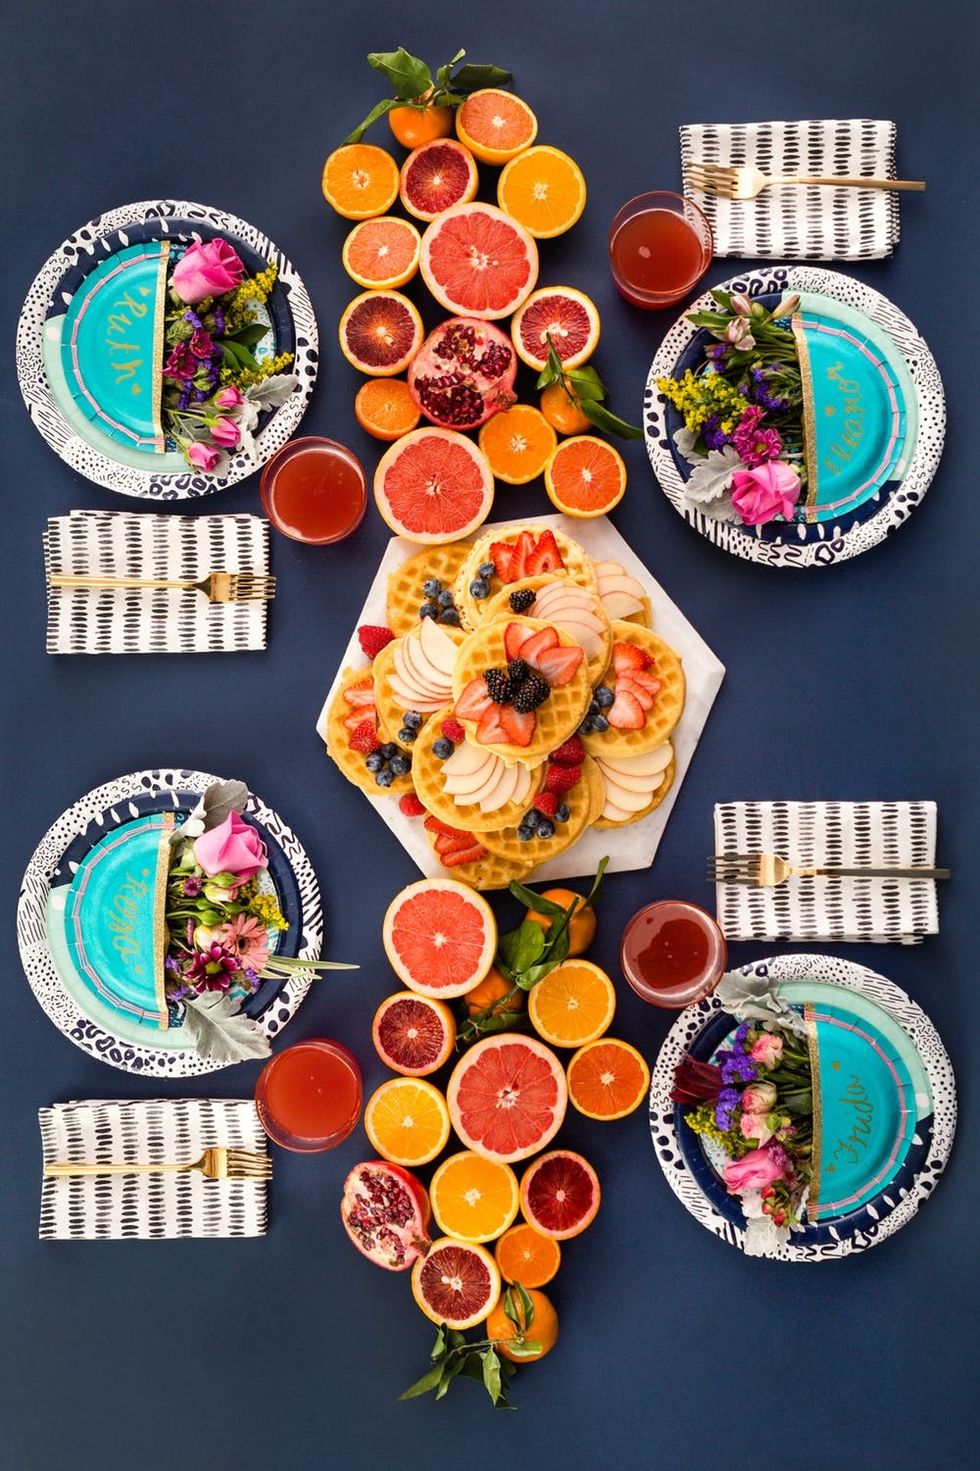
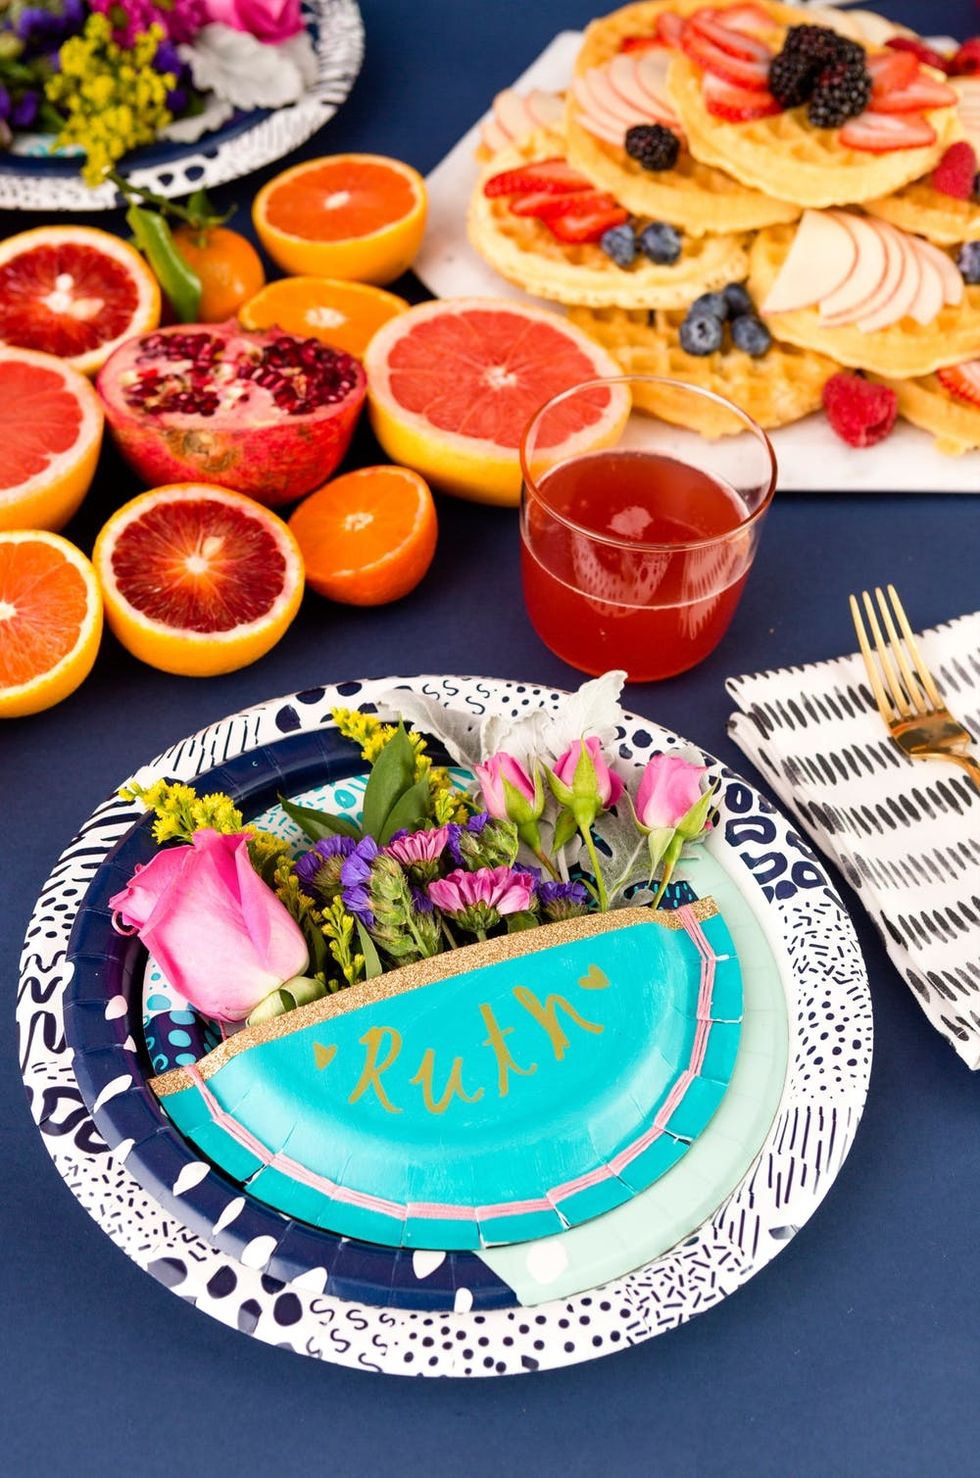
To put a twist on this holiday, we’re setting the table with some super-cute paper plates and showing you how to make these beautiful bouquet name cards. So scroll on to see how it’s done!
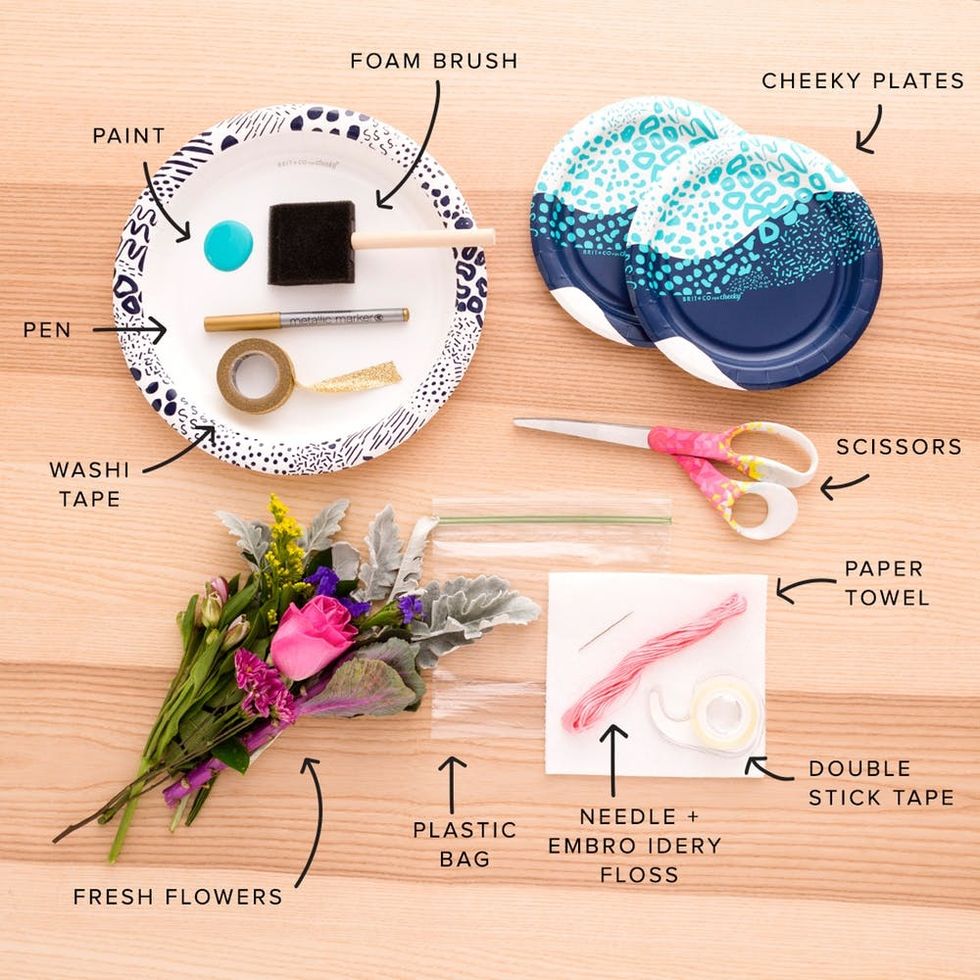
Materials and Tools:
Instructions:
- Paint the bottom side of the plate. Use two coats for maximum coverage.
- Cut the plate in half, then cut little snips to the lip of the plate, using the notches as your guide.
- On the bottom side of the plate, cover the straight edge with half of the length of the washi tape. You’ll want the other half to be able to fold over the edge and adhere to the other side of the plate.
- Turn the plate over so the pattern is facing upwards. Cut the washi tape about an inch in from the lip on both sides and fold over. Add double stick tape to the center of the part of the plate.
- Cut the plastic bag in half and discard the top portion. Align the top of the bag to the straight edge of the plate and fold the washi tape over. Adhere the bag to the patterned side of the plate by folding the washi over one side of the bag.
- Turn the plate over to the painted side and write your friend’s name or a fun greeting.
- Next, using a new plate, cut the notches on the bottom half to match the painted plate. Then, weave them together by threading the embroidery floss through the notches and alternating each side. When you reach the end, wrap the thread around the notch and weave around the opposite sides. Repeat six times, so that each notch is wrapped 3 times, and tie off on the back side of the plate.
- Poke a hole on each side of the base plate and thread with embroidery floss. Tie off on the back side of the plate. This is optional.
- Place a wet paper towel inside the plastic bag. Arrange your flowers into the bag and you’re done! Time to set the table.
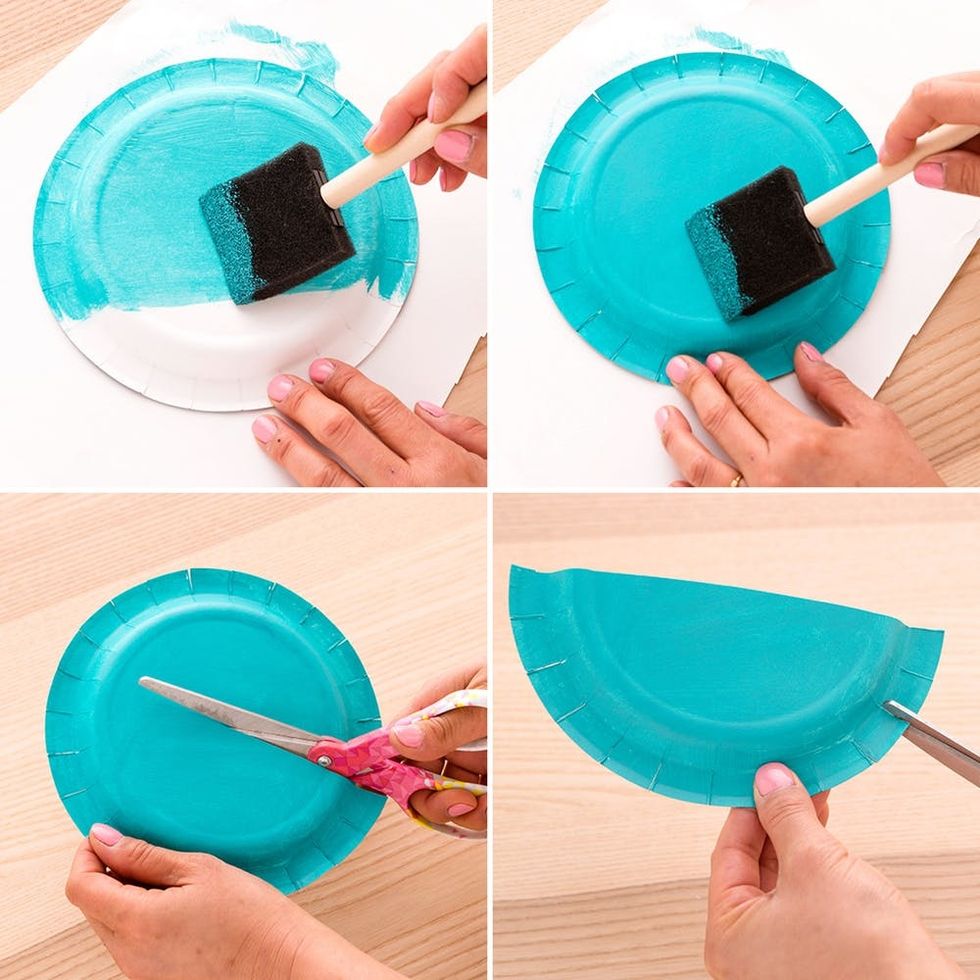
First, we’re going to create a pocket for the flowers. You’ll want to start out by painting the bottom of one plate. Make sure you do two coats for ultimate vibrancy. Cut the plate in half and cut into little snips at all of the plate’s natural notches.
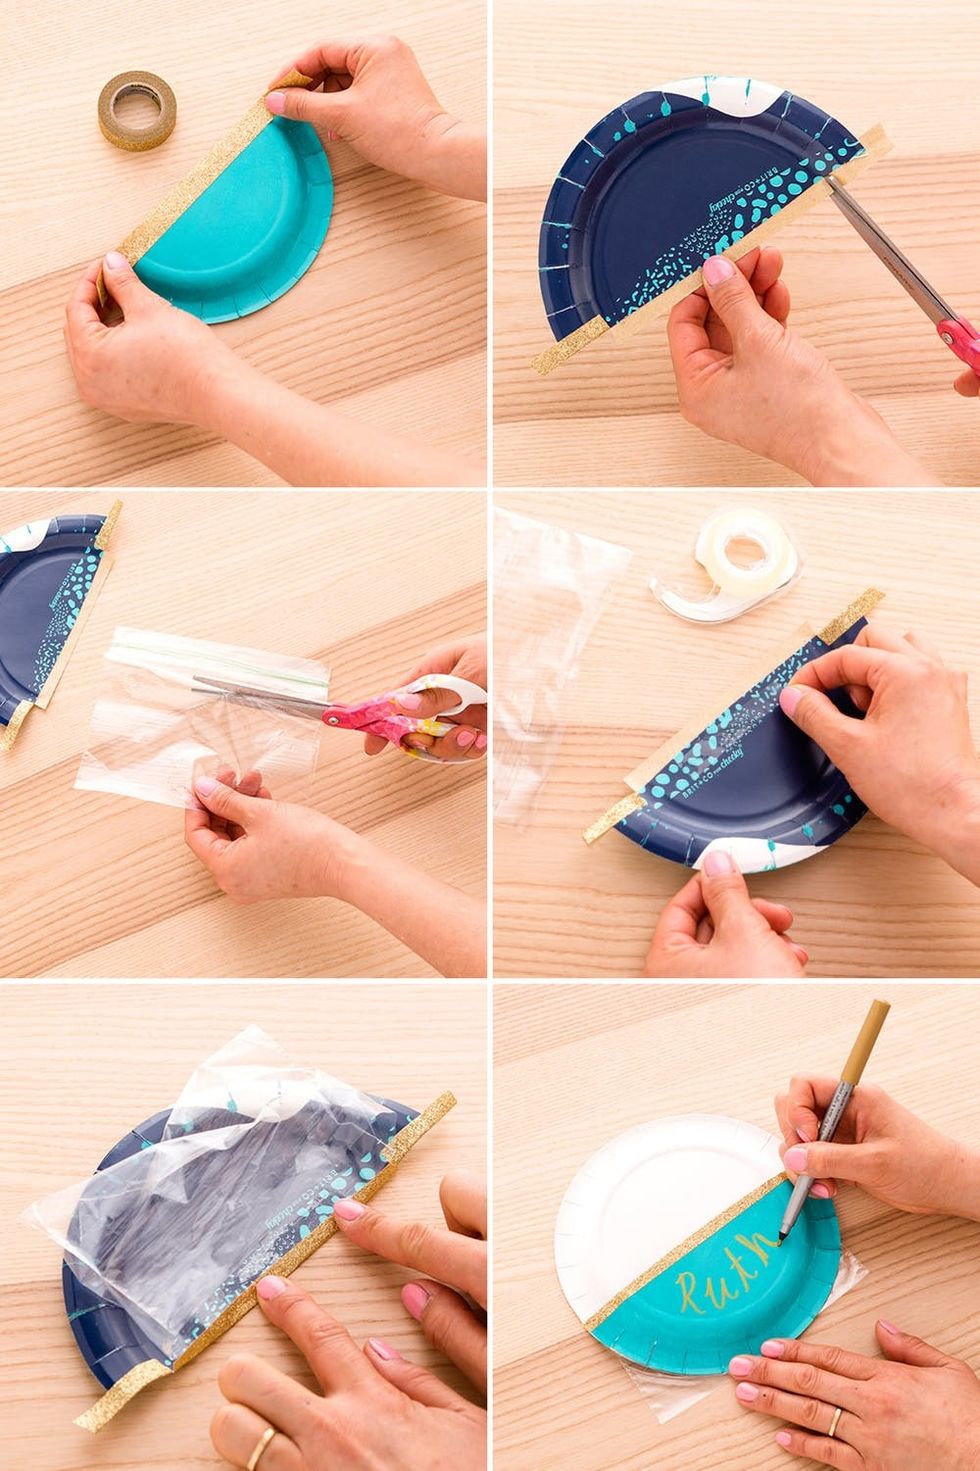
Next, you want to make sure the plate is ready to hold some flowers. Cover the edge of the plate with one half of washi tape. Since the plate is curved, you’ll want to cut the tape at the creases on either end and fold these sides down first. Cut the sandwich bag in half and adhere it to the plate. Place a strip of double stick tape on the plate and then, line the top of the bag to the straight edge of the plate. Fold the washi tape over one side of the bag and trim the ends. Turn the plate over and write your besties’ names. It’s super helpful to use other plates as support.
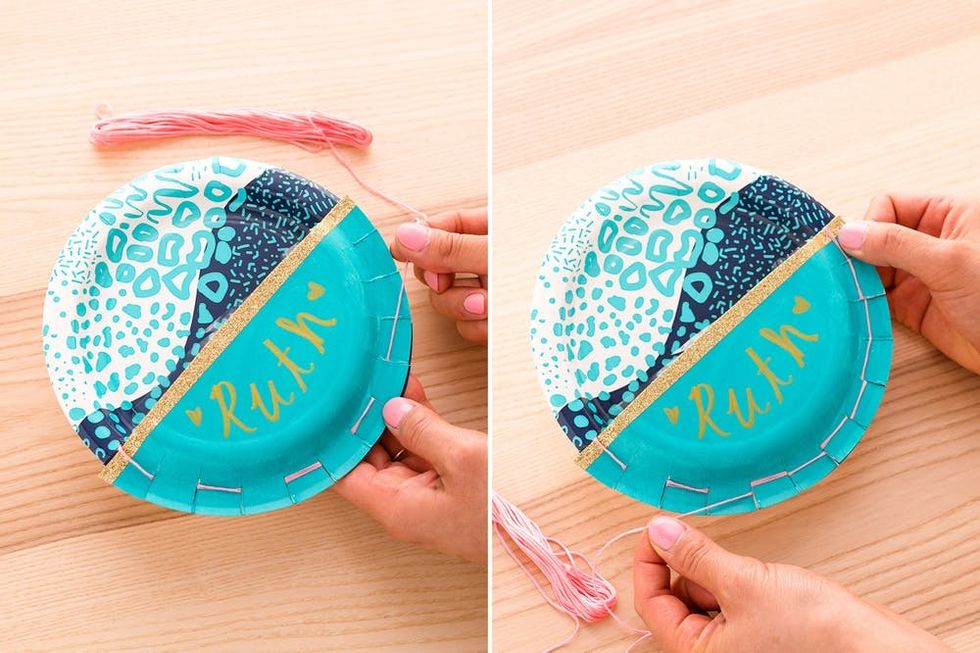
On a new plate, cut snips on half of the plate. Align the plates together and use the embroidery floss to weave them together, using the cuts in the plate. To add some flair of your own, you can alternate with different colors. When you’ve created a pattern you’re happy with, tie it off on the back side.
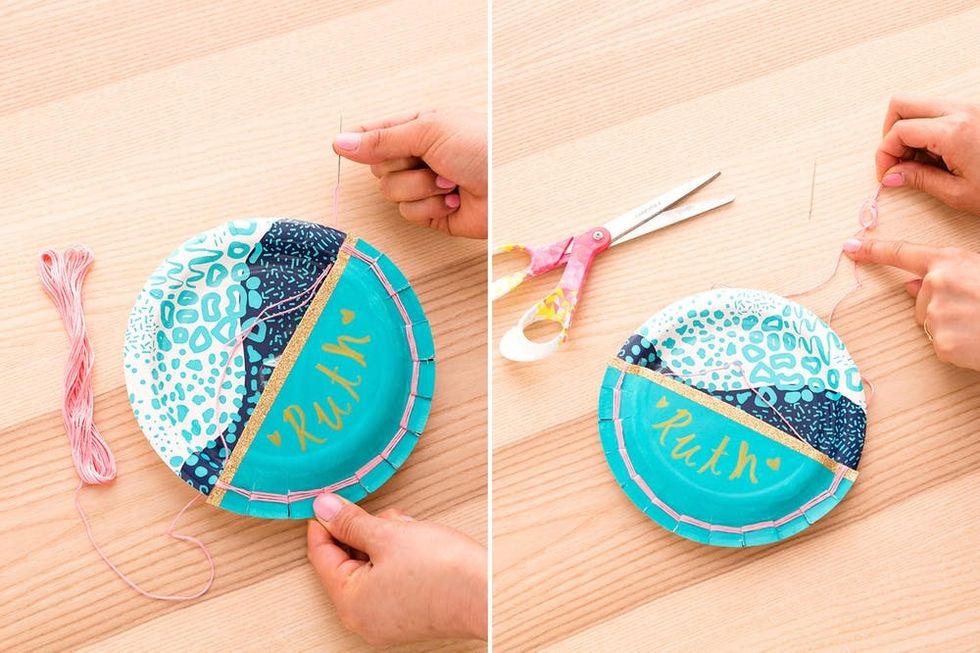
Create a hanging string by poking a hole on either side of the plate in the middle and tie it on the back side.
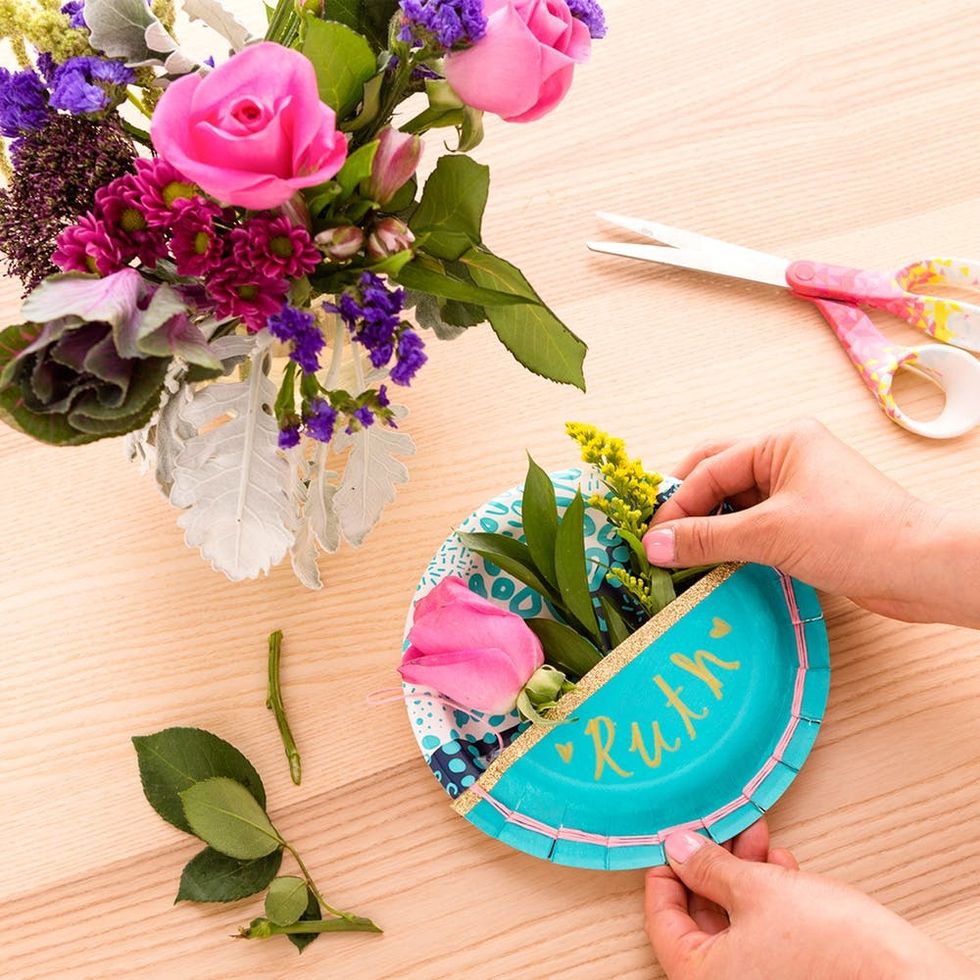
Place a wet paper towel into the plastic bag, and then it’s time to exercise your floral arrangement skills. Since these are tiny plates, one bouquet of your favorite flowers should work well.
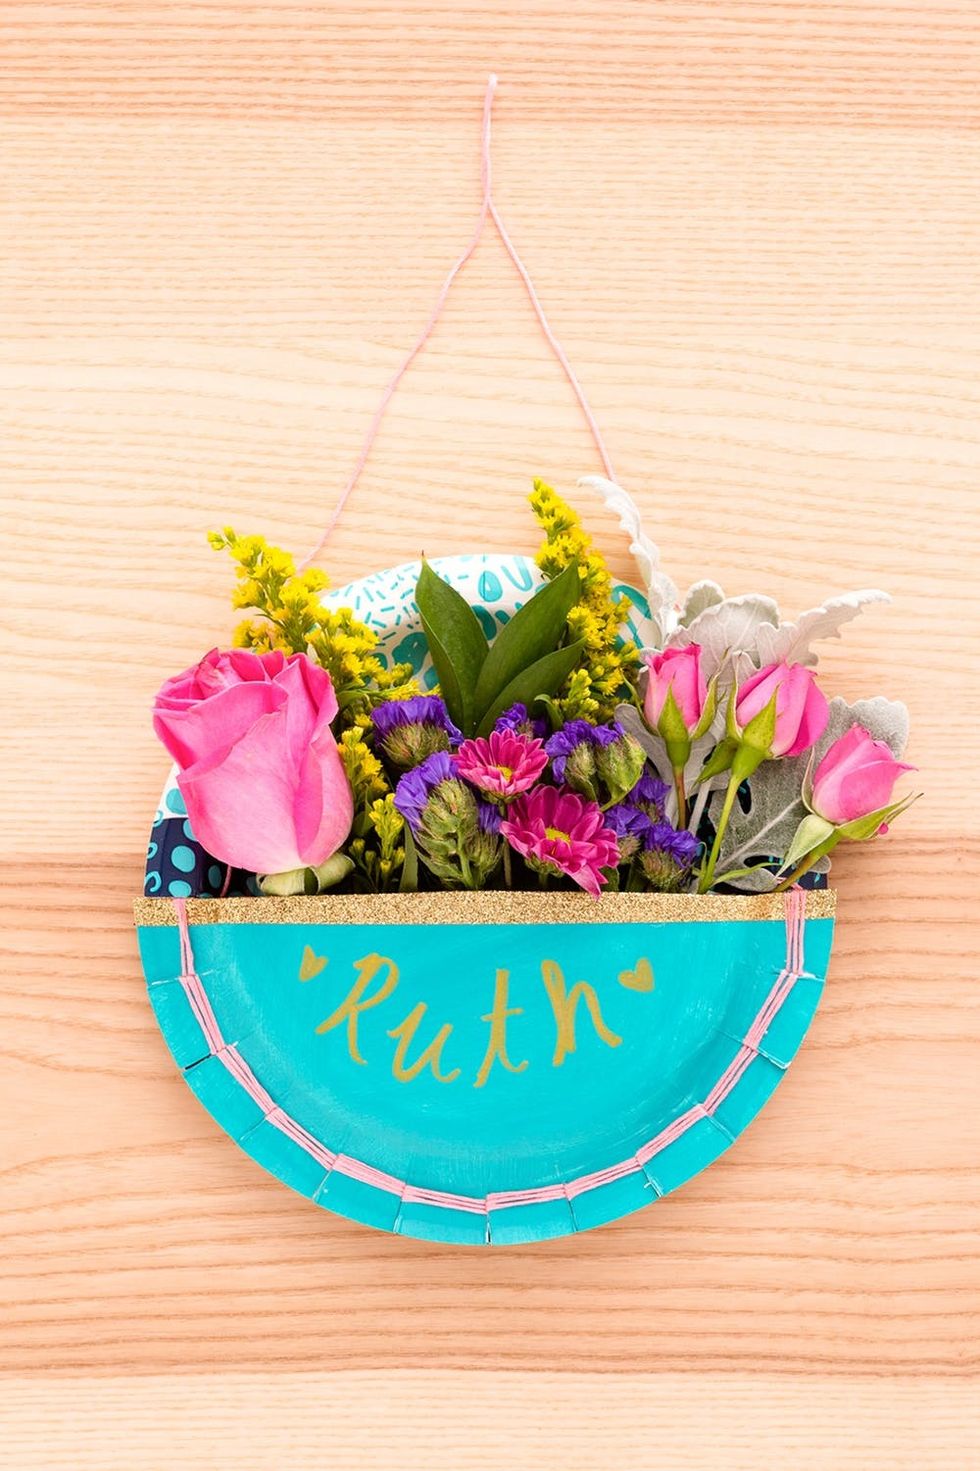
Ta-da! And you’re done.
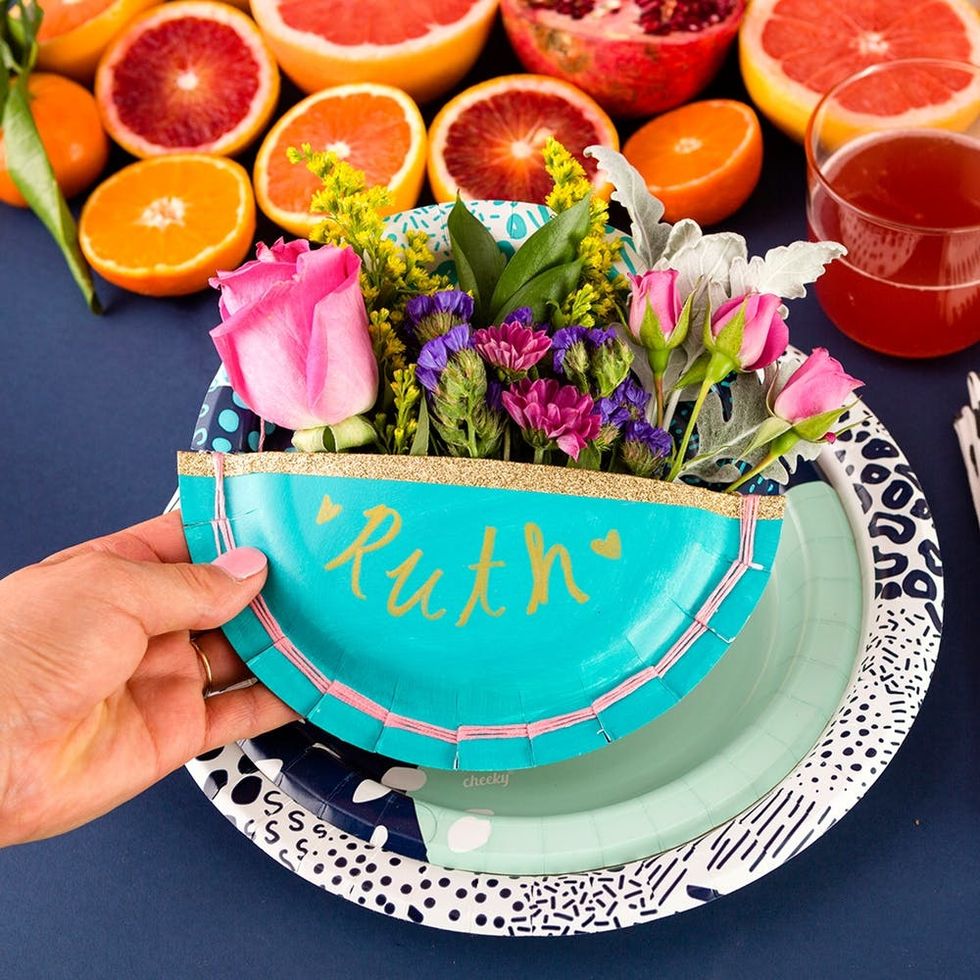
Now it’s time to set the table!
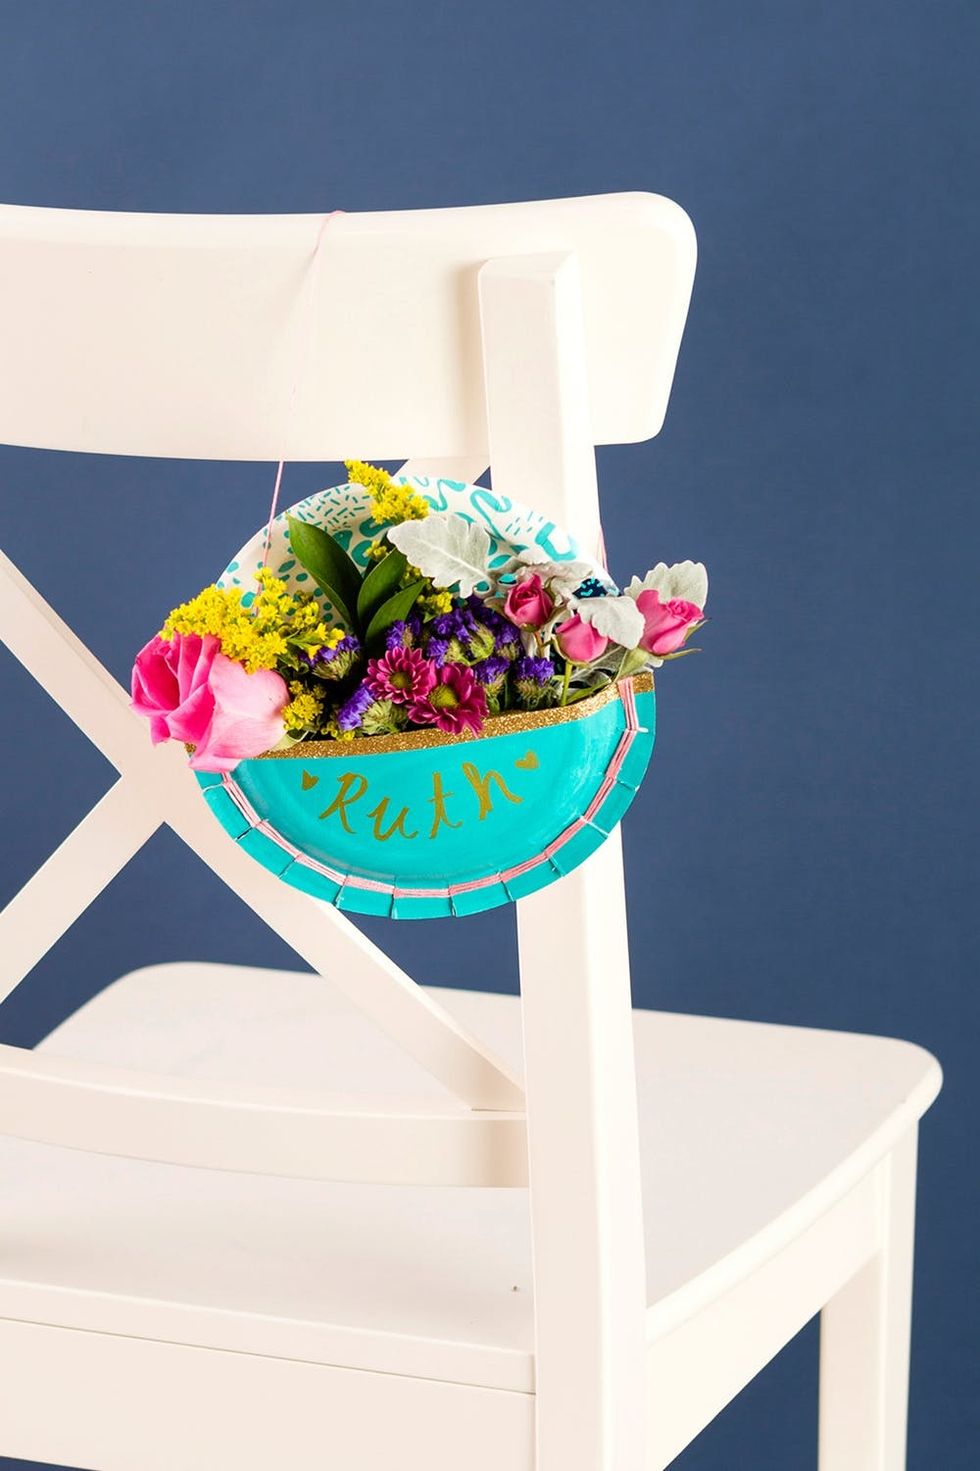
Wondering what to do when it’s time to eat? Have your guests hang these from their chairs so they can enjoy their meal and hold their seat.

We put a healthy spin on this Galentine’s Day brunch by using colorful citruses to create a beautiful centerpiece and topping our waffles with fresh fruit. And in place of mimosas, we’re sipping on kombucha. We got this on lock.
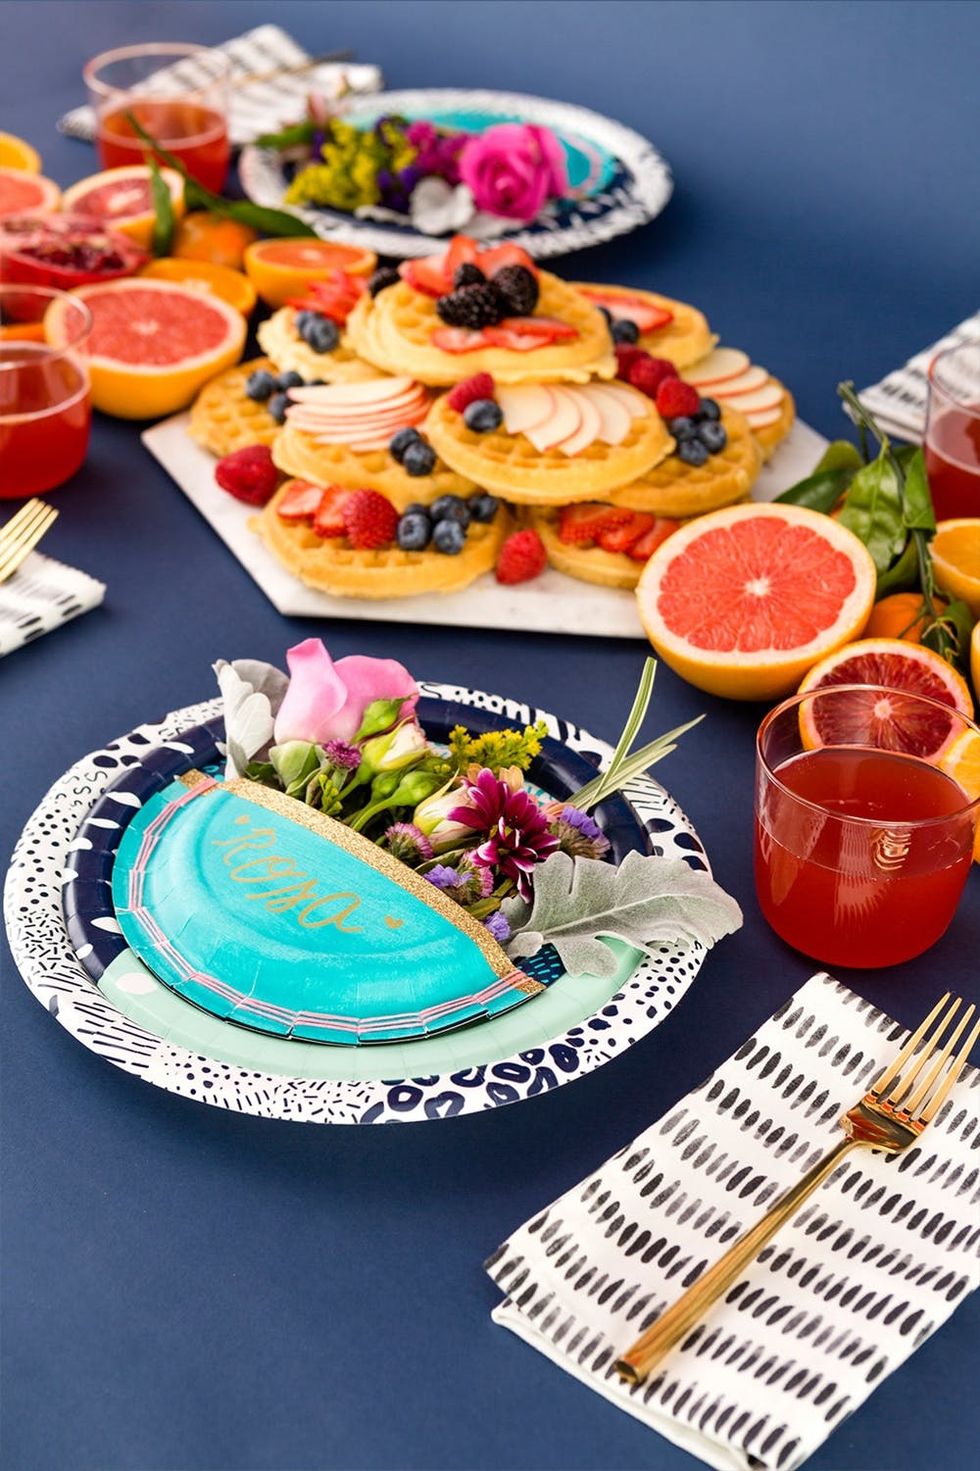
Time to eat!
What are you crafting for your gal pals this Galentine’s Day? Share it with us on Instagram by tagging@BritandCo and don't forget to subscribe to our newsletter!
DIY Production + Styling: Lindsay Saito
Photography: Kurt Andre
Brit + Co may at times use affiliate links to promote products sold by others, but always offers genuine editorial recommendations.
This article has been updated.


