Now On Sale! Geometric Clay Ornament Kit
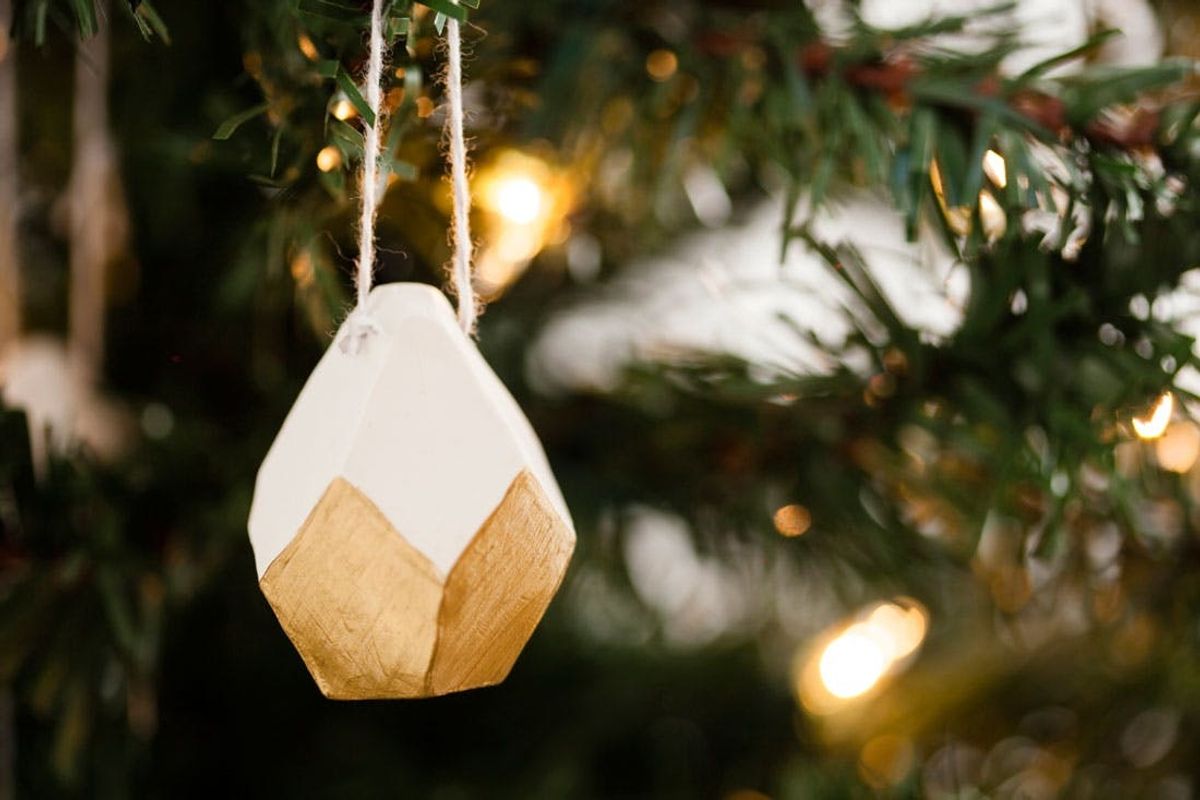
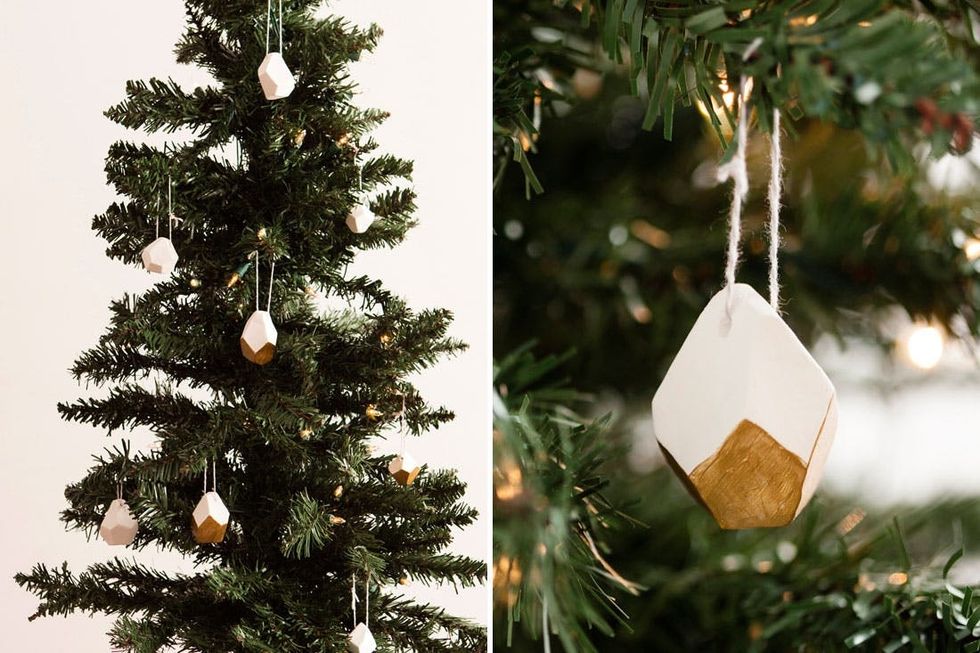
Geometric shapes are so hot right now. And so are Christmas ornaments, what with the holiday right around the corner. Add the two together and you get some classy geo ornaments. Put them on your tree, give them as a gift, or string a few together to create a hanging piece of art. These beauties are incredibly easy to make and they only take about an hour. The best part? You can get the Geode Ornament Kit in our shop for $24.99! And of course, if you love these ornaments so much you want to wear them, you can check out how to make your own DIY Geode Statement Jewelry as well.
here
– white Sculpey clay
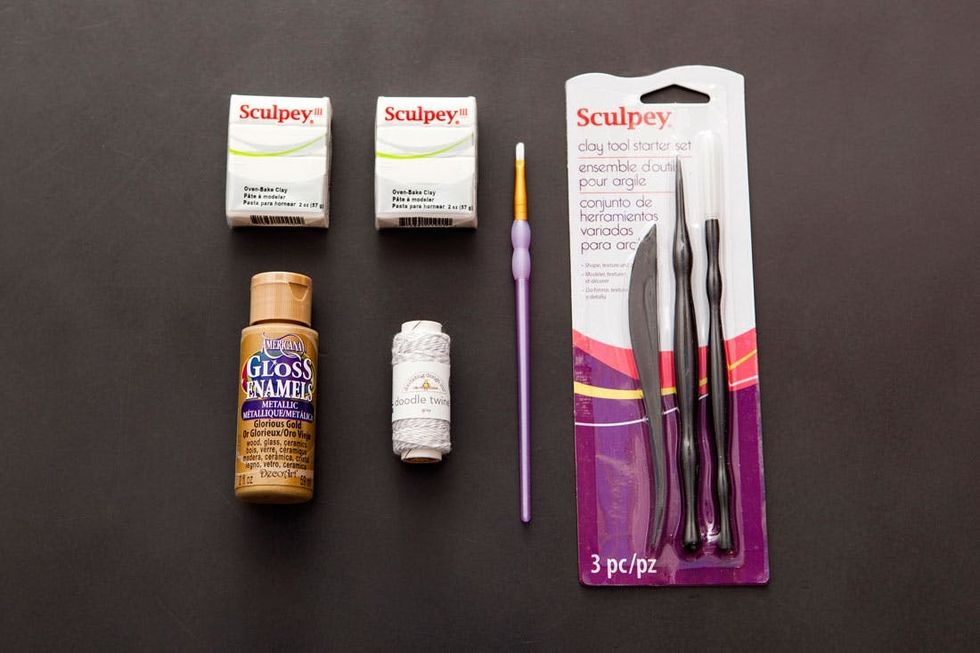
– Sculpey tool kit
– twine
– gold paint
– paint brush
Instructions:
1. Pre-heat your oven to 275 degrees.
2. Open your package of clay and tear off two bars.
3. Roll the clay into a ball.
4. Using the knife tool, cut into the side of the ball at an angle creating a flat face.
5. Make a second cut right next to the first.
6. Repeat Step 5 until the entire ball has been carved.
7. Gently smooth out the edges.
8. Poke a hole in the top of the ornament large enough to slide the string through.
9. Place the ornament on a cookie sheet and bake for 30 minutes or more depending on the size of your ornament (15 minutes of baking time for every 1/4 inch of clay).
10. Remove the ornament from the oven and let cool.
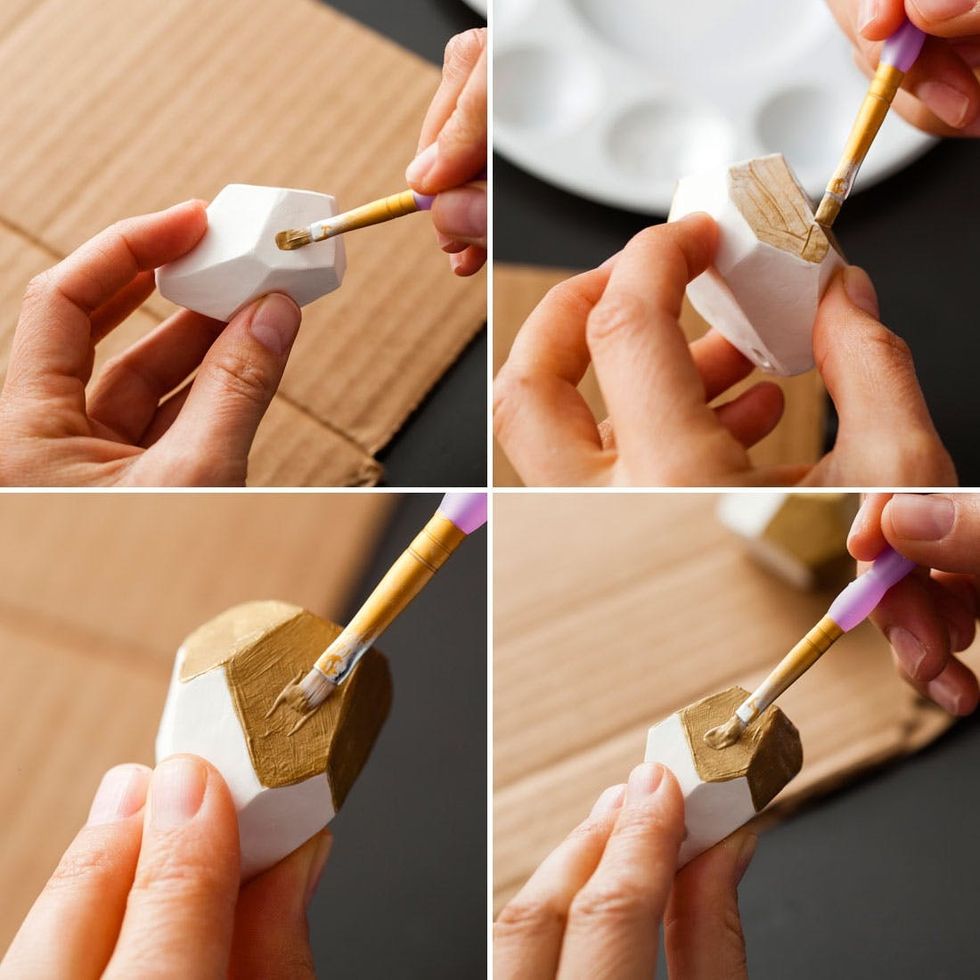
11. Paint the bottom faces of the ornament, adding as many coats as you need.
12. Slip the string through the hole and tie.
Sculpey clay is so easy and fun to use – just shape and bake!
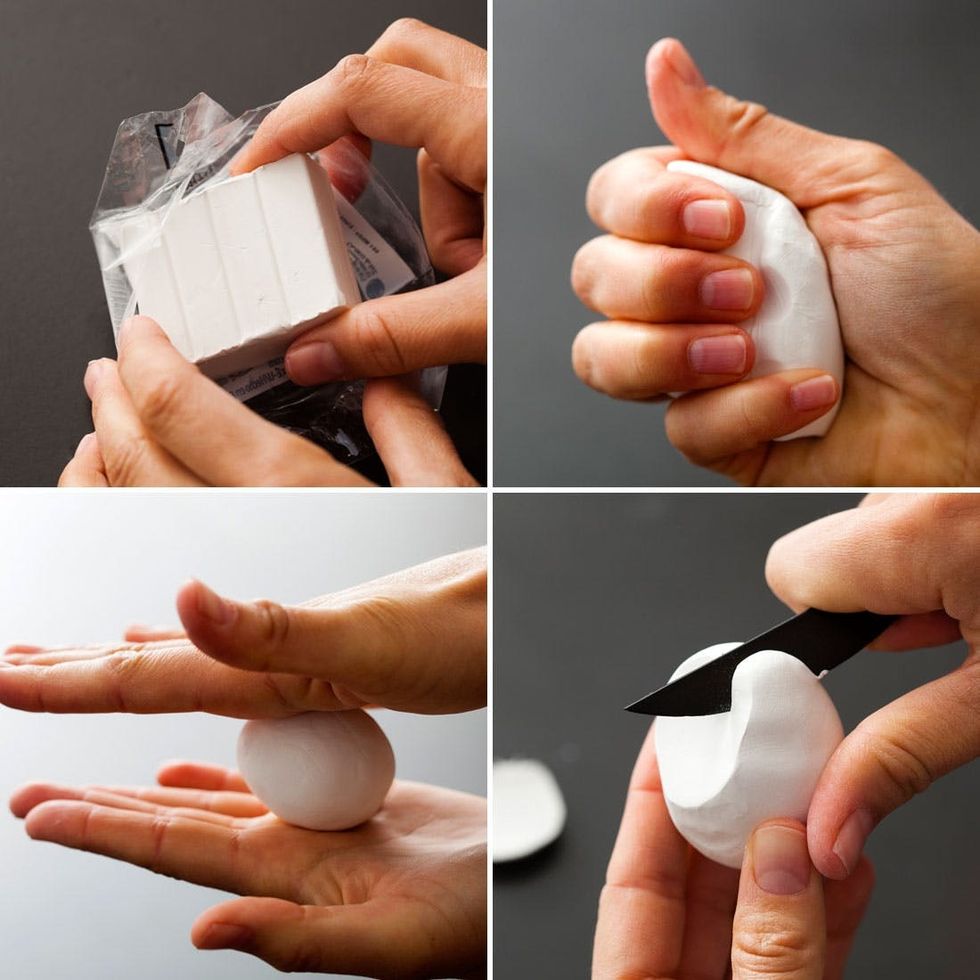
Since you’ll be cutting off parts of the clay ball, your ornament will be a bit smaller than the original shape, so keep that in mind when you are deciding how large you want it to be.
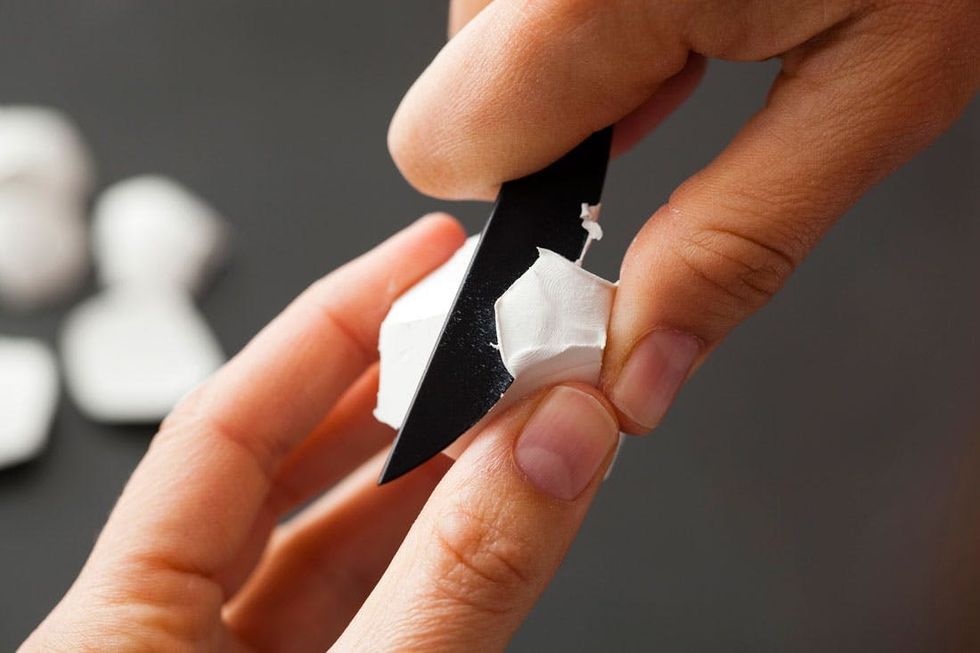
Make sure you don’t gouge your finger into the ball as you cut. It’s a delicate little guy. Most of our ornaments wound up with five sides on the top half and around five to seven on the bottom.
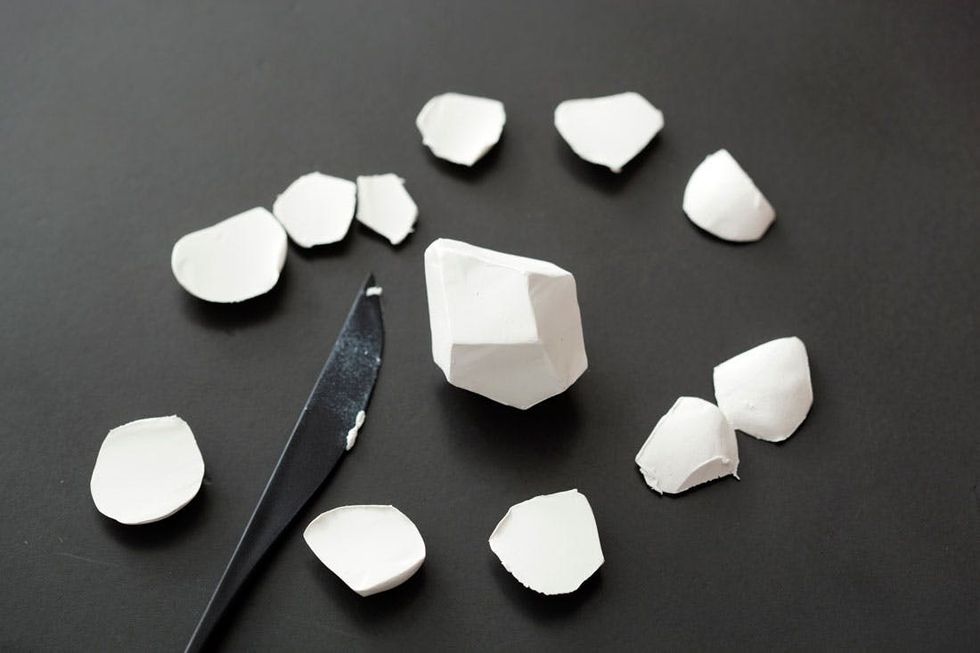
There isn’t a set pattern you need to follow, just keep slicing until it looks like a gem. In fact, we really like how each one is a little bit different.
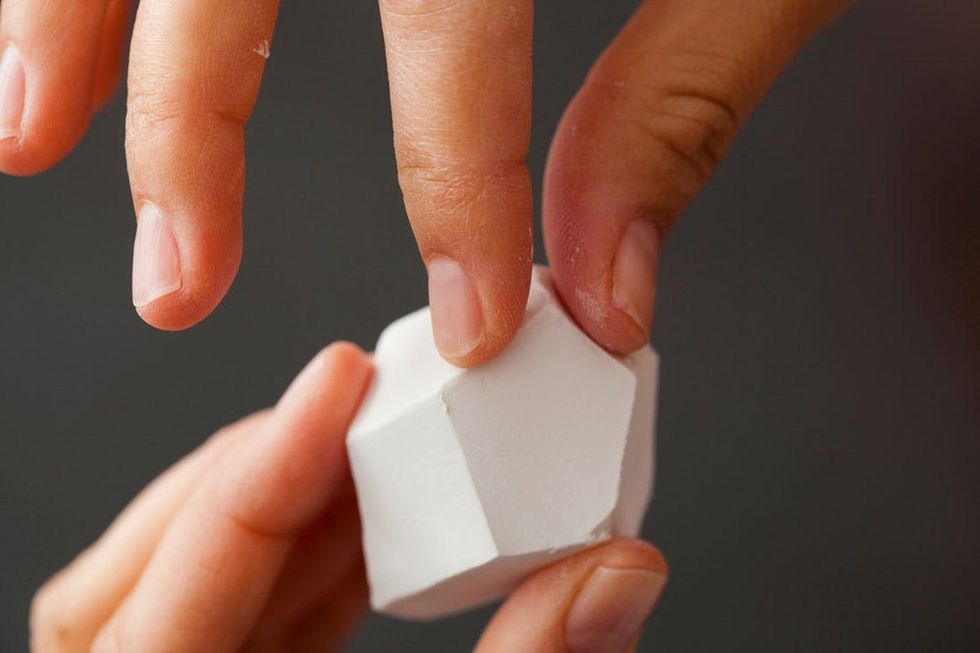
Smooth out the edges using your finger. Be really gentle with the ornament because it’s easy to leave finger prints and make uneven surfaces.
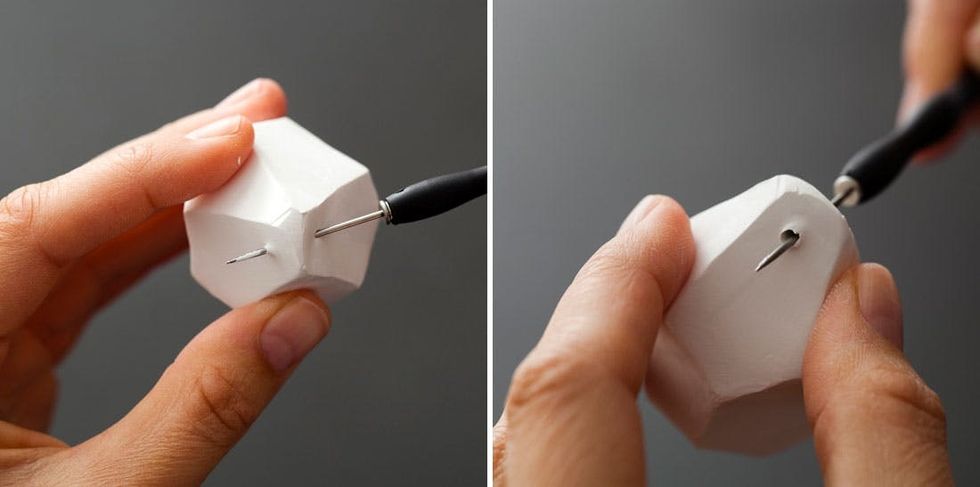
Use the poker tool in your Sculpey kit to skewer the ornament. You’ll need to roll the tool around a bit to make the hole the right size. The clay doesn’t shrink too much when it is cooked, but you might want to make the hole a little bit bigger than the size you need.
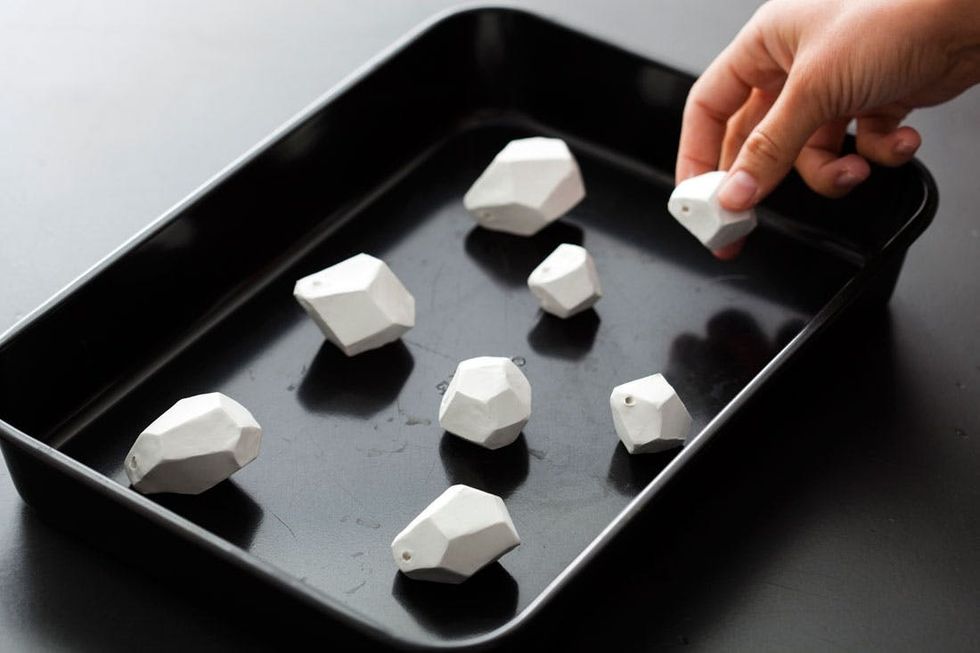
The time will vary depending on the size of your ornament, but we put ours in for 30 minutes. If you make one out of two packages of Sculpey, be sure to leave it in the oven longer – until it is hard. It’ll be hot, but you can lightly touch the side and see how firm it is.
Make sure to let them cool before you start painting.
We painted the bottom faces gold, but you could leave them white, add a color, paint the entire ornament or bedazzle them with glitter, though you might come out with a disco ball.
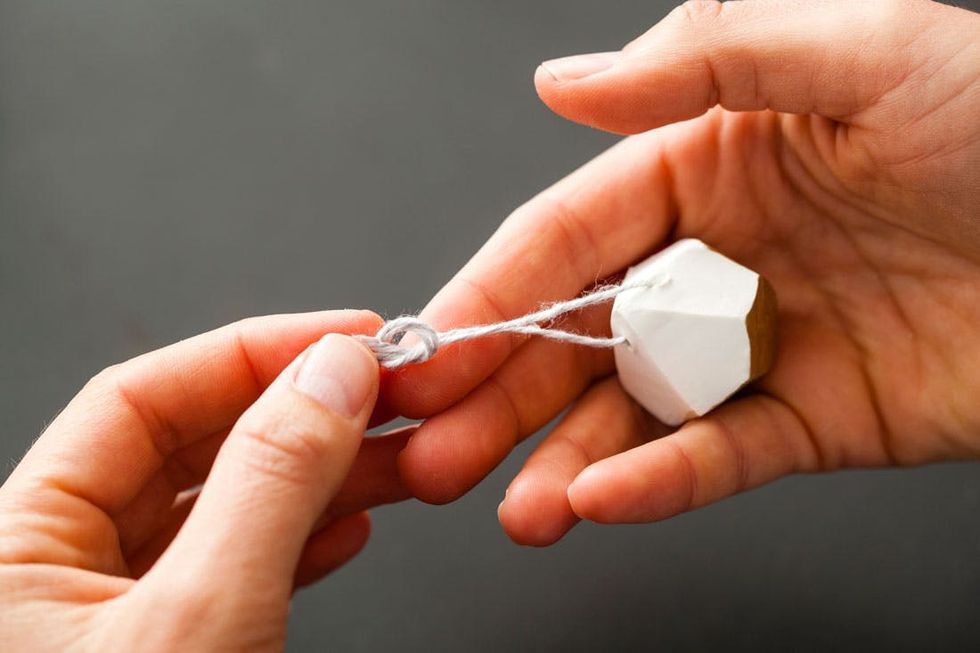
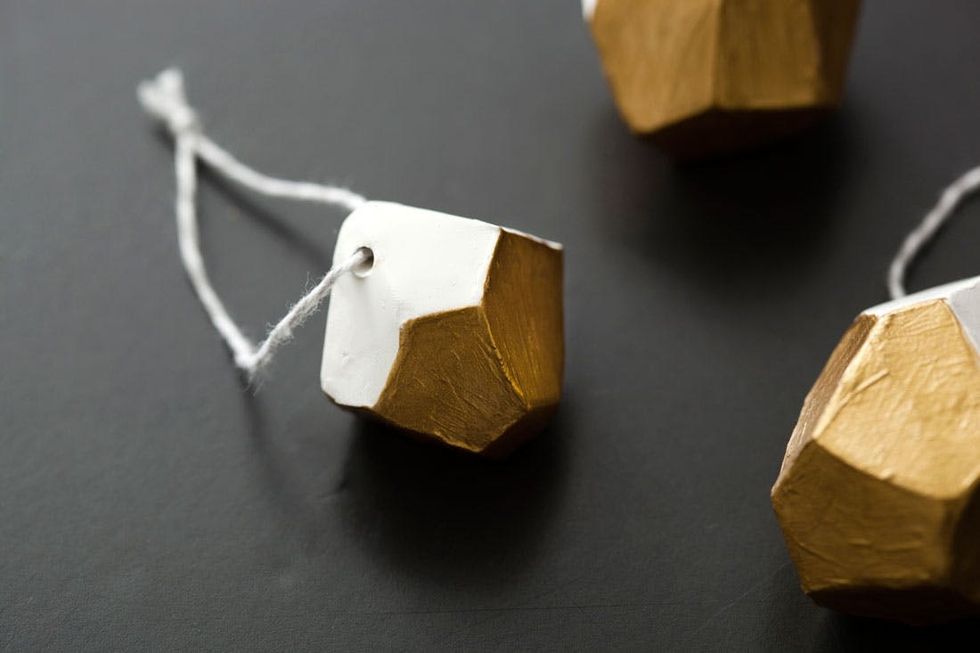
Slip the string through the hole, and then tie it at the top. We are loving these classy ornaments! They look stunning on our little tree.
What types of DIY ornaments have you made? Talk to us in the comments below.


