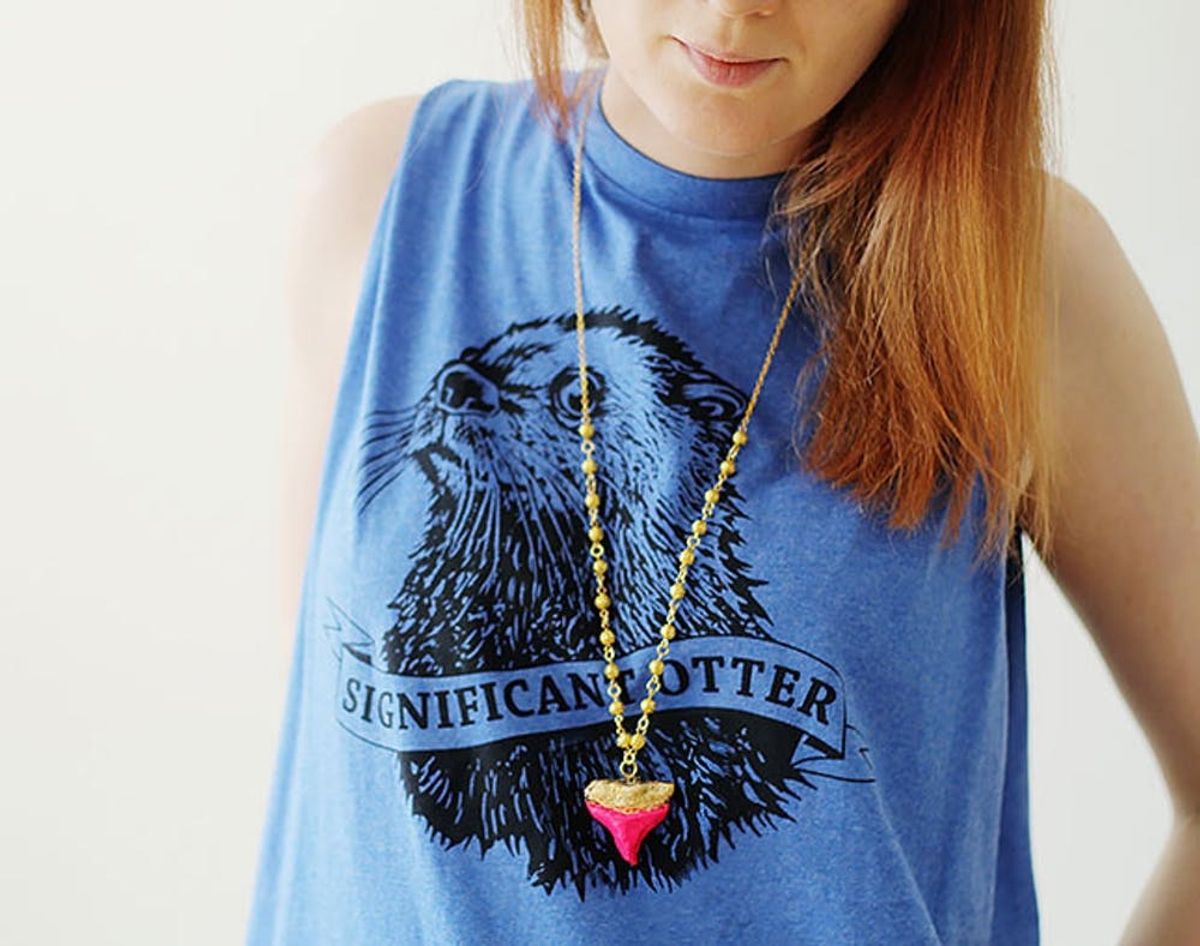
This clay shark tooth necklace is sure to become just as much of a beach-bound must-have as your sunnies.
Beach Bound? DIY This Clay Shark Tooth Necklace

We’ve made pretty clay necklaces before — the kind of dressy thing you’d wear to summer weddings + brunch dates with your boo. While they’re the ideal accessory for RSVP-worthy occasions, they’re not so perfect for beach bummin’. And as summer sneaks up on us (faster, faster!), we’re looking to don a lazy day accessory that will still make a statement over any tank, swimsuit cover up or one piece. So what better place to take inspiration from than our June-August destination of choice: The ocean?! This clay shark tooth necklace is sure to become just as much of a beach-bound must-have as your sunnies.
Materials:
– air-dry clay
– colored nail polish (we used pink)
– clear nail polish
– gold leaf flakes
– gold chain
– gold jump ring
– gold box closer cord end
Tools:
– paint brush
– 2 needle-nose jewelry pliers
– toothpick
Instructions:
1. Shape a piece of air-dry clay about the size of a ping pong ball into a rough triangle with rounded corners.
2. Mold it to look like a shark’s tooth: Squeeze the middle of each side slightly into the center and shape the bottom corner into a point.
3. Take a sharp object like a toothpick and draw a rough line across the clay parallel to the top edge.
4. Use your toothpick to define the outer edge and add texture.
5. Flatten the box clasp cord end with pliers and insert into the top of your shark tooth.
6. Let it rest overnight to dry and harden.
7. Paint the bottom of the tooth with bright nail polish color — you may need a few coats for complete coverage.
8. Cover the top of the tooth with gold leaf. You can use clear nail polish as the gold leaf adhesive: Spread a little polish on the tooth, and using one finger, place the gold leaf over the top. Smooth down with a dry paintbrush.
9. Once fully dry, attach the shark tooth to a chain using a jump ring.
It’s way easy to shape your soft clay into a sharp chomper: Mold it into a triangle with rounded sides and squeeze the middle and sides just slightly, so that it looks just like ours above. Use a toothpick to create that signature line that divides the tooth into a top and bottom half, and to add texture or define the overall shape, too. Then, flatten your box clasp and stick it deep into the top center of your tooth. Let this beast rest overnight until it’s completely hardened.
Now customize your shark tooth. We’re being resourceful and using pink nail polish to paint the bottom part of the tooth — a few coats will make the color really bold + super shiny, which will totally match the gold leaf we’re about to add to the top part. Who said Jaws couldn’t have a gold grill ;)
You can secure the gold leafing with special adhesive or hack it like us with clear nail polish. Just let it dry before you toss it onto your chain with a jump ring.
Sling it on and surf’s up!
What are your favorite accessories that you’ve made out of clay? Tell us in the comments below.


