And you don’t even need to leave your kitchen to try it.
Coffee Tasting Is the New Wine Tasting: Here’s Why

We’re admittedly coffee snobs at Brit HQ — just ask the six (and counting) different brewing machines residing in our kitchen. And trust us — we *never* pass up the chance to expand our knowledge of the best kind of brew. Sure, we look to Peet’s for our morning commute quality coffee fix. But it turns out that Peet’s is our new go-to source for professional-grade coffee tasting too.
Coffee 101 will cover how to cup like a pro and make you a master at discerning coffee flavor profiles. The Reserve Tasting class will teach you just exactly what goes into every roast, including growing region, altitude, climate and the individual farmer. But hurry! There are only 12 seats available in each class.
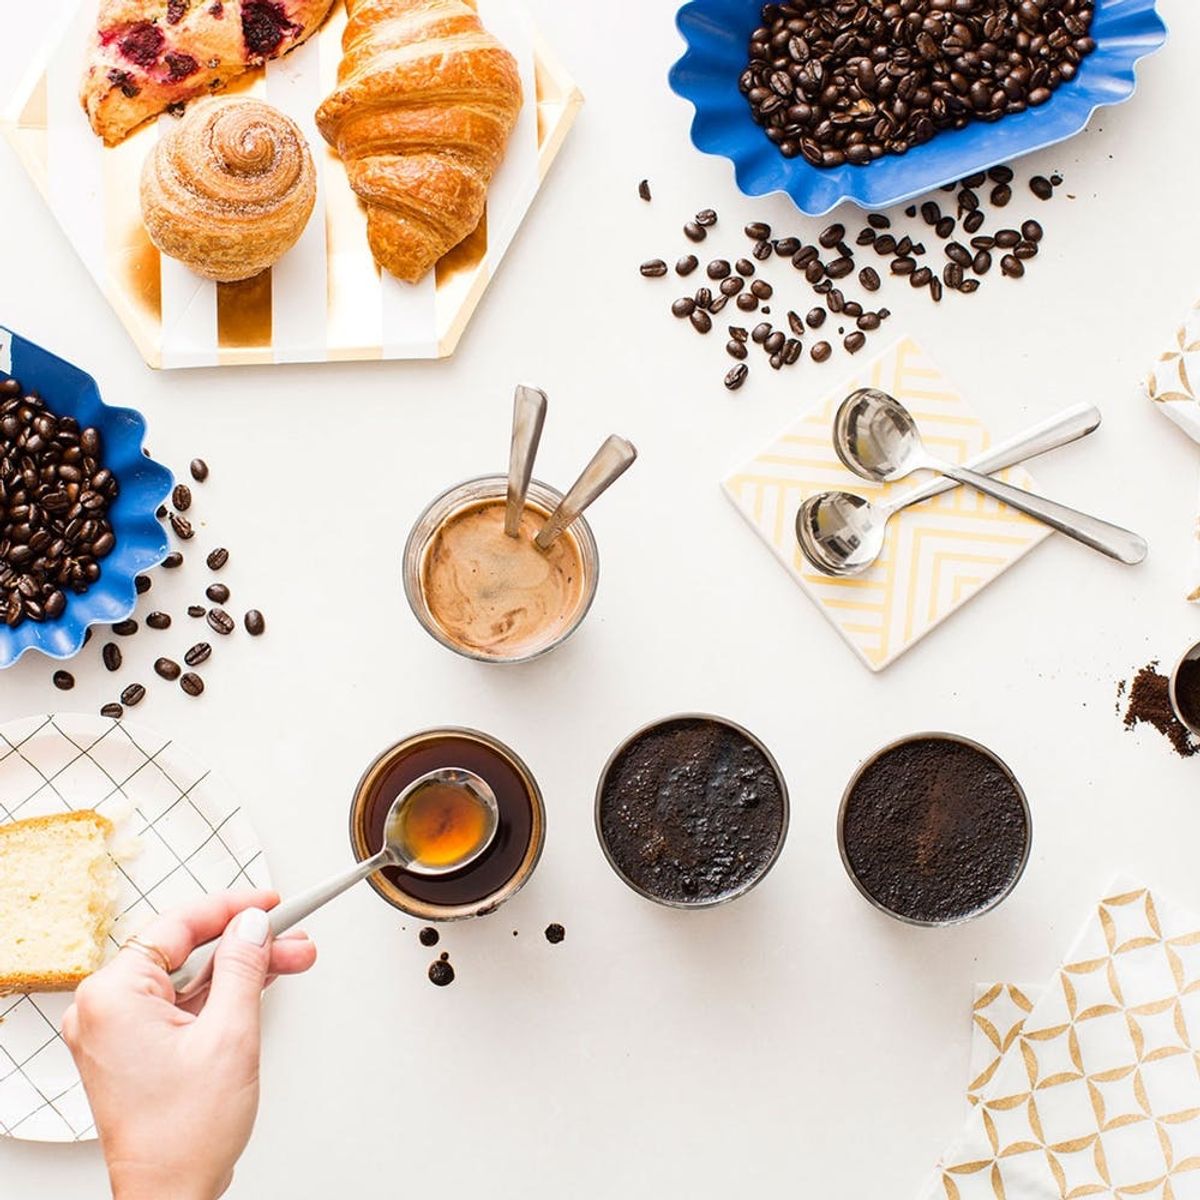
A real perk of these tasting classes? (Pun totally intended…) While you’ll miss out on the facts and tips that only a pro barista can provide IRL, the process is totally replicable at home. Scroll on to see how to do a professional coffee cupping (AKA tasting) from the comfort of your own kitchen.
Ingredients + Tools:
— freshly ground coffee (we went with 3 of our fave Peet’s single-origin roasts)
— 4 6-ounce glasses
— 2 shallow spoons
— tablespoon scoop
— boiled water
— timer
First up: Measure two heaping tablespoons of each type of freshly ground coffee into each glass. Keep the fourth glass as a place to discard your grounds later. Pro Tip: If using Peet’s coffee, opt for a grind of seven.
Pssst: Rumor has it we’ll be giving these 2 Tbsp scoops out as freebies at our tasting classes ;)
Bring water to a boil and allow bubbling to subside. The folks at Peet’s suggest keeping your water between 195 and 205 degrees Fahrenheit. Fill each glass halfway and pause for 30 seconds to allow the coffee to “bloom.” Then fill each glass to the top and set your timer for three minutes. Once three minutes is up, stir each coffee thoroughly with a spoon while inhaling the aroma of the infusion. Then wait seven minutes. This resting time helps extract full flavor from the coffee beans and also cools down the temperature. FYI: The cooler the coffee, the easier it is to taste different aspects of the roast.
After seven minutes, you should see a “crust” form at the top of each glass. The more consistent the crust, the more successful the cupping. Take one shallow spoon in each hand and cross the bowl ends so that the two spoons are actually, well, spooning. Slowly and carefully drag each spoon around opposite lips of the glass so as to scoop up the entire crust. Discard these grounds in your extra glass. You’ve finished removing the crust when the surface and edges of the coffee are clear.
To taste each cup, take a clean shallow spoon and dip the far side into the glass (you know, how they taught you in etiquette class way back when). Sip the coffee from the near side of the spoon and be sure to not disturb the grounds in the glass. When tasting each, you want to look out for body, acidity and finish (AKA aftertaste) for each coffee.
There you have it! You’re officially a coffee-tasting pro, and equipped to majorly impress your foodie friends. Cheers!
Trying this at home? Share photos with us using the hashtags #britstagram and #iamcreative!
This post is a collaboration with Peet’s Coffee.
Authored by: Maddie Bachelder
DIY Production and Styling: Maddie Bachelder
Photography: Chris Andre


