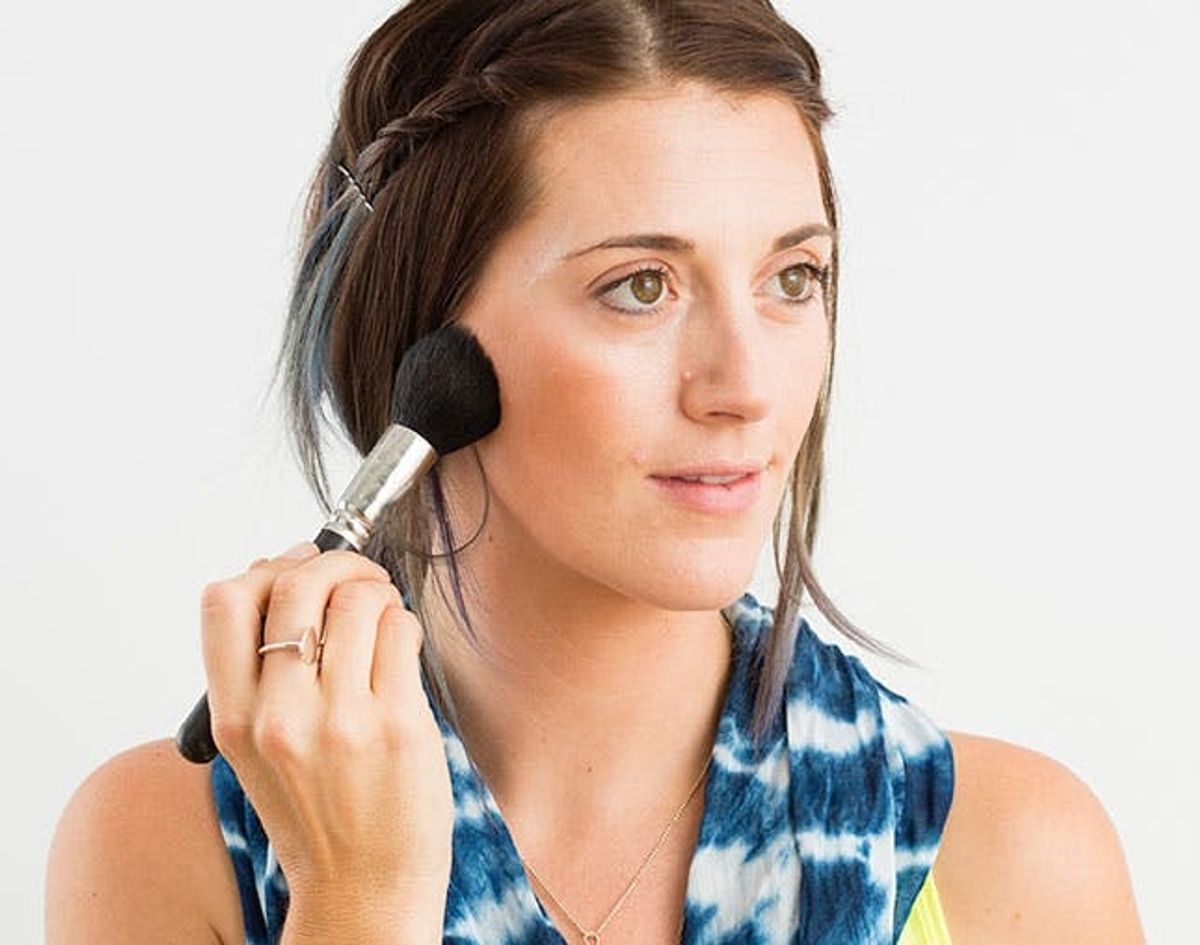
Today we’re showing how contouring can be used really minimally to polish your features annnd also how you can indulge in a slightly more done up look when the time is right, like when you’re attending late-summer weddings and other major occasions where you could use extra-extra oomph.
2 Fresh Ways to Contour Your Face Like a Makeup Pro

By now you’ve probably seen the somewhat shocking “before” photos of Kim Kardashian with her face almost completely painted in white highlighting and dark contouring makeup and thought “What’s the deal, yo?!?!” Well here’s the scoop: For most ladies, this level of extreme makeup application is both wholly unrealistic for everyday wear and super challenging to master. But while caking on makeup just to blend it to bits may seem totally crazy, you can use the technique for beauty good! Today we’re showing you how contouring can be used really minimally to polish your features annnd also how you can indulge in a slightly more done up look when the time is right, like when you’re attending late-summer weddings and other major occasions where you could use extra-extra oomph.
<em>this</em>
 Kim — whether you love her or loath her, her makeup artist deserves major kudos!!). These IRL face charts are just to help you familiarize yourself with the lingo/at-a-glance zones that will help you create the blueprints for your preferred look:
foundation brush
 Laura Mercier Illuminating Tinted Moisturizer in Bare Radiance ($43). You can see here, you should apply it in a very thin layer fanned around your face.
Everyday Contour

2. Use your fingers to blend the foundation even further. The heat from your fingertips helps to melt the product into an even more natural-looking state.
3. Begin contouring with your go-to bronzer like Hoola by Benefit ($49) in the following places:
– along the hollows of your cheeks
– along your jawline and blended down into your neck
– across the highest point on your forehead and blended into your temples
– along the sides of your nose
4. Now apply a concealer that is one-to-two shades lighter than your skin tone — I used Maybelline Concealer Stick in Light ($5) — and do so fairly liberally as you highlight in the following places:
– along the bridge of your nose
– in the center of your forehead
– in the center of your upper lip and chin
– on the points directly to the sides of your nostrils (where it tends to get a little rosie for most gals)
5. Blend gently with your fingers.
6. Set the highlights with a translucent powder — we love Japonesque Velvet Touch Finishing Powder ($26). This will also help to blend any lines of demarcation from the bronzer as well.
See the subtle, but much more polished look from beginning to end? Finish your face with natural looking makeup — that’s basically the power trio of a lightweight mascara, natural-toned eyeliner + a lip and cheek tint — and you’re pretty, polished and ready to rock your day in 15 minutes flat!

This amount of application really takes your look to the next level. It’s definitely a more dramatic approach — perfect for those major events and occasions when you’ll be front and center with the flash bulb all night (+ for eternity in those pics!) — but with practice it’s still an attainable look for the average gal to pull off.
1. Apply a slightly heavier amount of your base foundation with a foundation brush for a little more all-over coverage.
Photo-Ready Contour

Have you dabbled in contouring? Or are you a contour pro? Share your best makeup hacks with us in the comments below.


