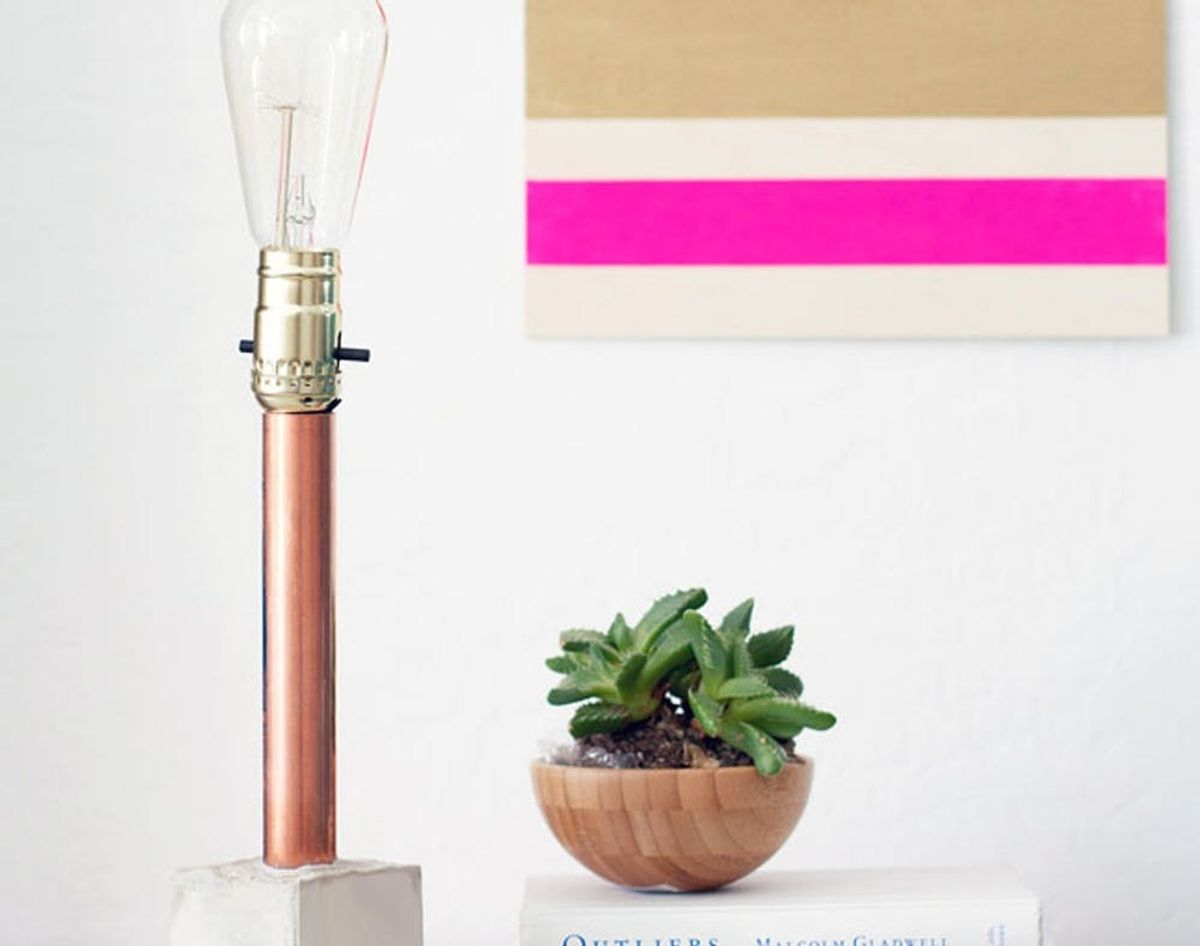
We love interior design here at Brit + Co., and currently we are digging the copper trend. We are no strangers to using copper for jewelry DIYs like these copper tubing statement necklaces or these rope and copper necklaces; however, we haven’t done a ton of copper DIYs for the home… until today that is. Ladies and gents you are in store for a dazzling DIY that is so handsome your friends will never believe you made it.
Let There Be Light: 2 Ways to Make a Copper + Concrete Lamp

We love interior design here at Brit + Co., and currently we are digging the copper trend. We are no strangers to using copper for jewelry DIYs like these copper tubing statement necklaces or these rope and copper necklaces; however, we haven’t done a ton of copper DIYs for the home… until today that is. Ladies and gents you are in store for a dazzling DIY that is so handsome your friends will never believe you made it.
Meet the DIY Copper Lamp, two ways!
Materials:
– concrete or mortar mix
– water (not shown)
– paper carton of some sort (16 oz or bigger)
– copper piping
– light bulb
– lamp kit (for the straight lamp) or removable socket light bulb kit (for the angled lamp … not shown)
– adhesive vinyl bumpers
– 45 degree angle copper pipe fitting (for the angled lamp … not shown)
Tools:
– pipe cutter
– concrete drill bit
– drill
– glue gun
Instructions:
1. Trim top off cartons. Trim copper pipe(s) to desired size.
2. Glue copper pipe(s) inside the center of cartons.
3. Mix concrete around pipe according to instructions. Let dry 24 hours.
4. Peel off carton.
5. Drill hole into bottom center of the cement and through the pipe to feed the wire through.
6. Feed wire through the bottom of the cement through the pipe(s).
7. Add on lamp kit socket or regular socket according to instructions.
8. Add adhesive bumpers to the bottom of the base.
Note: The directions are the same for each lamp with a slight modification to one or two of the steps as noted below.
First, you will want to cut your pipe(s) down to your desired size. For the straight lamp, I used 1 inch copper piping and cut it down to 10 inches using the pipe cutter. For the angled lamp, I used 1/2 inch copper piping and cut one piece down to 12 inches and the other down to 12 inches plus the height of the carton (see image). For the angled lamp, you may need to cut down the top piece of copper piping at the end if the lamp tips. This will all depend on the size of your base and the weight of the top piece. They must be balanced sufficiently or the top piece could tip the lamp.
Next, glue your base pipe into the center of the carton. Make sure it is standing straight.
In the carton around the pipe, mix the cement with water according to the directions. Move quickly as the cement dries fast. If you have a spoon or apparatus long enough, remove any wet cement that has gotten into the pipe. This is best done when the cement is still wet but has begun to stiffen to lessen the chances that more cement will ooze in under the pipe. Let the cement dry overnight. If possible use something to weight down the pipe and keep it straight. This will ensure the pipe comes out straight and with minimal cement inside the pipe.
Peel off the carton.
Using a cement drill bit small enough to fit inside your copper pipe, drill a hole into the cement through the pipe to create an opening through which you can thread the wire.
Thread the wire through the cement and up through the pipe(s). For the straight lamp, feed the wire through straight. Refer to the photo above for threading the angled lamp.
Screw on and connect your light bulb socket (for the angled lamp) or lamp kit socket (for the straight lamp) according to the instructions on the package. Screw in your light bulb.
Stick four adhesive vinyl bumpers onto each corner of the bottom of your lamp. Plug your lamp in an turn it on.
What do you think of the copper trend in interior design? Talk to us in the comments!


