Does your pooch have the personality of Fred Astaire? Does he pose perfectly for photos looking stoic and classy? If so, then this is the DIY for you! We’re about to take your pet’s wardrobe from drab to fab, starting with a hot pink bow tie, an electric blue necktie, and adorably ridiculous french cuffs. Perfect for Easter Brunch ;)
Oh You Fancy Huh? 3 Dapper Duds for Your Posh Pup
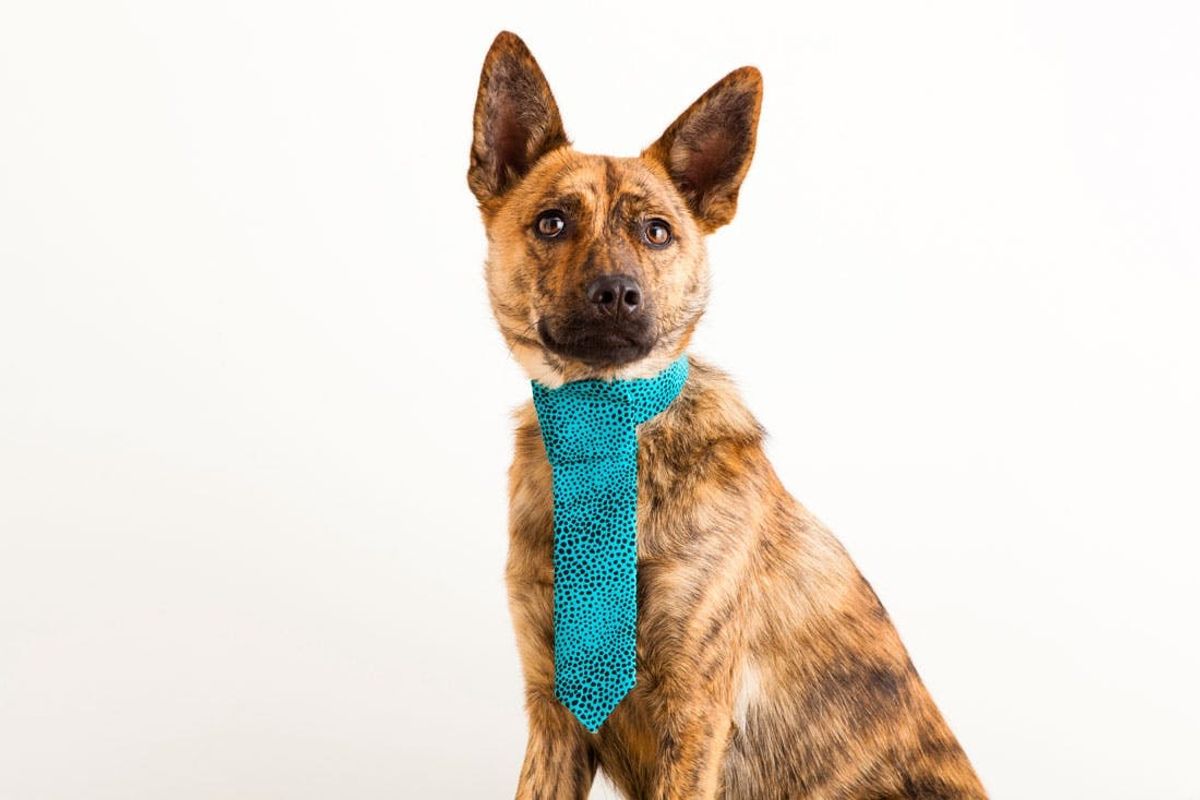
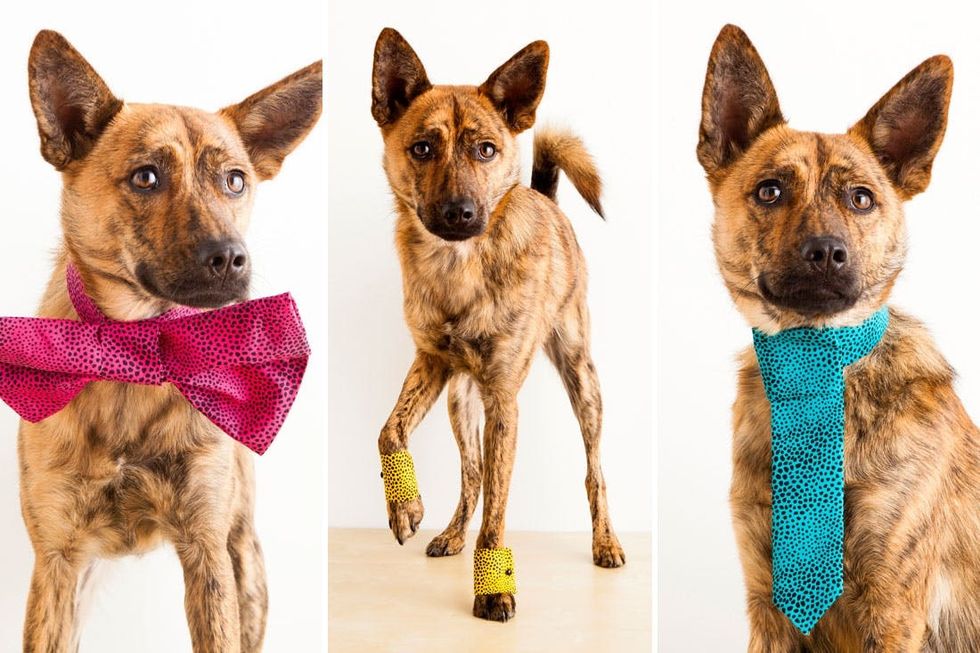
Does your pooch have the personality of Fred Astaire? Does he pose perfectly for photos looking stoic and classy? If so, then this is the DIY for you! We’re about to take your pet’s wardrobe from drab to fab, starting with a hot pink bow tie, an electric blue necktie, and adorably ridiculous french cuffs. Perfect for Easter Brunch ;)
Materials:
– VELCRO® Brand Fabric Fusion
– fabric! (we chose pink, blue, and yellow)
– thread
– two snazzy buttons (for the cuffs)
– fabric stabilizer
Tools:
– hot glue gun + glue
– fabric scissors
– scissors
– needle
– iron
– measuring tape
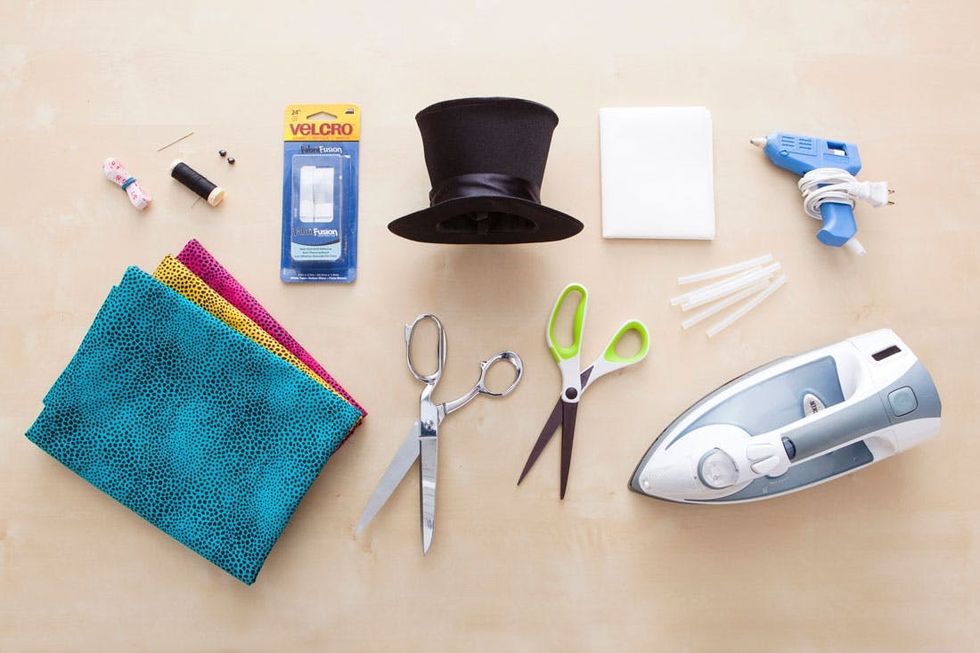
The top hat is an obvious must.
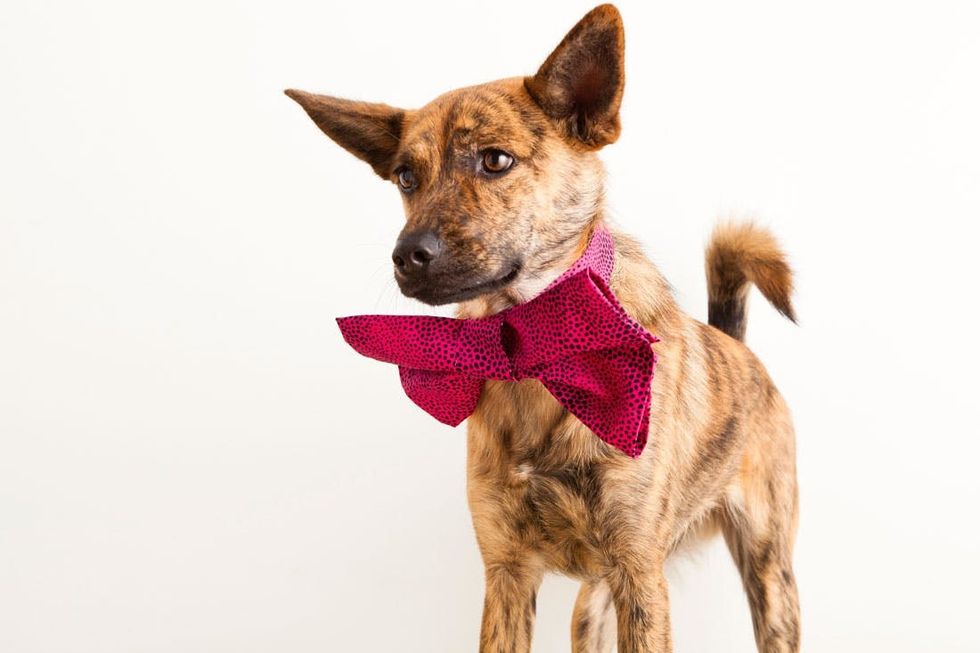
Every dashing dude needs a bowt ie, so we’re making one puppy-style. This is an easy DIY, but it does take a lot of little actions. Follow the steps below to see how it’s done.
BOW TIE COLLAR

1. Measure your dog’s neck.

2. Determine how big and floppy you want your bow tie to be (we went huge!).
3. Cut a rectangle of fabric–the short end will be the width of the bow tie.
4. Fold over and glue each side creating a hem.
5. With the rectangle seam side up, fold in each end–they will meet in the middle.
6. Hot glue both sides down.
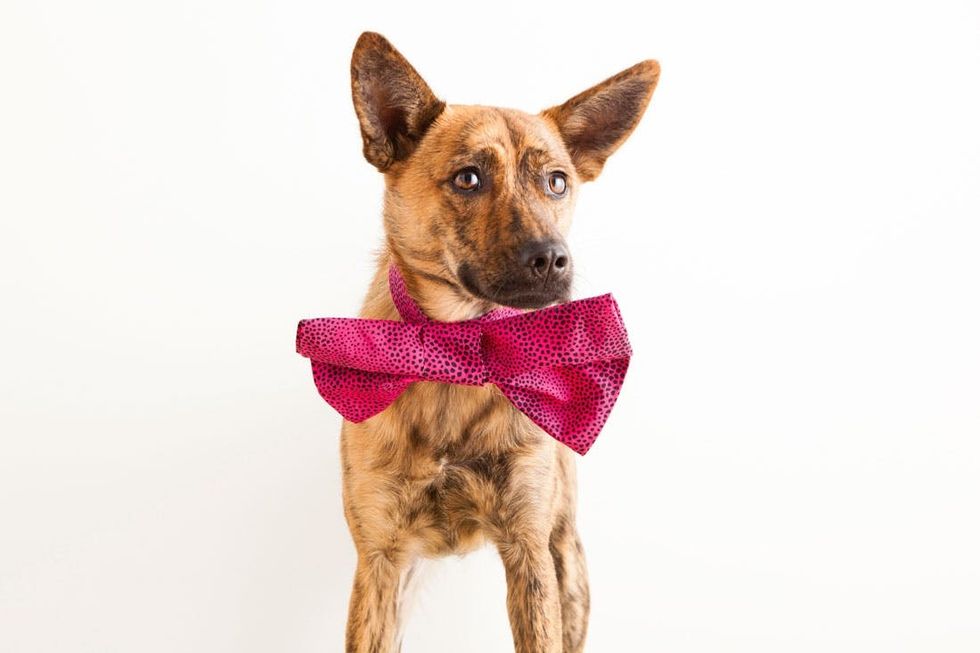
7. Pinch the bow tie in the center and add hot glue to create a bow tie shape.
8. Turn the tie over and add a bit of glue to the center to reinforce the shape.
9. Cut a strip of fabric for the center of the bow.
10. Wrap the strip around the bow and glue it in place.
11. Using the measurement from step 1, cut a piece of fabric for the collar.
12. Fold over the edges creating a hem.
13. Iron the hem and then hot glue all four sides.
14. Cut a small piece of VELCRO® Brand Fabric Fusion and add to each end of the collar taking care to place it on the correct side of the collar–wrap it around to check.
15. Flip your collar over and iron the VELCRO® Brand Fabric Fusion in place by pressing the iron to the back side of the fabric. If your pet’s a wiggler, feel free to reinforce the VELCRO® Brand Fabric Fusion with a dab of hot glue :)
16. Hot glue the bow tie in place and strap this fine looking accessory to your dog!
Charmed, I’m sure ;)
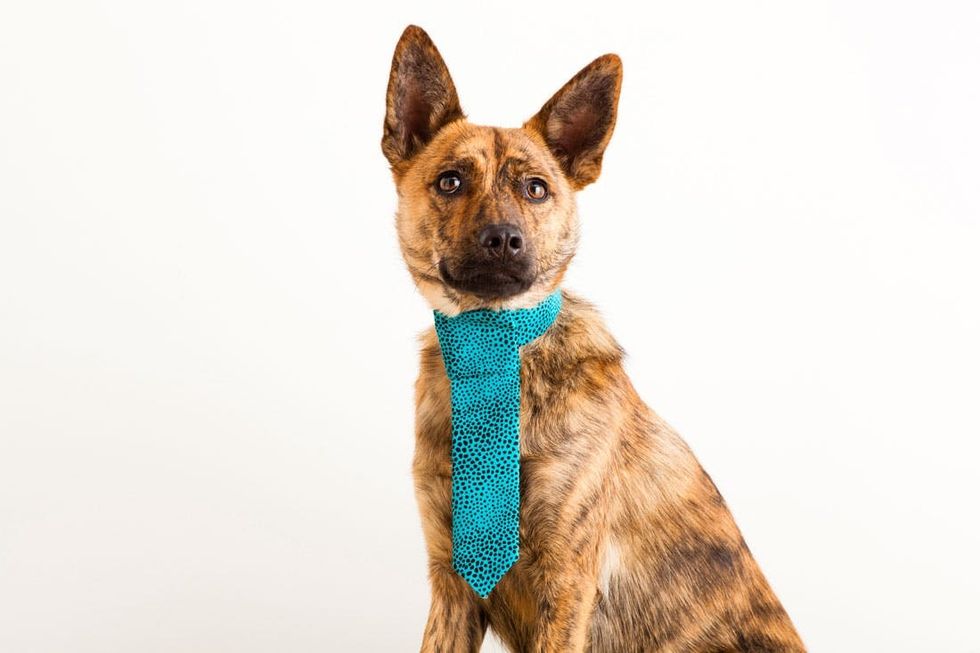
Not a bow tie kind of guy? How about a necktie for your Don Draper dog?
NECKTIE COLLAR
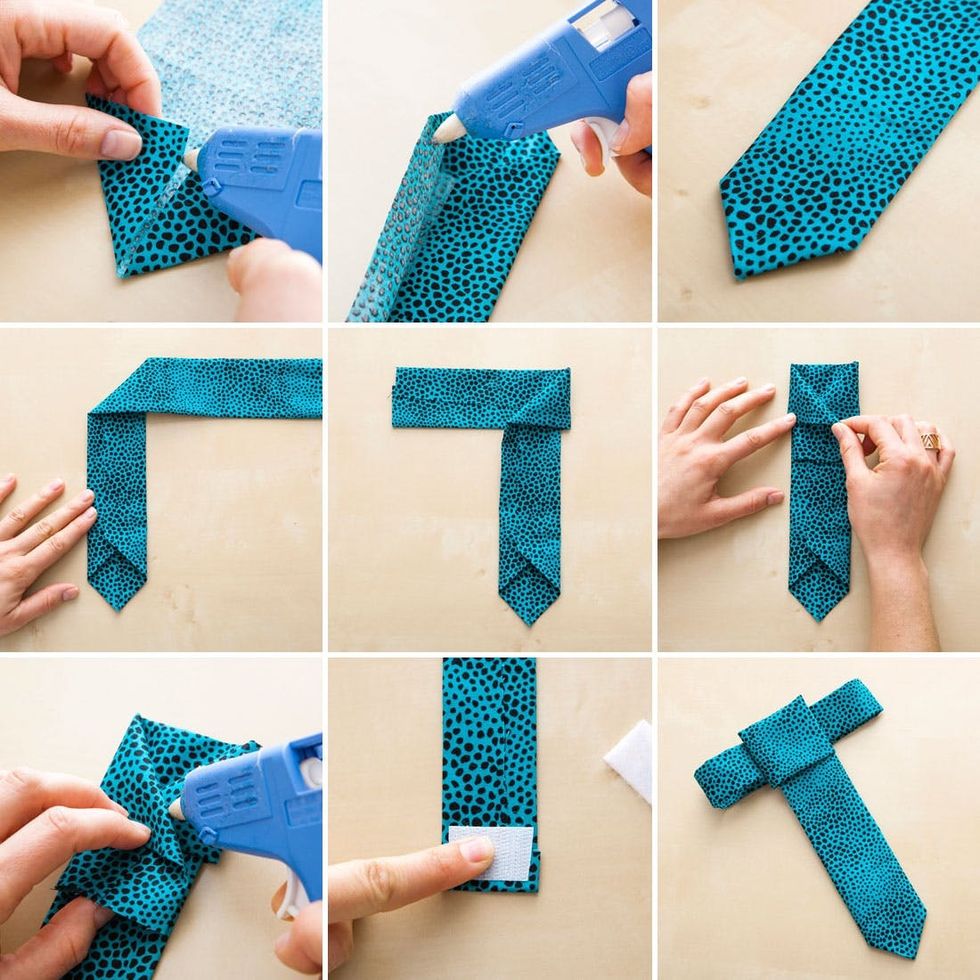
1. Cut a long strip of fabric (we cut ours 15 inches x 5 inches)

2. Starting at the middle point at the bottom of your strip, fold up each side creating a triangle shape at the bottom and hot glue in place.
3. Fold over each side until your tie is the width you want, iron and the hot glue those suckers down.
4. Now fold the top back and to the right.
5. Bring it back under to the left.
6. Fold it down so that it is parallel with the length of the tie leaving about a half inch space between the piece you are working with and the tie.
7. Fold that entire piece over until it sits on top of the tie.
8. Hot glue your folds and cut off the excess fabric.
9. Using the measurement from step 1, cut a piece of fabric for the collar.
10. Fold over the edges creating a hem.
11. Iron the hem and then hot glue all four sides.
12. Cut a small piece of VELCRO® Brand Fabric Fusion and add to each end of the collar making sure to place it on the correct side of the collar–again, wrap it around to check.
13. Iron the VELCRO® Brand Fabric Fusion in place by heating the backside of the fabric.
14. Hot glue the necktie onto the collar and strap that puppy onto…your puppy!
Sooo dapper!

FRENCH CUFFS
And finally, no man’s high-fashion outfit is complete without French cuffs. We’ve got some mini ones for your furry little friend.

1. Measure the circumference of your dog’s front legs, his ankles if you will.
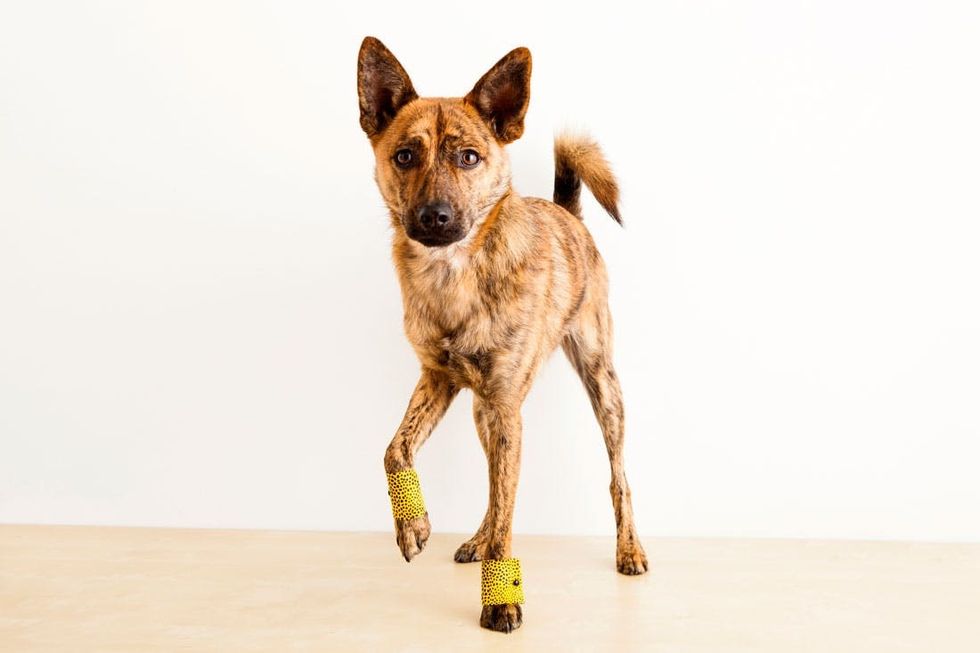
2. Cut two rectangles of fabric, one for each leg (we cut ours 3 inches x 4 inches).
3. Fold over the edges, iron and glue them down to create a hem.
4. Place your rectangle on top of some fabric stabilizer and cut out a piece that will fit flush with your piece of fabric.
5. Iron the fabric stabilizer in place. Make sure you don’t iron the wrong side. The waxy side should be facing the fabric.
6. Thread your needle and a stitch your buttons to the edges of your cuffs–they should sit right in the middle.
7. Cut a piece of VELCRO® Brand Fabric Fusion for the ends of each cuff. Cut that in half to use for both cuffs.
8. Add theV ELCRO® Brand Fabric Fusion to the cuffs and iron in place.
The tramp doesn’t stand a chance next to this hot little hound. He’s going to get all the ladies. All he needs is a single malt whiskey and a 3D printed rose in his teeth and he’ll be ready to take this look out on the town ;)


