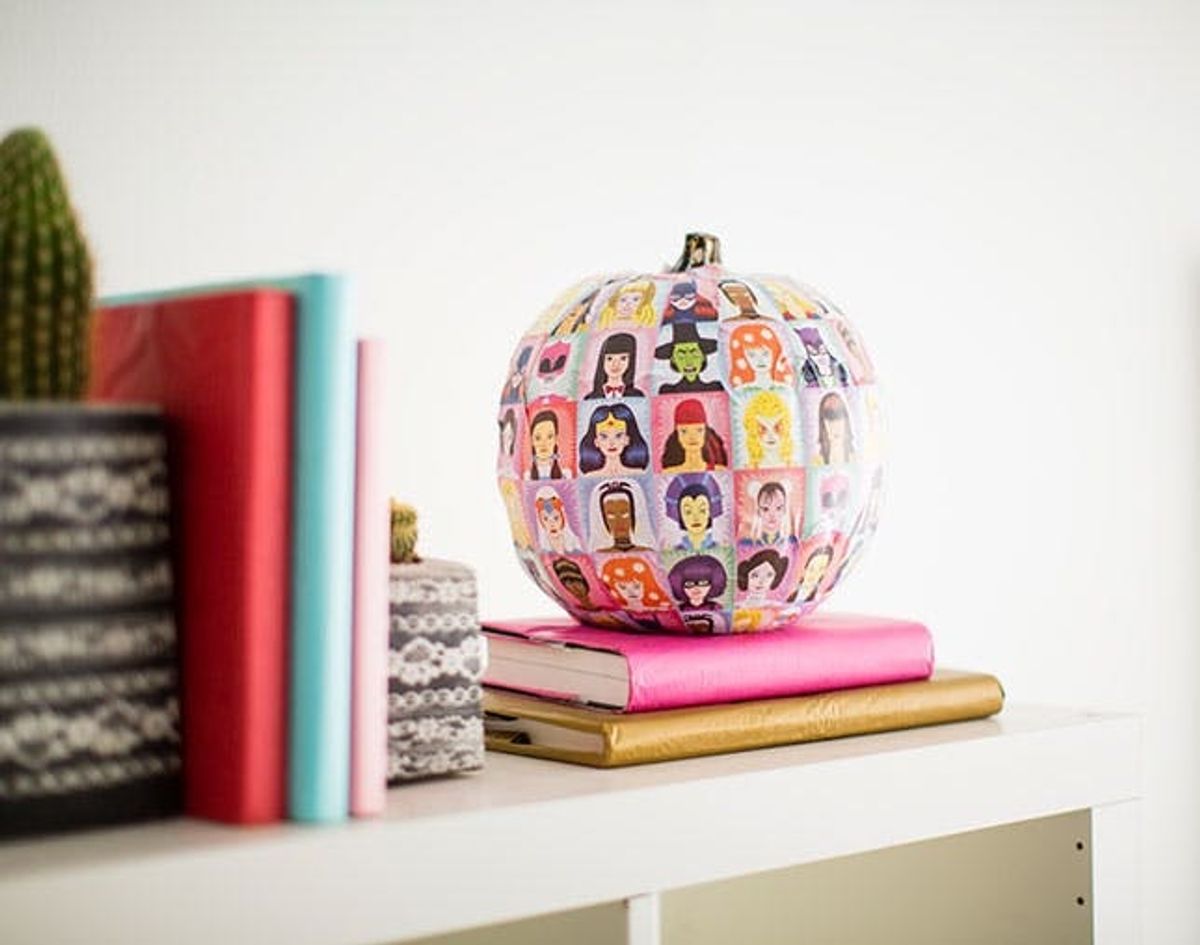
Pumpkins, they’re so hot right now. Find out how to doll up yours for the holiday the way pumpkins deserve to be dolled up.
How to Make the Prettiest Pumpkins Ever


We adore Halloween decor! There are so many options from classic to creepy to glow-in-the-dark. One decoration that works for every theme is — you guessed it — pumpkins. You can paint them, carve them, add studs to them, or make them their very own Halloween costumes. Today we are going to show you another fun and easy way to doll up your pumpkins for the holiday. All you need is some wrapping paper, Mod Podge and a foam brush. Get ready to decoupage some gourds.

Materials:

– pumpkins (fake or real)
– paper
– Mod Podge Matte
Tools:
– scissors
– foam brush
Instructions:

1. Measure your paper around your pumpkin. Fold the top over the curve of the pumpkin to make sure the paper reaches the stem. Do the same with the the other end of the paper to make sure it covers the bottom of the pumpkin. Cut out your paper to the appropriate size.
2. Add a thin layer of Mod Podge to the back side of the paper using your foam brush. Then adhere the paper to the pumpkin. Cut slits in the top and bottom to prevent the paper from wrinkling around the curves.
3. Paint a layer of Mod Podge on the outside of your paper and let it dry.
First off, measure your paper. We found some beautiful sheets at Paper Source and also tried out some wrapping paper. Make sure you cut out enough paper to cover the pumpkin, including the part that curves at the top and bottom. Then paint a thin layer of Mod Podge on the back of the paper. Gently press the paper to the pumpkin, smoothing it out as much as possible. To wrap around the curved parts, cut slits in the paper and then overlap them as you press them down.

Once your paper is secure, add Mod Podge to the outside. This will create a lacquered look and also help the paper stay in place. After you finish, try not to handle the pumpkin too much or the wet paper will fall apart and stick to your hands. It will also stick to any surface, so you’ll need to hold it while it dries. Or you can do one end, let it dry and then do the other end. We set ours on a Tupperware lid which worked well.

We love these adorable heroine faces!

We found that the thinner gold polka-dotted paper was a little bit more difficult to work with and recommend using thicker paper.

If you love Halloween but don’t want to go for the typical color scheme or over-the-top cobwebs, these are a great way to add a little bit of Halloween love to your beautifully decorated space.

So darling!

What pumpkin-carving alternatives have you tried? Do you have any fun tips and tricks? Share them with us in the comments!


