This Easy Organization Hack Will Totally Transform Your Workspace

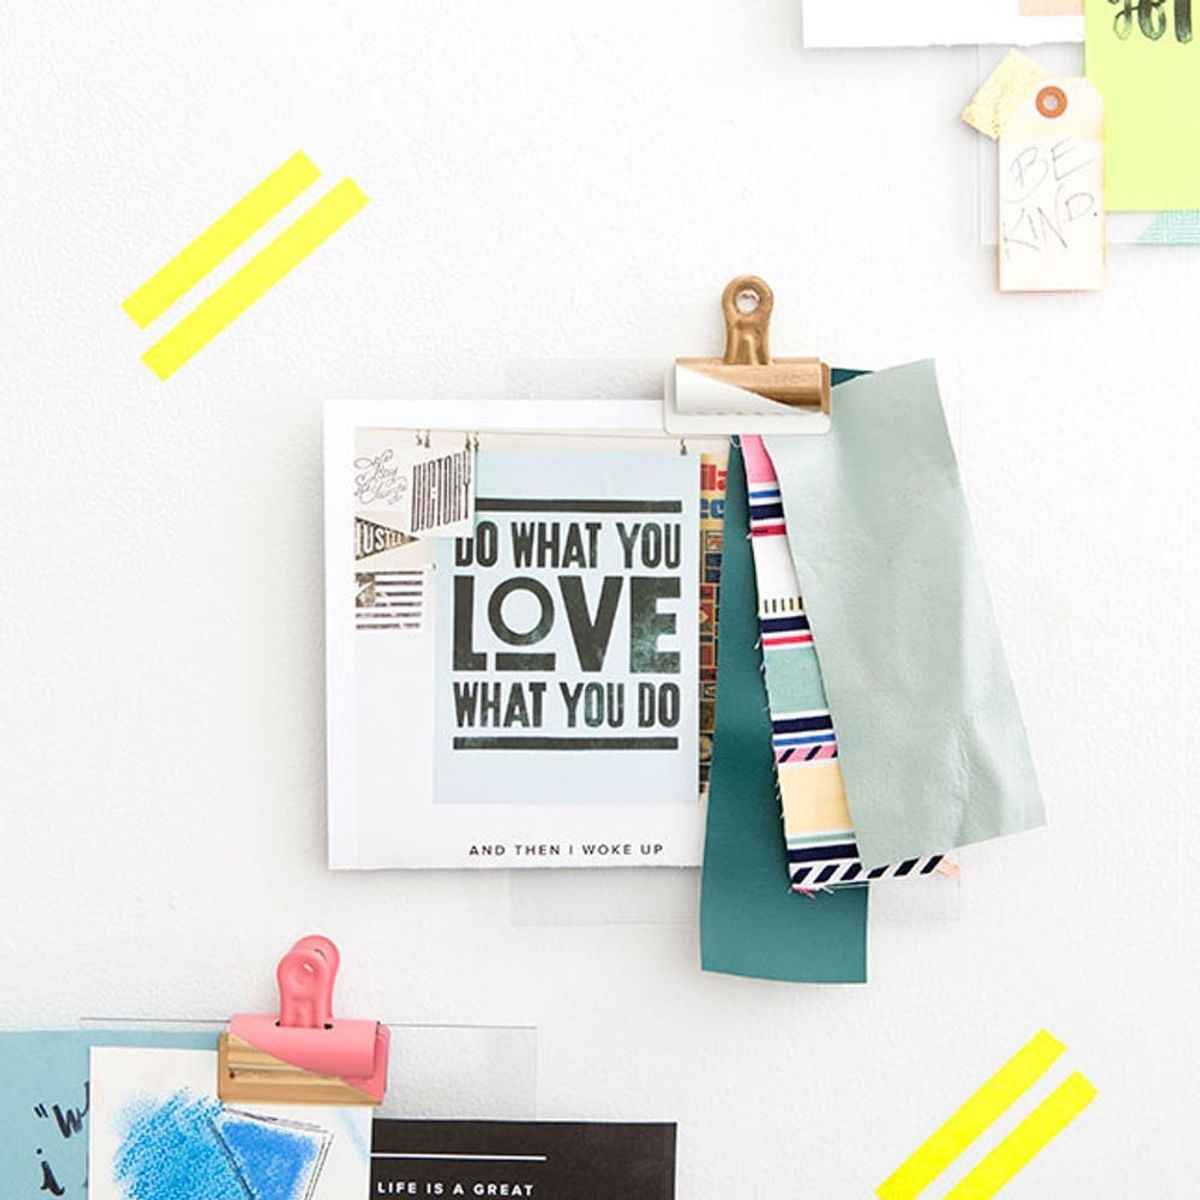
It’s already March and we’re here to remind you that YOU GOT THIS! Those resolutions, promises and habit-forming intentions that you set in January are better quipped to last when you have a wall of inspiration above your workspace. The first few months of 2016 blurred past us, so to stay on track with our creative productivity, a place to clip all of our inspiration is a must. Having visuals of encouragement, colors, swatches, art prints and more gets our heads in the right place and in the right flow. These DIY acrylic clipboards will add the liveliness you need to stay focused and influenced!
A little two-tone color and washi tape (we like to think we’re pretty handy when it comes to washi tape projects) is a quick and easy way to brighten up a space!
Materials:
- cut acrylic (we got ours from Home Depot, pre-cut in 8 x 10-inch pieces)
- binder clips (go for the larger size so that it can grip onto the acrylic)
- washi tape in various colors and sizes
- scissors
- small nails
- hammer
- spray paint in color(s) of choice (we went for two!)
- blue painter’s tape
- cardboard, to protect surfaces when painting

To create a two-toned color binder clip, we taped a diagonal line across the binder clip with blue painter’s tape. Use your cut piece of cardboard to shield the part of the binder clip that you don’t want to paint when spraying your first color.

After the paint has dried, take a new piece of blue painter’s tape and place it directly along the line you created with your first color. Use your cut piece of cardboard to shield the painted part of the binder clip as you spray the second color. Let dry, then slowly peel off your tape. We sprayed the back of the clip with one solid color to finish.

Next, peel off the protective stickers on each side of your pre-cut acrylic pieces. We found that the 8 x 10-inch size was perfect for our wall.

At Brit + Co, we’ve built an extensive library of washi tape. For this, we pulled a mix of bright solids, copper and printed tapes. Place your washi tape in a pattern you like (i.e. criss-cross lines, triangles, etc.). Cut off the excess with scissors and gently fold any edges down the side of the cut acrylic.

Repeat this process to create as many DIY clipboards as you want to hang on your creativity wall.

Done and easy as pie! Time to hang.

We used small nails from a standard picture hanging kit.


Clip any source of inspiration to your boards.

We found some great free art printables from The Crafted Life and Almost Makes Perfect.

Use the hashtag #iamcreative! and show us your creative workspaces on Instagram.


