Colorful ear candy for the win!
Make A Statement In These DIY Acrylic Earrings

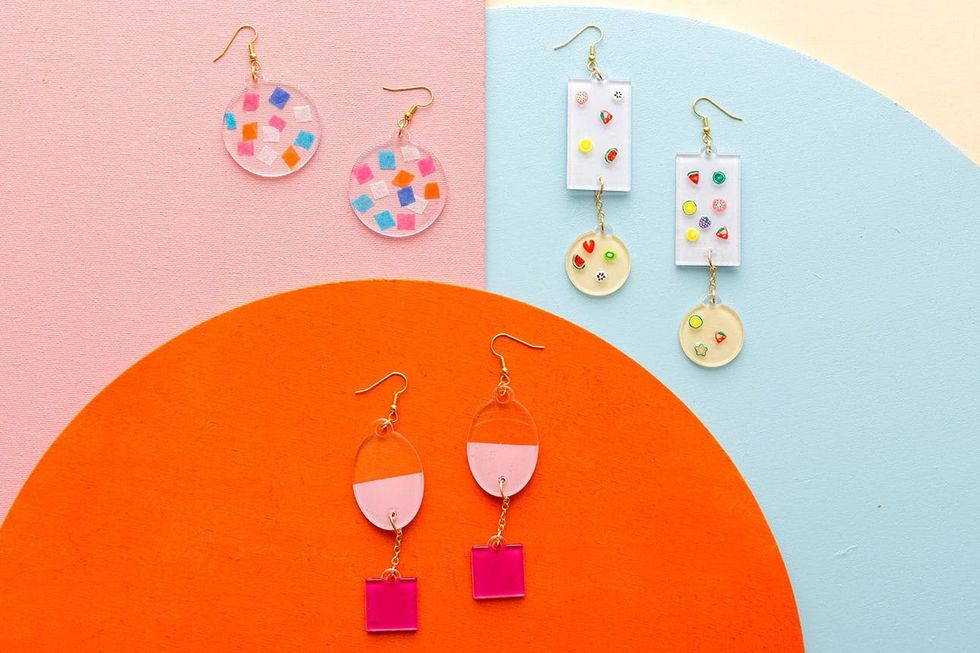
It's no secret that statement jewelry is back in a big way this year, especially *all* the acrylic resin earrings. So it's pretty obvi that we would try this trend out in-house and make our own colorful ear candy. Ahead you'll find three unique twists on this modern (and throwback) style staple.
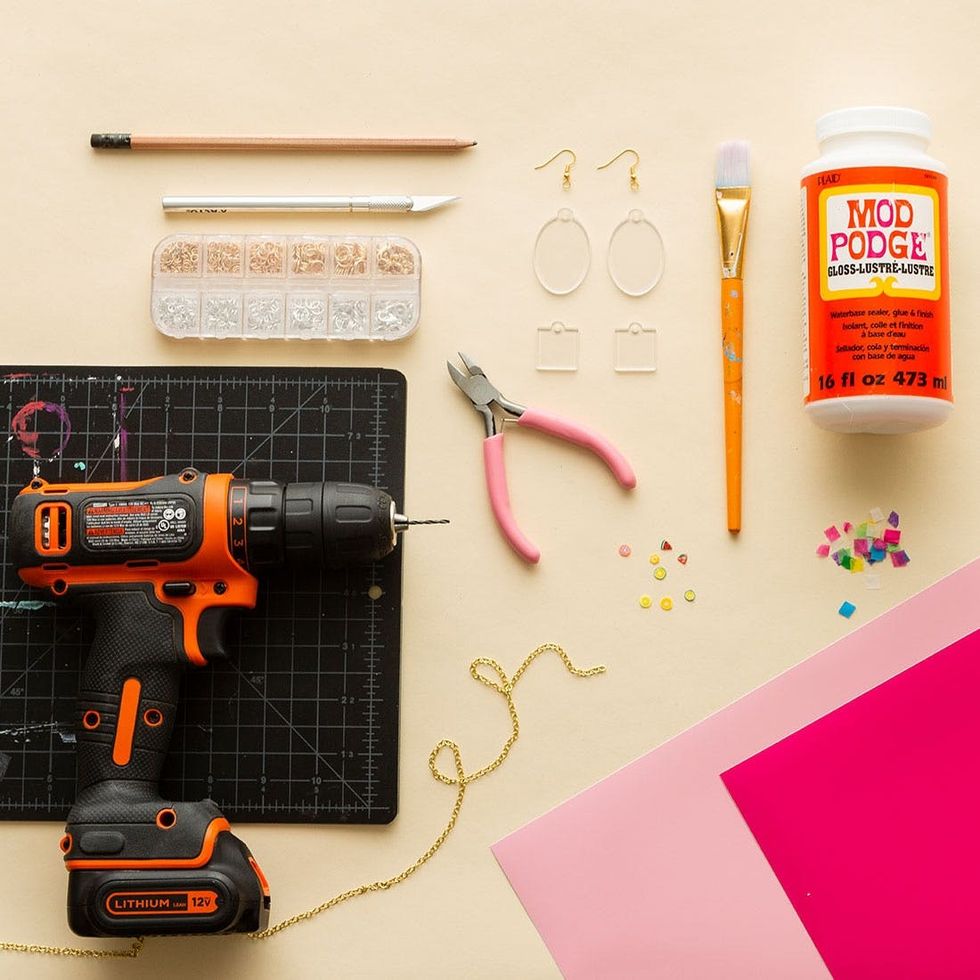
You'll need:
- acrylic shapes
- earring hooks
- jump rings
- jewelry chain
- Mod Podge
- paint brush
- pencil
- X-Acto knife
- cutting mat
- confetti
- vinyl
- drill
- drillbit
- fruit
- wire cutters
- flat nose pliers (not pictured)
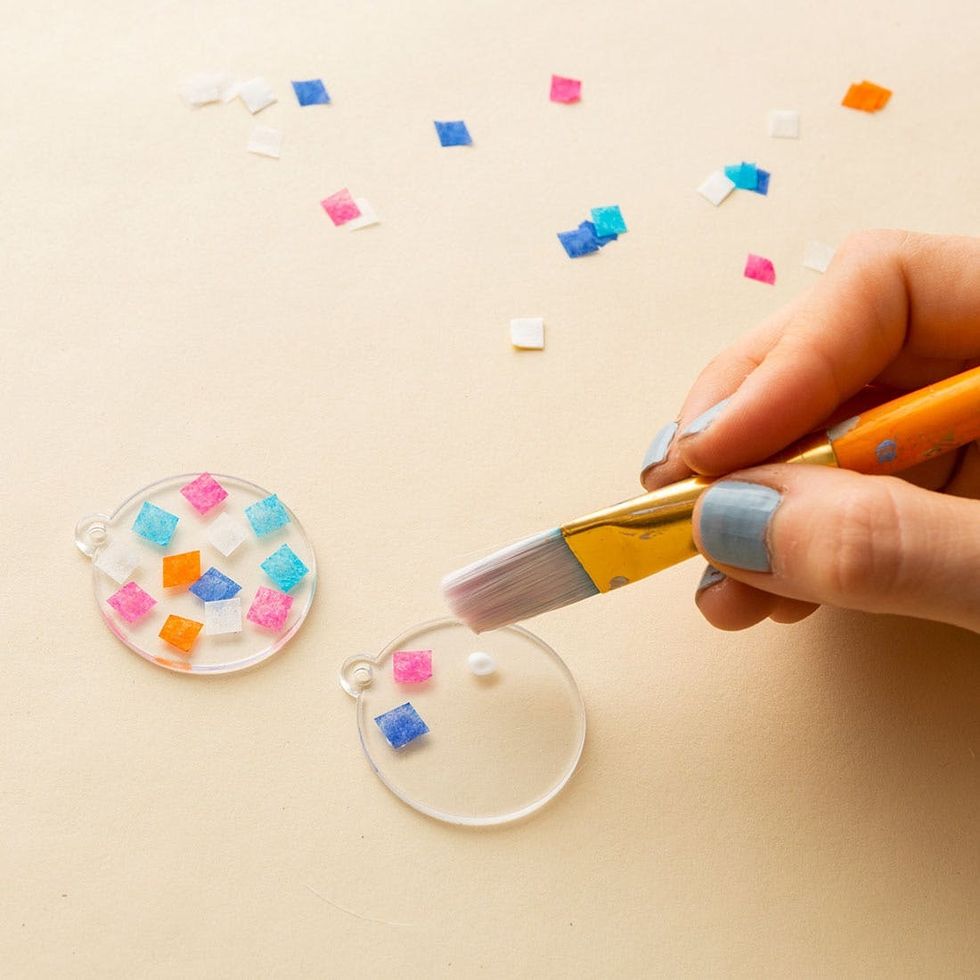
Confetti Earrings Instructions
1. Place a small amount of Mod Podge where you want the confetti to go and then gently place confetti on top.
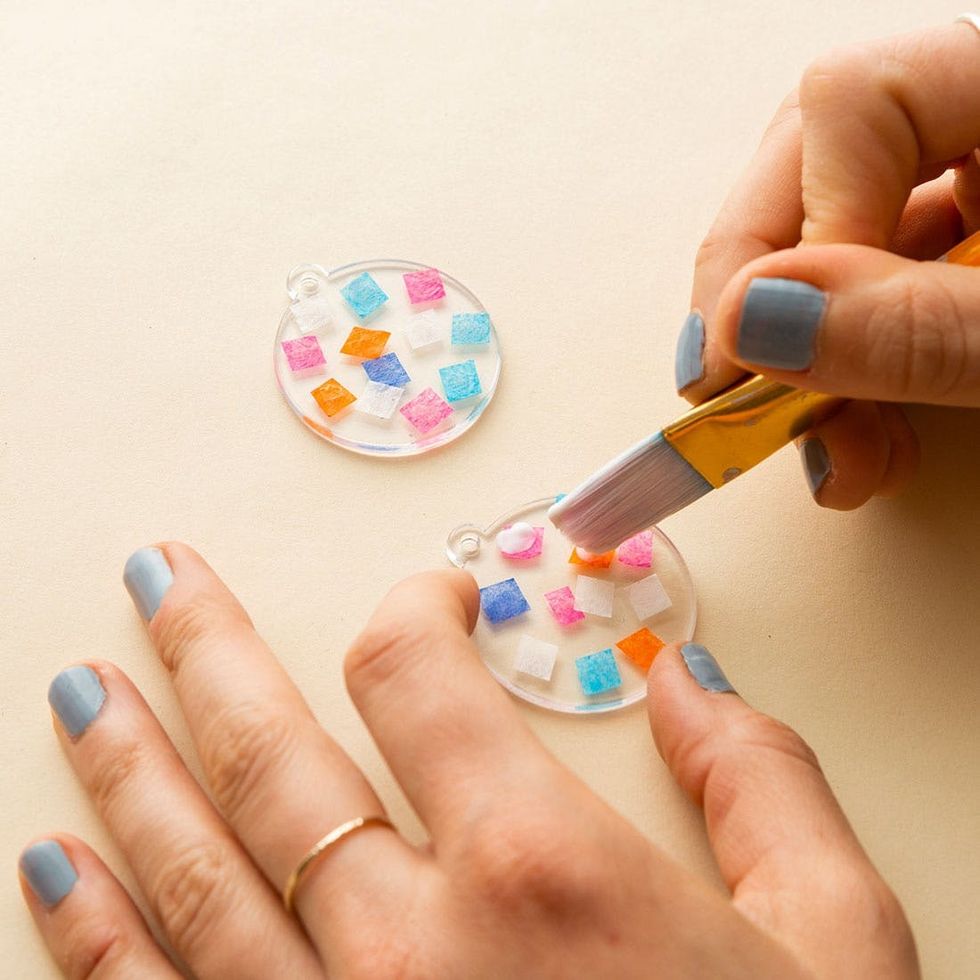
2. Allow pieces to dry for 10 minutes and then set with more Mod Podge directly on top of confetti.
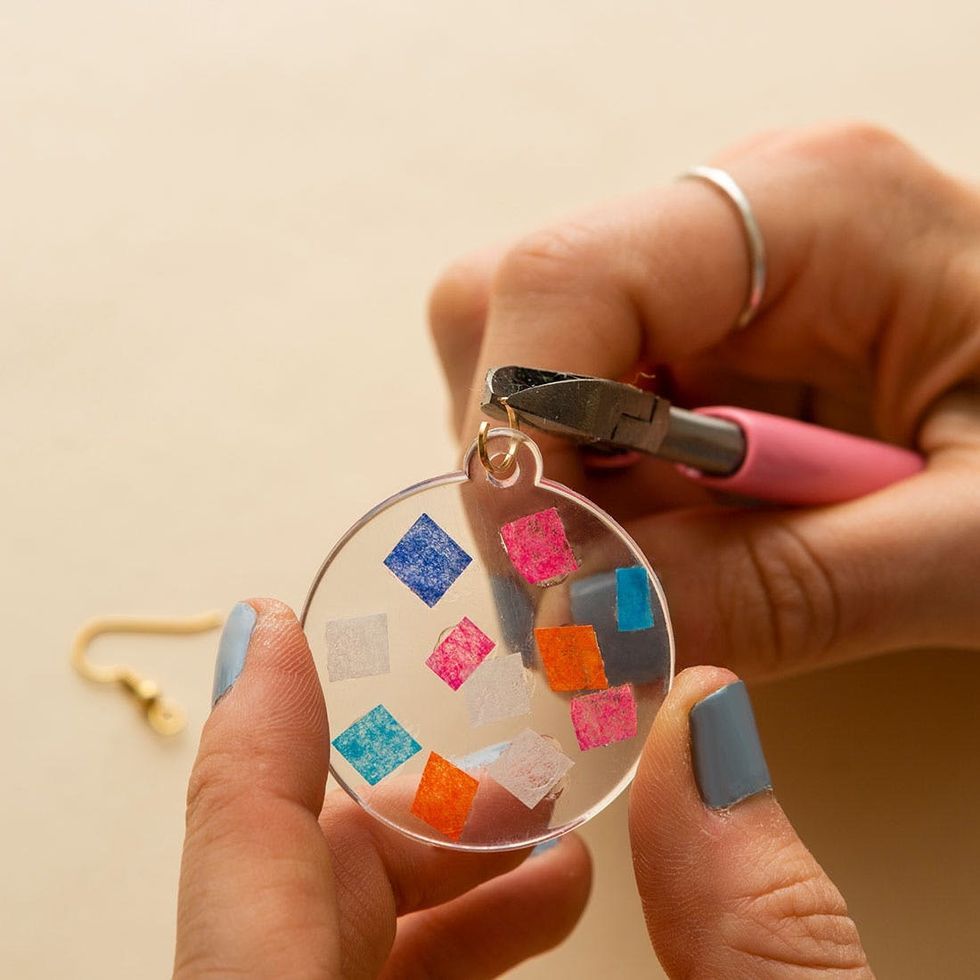
3. Use pliers to add the jump rings, and then connect to earring hooks.
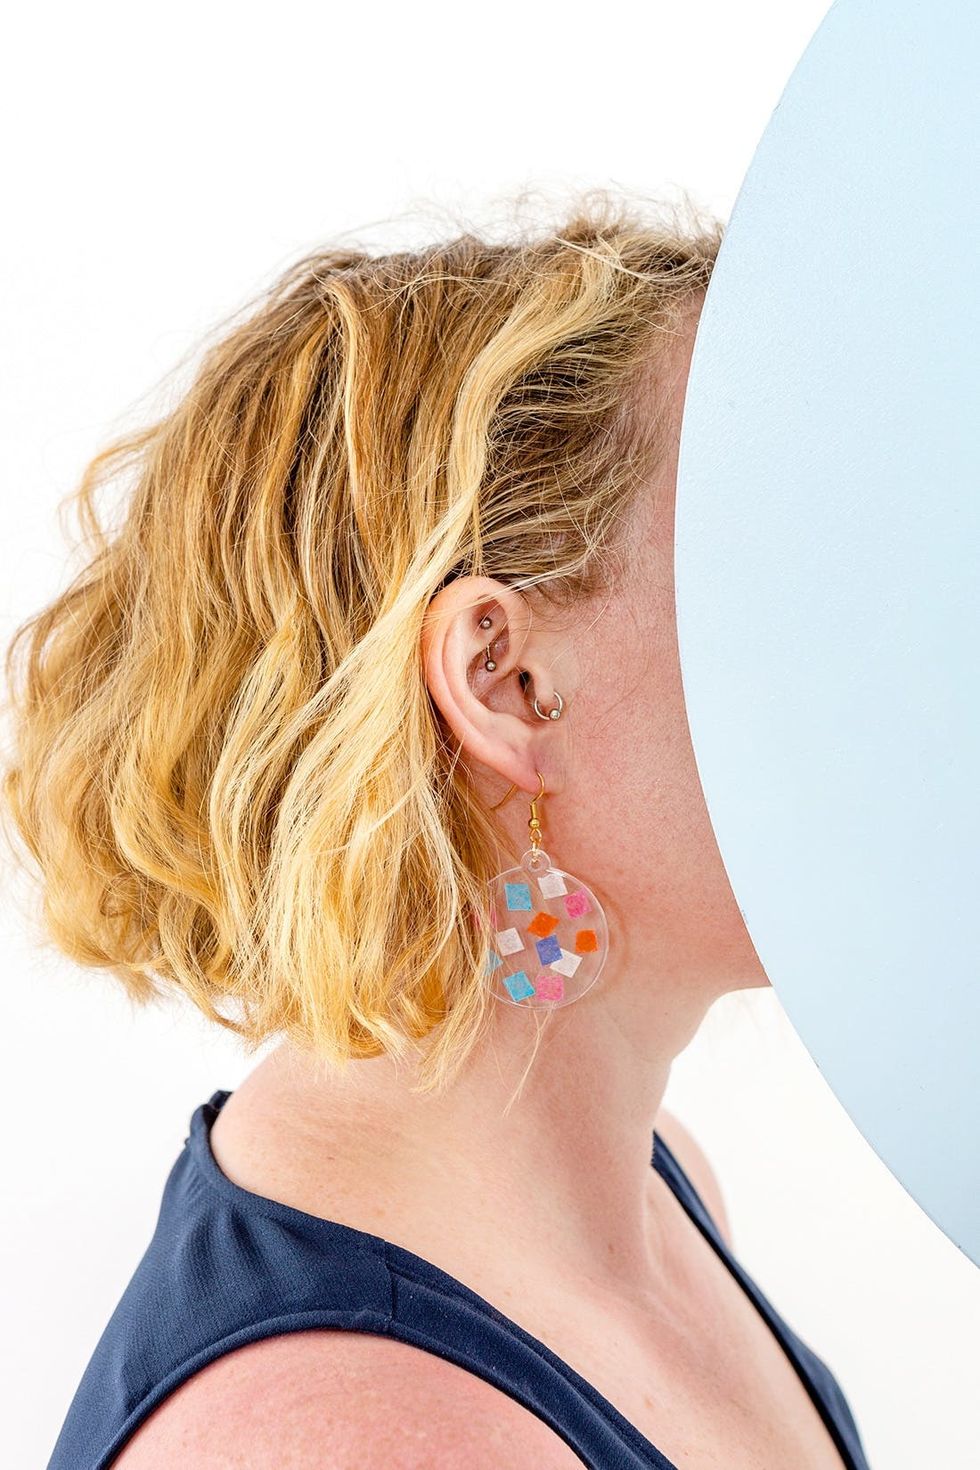
4. Slide on your earrings, and head out to that party in style.
Fruit Earrings Instructions:
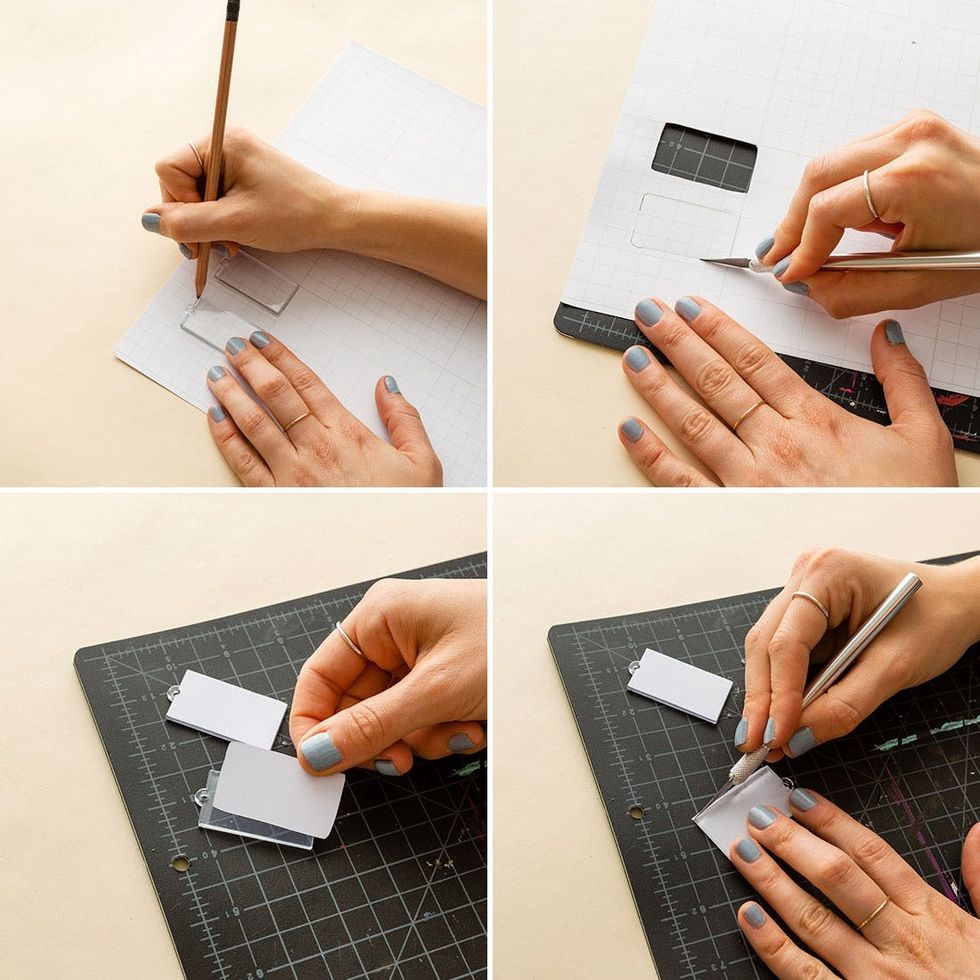
1. Trace the shape of the acrylic piece on the back side of the vinyl. Cut out the vinyl with an X-Acto knife and then place on the back of acrylic.
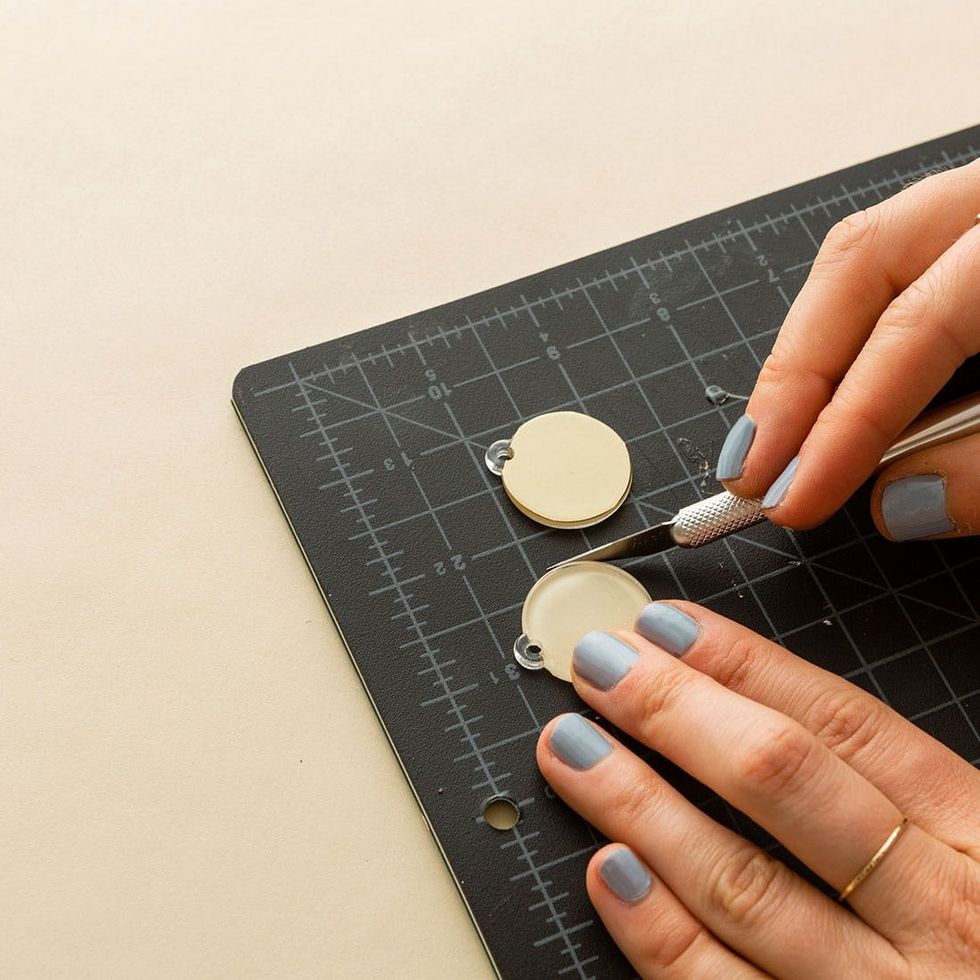
2. Trim away any excess vinyl so the two pieces are completely flush.
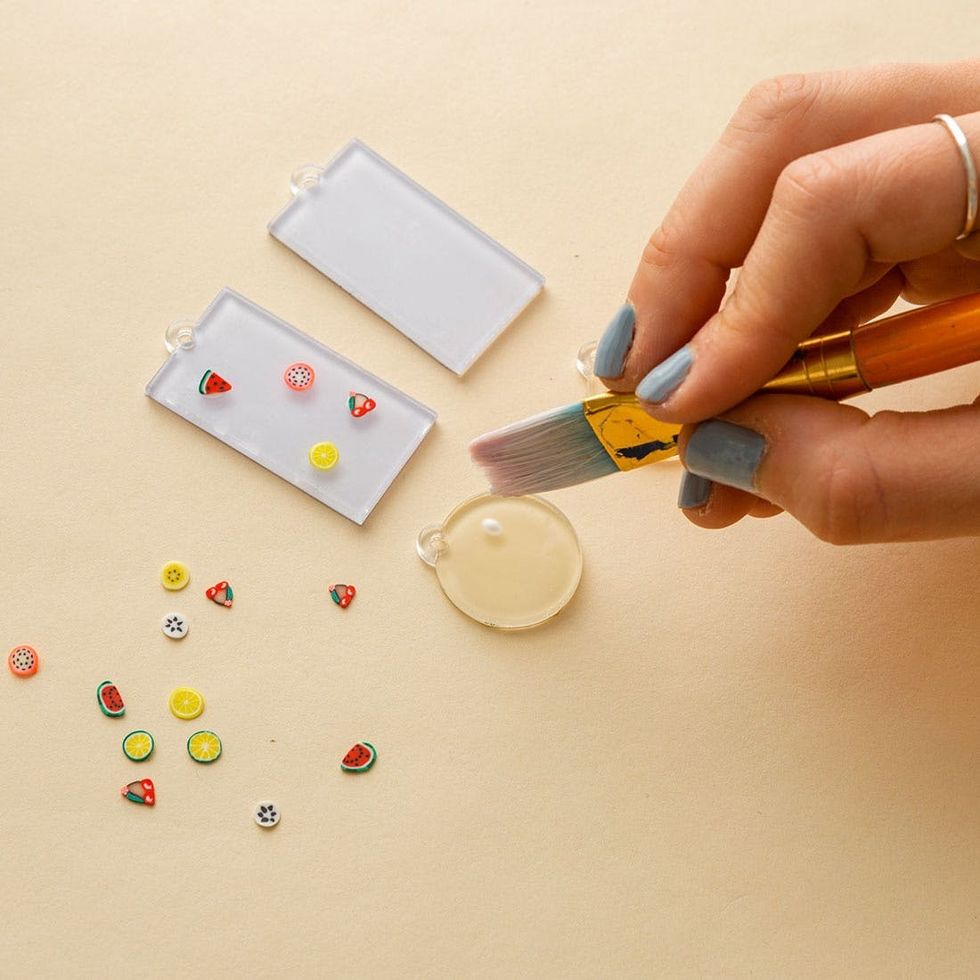
3. Use a paintbrush to apply a small amount of Mod Podge where you want to place the fruit. Carefully add the pieces.
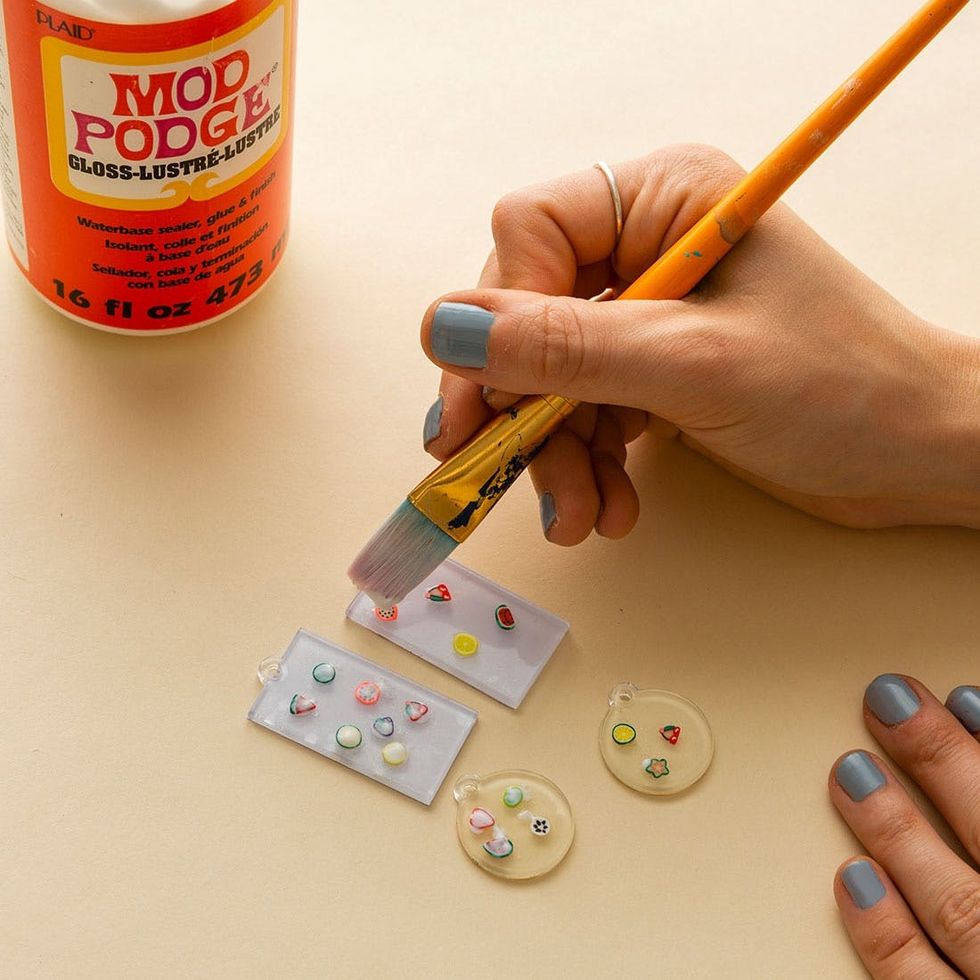
4. Allow fruit to dry for 10 minutes and then set with more Mod Podge by painting on top of fruit. Use another vinyl shape for the bottom section of the earring, and follow the same steps to apply fruit.
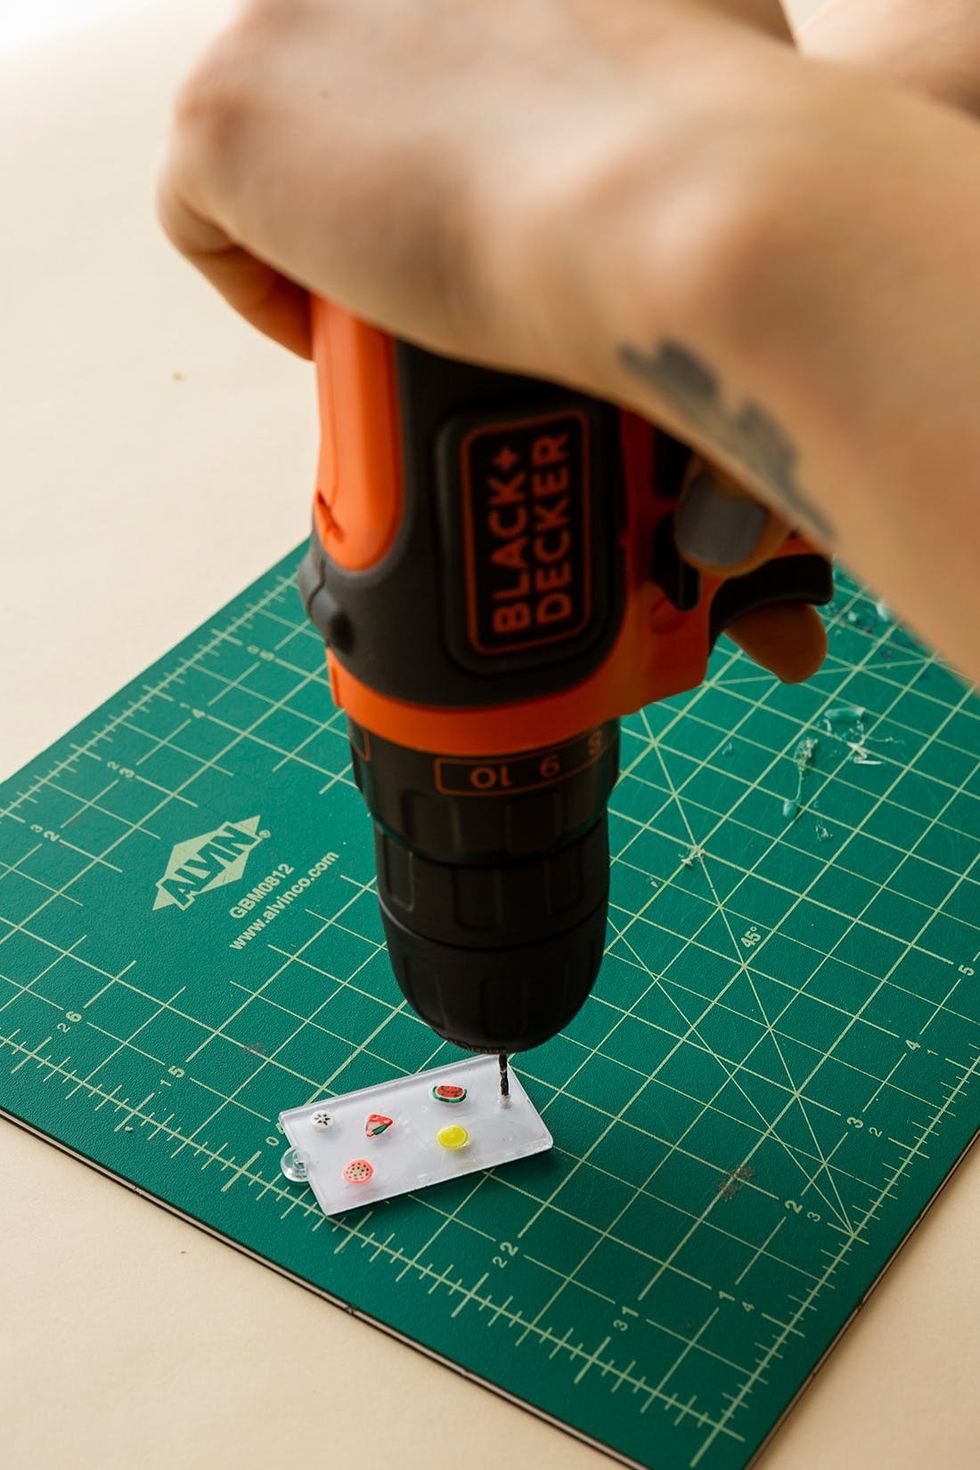
5. Use a small drill bit and drill a hole into the lower part of the top earring.
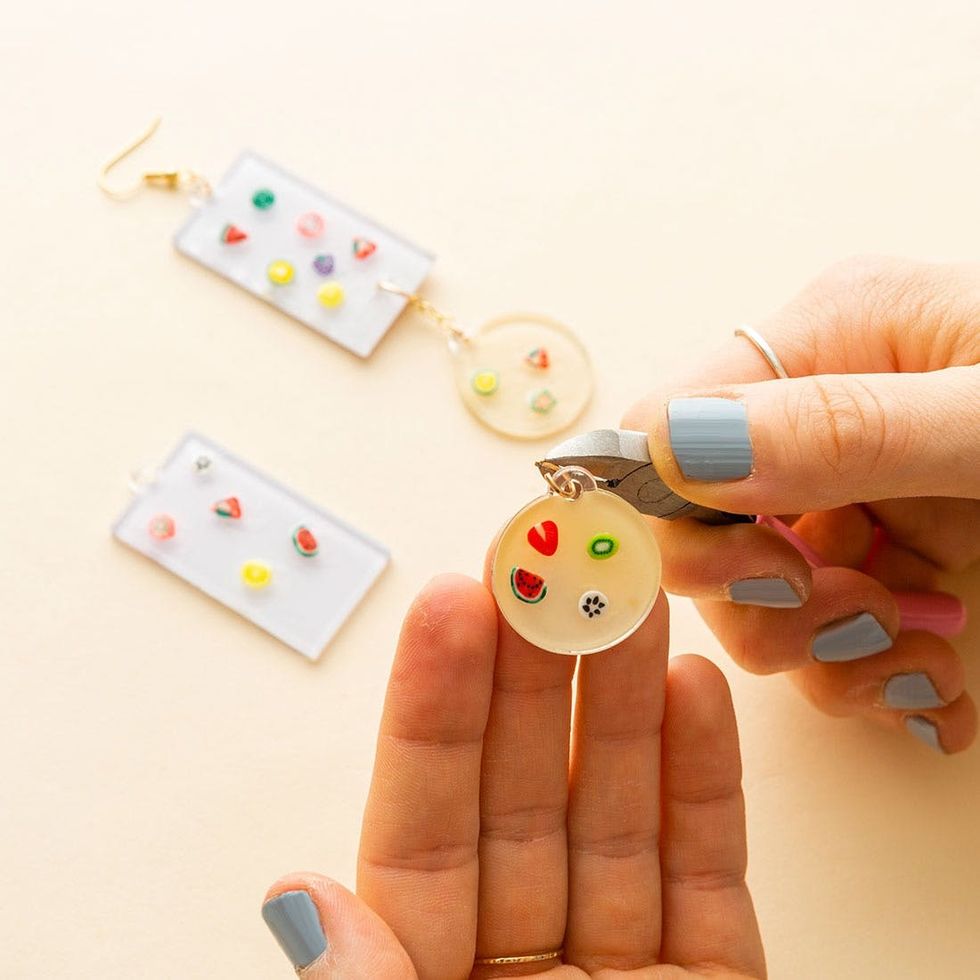
6. Connect the jump rings and earring hooks using pliers.

7. Now it's time to show seriously juicy statement earrings!
Just Vinyl Earrings Instructions
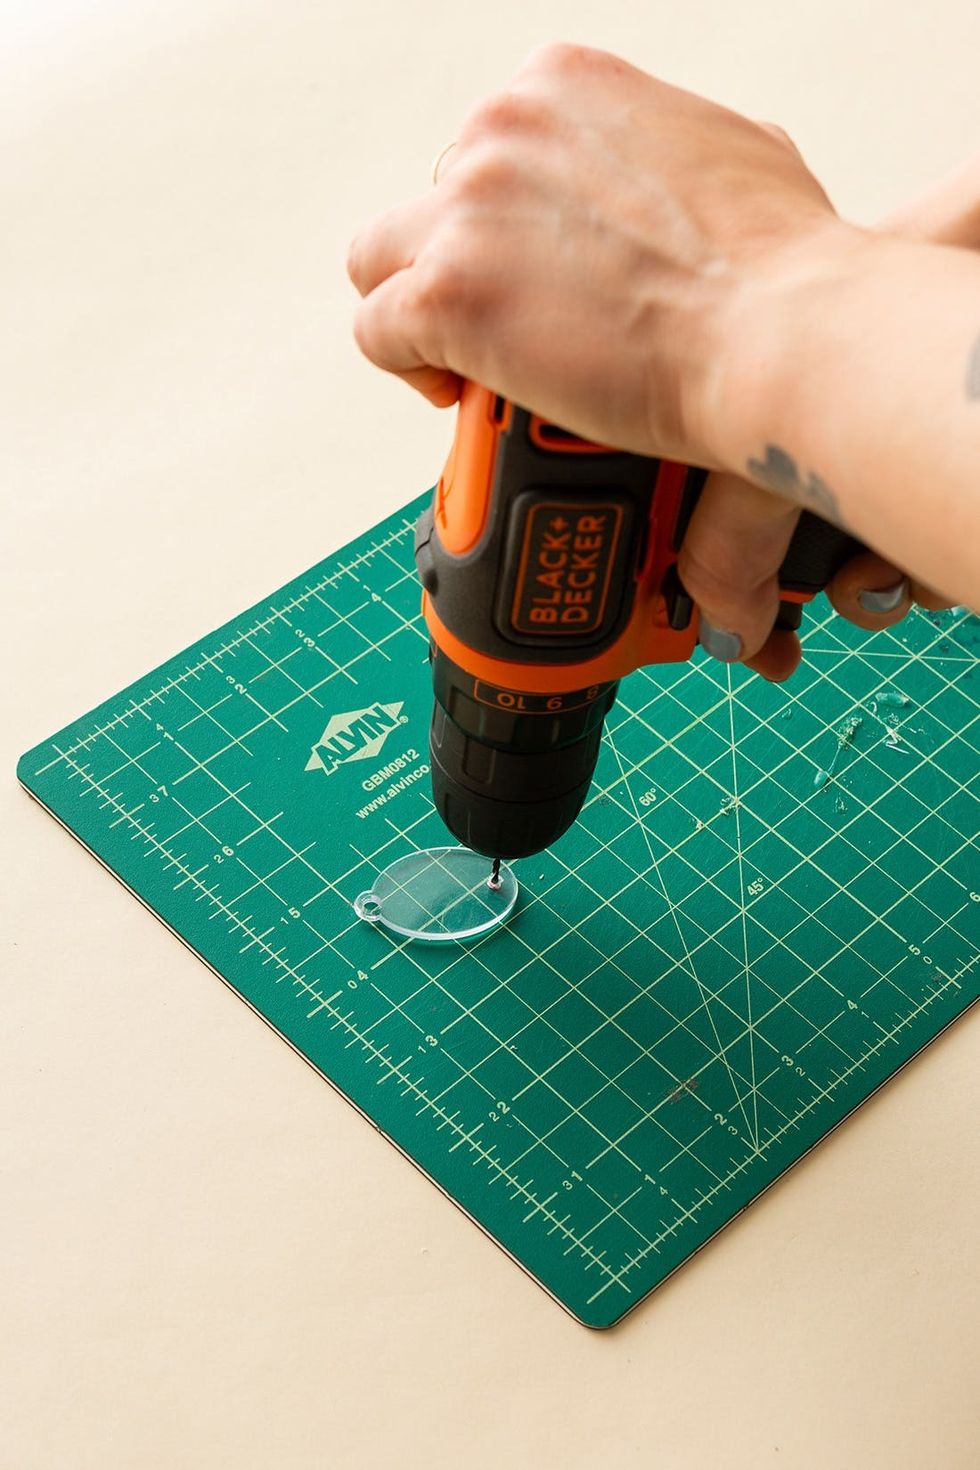
1. Drill a hole in the bottom of the vinyl piece.
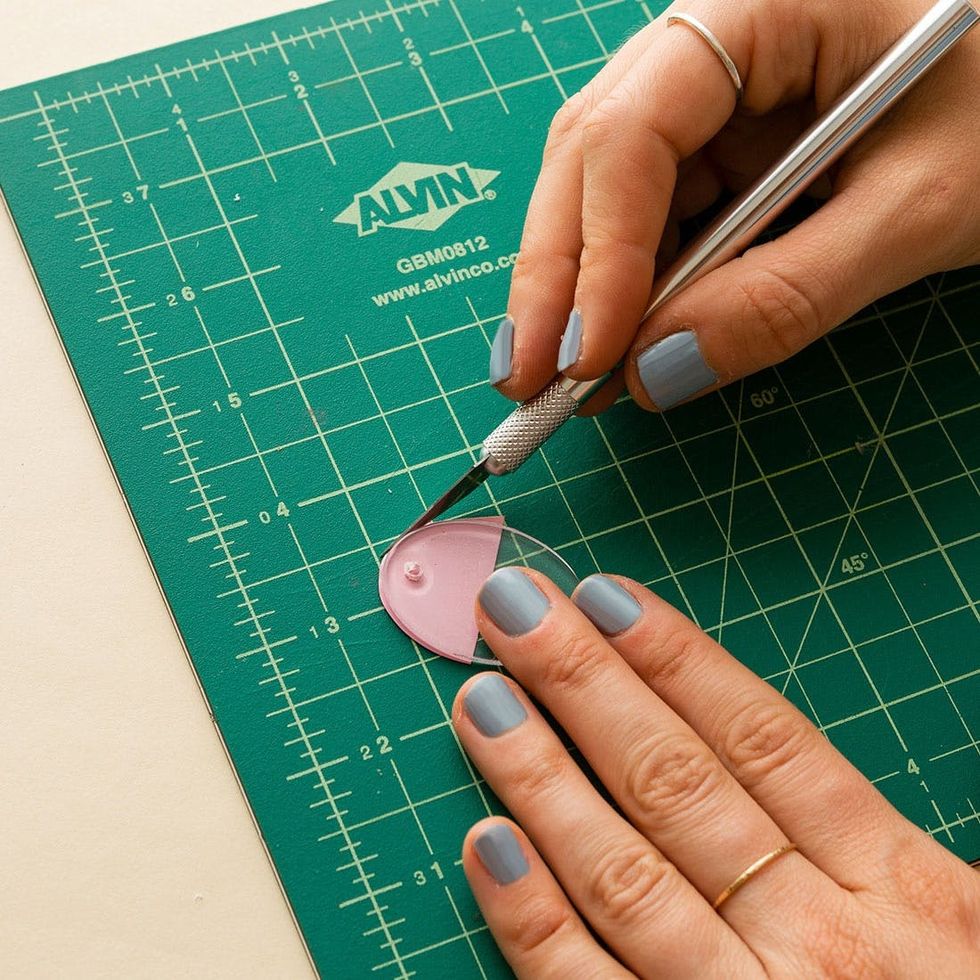
2. Carefully trace the shape of the earring on the vinyl and cut out. Place it on the earring, trimming away the excess. Repeat on the bottom piece of earring.
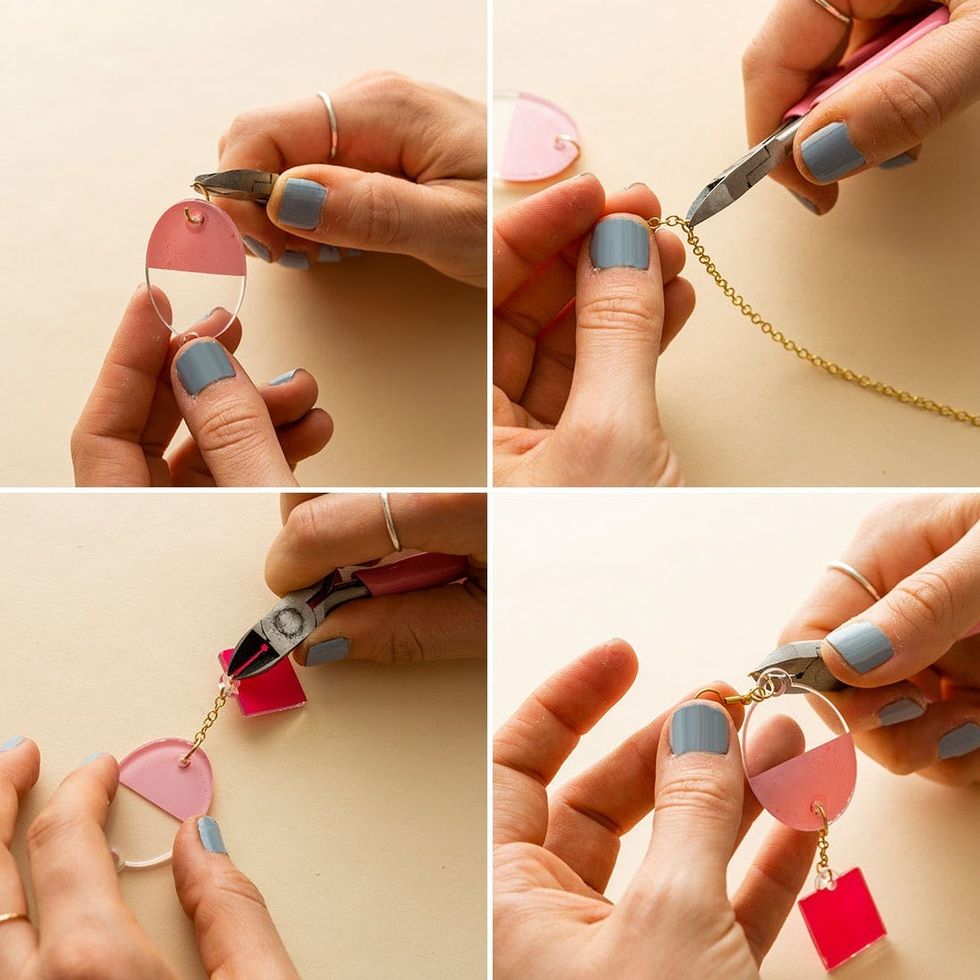
3. Connect the jump rings, chain, and earring hooks.

4. Pair these '90s beauties with all your fave throwback items for a seriously retro lewk.
Have you ever made DIY earrings before? Be sure to follow us Pinterest for more projects and how-tos!
(Photos via Brittany Griffin / Brit + Co)
Brit + Co may at times use affiliate links to promote products sold by others, but always offers genuine editorial recommendations.
This post has been updated.


