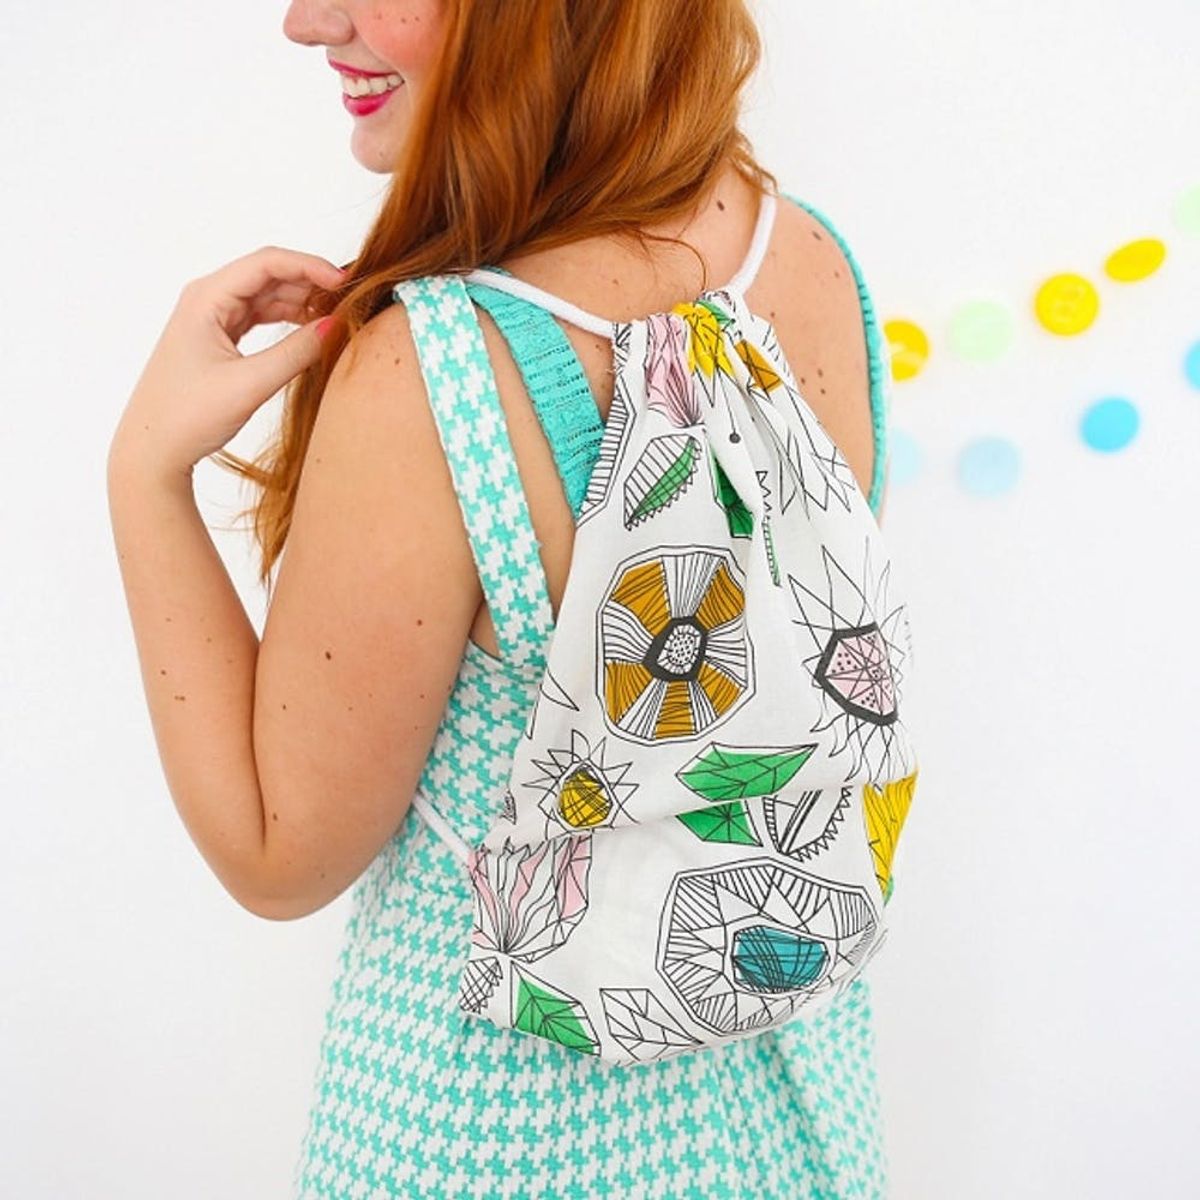
How to Turn Fabric Scraps into a Backpack in 15 Minutes

Once again, it’s that time of the year when you surf the web to find cute and quick hairstyles to try in the morning rush, hit the shops to buy a fresh set of school supplies and other dorm accessories and think about seeing your old crush after the summer months. But aren’t we forgetting something? A new backpack. If buying a new one is a fun experience, making your own will be even more exciting. Follow along for the tutorial!
Materials + Tools:
– fabric scrap (on the larger side)
– matching thread
– one 59-inch piece of cord
– pins
– fabric scissors
– ruler
– tailor’s chalk
– sewing machine
Instructions:
1. First, fold your fabric in half with the wrong side (the side you don’t want to show) facing you.
2. Then measure a rectangle that is 11 x 17 inches and mark it with your tailor’s chalk.
3. Cut out your rectangle, leaving you with two identical pieces of fabric.
4. Now take one of your rectangles, and with the wrong side of the fabric facing you, fold the top of the short edge over about two inches. Pin it in place and sew.
5. Then repeat this step with the other piece of fabric.
6. Pin both pieces of fabric together (still inside out), then thread your cord. Start on the left side of the top piece of fabric, and thread the cord until it comes out on the right side. Then turn it around and thread it through the left side of the bottom piece so that it comes out on the right.
7. Thread it through the top piece one more time so that the cord comes out on the right. You will have one cord end on the left and one on the right.
8. Now place the cord ends inside the backpack and poke them through the bottom corners, one on each side.
9. Sew your fabric together. Remember to leave the loops at the top where the cord comes out open. Sew through the cord coming out of the bottom corners. These pieces need to stay put.
10. Turn your backpack right side out and voilà! You’re good to go.
Start by folding your fabric scrap in half and drawing an 11 x 17-inch rectangle.
Cut it out to create two twin pieces of fabric. Then take your first one and fold over the top edge about two inches (the wrong side should be facing you). Pin it in place and sew. Once you’re done, repeat on the second piece. You’ve just made the perfect loops for your cord! At this point, pin the two pieces together with the wrong side (the side you don’t want to see) facing you.
Now it’s time to thread the cord. Start on the left side of the top piece, and thread it toward the right until the cord comes out. Then thread it through the back piece, starting at the right side and ending on the left side. Once again, thread from left to the right on the top piece of fabric. You should have one piece of cord on each side of the soon-to-be backpack. Put both cord ends inside the bag and pull them each through the bottom corners of the backpack about two inches, one on each side. Then sew it together, starting right below the cord sleeve on one side, moving around the outline of the backpack and ending right below the cord sleeve on the other side. We suggest you reinforce the corners where the cord comes through several times.
Lastly, turn your backpack right side out and ta-dah! You’re done.
Such a fun sewing project! Perfect to hold all your colorful books, notebooks and other supplies!
Are you excited for back-to-school season? Tweet us a picture of your brand new school accessories at @britandco.


