Now you can get the in-salon look from the comfort of home.
This Foolproof Hair Color Kit Lets You DIY Balayage at Home

We simply can’t get enough balayage! After all, the French freehanded highlights give us a way to score natural-looking, sun-kissed strands… as long we’re willing to pony up the time and money to book an appointment with a colorist. But let’s be real: Sometimes we don’t have much of either.

Up until recently, the technique has been restricted to salons only. Though, as with all hair coloring techniques, that doesn’t mean some of us haven’t tried taking the highlighting power into our own hands. “Even if your hair is in good condition, don’t go to the beauty supply store and try to choose a bleach and an appropriate activator,” says David Stanko, VP of Technical Design/Education for Madison Reed. Instead, he recommends snatching up a DIY balayage kit to get the job done from the comfort of your own home.
Skip the beauty supply shop & Cop a Hair Color Kit

Unless you’ve had the appropriate professional training, it can be quite difficult to select the right levels and mix the proper proportions of developer and bleach to bring your look to life. And when those two components go haywire, you could be left with not only a color catastrophe but also a severely damaged head of hair and, in extreme circumstances, scalp burns.
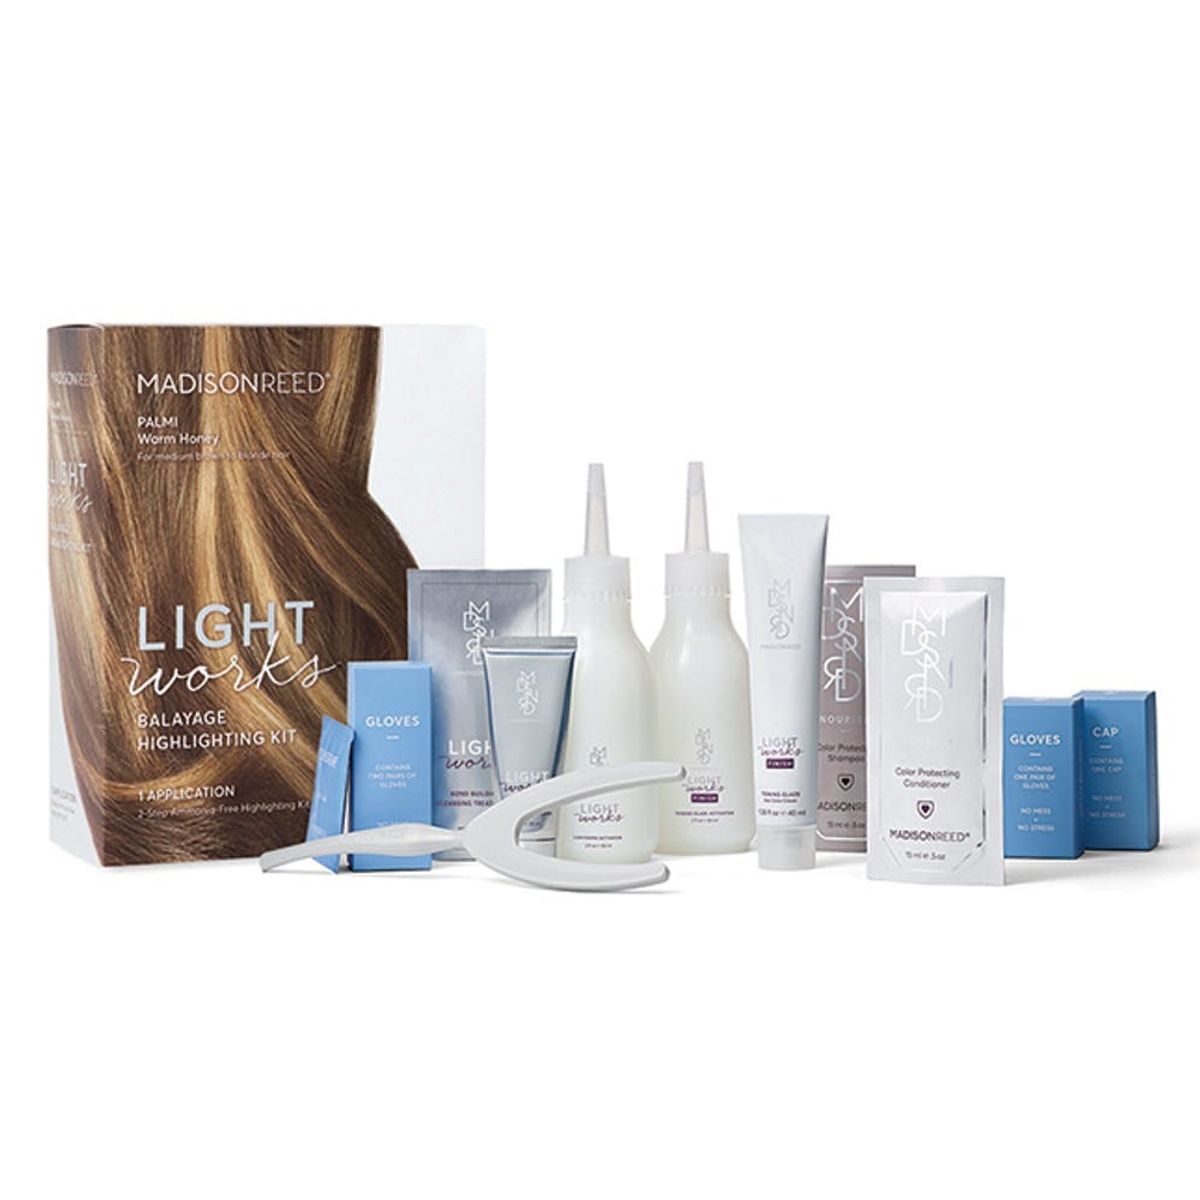
Since that’s definitely not something that’s on your to-do list, take Stanko’s advice and purchase a coloring kit. For balayage beginners, he suggests Madison Reed’s recently released Light Works Balayage Highlighting Kit ($45). The kit comes pre-formulated to help eliminate guesswork and the potential for regret. It features a two-step process, starting with a lightening cream that has the consistency of clay, followed by a toner and glaze for a seamless, shiny finish.
Consider Your Coif’s Condition
There are many variables that can affect how your at-home hair hue turns out, even when you’re relying on a kit to get the job done. That’s why salon colorists spend so much time consulting with their clients to ensure that the shade not only flatters their faces but also fits in with their hair’s health and lifestyle. If your strands have already been exposed to bleach or other chemical processes (like a perm, straightener, relaxer, or henna), Stanko says it’s best to leave your locks in the hands of professionals to avoid any mane mishaps.
In addition to the processes your hair has been subject to, it’s a good idea to look at your ends too. If they’re split, it’s best to get a trim prior to coloring. Last but not least, Stanko advises those with curly or textured tresses to straighten their strands for an easier color application process. He points out that straightening from root to tip will help the color better adhere to the hair, as the shape of your curls could keep the color to the outside of each spiral, preventing the shade from penetrating all the way through.
Start With a Strand Test & Follow The Instructions

Let’s admit it, many of us tend to toss away the instructions included in hair color kits without so much as looking at them. “As a result, [DIYers] are flying blind, guessing at the processing time and failing to follow a roadmap,” Stanko explains. “This leads to poor lightening and spotty results.” To avoid unwanted results, he insists on taking the time to carefully comb over the instructions before popping any bottles.
He also suggests performing a strand test. To do so, apply a bit of the mixed lightener to a small section of hair, preferably in a place that can easily be hidden, like near the nape of the neck. It will help you assess how the balayage color will look post-dye without the risk of messing up your entire head of hair. “Processing times vary, based on your natural hair color, whether or not your hair is already colored, your hair’s condition, and your ability to apply the lightener quickly and accurately,” says Stanko. By doing a strand test, you’ll get a good idea of how long your specific hair type needs to process.
If you’re satisfied with the results, give the instructions one more quick read before proceeding with the rest of your hair. The Madison Reed kit includes a wishbone-shaped applicator that’s designed to mimic a professional colorist’s technique, making for a quick and easy process — no caps, combs, or foils required. And once your locks are lightened, you can follow up with toner to perfect the look of your color; just be sure to peek at the toning instructions before you start.
Touch Up Your Tresses On Your Time
The great thing about balayage, besides the customized look of your color, is the fact that the color is concentrated near your ends, not your scalp. This means that you won’t need to return to the salon as frequently for touch-ups as you would with traditional foil highlights.
“Once you have highlights, maintenance can be as infrequent as every two months,” he says. “It depends on how ‘lived-in’ you want your highlights to look.” Plus, the Madison Reed kit includes enough toner to use monthly to keep highlights non-brassy, well-conditioned and shiny, extending the length of your look between coloring seshes.
And with that, happy coloring!
Would you try this hair color technique at home? Let us know @BritandCo.
(Photo via Getty/Madison Reed)


