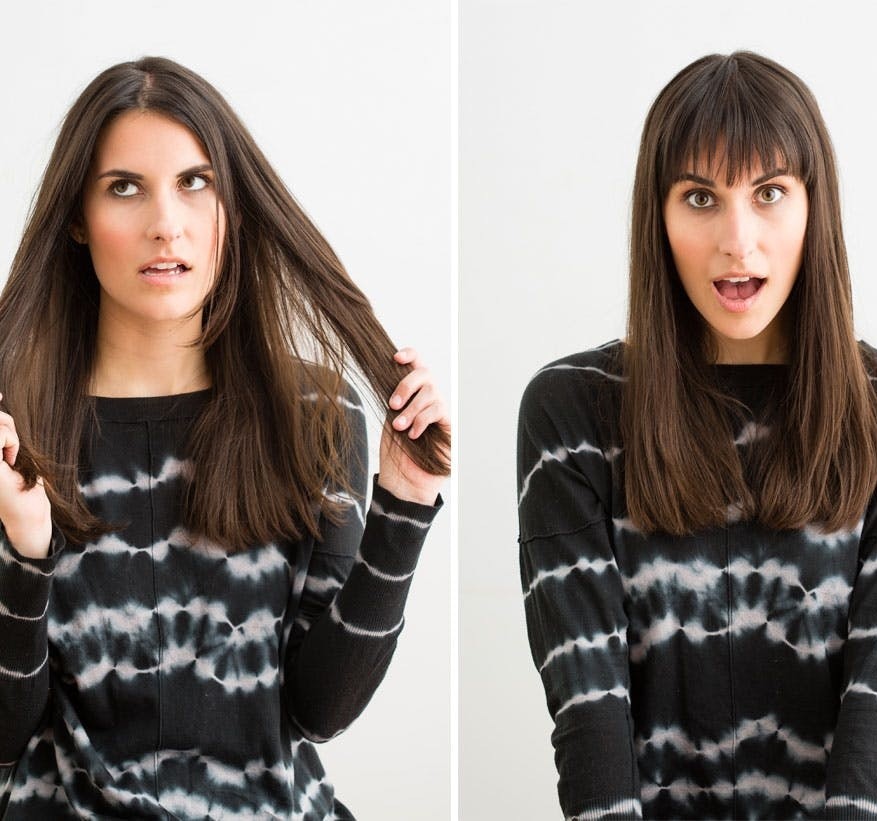
Let's bang it out!
How To Cut Bangs: The Foolproof Guide

So you've made the big decision: You want to cut your own bangs (go for it, girl!). But by the time you can get a hair appointment with a pro, you've already changed your mind about the style three times… or flat out chickened out. Don't let that wait time mess with your hair goals! Maybe all you need is a push in the DIY direction? So here it is, the tempting tutorial that all you live-life-to-the-fullest girls have been waiting for: The foolproof guide to cutting your own fringe.
Trust us: Once you're prepped with the right tools and techniques, and gotten some cute accessories, the spontaneous self-snipping won't seem as scary. Here's how to take the transformation into your own hands.
How To Cut Bangs: The Tools

Pro Hair Cutting Scissor Set ($23). Grab some pro hair cutting shears, some hair clips, and a hair cutting razor or texturing tool to add texture and style. Now let's bang it out!
How To Cut Bangs: The Instructions

1. Divide your hair into a triangle section measuring from the top center of your head to the outside of your eyebrows. This part will make sure your bangs aren’t too wide and help you avoid giving yourself an unintentional bowlcut look (EEK!). For a heavier bang, start the triangle point further back on the top center of your head. For a thinner bang, start the triangle closer to the center of the front of your head.

2. Clip the side sections of your hair into duckbill clips to avoid accidentally cutting any of these hairs.
3. Take a thin piece from the back of the triangle section of your hair and clip it back with a duckbill clip. You want that out of the way so you can trim your bangs section by section, not all at once — it's key to achieving a straight across cut.
4. Grab one side of the bangs section between your fingers. Holding the scissors vertically, start cutting up from the center of your hair, working your way to the outer edge. Repeat on the other side.
5. Take down the remaining clipped hair and lay it directly over your cut section.
6. Cut the new hair to match your first section. Be careful not to cut into the original section.
…Almost done! Now we must texturize.
7. Quickly flat iron your brand new bangs to make sure there are no flyaway hairs.

8. Pick up super small sections of hair within the bangs and twist them up. Take your razor and gently shave down the outside of the twisted hair. This adds texture which will take your fringe to a new level.
9. Use a product that will help piece out your bangs and keep them styled throughout the day. I recommend Bumble and Bumble's Brilliantine ($22). Use a teeny tiny amount on your fingertips and apply to the points of your bangs.
You did it! Brand new bangs that look totally bangin' ;)
Show us how you cut your own bangs on Instagram and check out our email newsletter for more beauty inspo!
Brit + Co may at times use affiliate links to promote products sold by others, but always offers genuine editorial recommendations.
This article has been updated from a previous post.


