Protect yourself from summer sun with this DIY beach umbrella.
Upgrade Your Beach Umbrella in Three Easy Steps
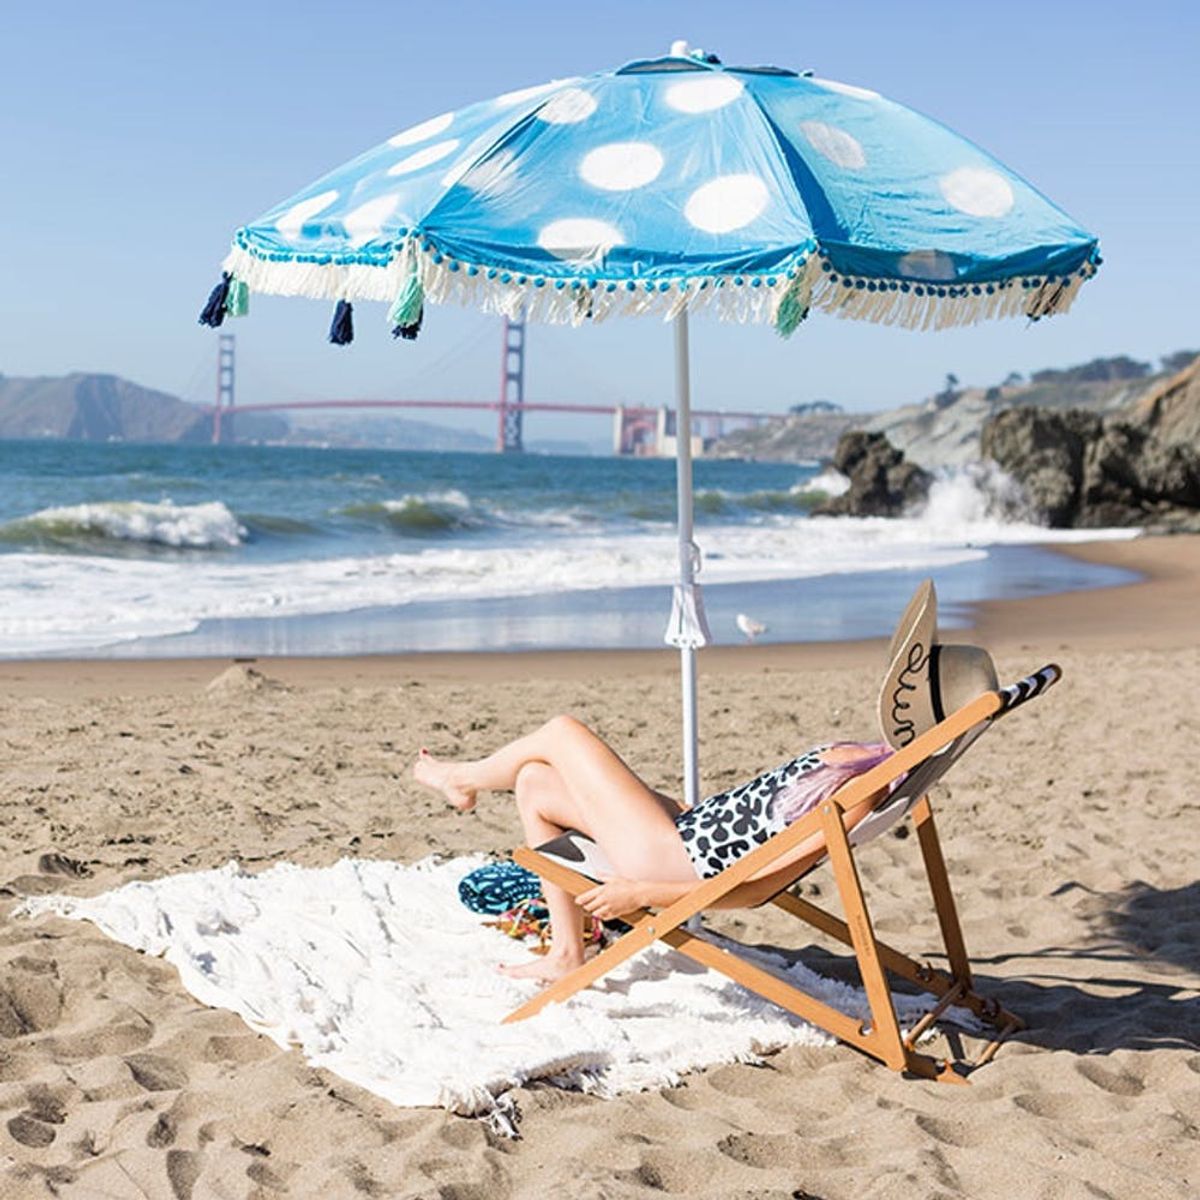
If you didn’t know, I have a hard time remembering that I need to protect myself from the sun. (You can read about my trouble here in my sunburn relief post.) Due to this recent realization that sun protection is very important, I was inspired to update an old beach umbrella to shield me from the rays. Not only are beach umbrellas key for protecting you from the sun, they’re also a great marker to help you remember where you’re sitting when you step out of the waves. Head over to your local trim store and then scroll down to find out how to update your umbrella for this summer season.

Materials + Tools:
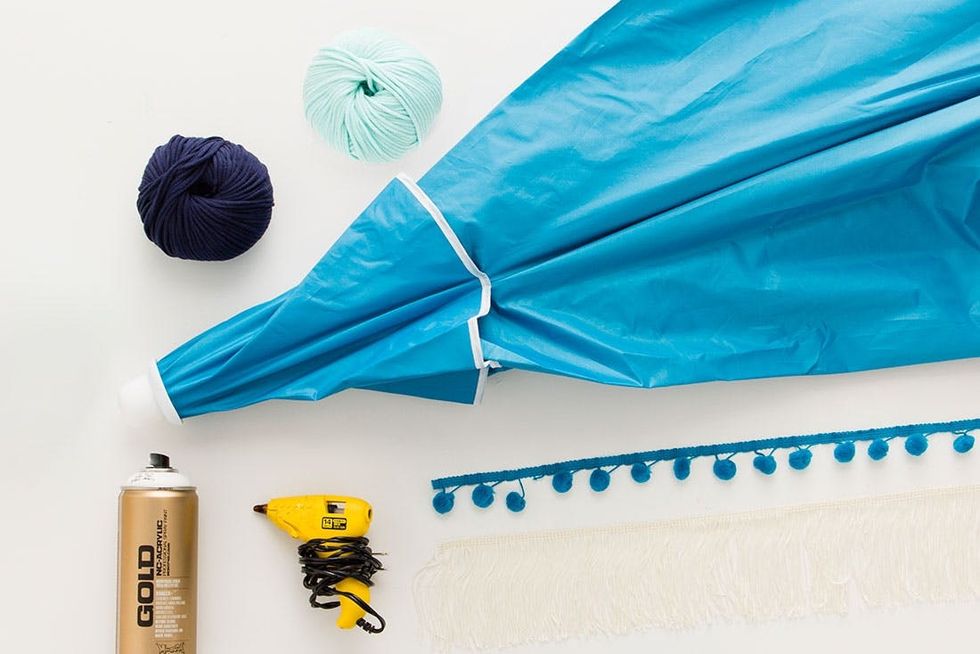
– 7 feet fringe
– 7 feet pom-pom fringe
– two colors of yarn
– spray paint
– hot glue gun
Instructions:
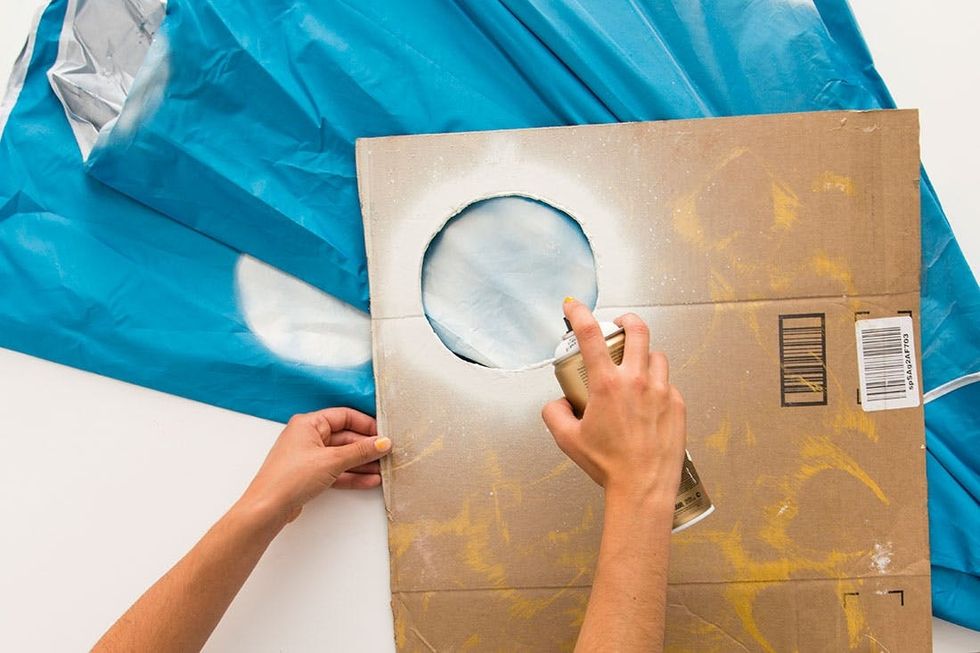
1. Create a circle stencil from cardboard and spray paint polkadots onto the umbrella.
2. Using a hot glue gun, attach fringe and pom-pom fringe to the edge of the umbrella.
3. Make eight tassels in each color yarn, then tie them to the arm of the umbrella.
Create a stencil out of cardboard and spray paint onto the umbrella. Note: I opened the umbrella up all the way when spraypainting (unlike the picture above). This is necessary to get even polka dots all around the surface. Don’t close the umbrella until the polka dots are dry and no longer sticky to the touch.
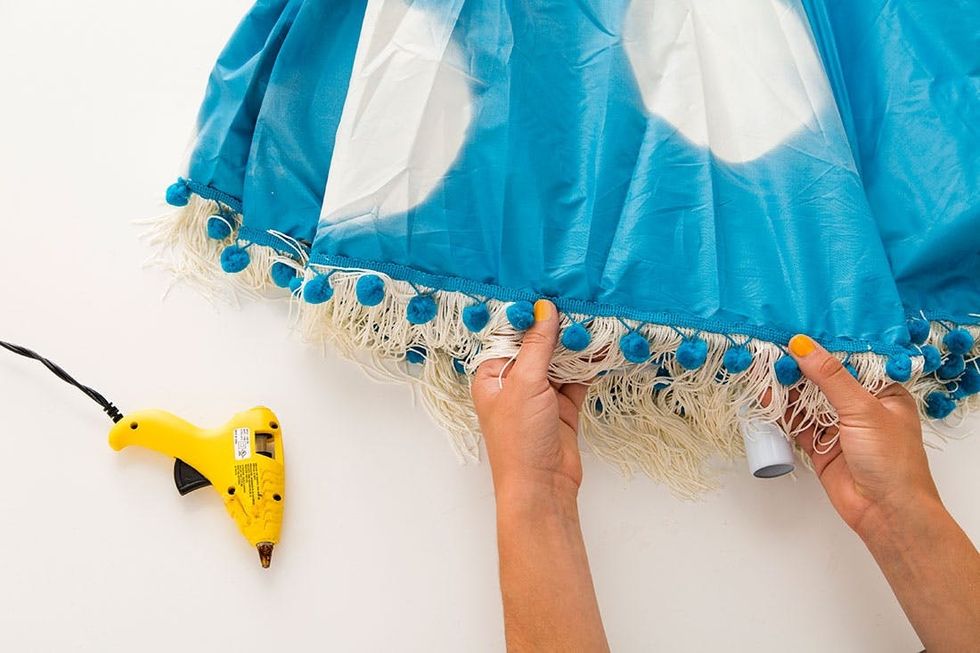
Grab your hot glue gun and attach fringe and pom-poms to the bottom edge of the umbrella.

Time to make tassels! Don’t know how? Check out our tassel tutorial! Make eight tassels in each color.
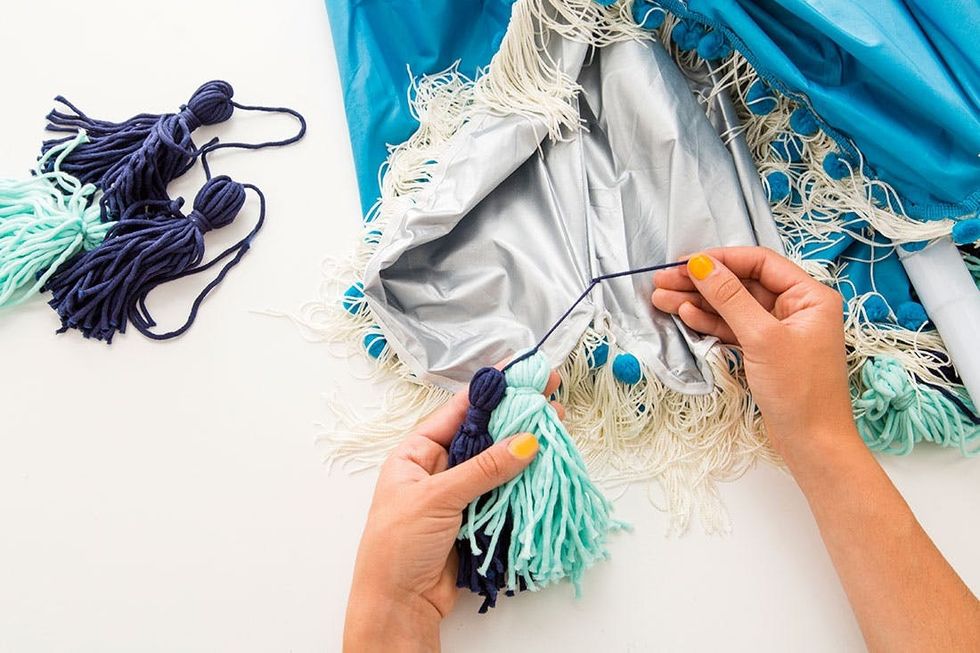
Tie two tassels to each arm of the umbrella. Though really, the more the merrier :)
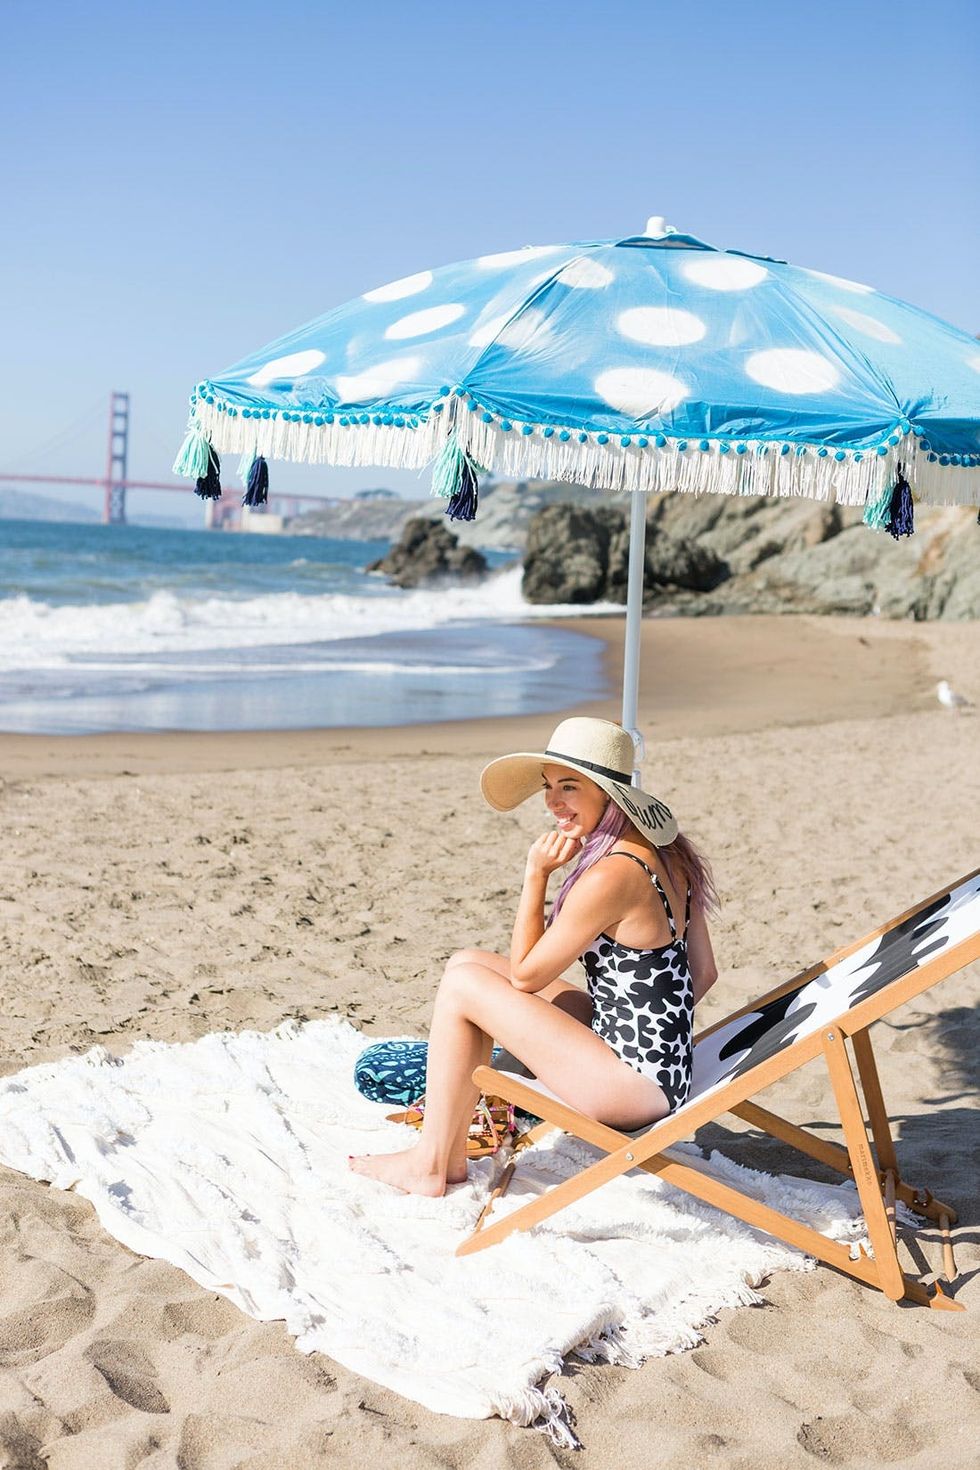
Create a little escape from the sun with your new quirky chic umbrella and DIY summer straw hat.
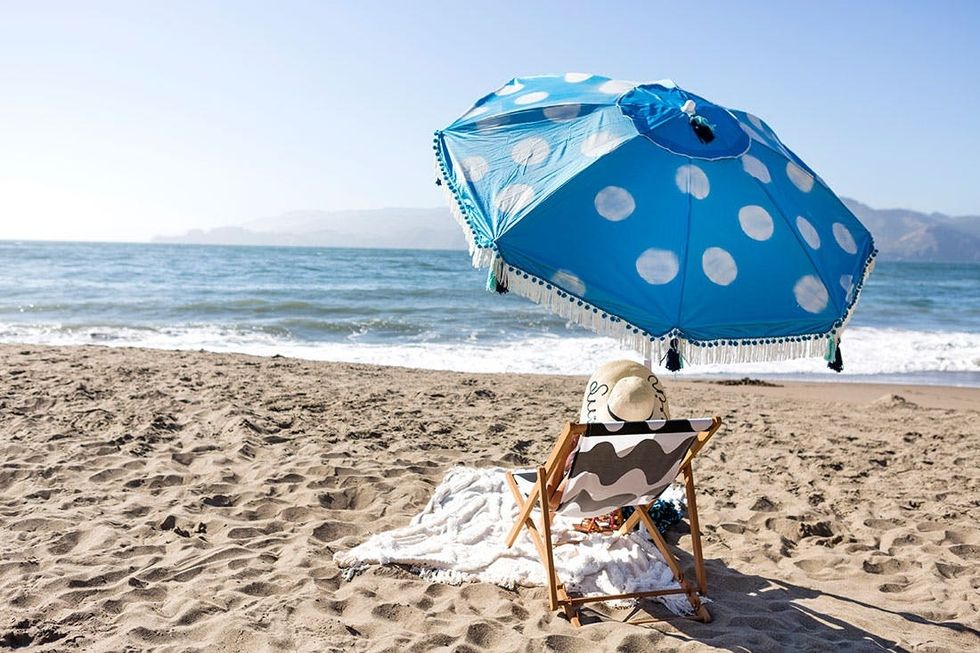
Show us your project by tagging us on Instagram + using hashtag #iamcreative!


