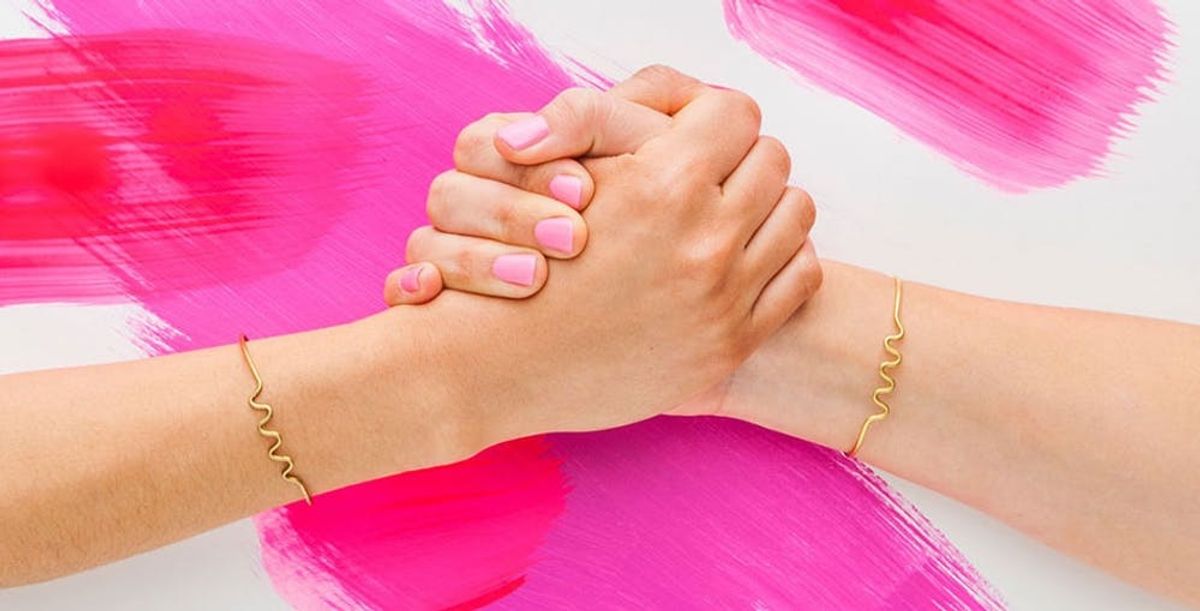
You’ll Want to Gift These Brass Bracelets to All Your Girlfriends

We’re perpetually seeking the ultimate bestie gifts here at Brit + Co, and we’re pretty confident we’ve struck gold (well, brass, technically speaking) with these wire bracelets. So if you’re still a kid at heart but want to upgrade your dainty jewelry game, we’ve got you covered with this DIY Brass Wire Bracelets Kit. Eat your heart out, embroidery floss! There’s a new friendship bracelet in town that’s just as easy to make.

Using simple wire-bending techniques, we’ll show you three different ways to make the sweetest brass wire bracelets for your entire #girlgang.

Pretty awesome, huh?

Materials included in our kit:

— brass wire
— bracelet bending bar
— pliers
Materials not included in our kit:
— ruler
— pencil (or round rod)
Get your materials together (or buy the kit HERE) and let’s get started!
Get wavy with this super easy design.
ZIG ZAG

Grip the brass wire three inches from the end with your pliers.

Make your first 90-degree angle bend. Hold the wire steady and continue bending in opposite directions until you’ve created a zig zag pattern (about 4-5 times). Pro Tip: Make sure you’ve got a tight grip on the wire with your free hand so that you’re bending along the same plane!

Your newly shaped wire should look like the example above.

Trim the leftover brass wire down to three inches.

Using your pliers, grip the very tip of the brass wire. Slowly curl the tip inward to create a loop. Repeat this step on the other side. These loops help finish the ends of the bracelet so you won’t scratch yourself putting it on.

Insert one end of the bracelet into the crease of the bracelet bending bar. Roll the brass wire over the rounded end of the bracelet bending bar to shape the bracelet. Repeat this step with the other end and continue hand-shaping the wire until you have a comfortable fit.

CRESCENT

This bracelet rests on half of your arm, so ensuring a good fit is crucial. Continue shaping the wire with your hands until you’ve got a snug fit on your arm.

Measure five inches from one end of the brass wire.

Wrap the brass wire around the rod to create a loop. The rod we’ve chosen is approximately a half inch in diameter.

Trim the longer end of the brass wire down, and curl the ends of the wire rod like you did in the zig zag pattern.

Place both ends of the brass wire into the bracelet bending bar crease and curve both wires over the rounded end to shape your bracelet.

Oh hey! Lettering in wire is tricky but totally worth it!
LETTERING

Lettering with wire is more of an art than a science. Beginning about two inches in from one of your brass wires, slowly shape the O by making micro bends in the wire with your pliers. When you’ve finished the O, make a sharp bend to create a transition to the H. It can be tricky, but just keep in mind the cursive that you learned in grade school and remember to go slowly.

Begin lettering about two inches from the end of the brass wire. Make a sharp bend to begin forming the H and slowly shape the round portion of the H with micro bends. Using the same technique, loop back up to create the E and the Y. Pro Tip: Keeping your pliers stationary and moving the wire around can make things easier to control. When you’ve finished lettering, finish the ends of the brass wire by rolling them inward.

Insert one end of the bracelet into the bracelet bending bar, and curve the entire piece over the round end of the bar.

Continue hand shaping until you’re satisfied with the fit of your bracelet.

There you go! Feel free to be as quirky as you like with the shapes and sentiments…

…and make sure you have fun with it!


