This is a proposal your friends can’t reject.
This DIY Bracelet Is the Perfect Addition to Your Bridesmaid Proposal Package
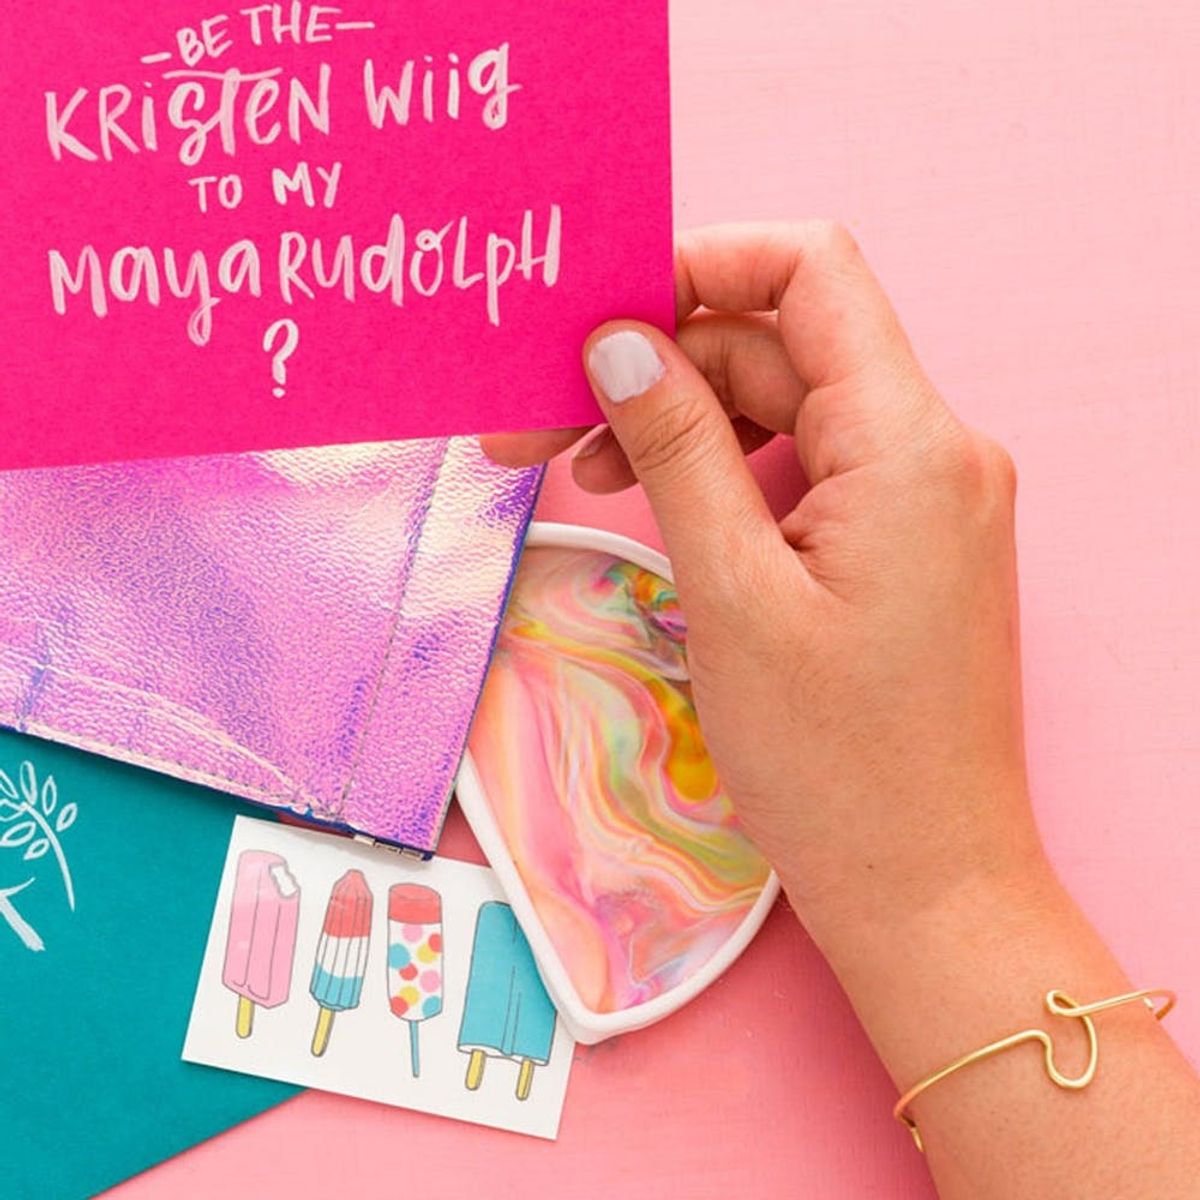
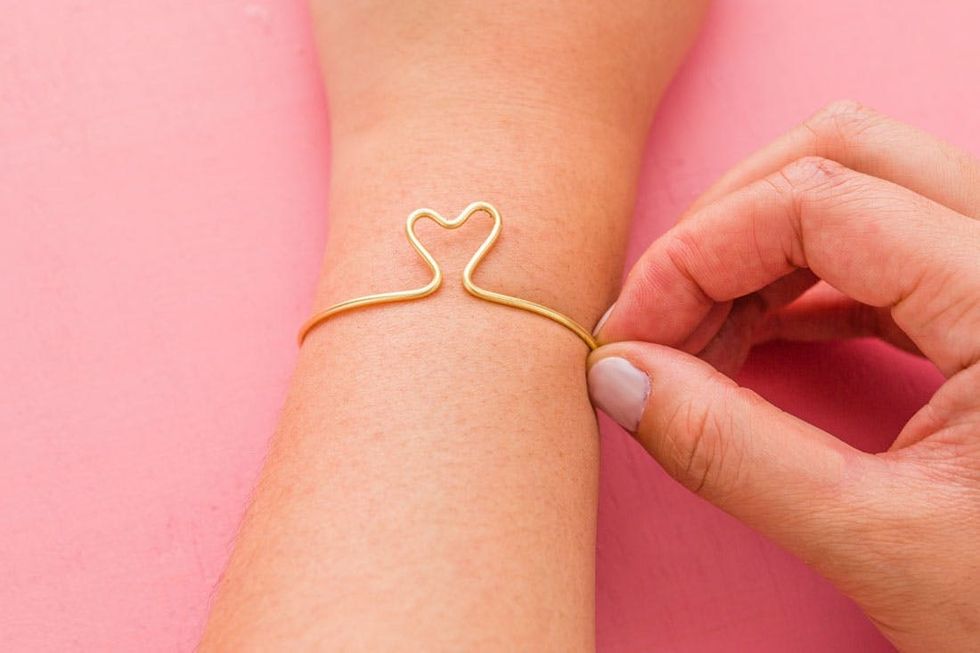
Listen up, brides-to-be: You already know that bridesmaid proposal packages/cards have been trending, right? If you didn’t, it’s time to get creative. A simple phone call won’t do anymore. If you’re going to ask your girlfriends to stand by your side on your special day, you’ll need to put together a proposal they can’t refuse. In addition to store-bought bridesmaid gifts, mix a DIY element into your proposal package for a personal touch. We took our Brass Bracelets Kit and gave these bracelets a bridal makeover.

Let your girl gang know that you can’t make the leap without them! Keep your bridesmaid proposal package classy with a cute tea towel and handmade card…
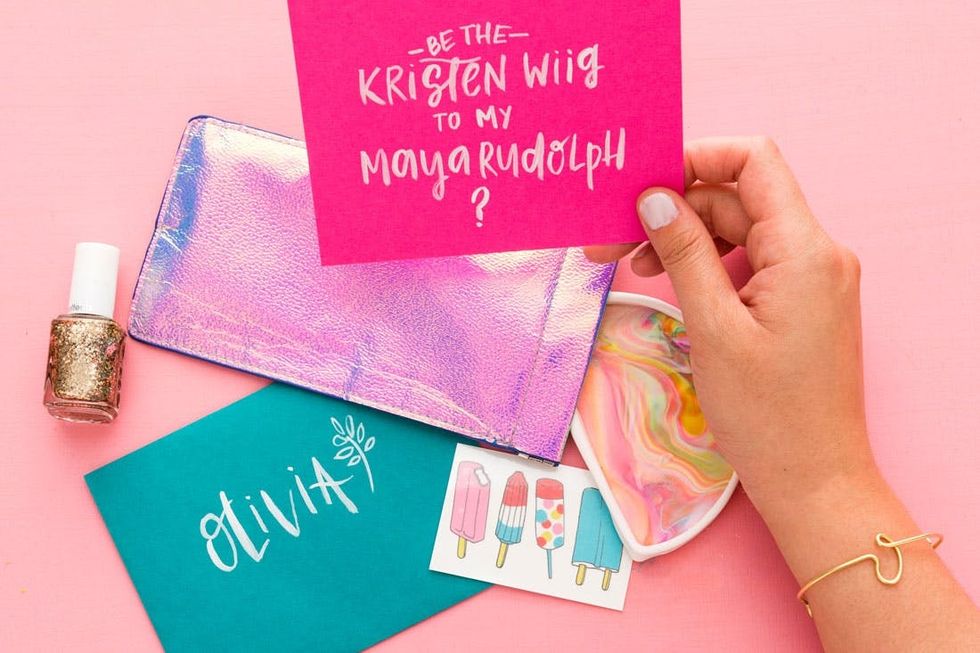
Or get a little quirky! In this bridesmaid proposal package, we threw in a handmade clay jewelry dish, fun temporary tattoos, glittery nail polish, a crazy unicorn-colored sun glasses case and, of course, an initial bracelet.
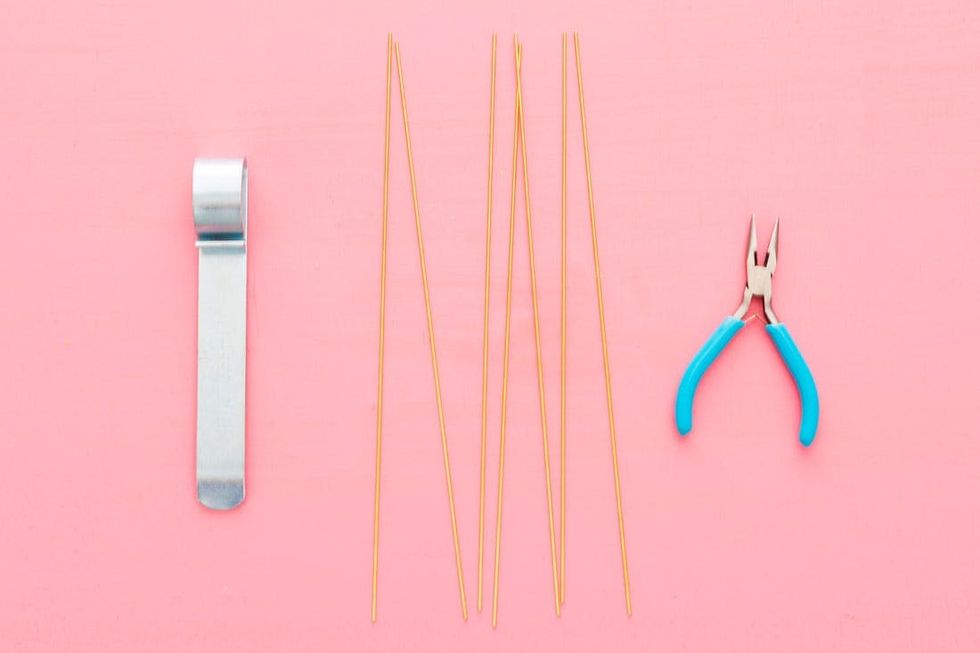
Materials included in our kit:
— brass wire
— bracelet bending bar
— pliers
Grab your materials (or buy the kit HERE) and let’s get started!
This heart is too adorable to resist; there’s no way a potential bridesmaid can turn this proposal down.
HEART
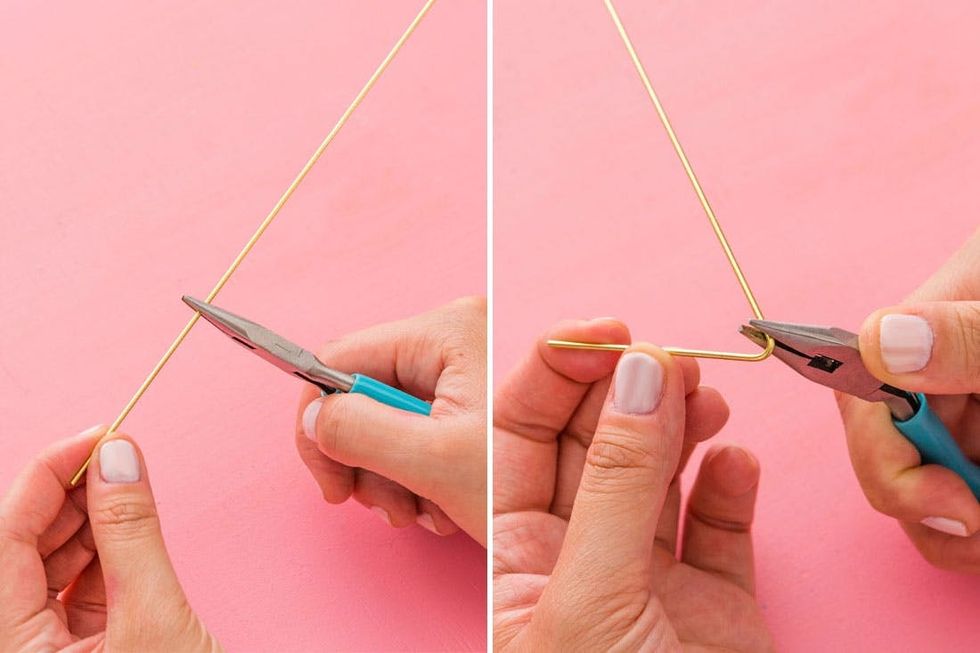
Start bending about 2.5 inches from one end of the rod. Make a 60-degree bend.

Slowly work around the rod to create the first crest of the heart. Pro Tip: Make a bunch of tiny bends to create a more uniform curve. Bend the wire to create the second crest and repeat the series of tiny bends to create a smooth, uniform curve.
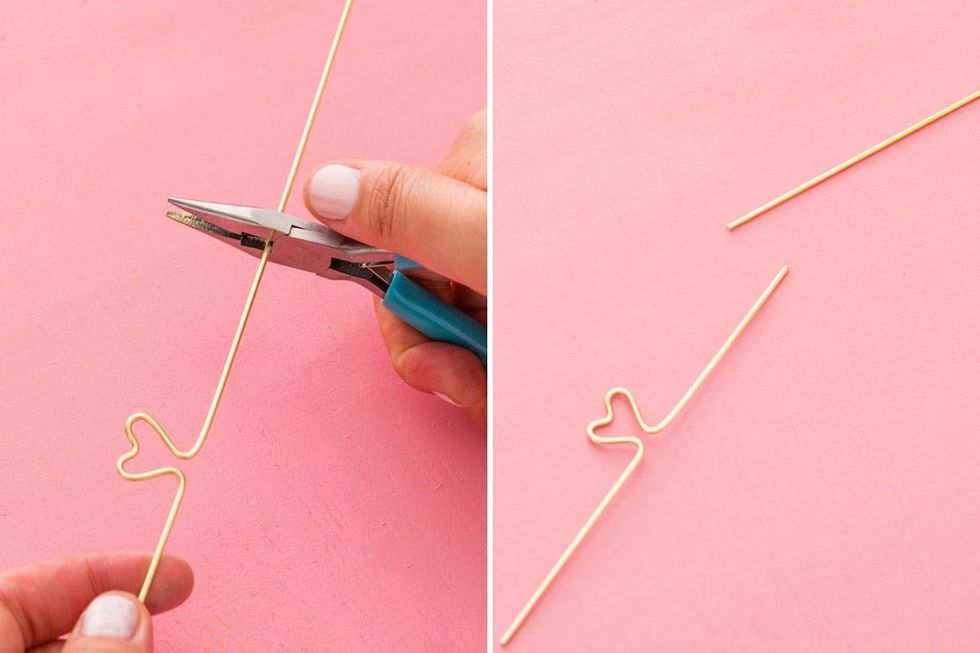
Trim the excess rod, being sure to leave about 2.5 inches.

Finish the ends of the rod by curling them inward. This will keep the raw edge from catching on things and scratching your skin (ouch!).
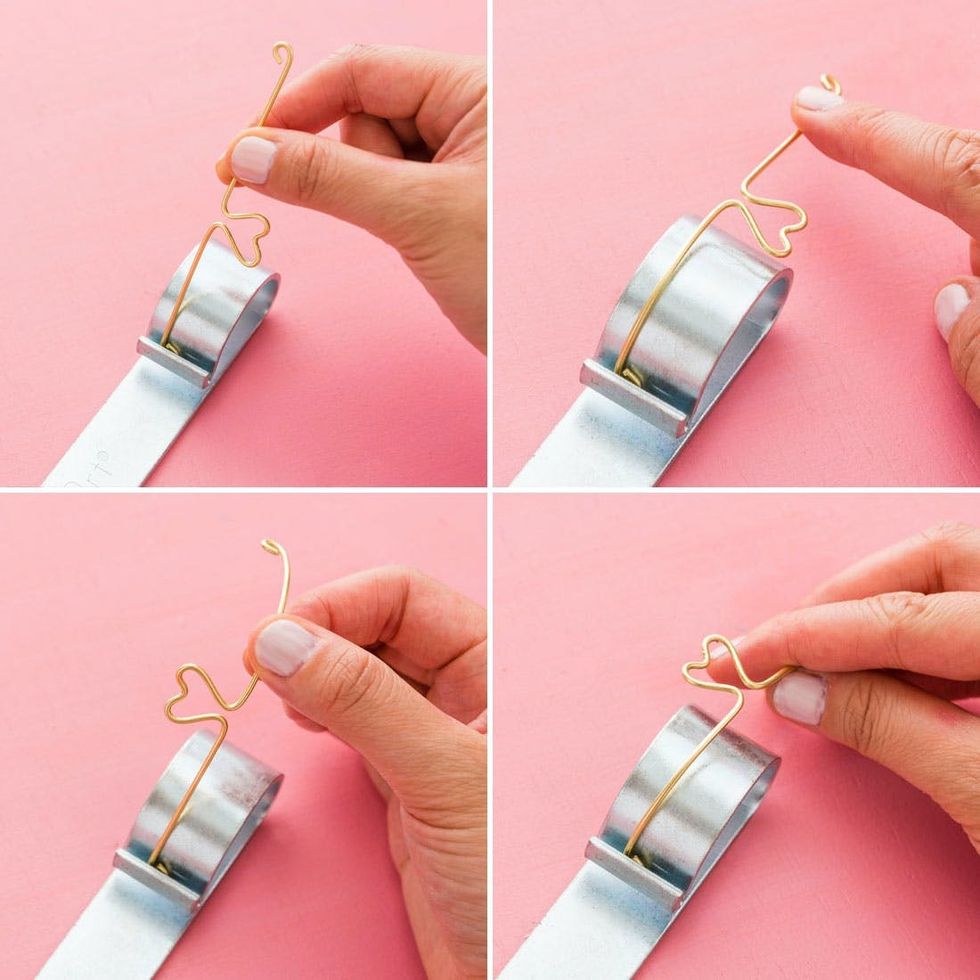
Insert one end of the bracelet into the crease of the bending bar, and shape the other end over the bending bar curve. Repeat these steps with the other end of the bracelet.
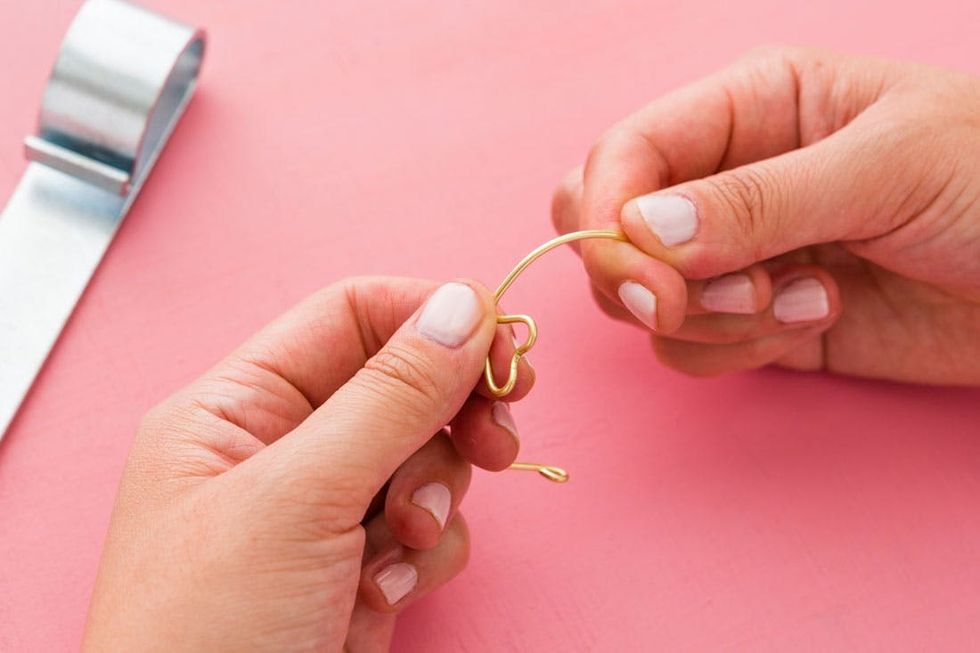
Adjust the fit of the bracelet by hand shaping the metal.

Initials are a simple way to customize these fun bracelets. To get the hang of shaping the wire into letters, practice writing the letters in cursive on a piece of paper. You’ll be able to visualize the flow and the necessary shapes to create the letters in wire.
INITIALS
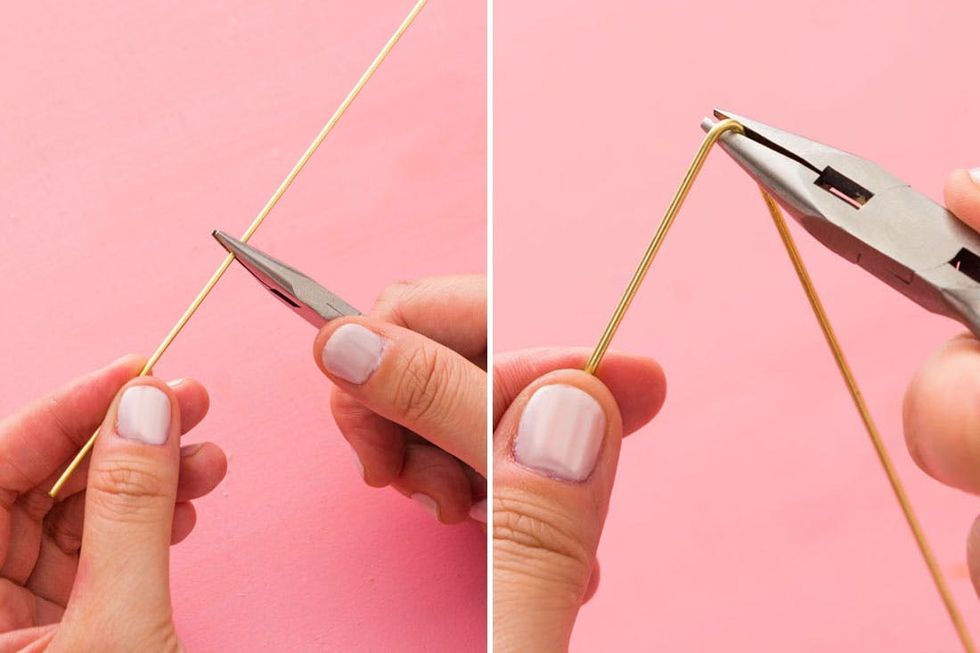
Begin bending at about 2.5 inches from the end of the rod.
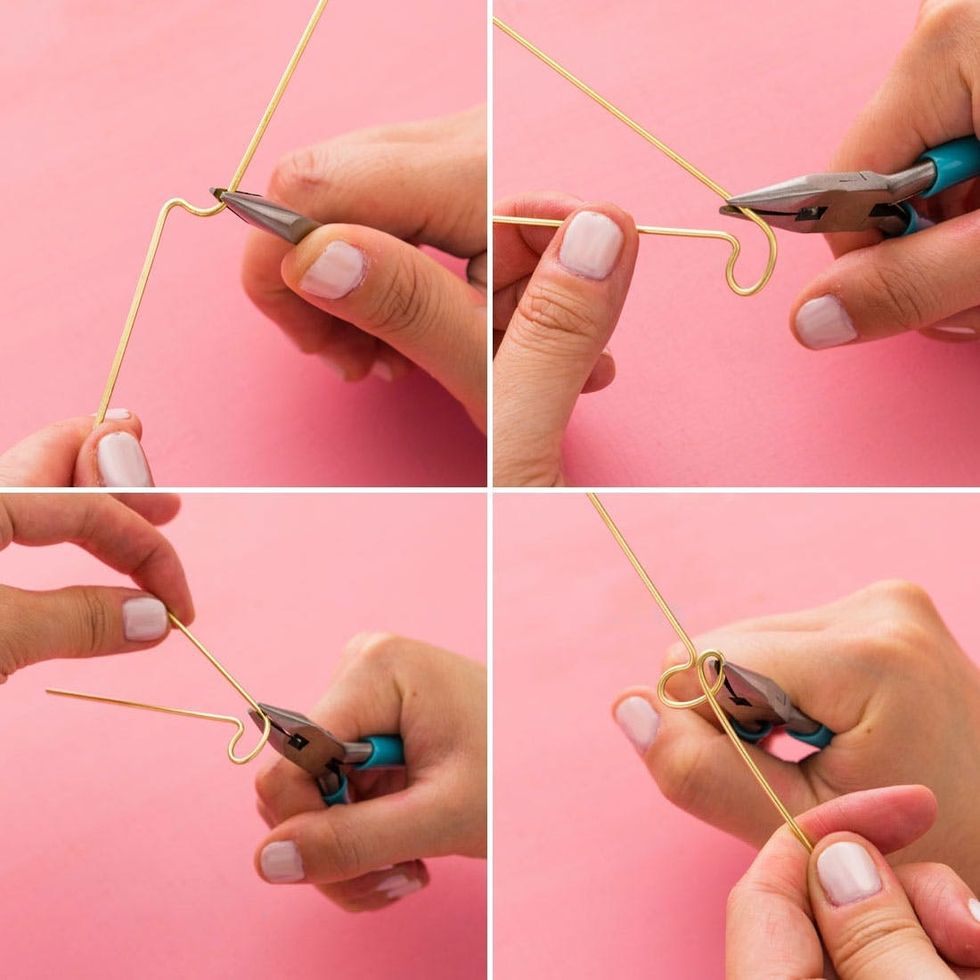
We wrote this ‘O’ out a few times on paper to understand how to shape the wire step by step, and then used a series of micro bends to create the smooth curves of the ‘O’.
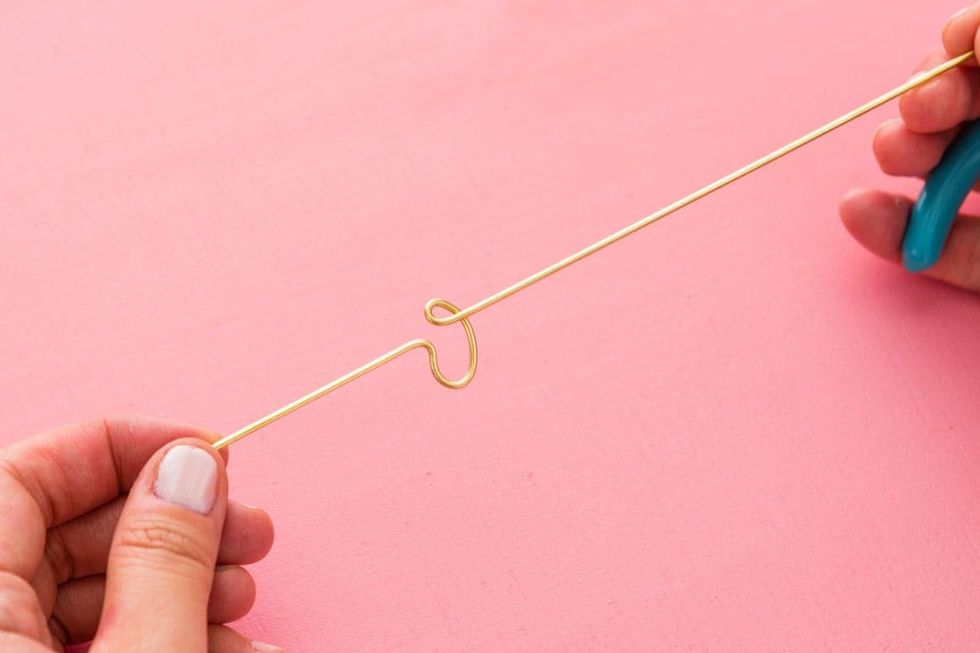
Make adjustments and straighten out kinks using your hands.

Trim the excess rod, leaving about 2.5 inches.
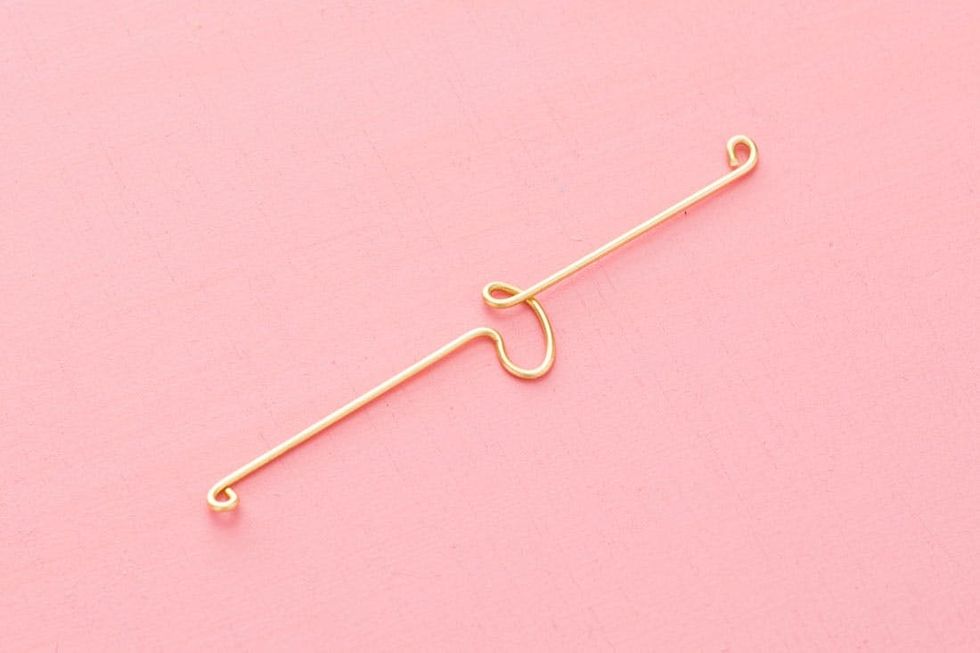
Curl the ends of the rod to finish them.
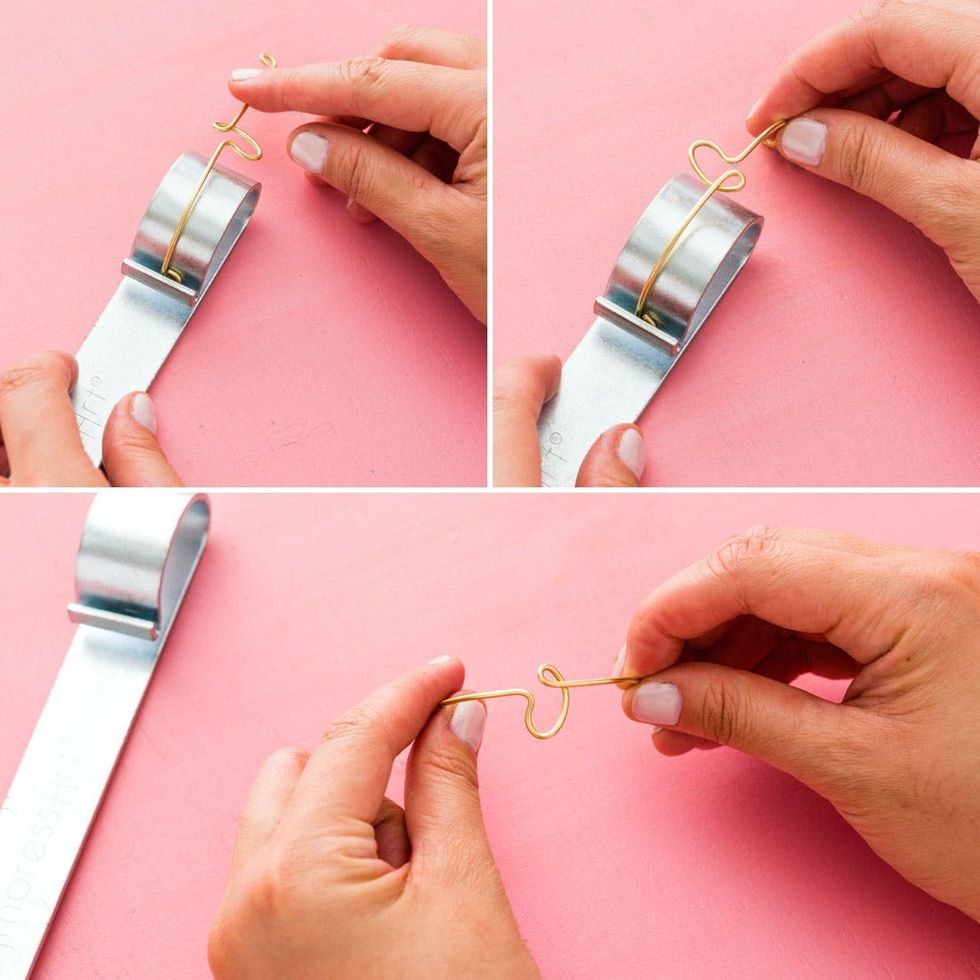
Insert one end of the rod into the bending bar crease and form the bracelet over the curvature of the bending bar. Repeat these steps for the other end and hand shape the bracelet to adjust the fit.

Throw in multiple bracelets to stack and mix in other DIY goodies to show your besties that you care.
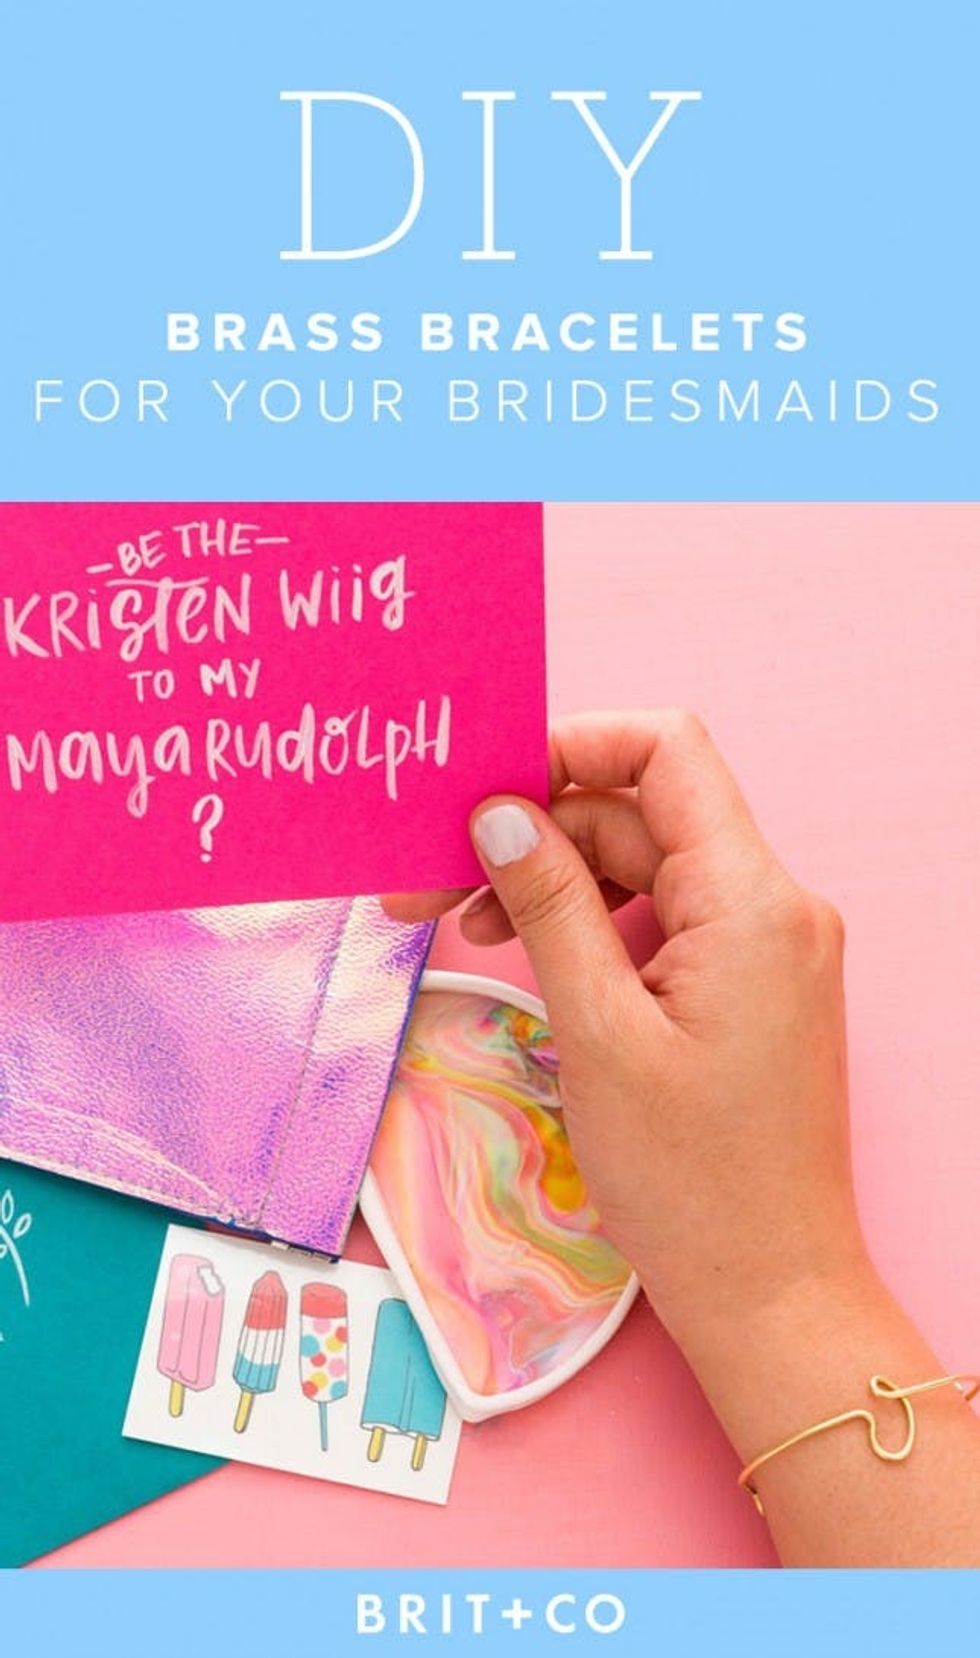
What else are you putting in your bridesmaid proposal packages? Show us your project by tagging us on Instagram and using the hashtag #iamcreative!
DIY Production and Styling: Marianne Koo
Photography: Brittany Griffin


