DIY Calligraphy Place Cards Your Wedding Guests Will Fall in Love With
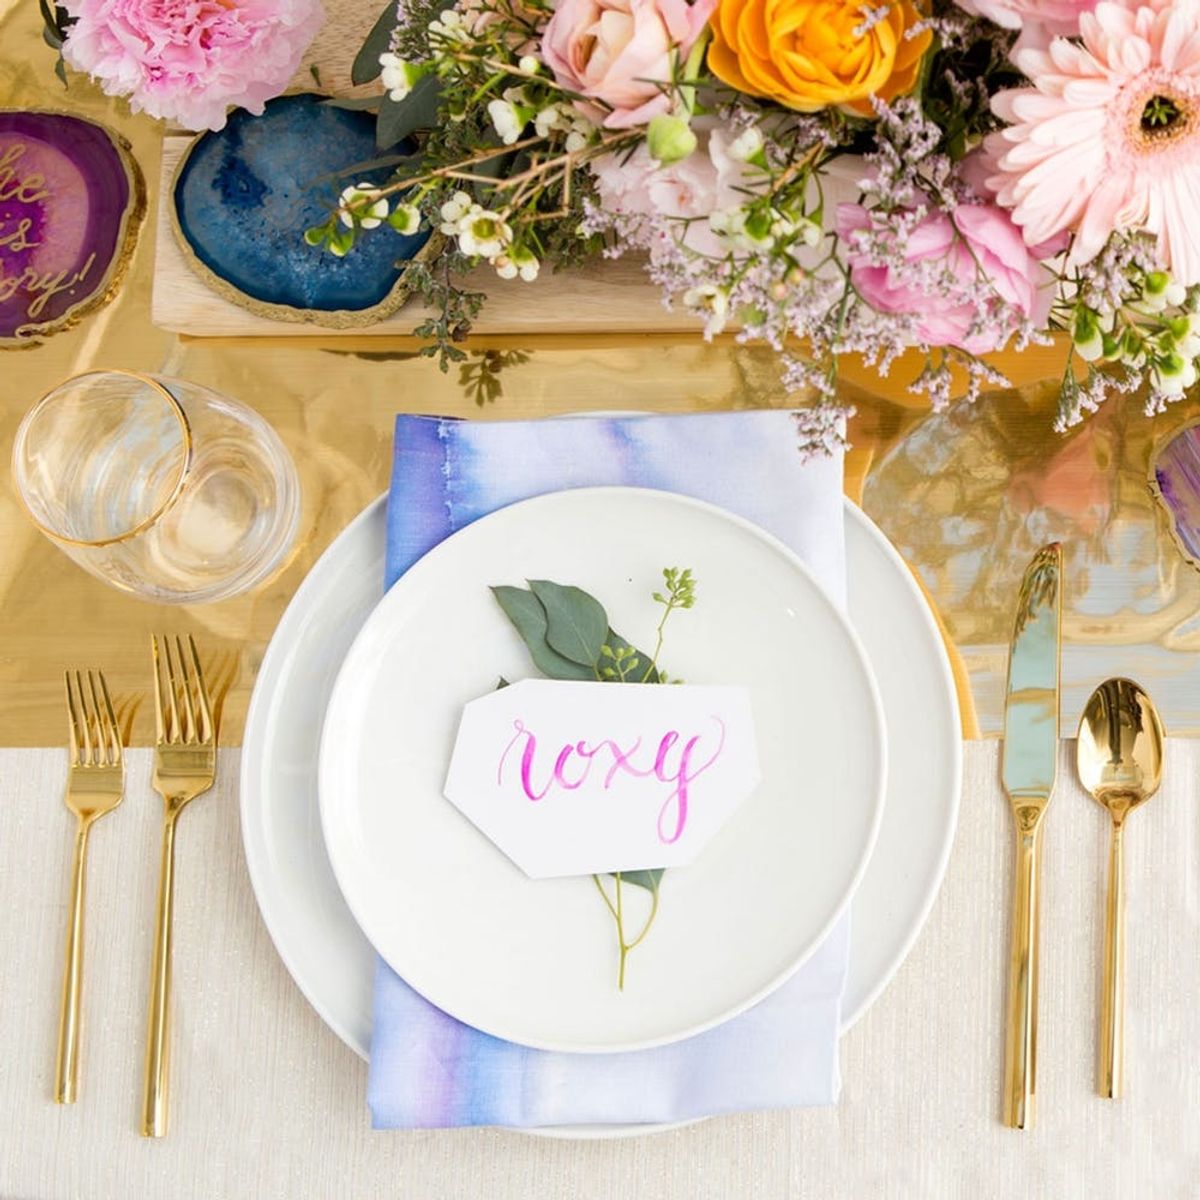
We’ve got wedding fever here at Brit + Co, and we’re looking for any and all possible ways to DIY your own wedding decor! When you’re decorating on a budget, versatility is key to saving time and money, so investing in a new creative skill is definitely in your best interest. In this tutorial we’ll show you how to amp up your table signage and place card game with Brush Calligraphy skills, and how to remix our DIY Agate Coaster Kit to create fun, decorative accents.
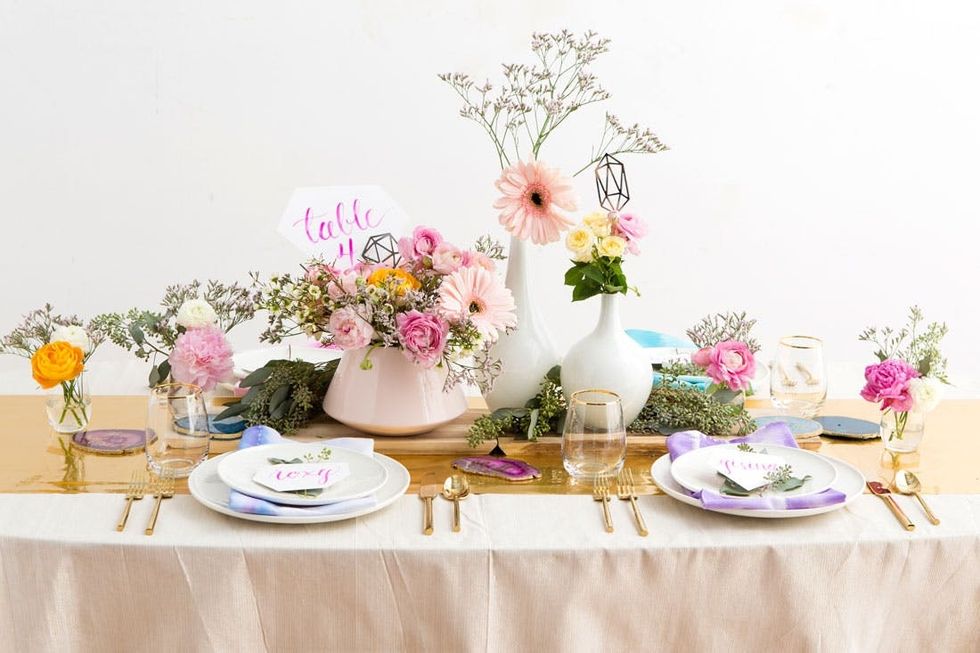
We’ve combined these two contrasting elements of classic and modern to create a truly unique look for your party. The mix of metallics and natural textures on this table create a nice balance of modern and classic, without being too harsh or rustic. Add geometric details to mirror the gem shapes of the place card and table numbers, but keep things loose with watercolor linens and pale florals.
HERE
 :
:
BRUSH CALLIGRAPHY PLACE CARDS
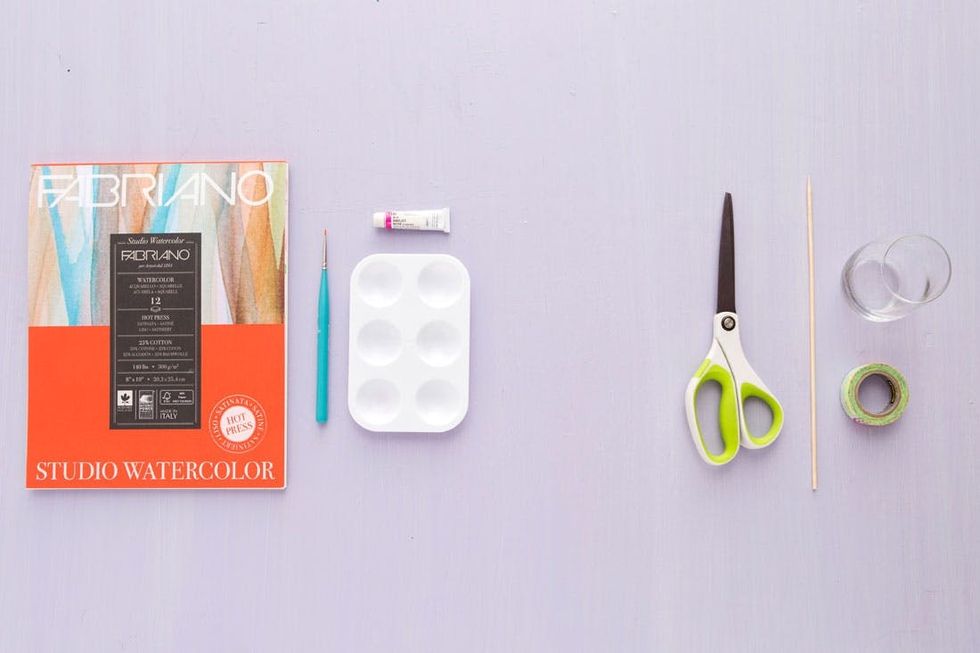
— spotter brush
— well palette
— watercolor paint (bright rose)
— watercolor paper pad
Materials + Tools (not included in our kit):
— scissors
— skewer
— water glass
— tape
Grab your materials, and let’s get started!
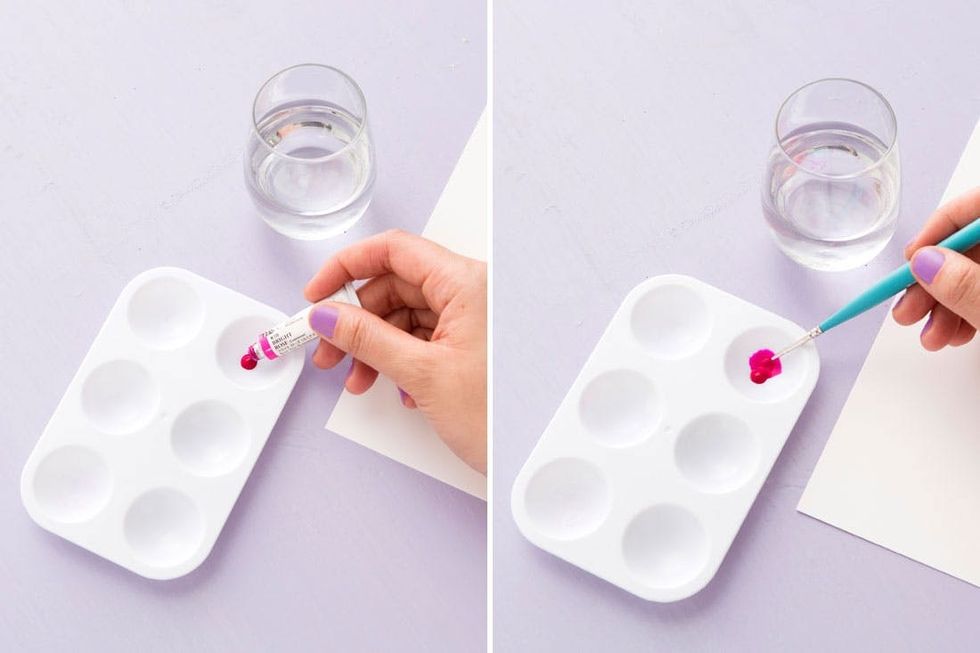
Squeeze a small amount of the water color into your well palette. Mix a little bit of water into the paint until you achieve a smooth but not runny consistency.
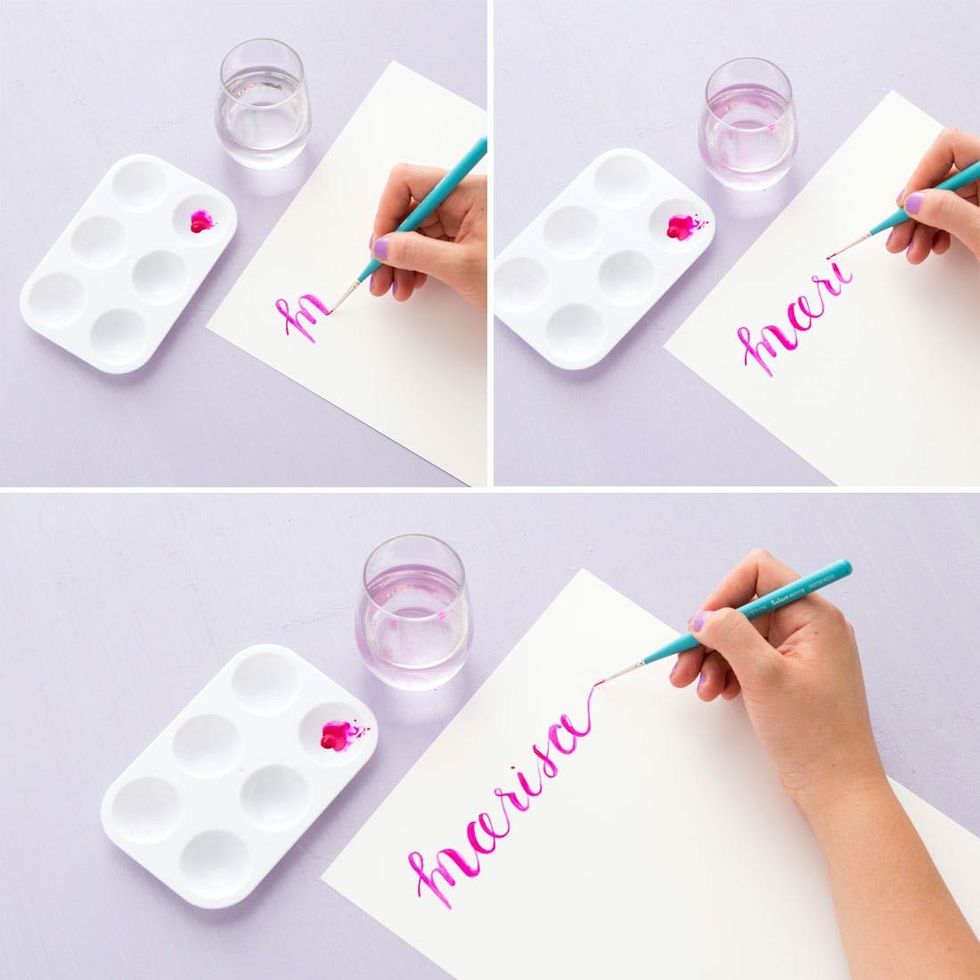
Begin hand lettering your guest’s name. We recommend making your letters at least one inch in height.
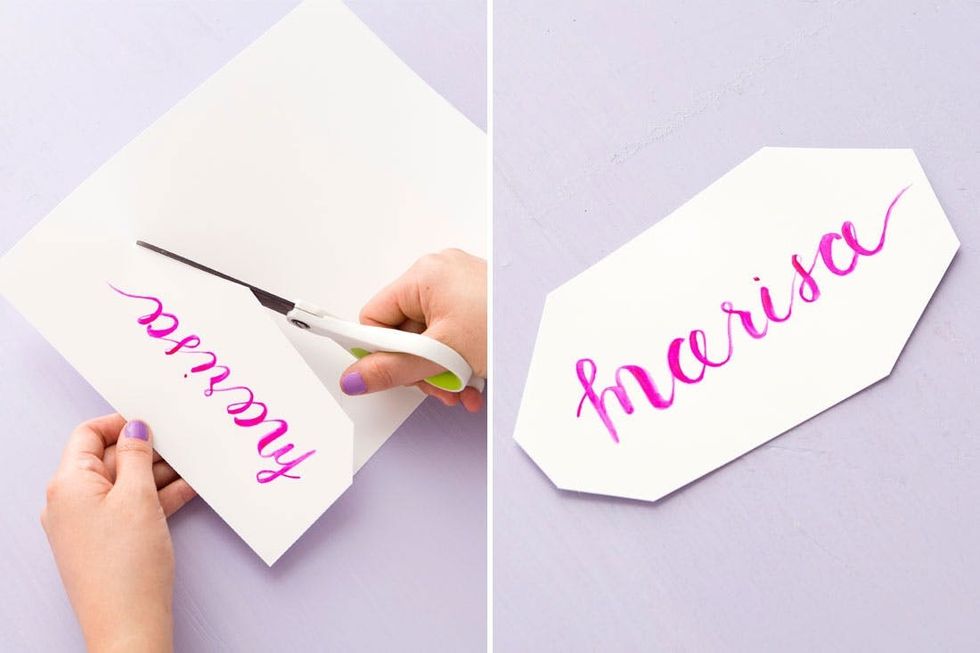
Allow your paint to dry completely. When the paint is finished drying, cut your place card into a gem shape. These don’t need to be perfect! Varying facets and uneven edges make each place card totally unique and awesome.
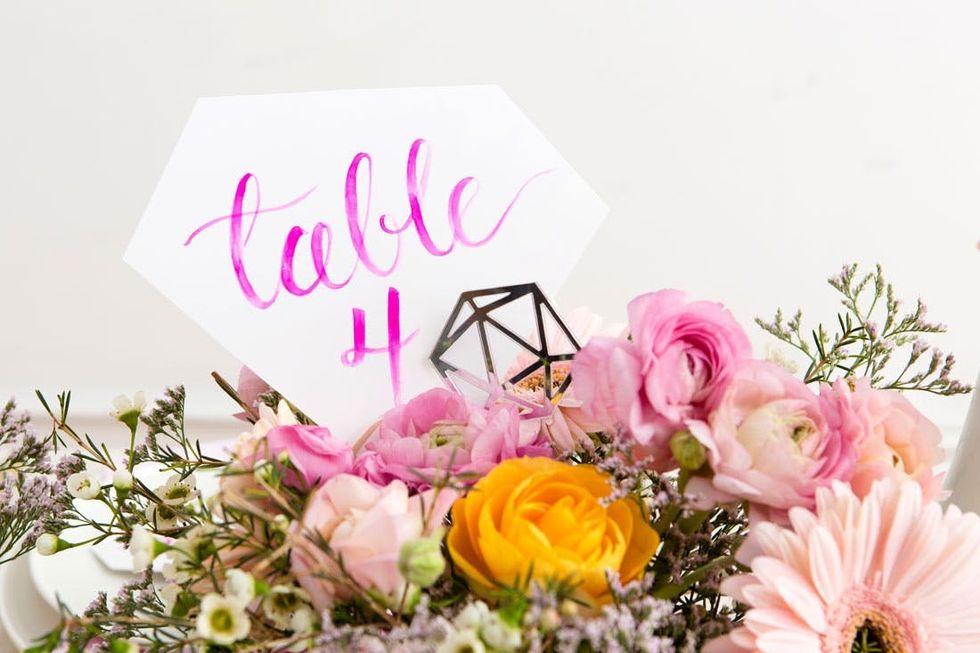
Make these awesome table numbers to mirror your place cards, and tuck them into centerpieces to help your guests navigate.
Making your numbers is a slightly different process than the place cards. Begin by cutting two pieces of paper at the same time.
BRUSH CALLIGRAPHY TABLE NUMBERS
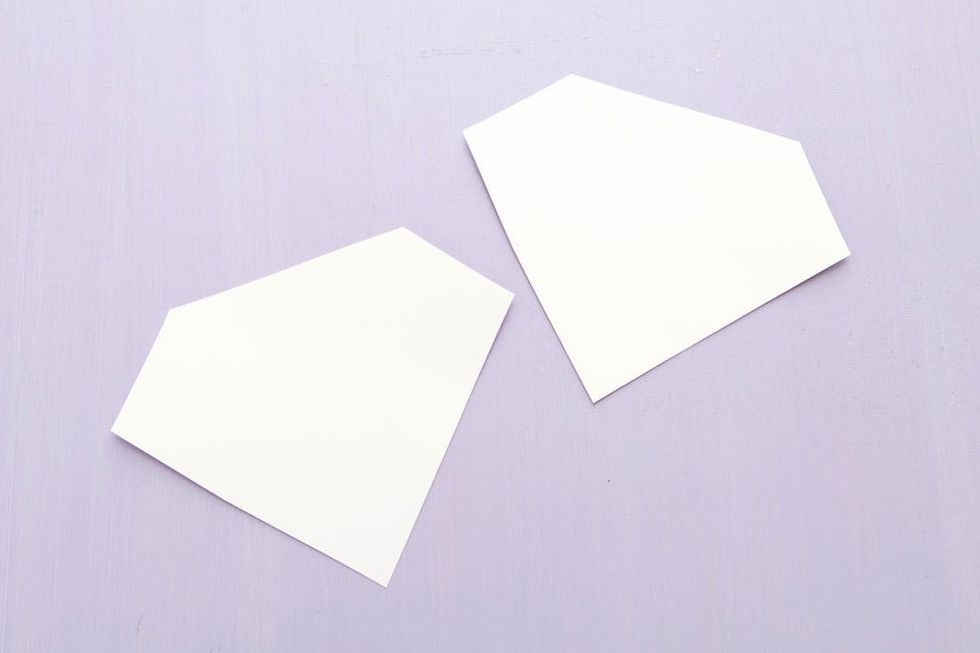
This ensures you’ll have two identical shapes, which is important because you’ll need to letter on both sides of this sign!
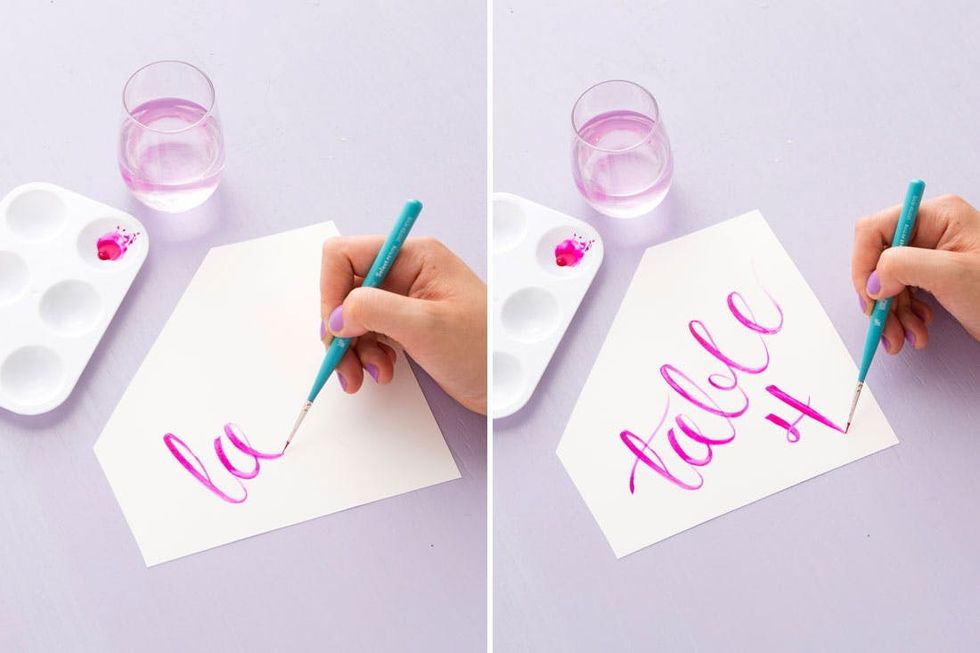
Lay out your writing with a light pencil to make sure you have enough space, and then go for it!
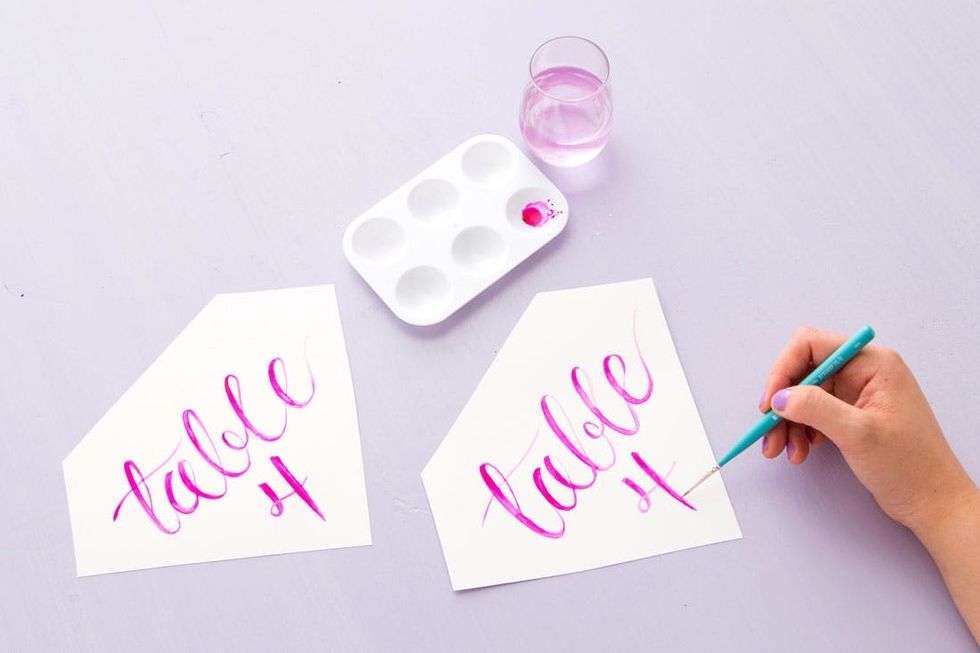
Be sure to check that your silhouettes are mirroring each other; the shapes should match up when you put the blank sides together.

Allow your paint to dry completely, then tape one gem onto the skewer. Sandwich the skewer with the other gem. There you go!
HERE
 :
:
AGATE SLICE DECOR
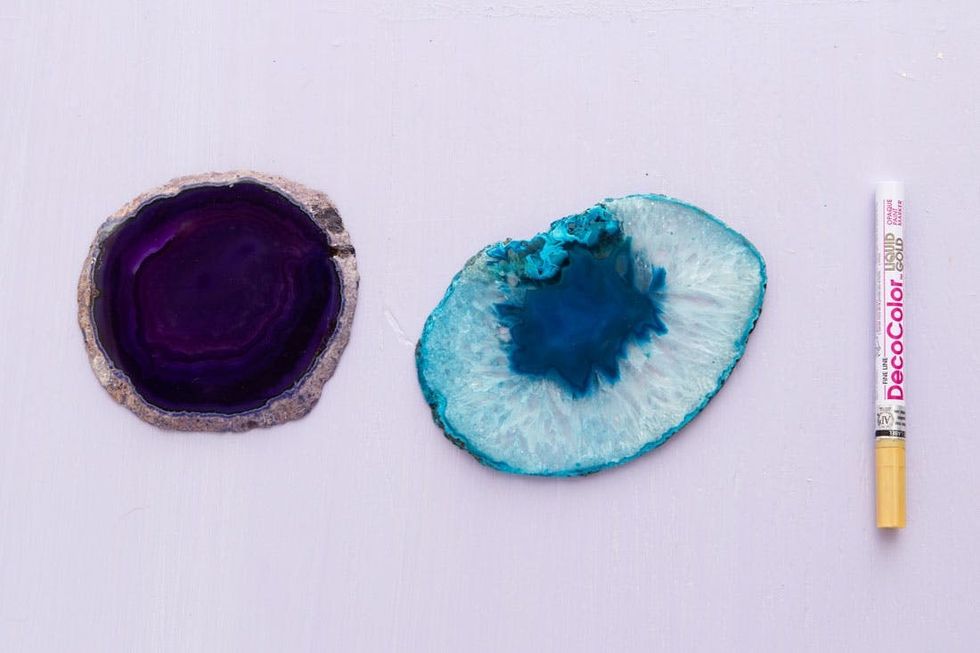
— agate slices
— gold paint pen
Gather your materials, and let’s get started!
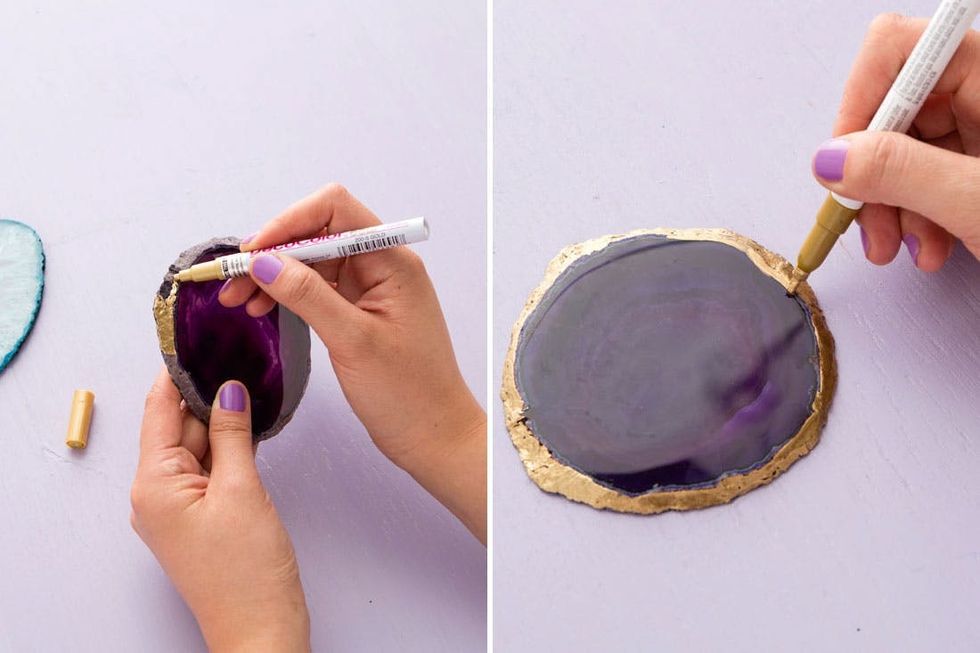
Using your paint pen, carefully draw along the edge of the agate slice. Be sure to fill in every gap and crevasse. When you’ve finished along the perimeter, carefully draw along the top edge to create a gilded look.
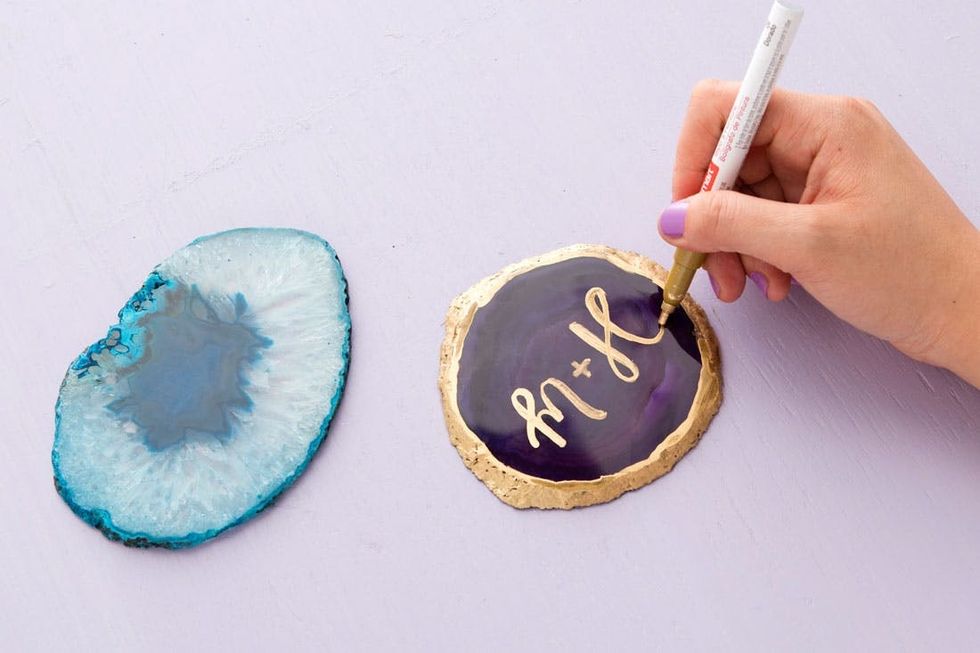
You can personalize these coasters using your calligraphy skills, or you can leave them gilded without text to add natural accents to your table.
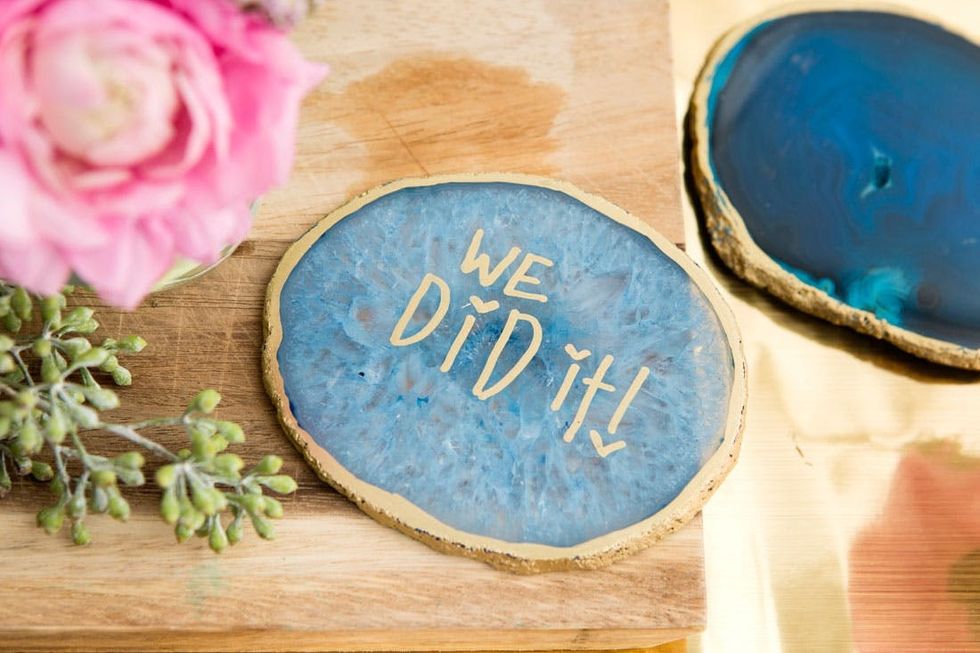
We love the idea of adding special celebratory notes to keep things fun at the dinner table!
classes
 kits to see what you can hack and remix!


