Summer is here! Let’s go camping :)
DIY This Camping Stool For Under $50
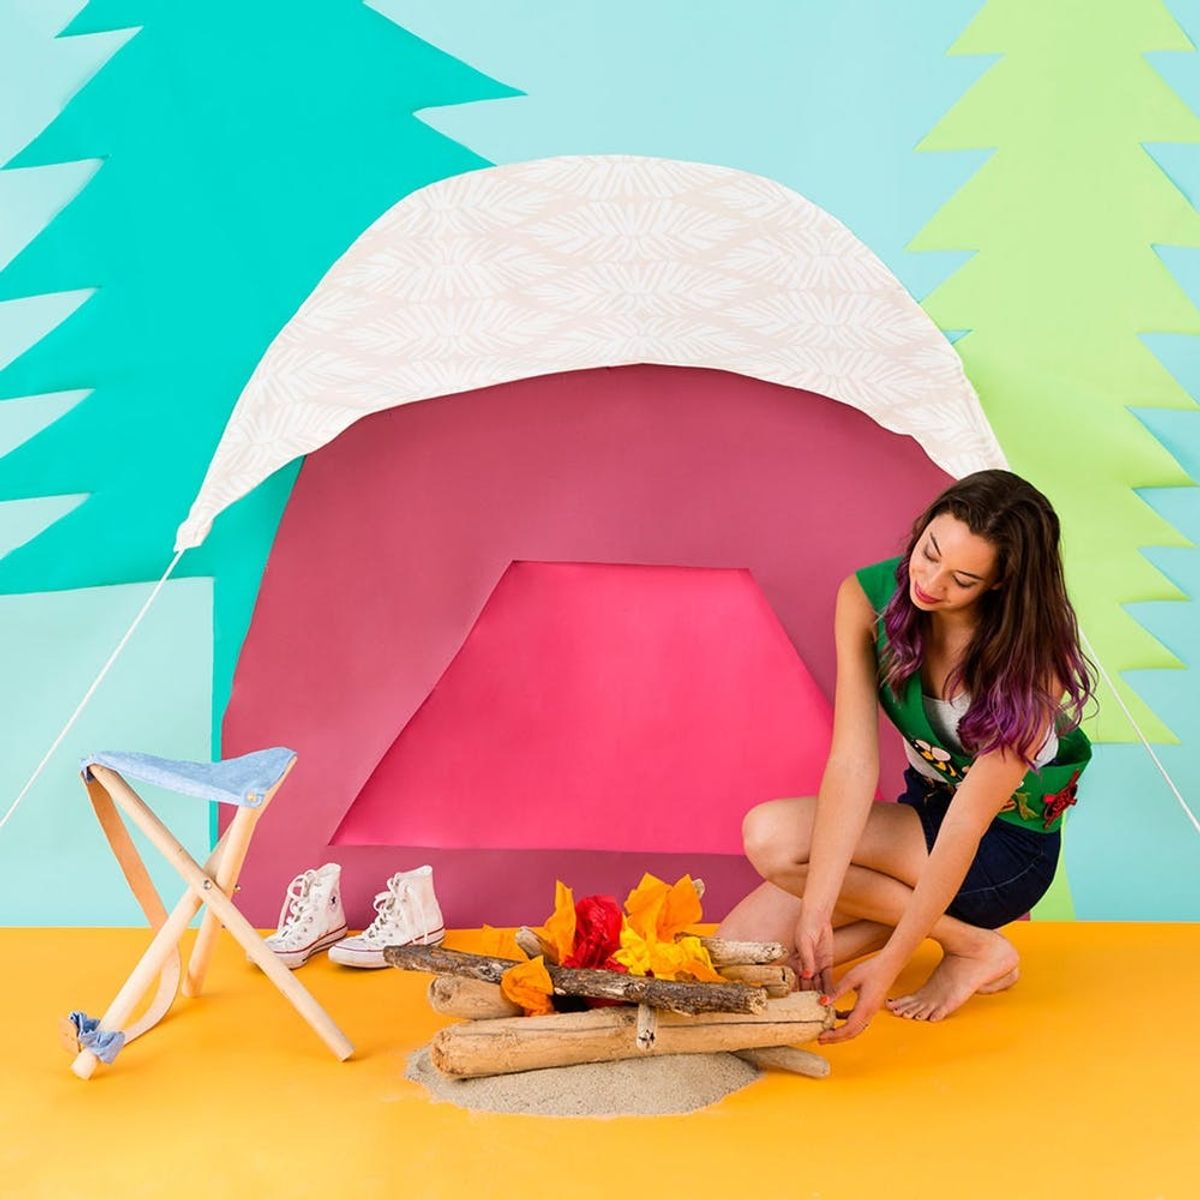

There is no doubt about it — I love being outdoors. I love it so much that I actually get a tightness in my chest when I’m forced to be inside on a beautiful day. (Maybe I should go see a doctor about this? Unclear.) There’s no better way to soak up summer than with days surfing at the beach and warm nights camping — what more could you want? How about a place to take a load off next to the campfire, for starters. Today we’re updating Wood & Faulk‘s DIY camping stool with waterproof canvas, for it to survive in rain or shine (or post-surfing bottom). Follow along below to see how to make one for yourself!
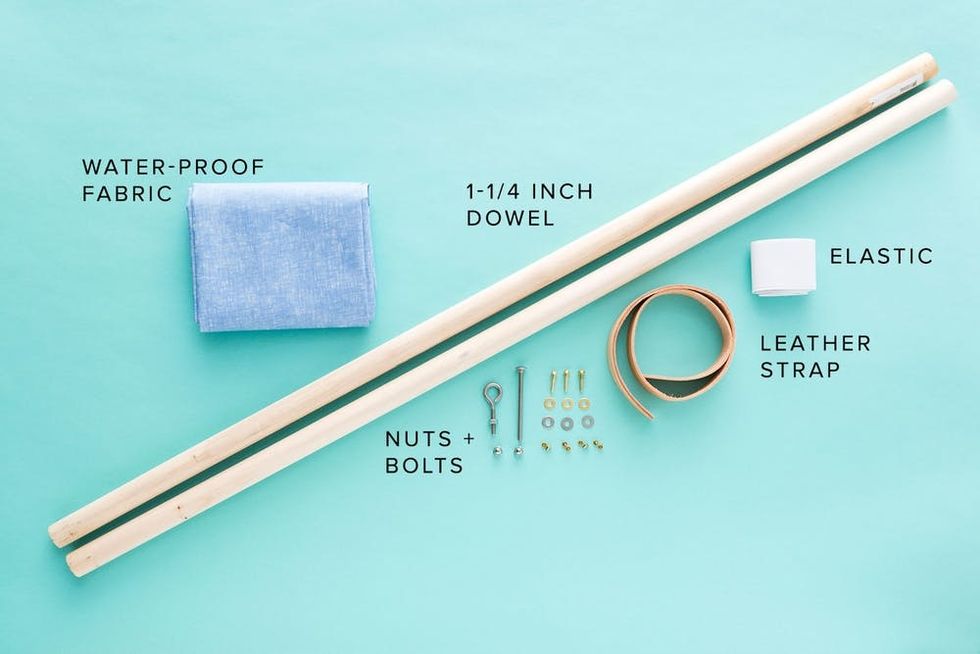
Materials and Tools:
- (3) 1 1/4-inch dowels
- 3-inch steel bolt
- (2) 5/8-inch eyehole bolt
- 2 acorn nuts
- 3 brass washers
- 3 brass 1-inch wood screws
- 4 rivets
- 1/4-yard waterproof canvas
- elastic
- measuring tape
- drill
- screwdriver
- saw
- sewing machine
Let’s get started!
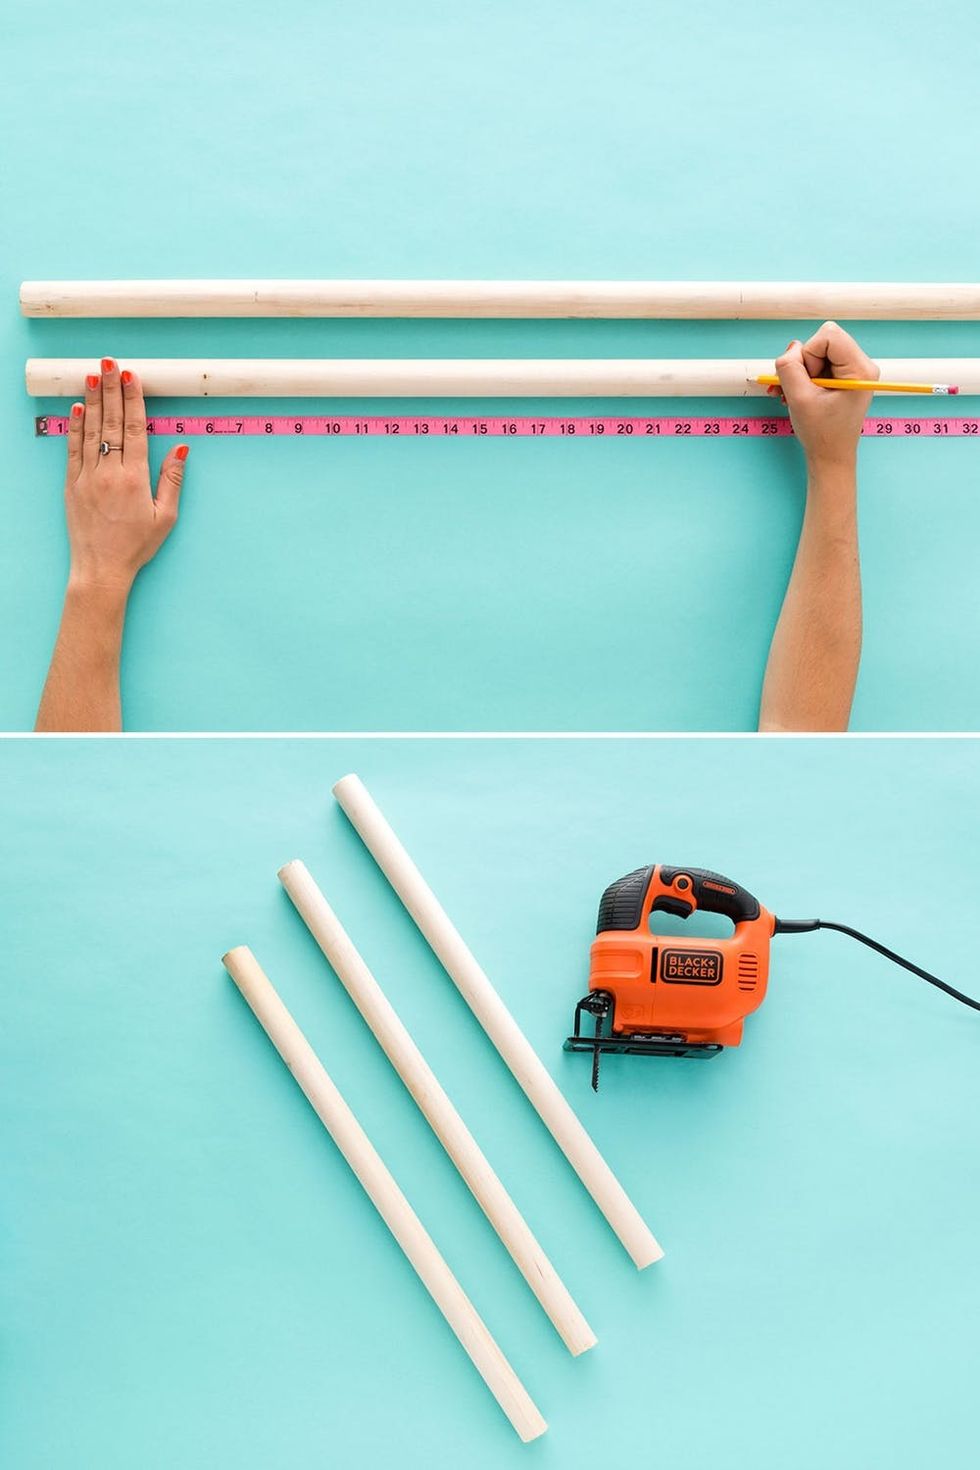
Use a saw to cut down your dowels to 24 inches in length.
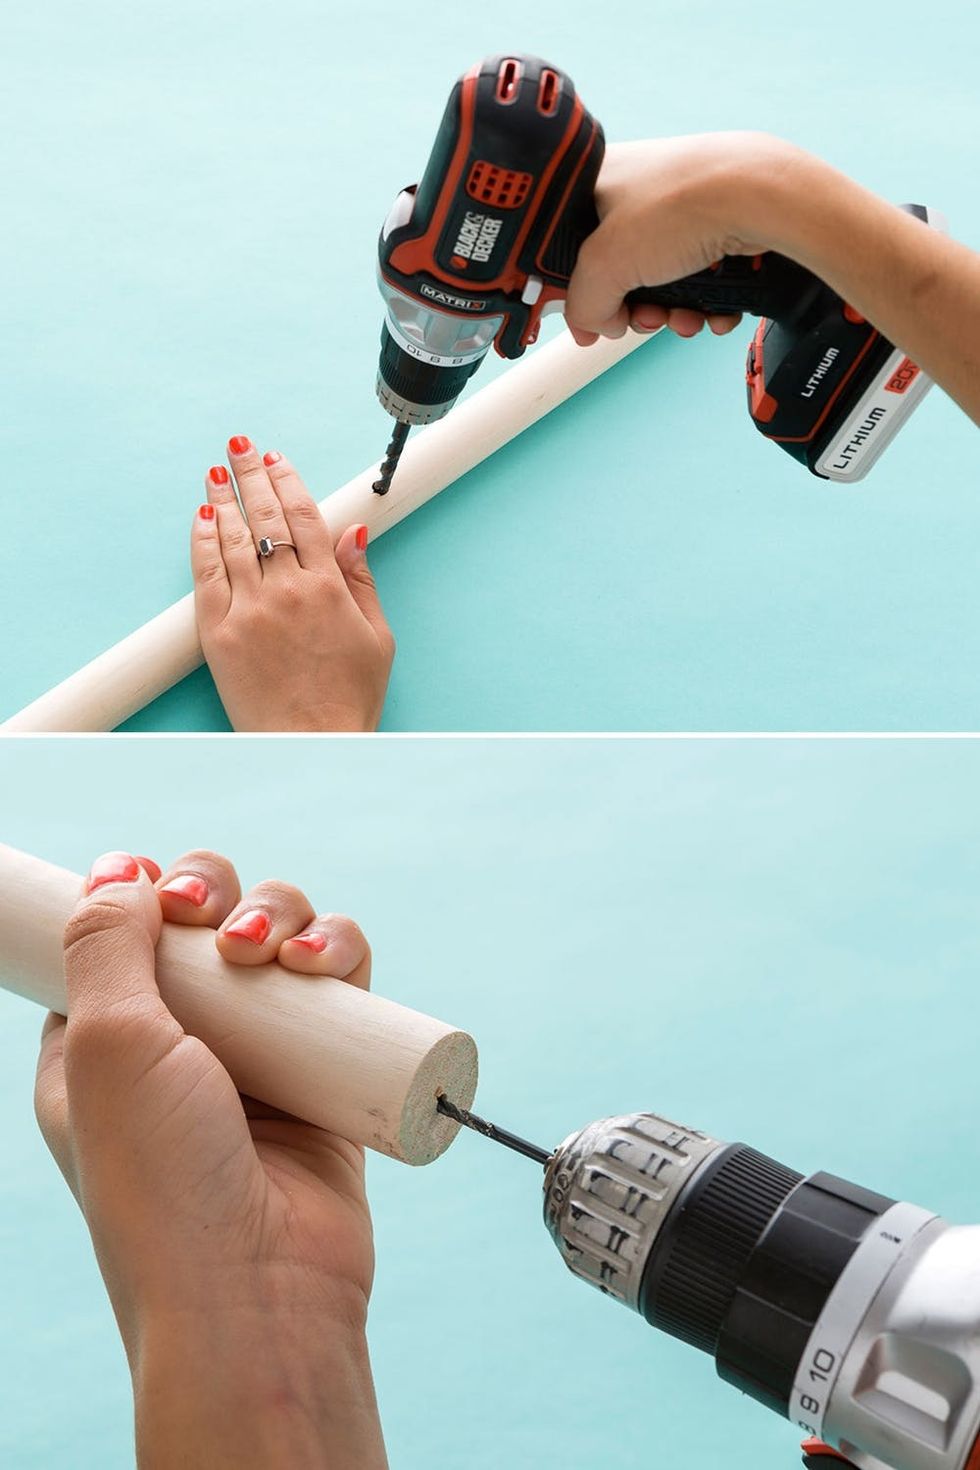
Measure 10.5 inches from the top of the dowel and drill a hole all the way through. We used a 5/16th drill bit. Using a smaller drill bit, drill a hole in the center of the top of the dowel. Drill about one inch down. Drill holes through and in all three dowels.
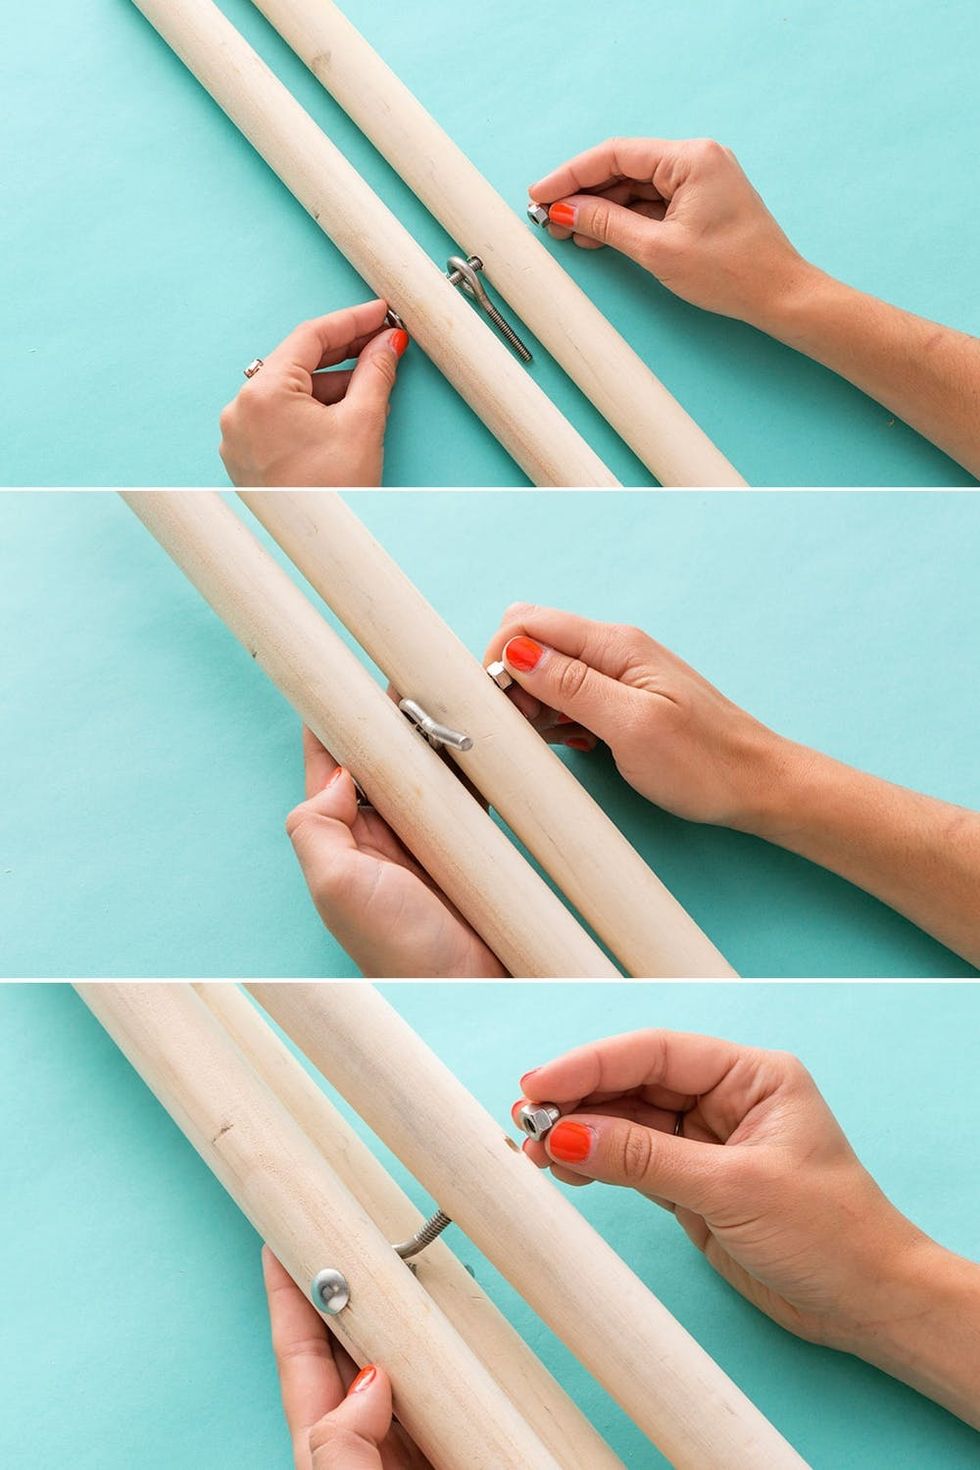
Slide the three-inch bolt through one of the dowels, thread on the eye-hole bolt and a second dowel, then secure together by screwing on an acorn bolt. Attach the last dowel by placing it on the eye-hole bolt and tightening with an acorn nut.
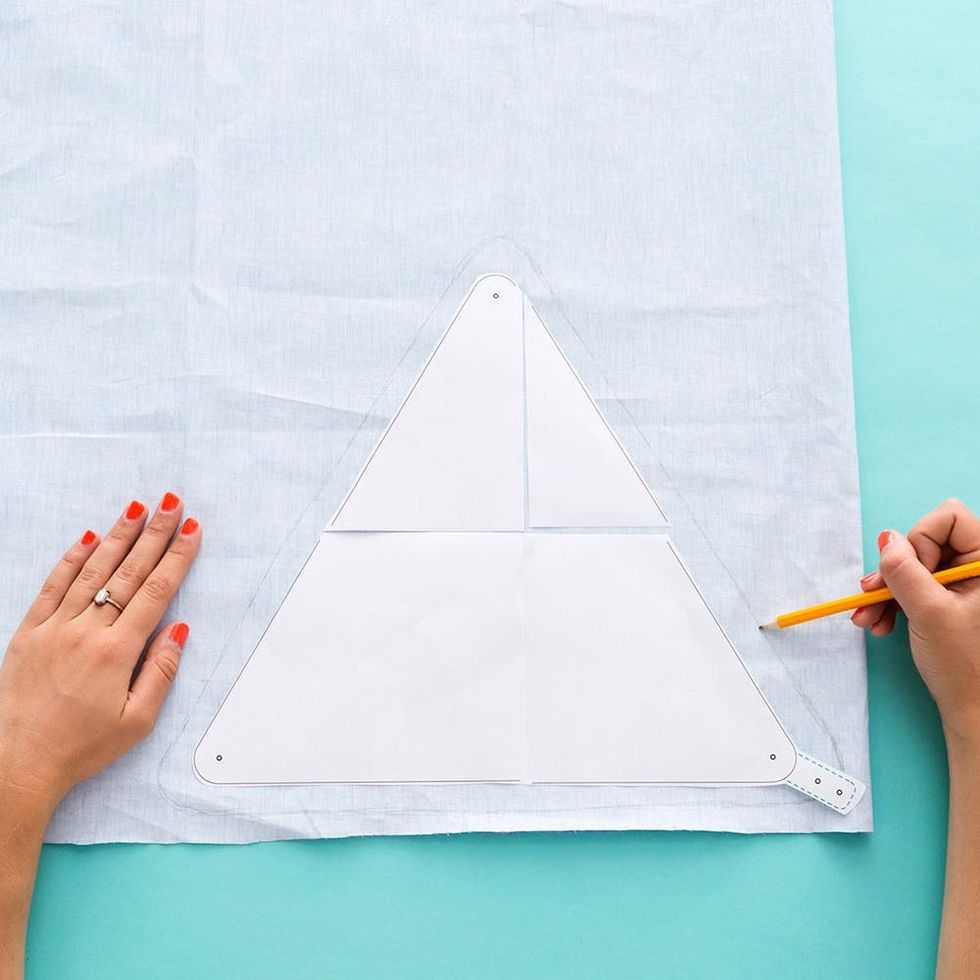
Time to create the seat. You’ll want to purchase waterproof or water-resistant canvas. To create the seat bottom, we used Wood & Faulk’s template and traced around it with an inch buffer. Fold the fabric in half to create two cut-outs.
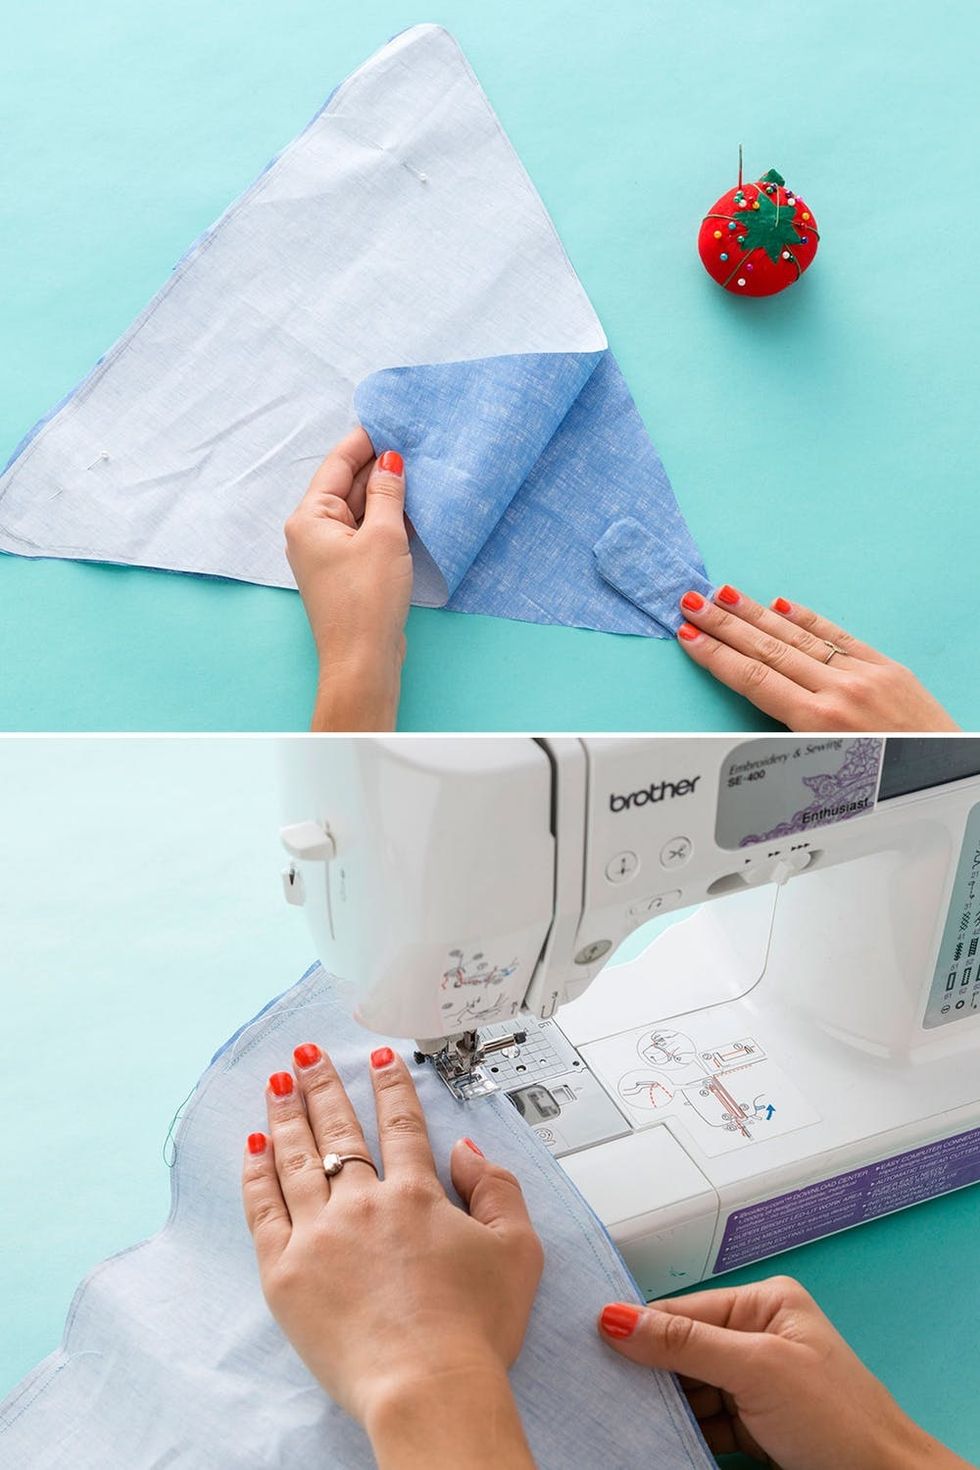
Create a small tab from extra fabric and place on the inside of your two seat templates. Pin fabric in place and sew three quarters around the outside.
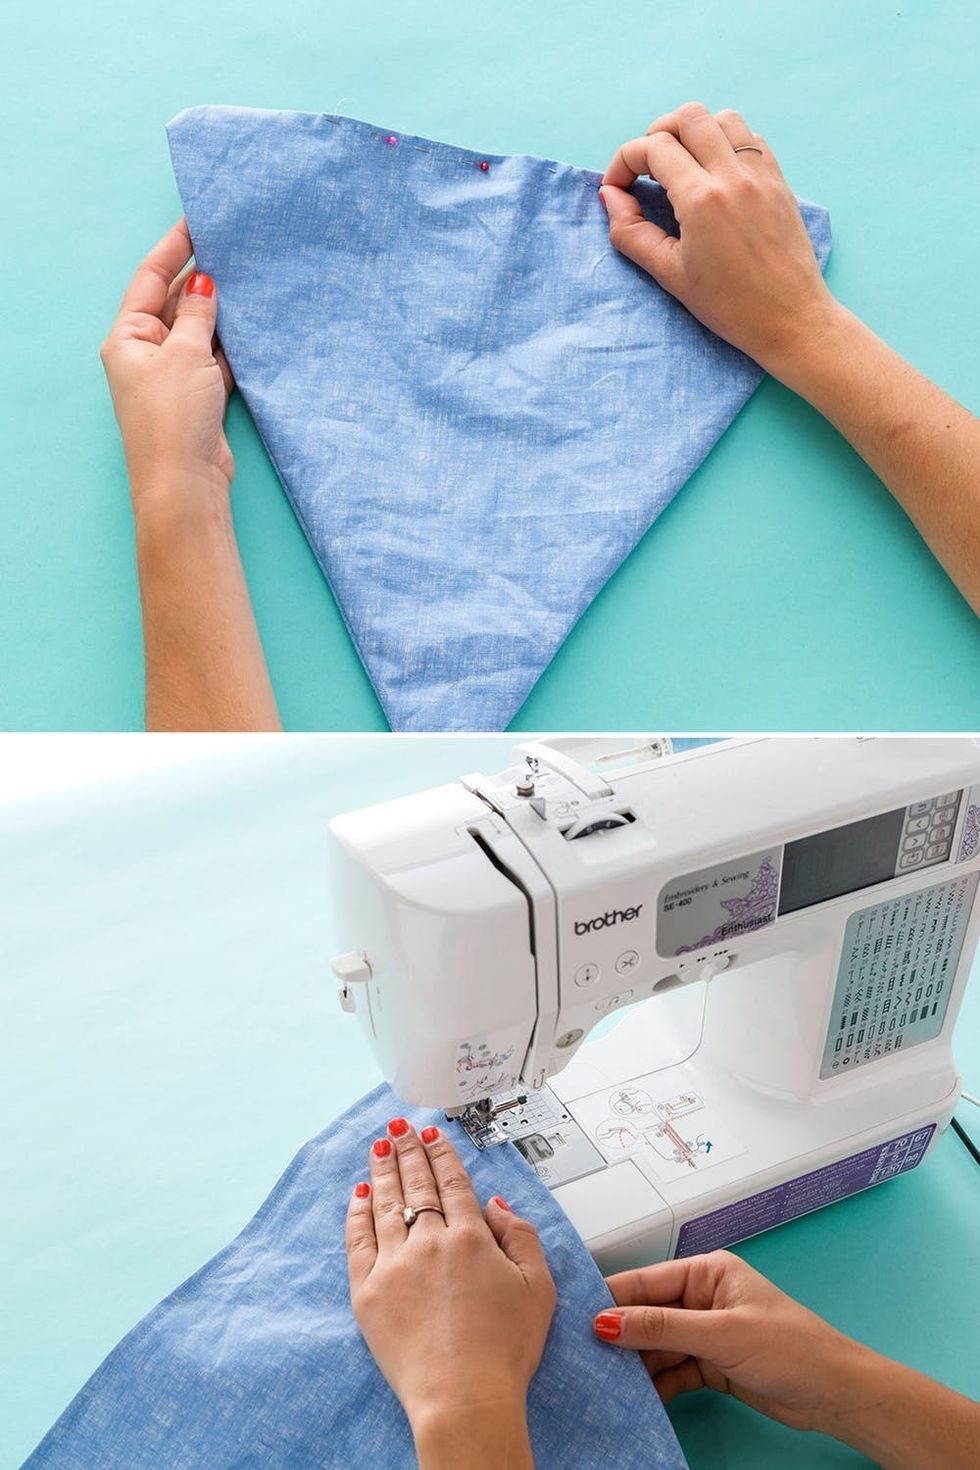
Turn right side out and pin the opening closed. Sew all the way around the outer edge.
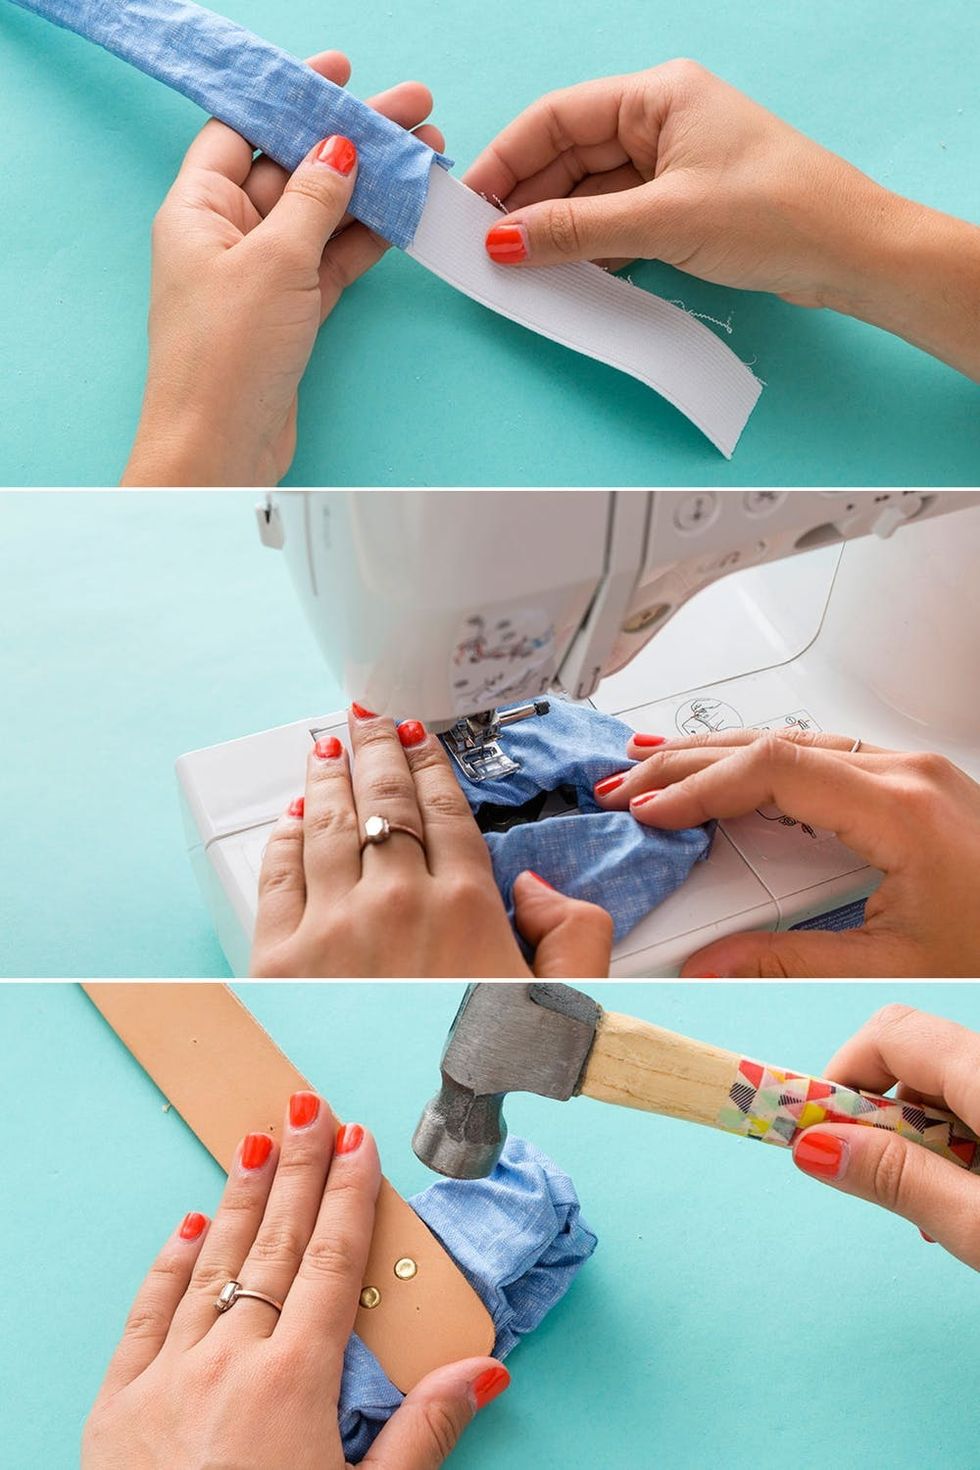
Place all the dowels of the stool together and measure the circumference. Cut out this length from elastic. Sew together a tube for the elastic — your fabric tube should be twice as long as the elastic. Feed the elastic through and then sew together to form a circular band. Attach to one end of the leather strap using two rivets.
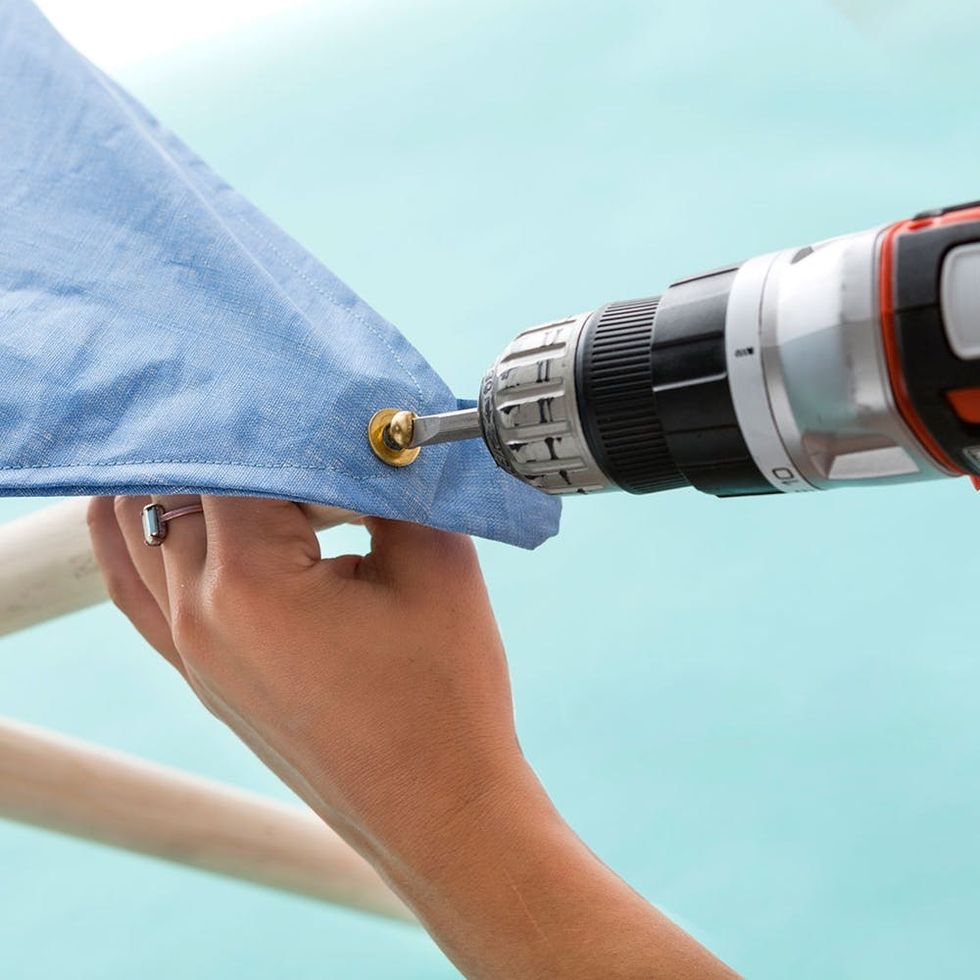
Cut a small hole, big enough for the screw to poke through, in the corner of the fabric. Screw the fabric into the stool using a washer and wood screw.
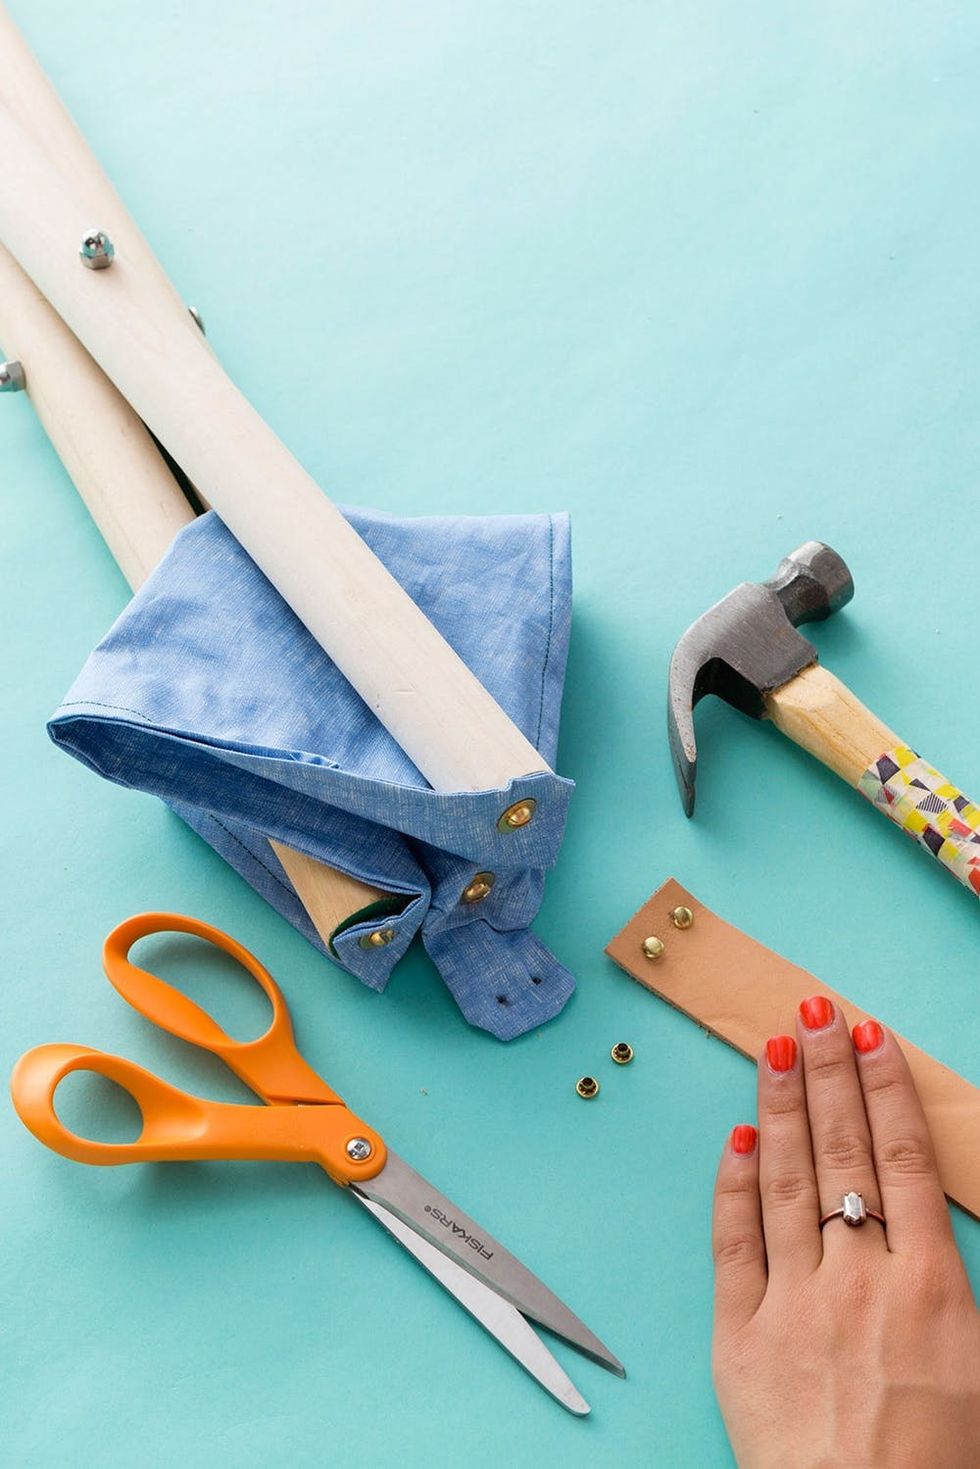
Attach the other edge of the leather strap to the seat strap using two rivets.
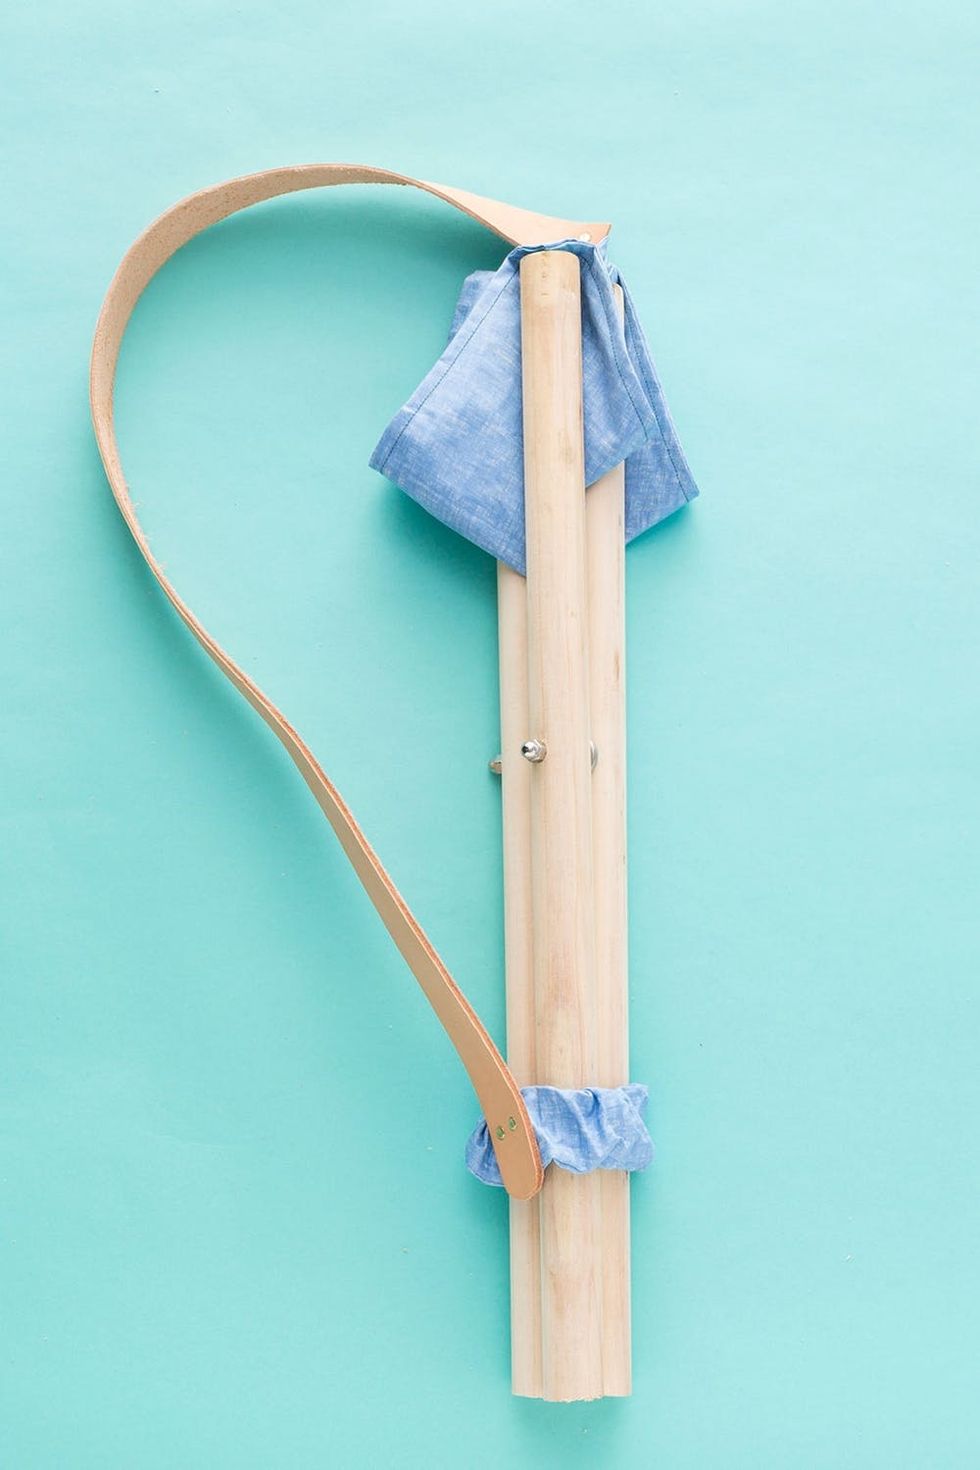
Pack it up and let’s go camping!
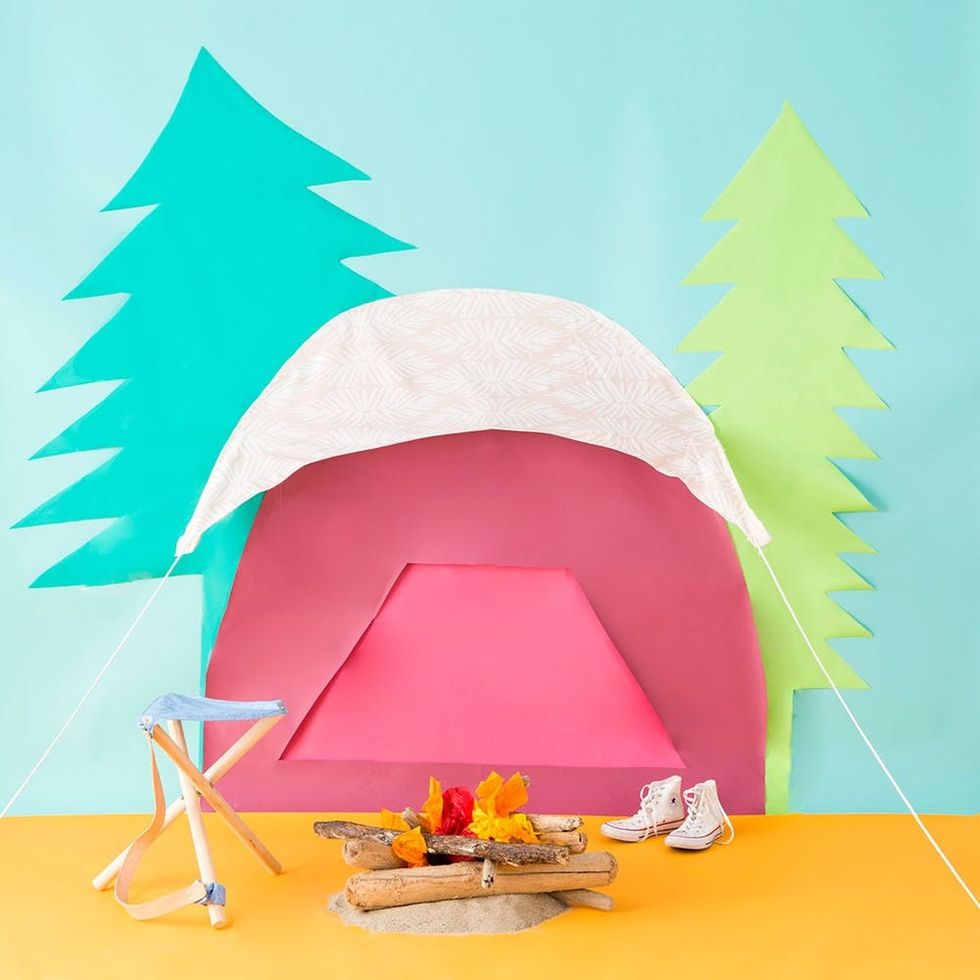
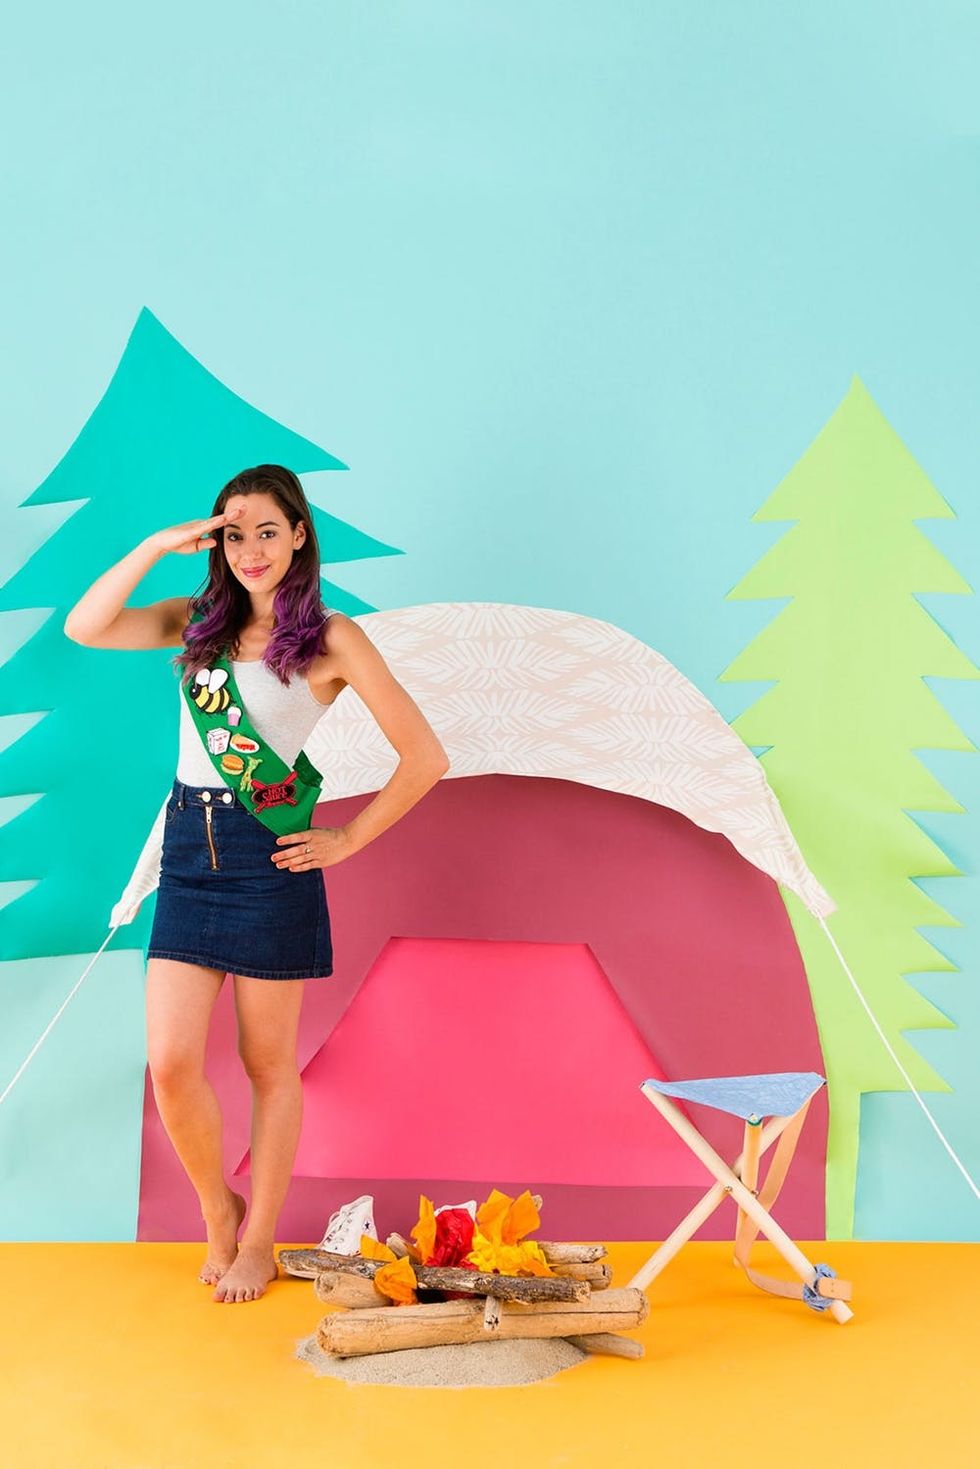
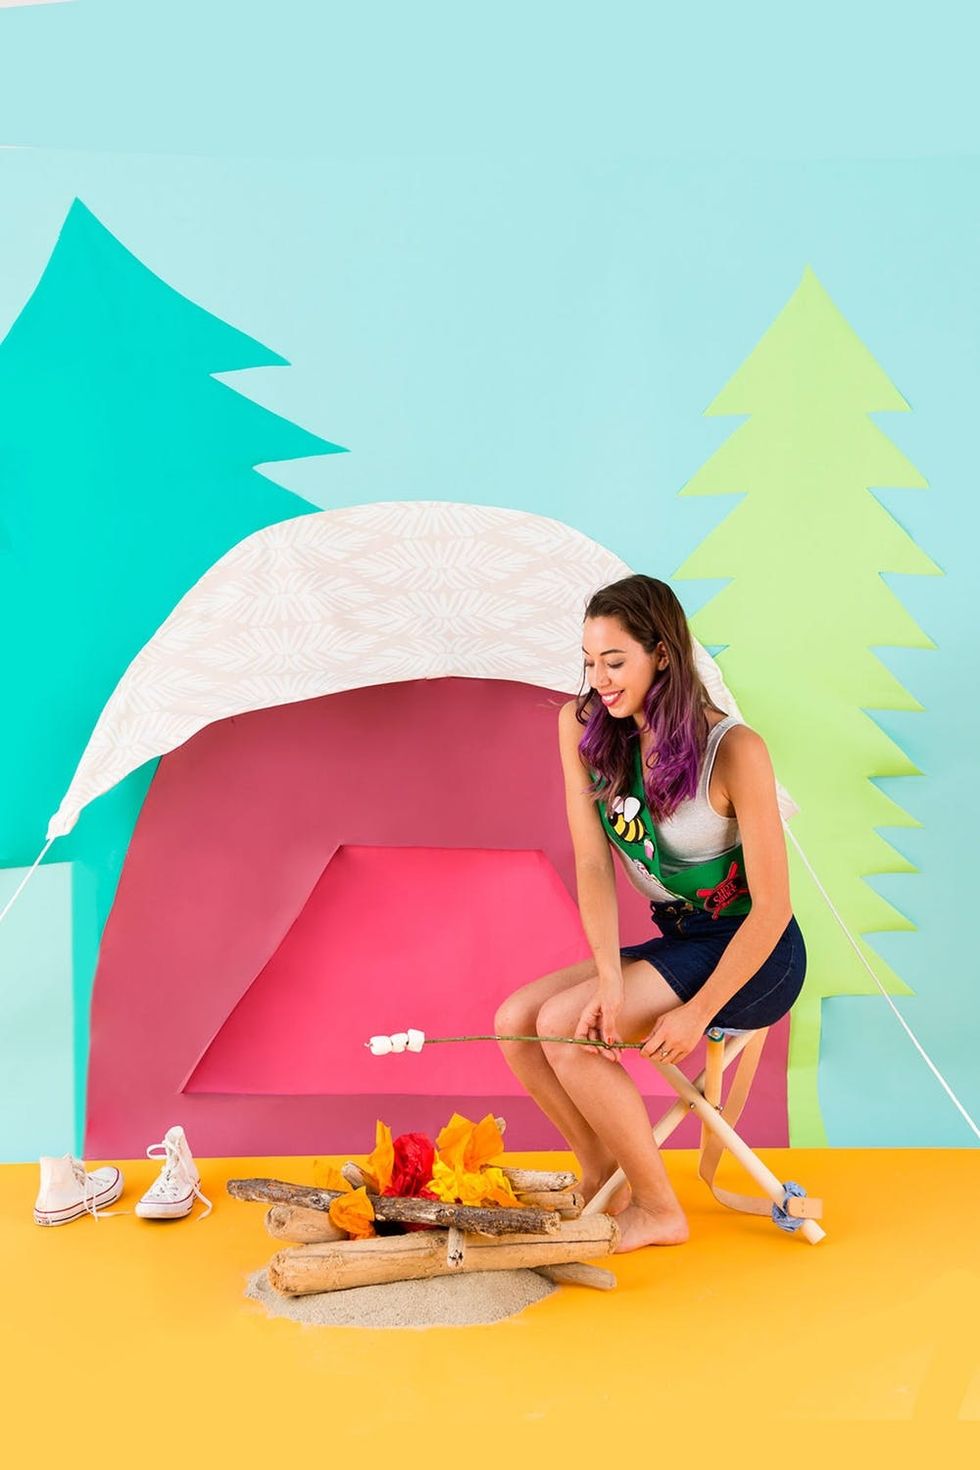
Here at camp Brit + Co we only camp with the brightest of colors and tropical patterns.
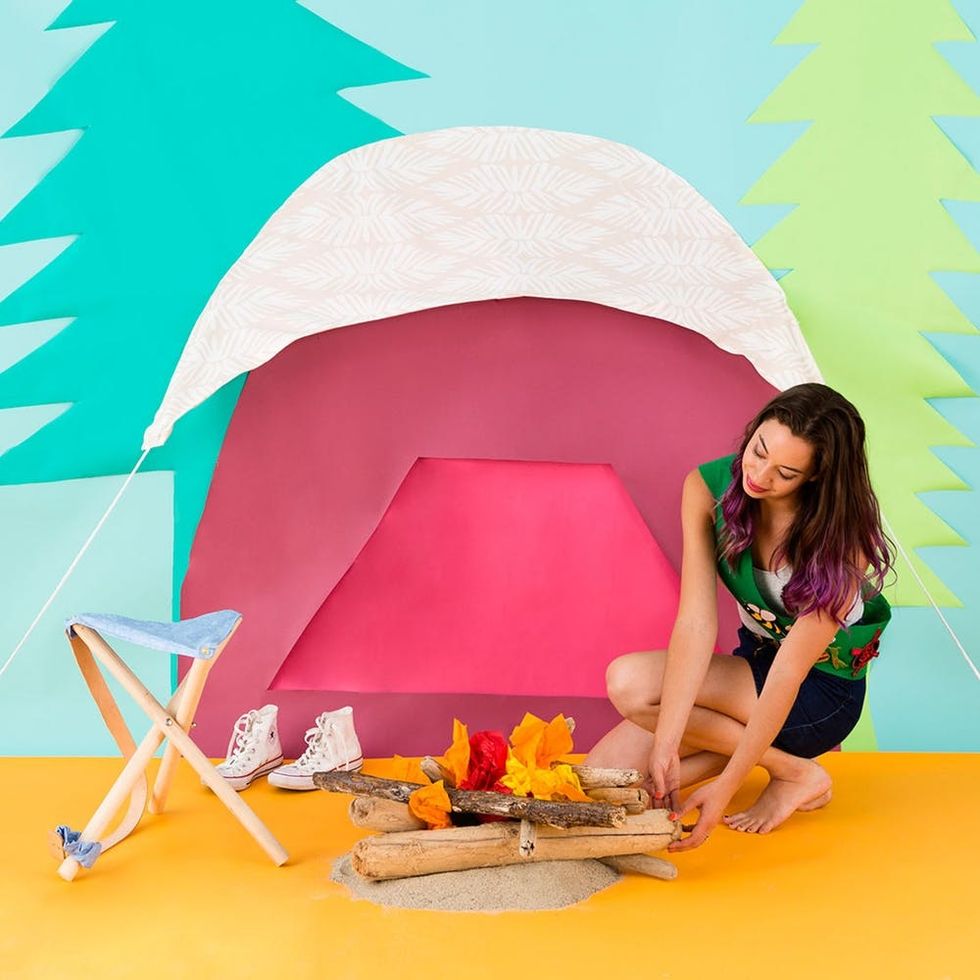
Brit Scouts know exactly what you need to build a fire — tissue paper and wood (insert crying face emoji here).
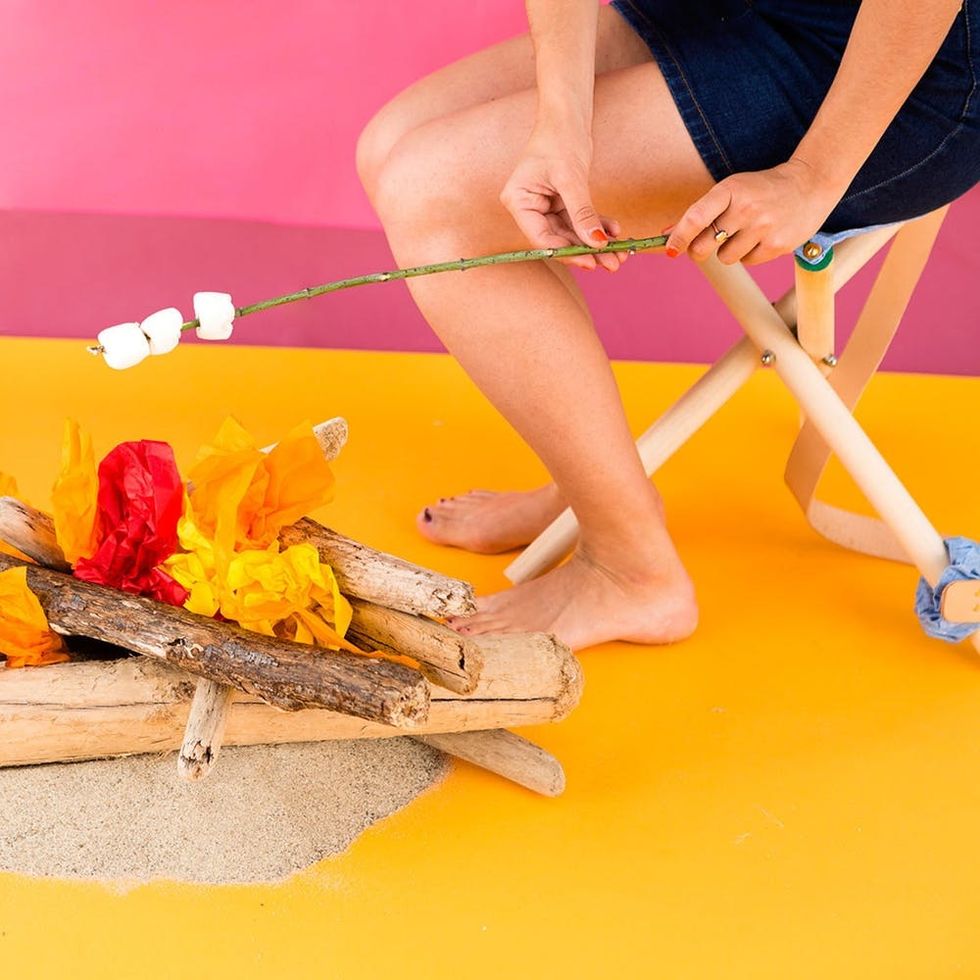
This camping stool is the perfect height for marshmallow roasting. Remember the key is to find a warm spot on the fire to slowly turn those marshmallows golden brown.
Show us your latest project by tagging us on Instagram + using hashtag #iamcreative, and follow us on Pinterest for more summer DIY inspo!
Brit + Co may at times use affiliate links to promote products sold by others, but always offers genuine editorial recommendations.
DIY Production and Styling: Kelly Bryden
DIY Tutorial: Wood & Faulk
Photography: Kurt Andre


