We take our laptops with us on the go almost everyday, so we need something bright to carry them around in. When we saw these blank canvas laptop sleeves from Baggu, we knew they were, well, a blank canvas ready to be painted! With a little painters tape or some stencils you can transform these sleeves into anything imaginable. If you want to start from scratch, here are 16 additional DIY ideas for protecting your tech.
5 Bright Ideas for Making Over Your Laptop Case
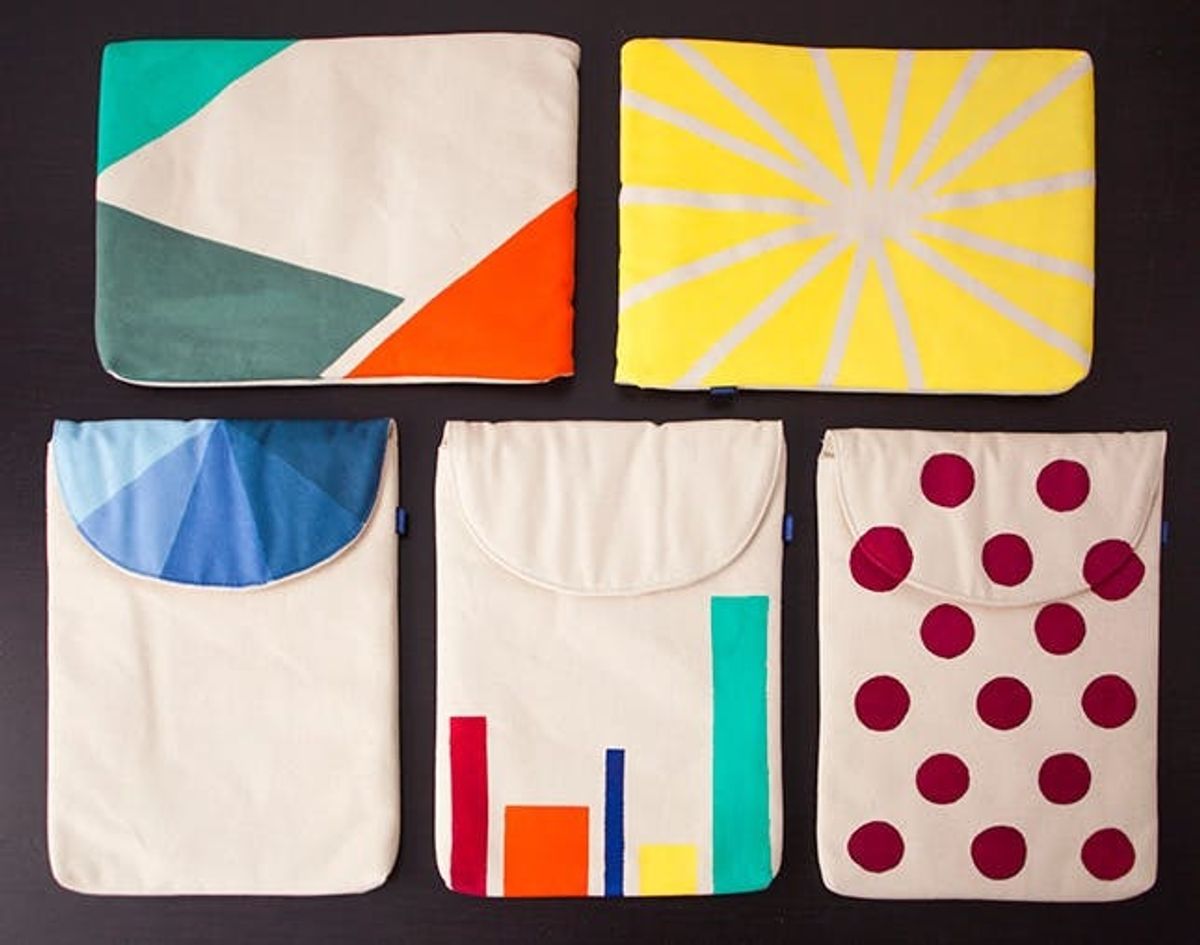

We take our laptops with us on the go almost everyday, so we need something bright to carry them around in. When we saw these blank canvas laptop sleeves from Baggu, we knew they were, well, a blank canvas ready to be painted! With a little painters tape or some stencils you can transform these sleeves into anything imaginable. If you want to start from scratch, here are 16 additional DIY ideas for protecting your tech.
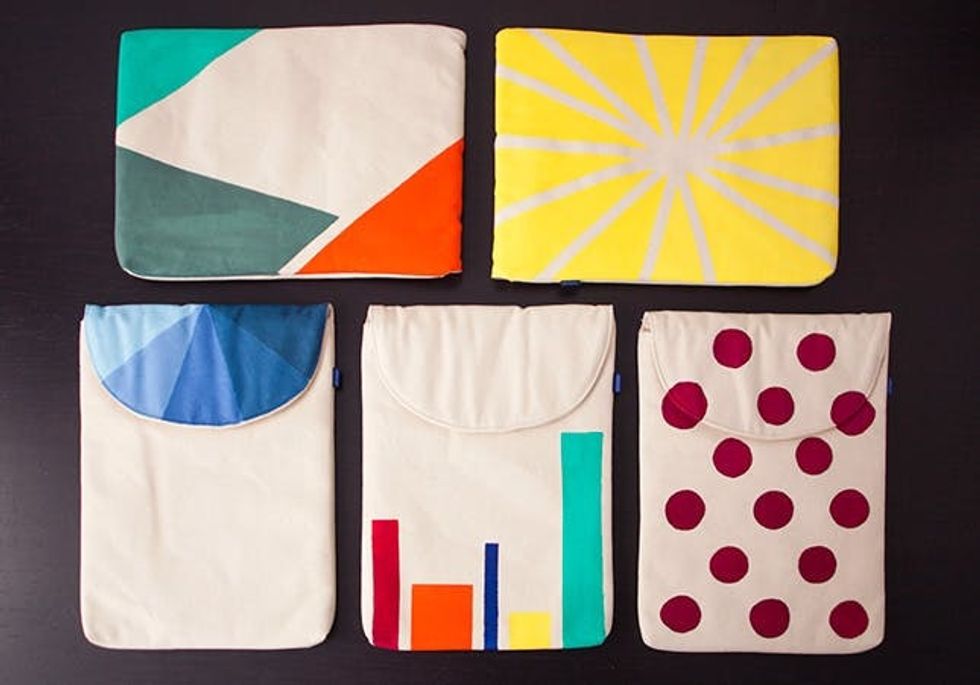
The only hard part is deciding on a design!
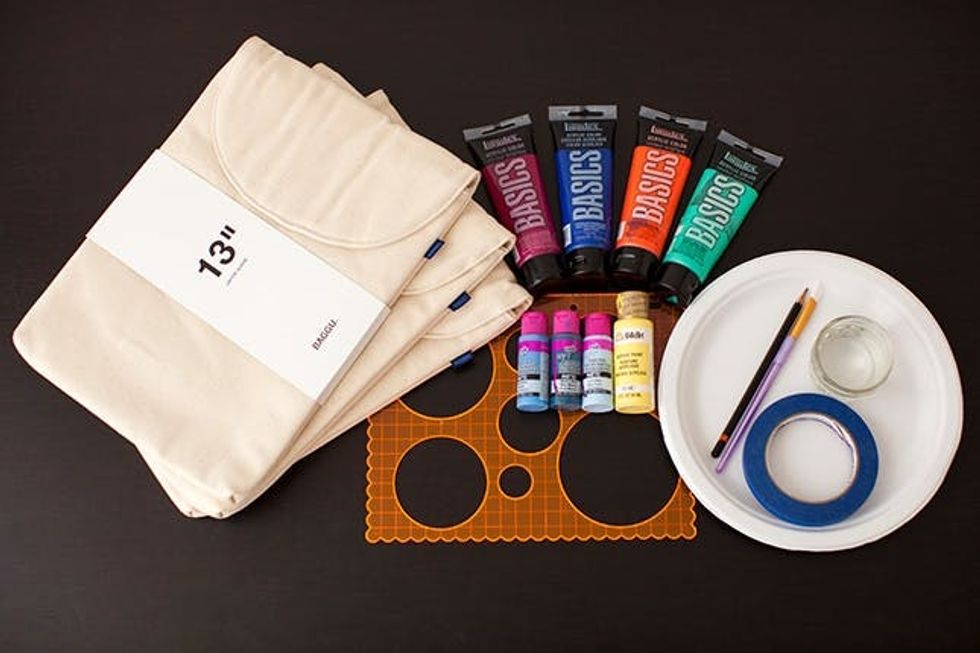
Materials:
– Baggu canvas laptop sleeve
– fabric or acrylic paint
– painter’s tape
– acrylic stencils
– pencil
– paintbrushes
– palette or paper plate
– water to rinse brushes
– ruler
Instructions:

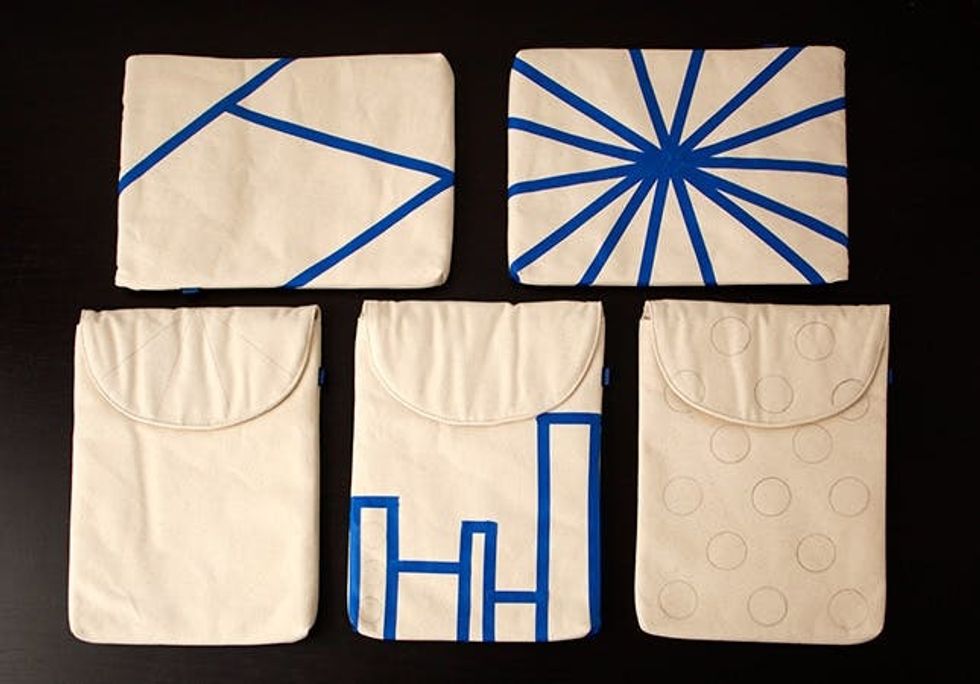
1. Either tape off your pattern or draw it on to the canvas sleeve. Remember that the tape will leave negative space, so if you want colors touching, you’ll have to draw the lines and paint along them.
2. Paint each section of the laptop sleeve with fabric or acrylic paint. Either will work since you aren’t likely to be tossing this in the washing machine.
3. Allow the paint to dry fully for at least an hour. Once it’s dry, touch up any spots that need it.
4. Remove the tape and slide your laptop safely inside!
Check out individual steps and tips for each of the patterns we created below.
If we had to pick favorites, it might be this one. The yellow just pops, but you could make it multi-colored as well.
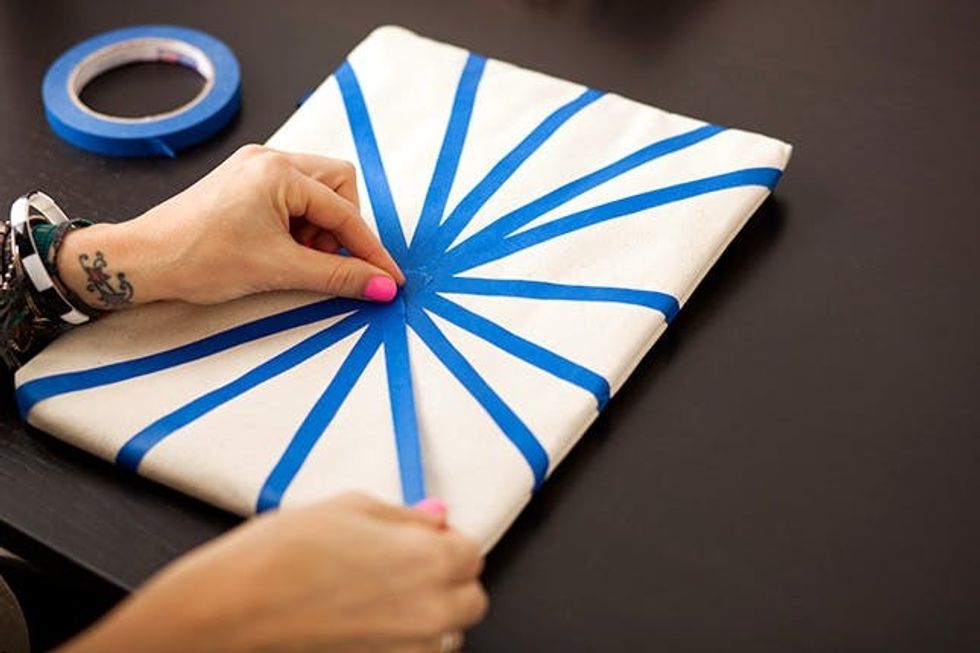
The key with this one is to make sure all the lines are going to a central point. You can put it smack in the center or set it off a bit to create different sized sections.

You’ll need a lot of paint for this pattern—make sure you’re starting with a bottle that’s almost full.
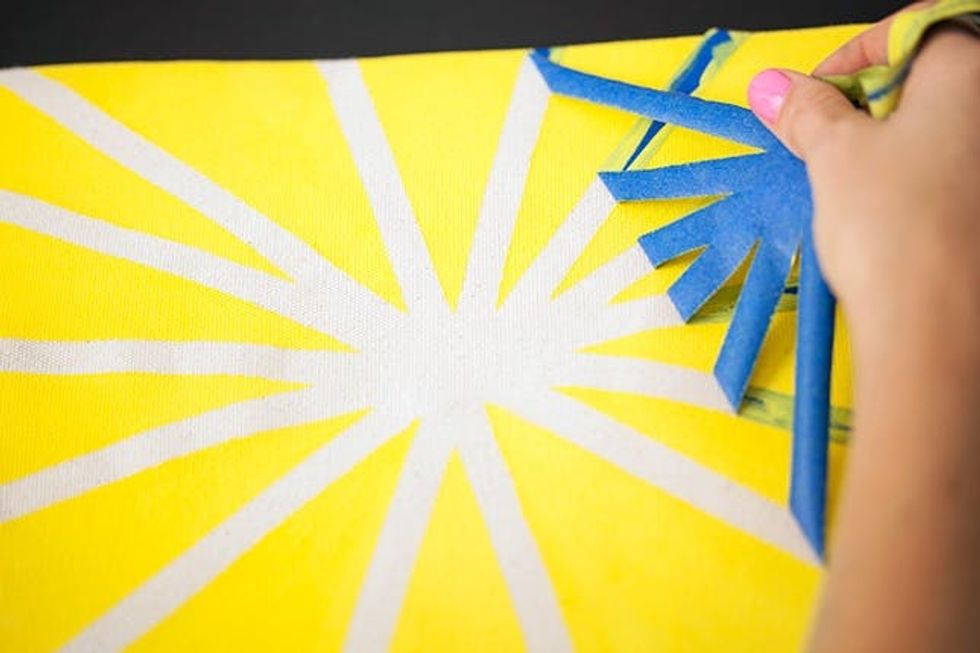
It’s so satisfying to remove that tape and reveal the design!

You probably recognize this color combo from our color block clocks last month. We loved that greenish-gray so much we had to try it out here.
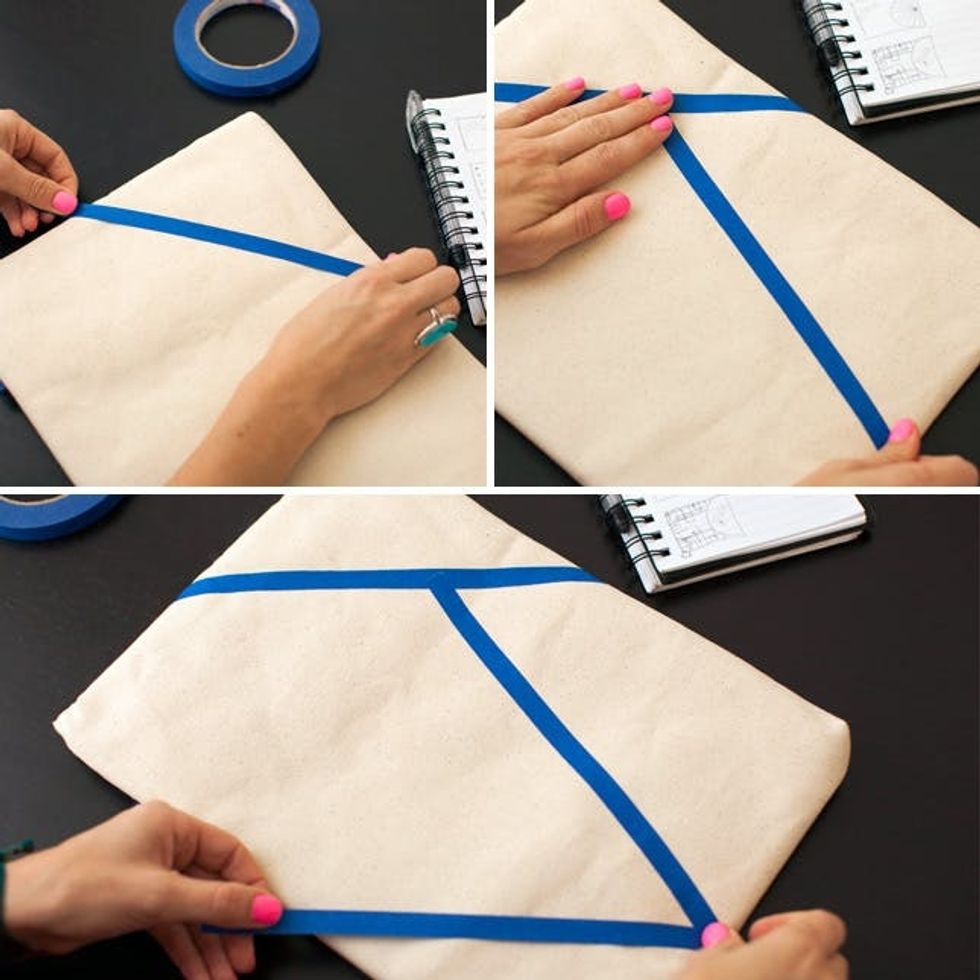
The sections here can be any way you choose them, and you don’t have to stop at three. Add more colors if you want a brighter case.
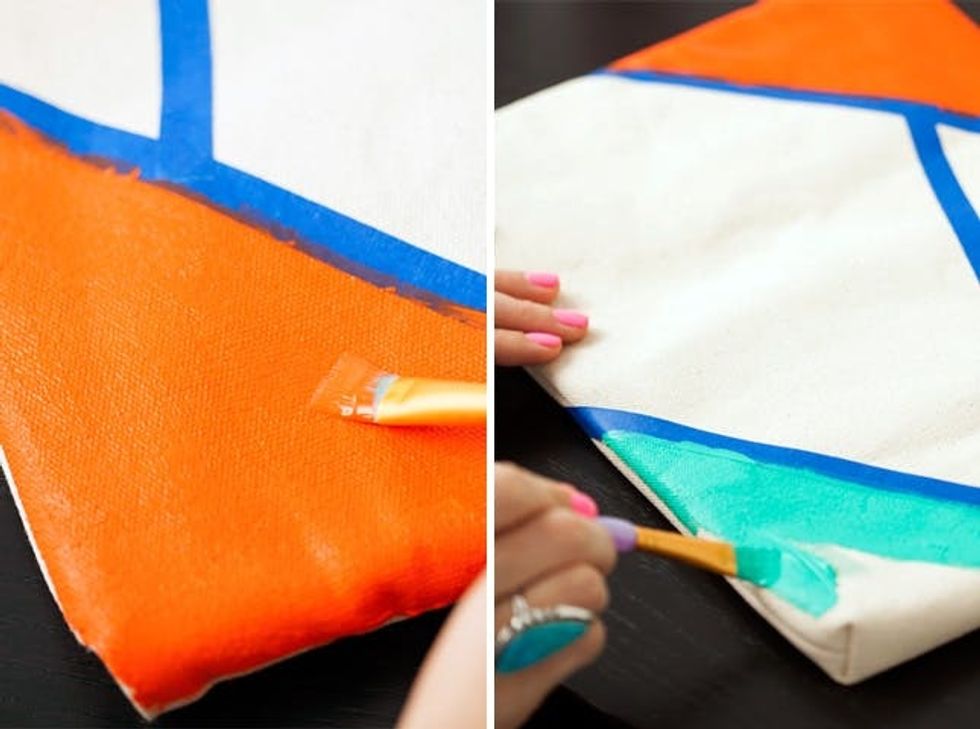
Start with the two base colors when you’re painting.
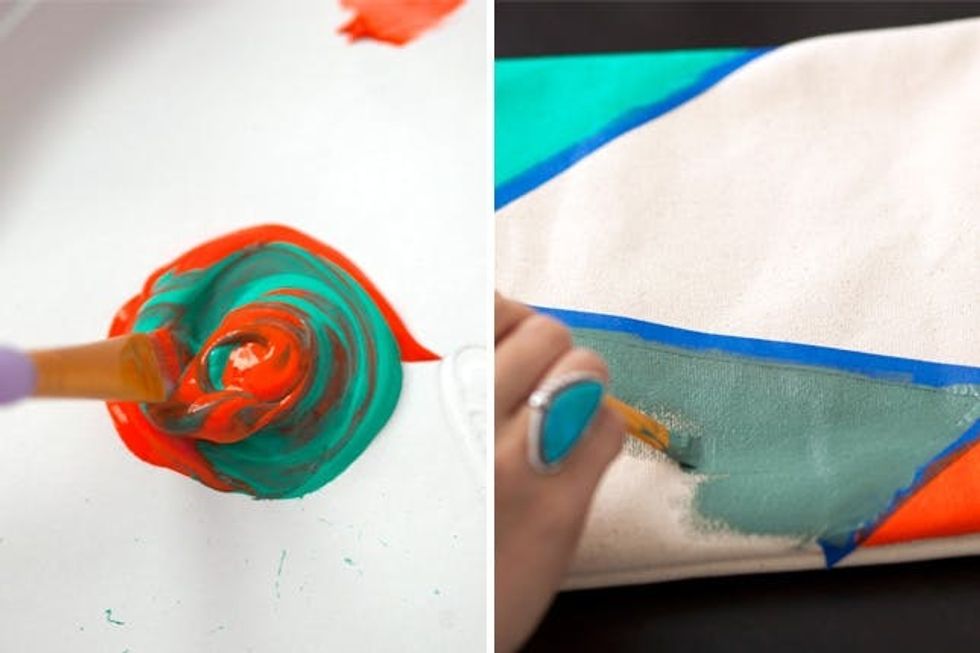
Then move to the mixed color. That way if anything goes awry you can adjust the mixed color.
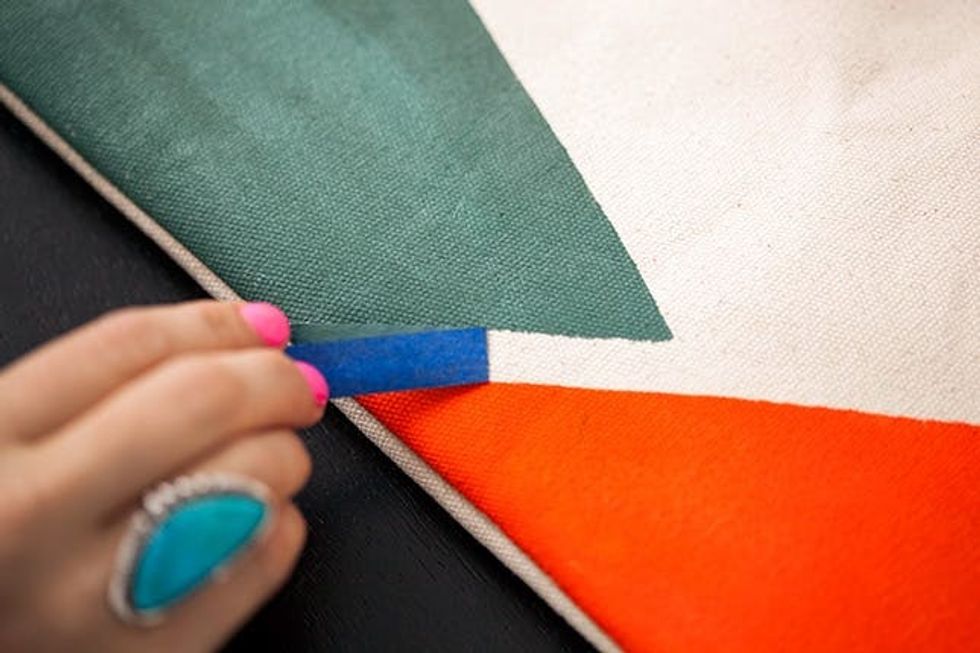
Make sure your the tape is really stuck to the sleeve. That will prevent the paint from bleeding and ensure crisp lines like this one.

Whether you see bar charts or buildings this sleeve makes a bold statement.
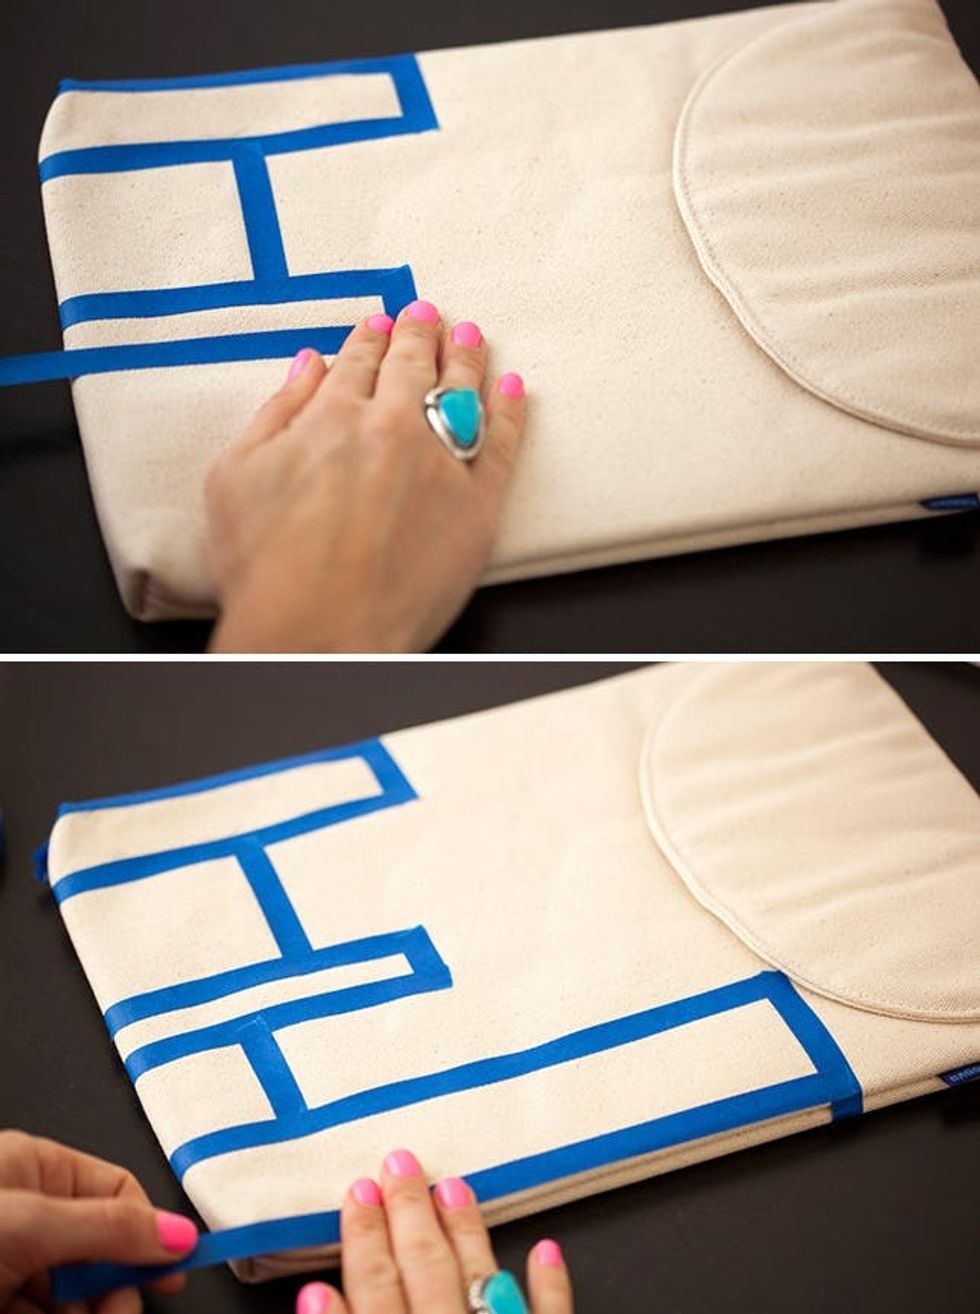
Vary the heights and widths of the bars to create a bold pattern.
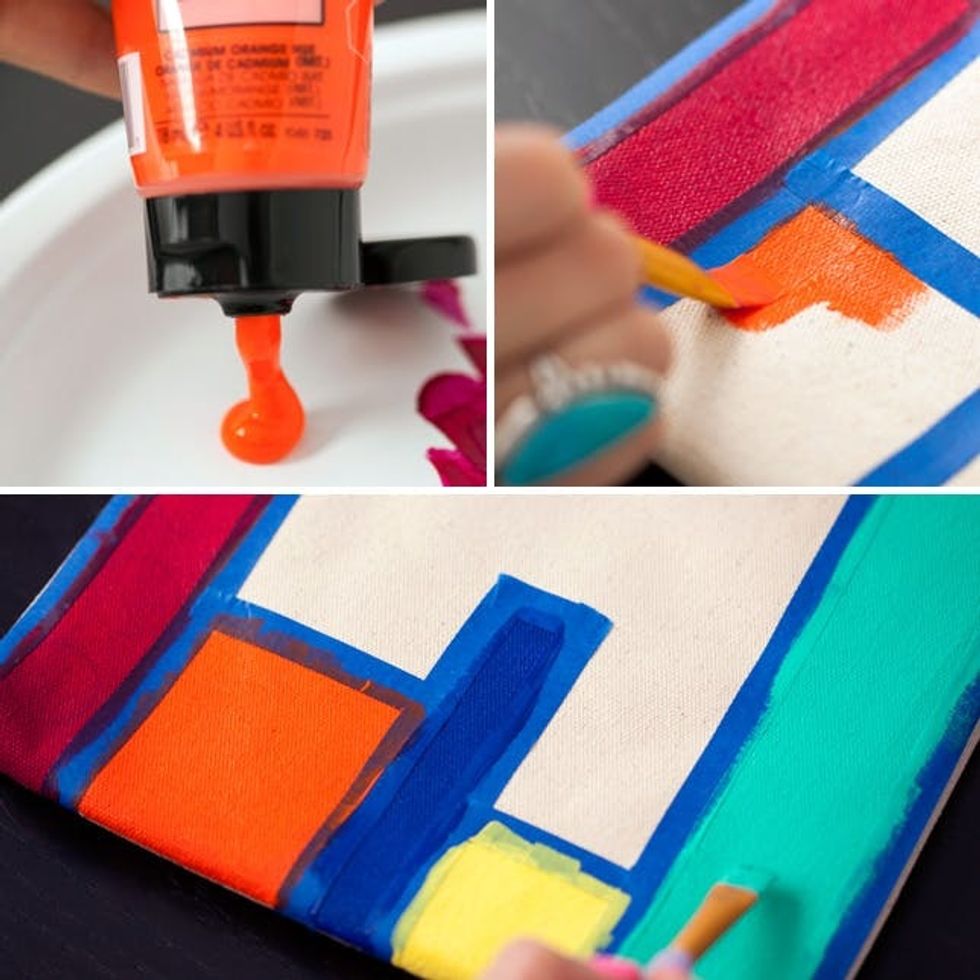
This one is easy to paint. If you want to add more variety, use different thicknesses of tape between the columns.
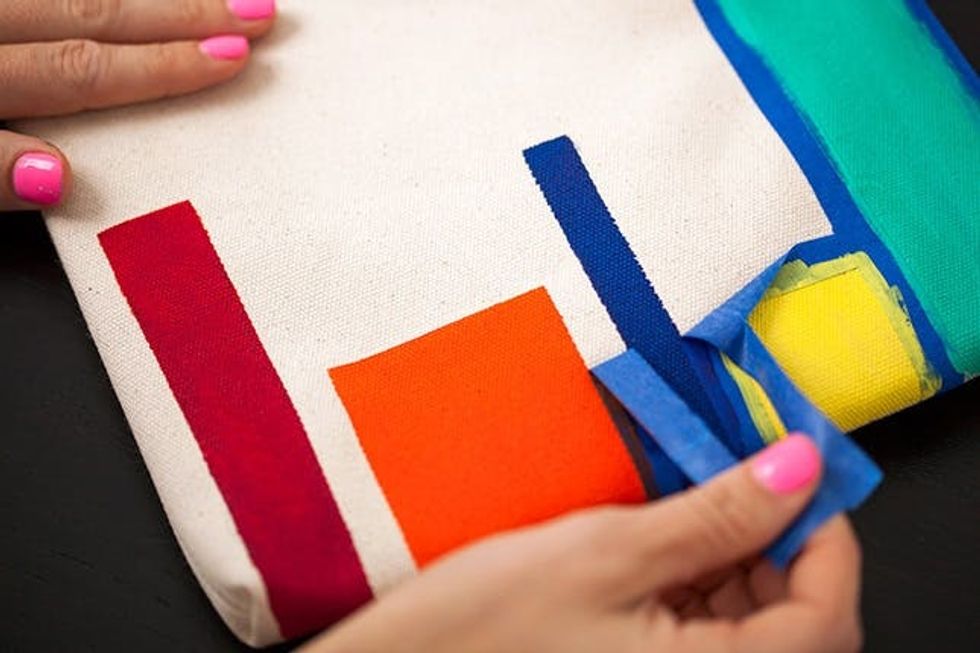
Once again make sure your tape sticks to get crisp lines.

You know we love a good polka dot!
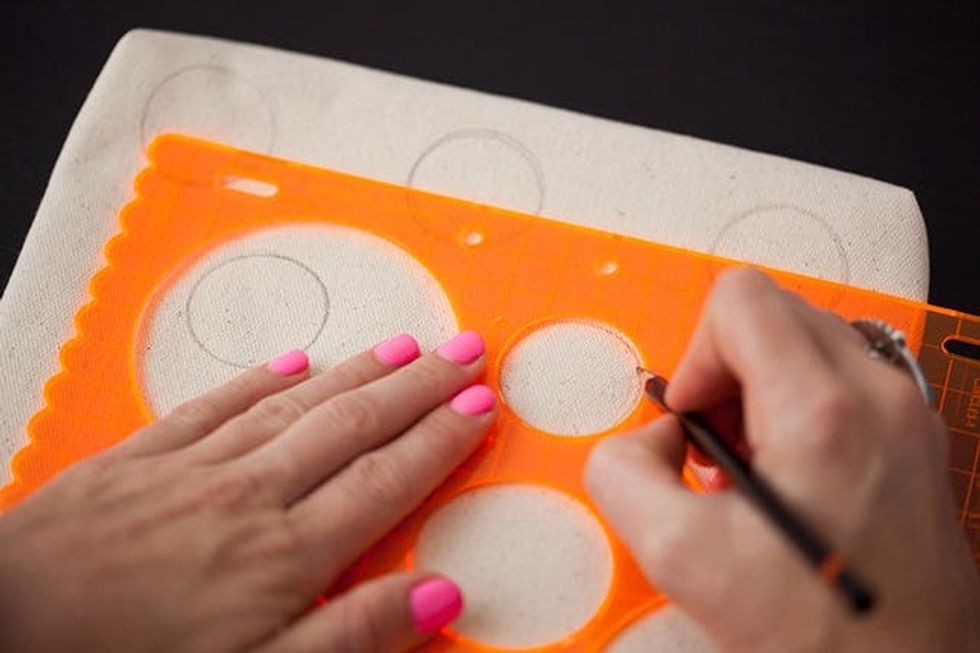
Trace the circles lightly, or use a dark paint to make sure they don’t show on the final bag. We staggered the dots to make the pattern more lively.
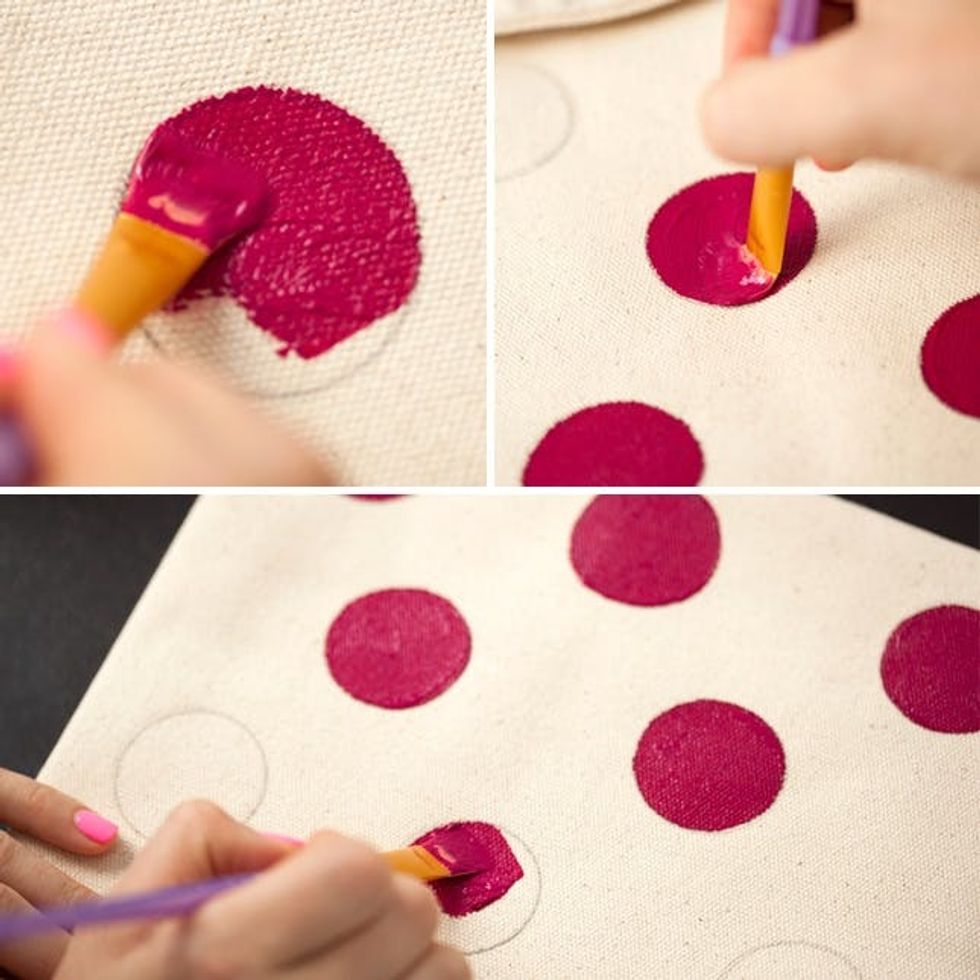
Paint the circles from the edges inward to avoid any slips.

We love the gradient blues on this case. It takes a bit of paint mixing, but the results are stunning.
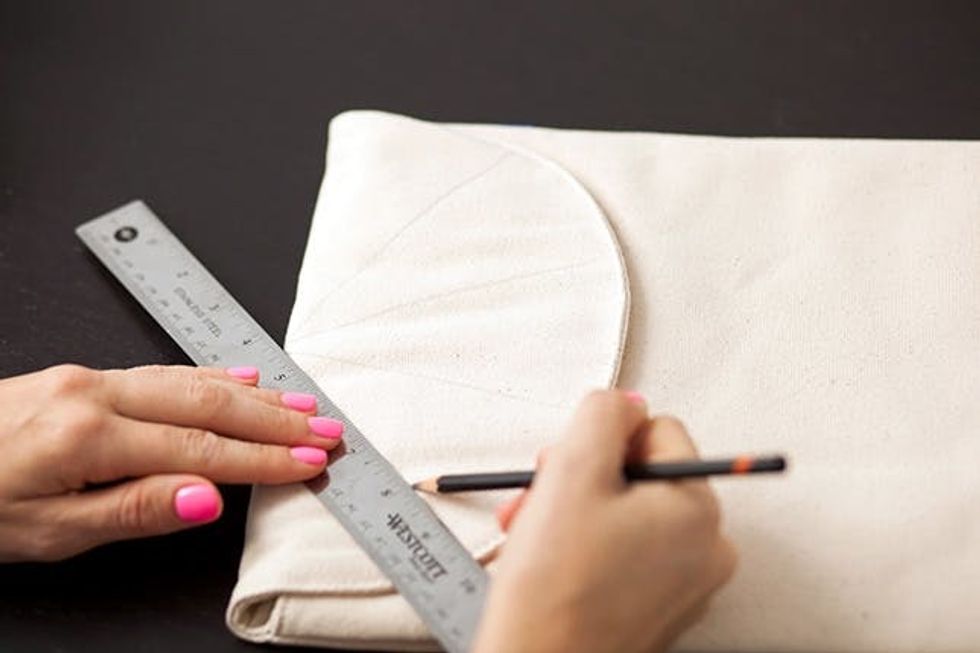
Mark off five even sections on the flap of the case. If you want a more abstract look, vary the size of the sections.
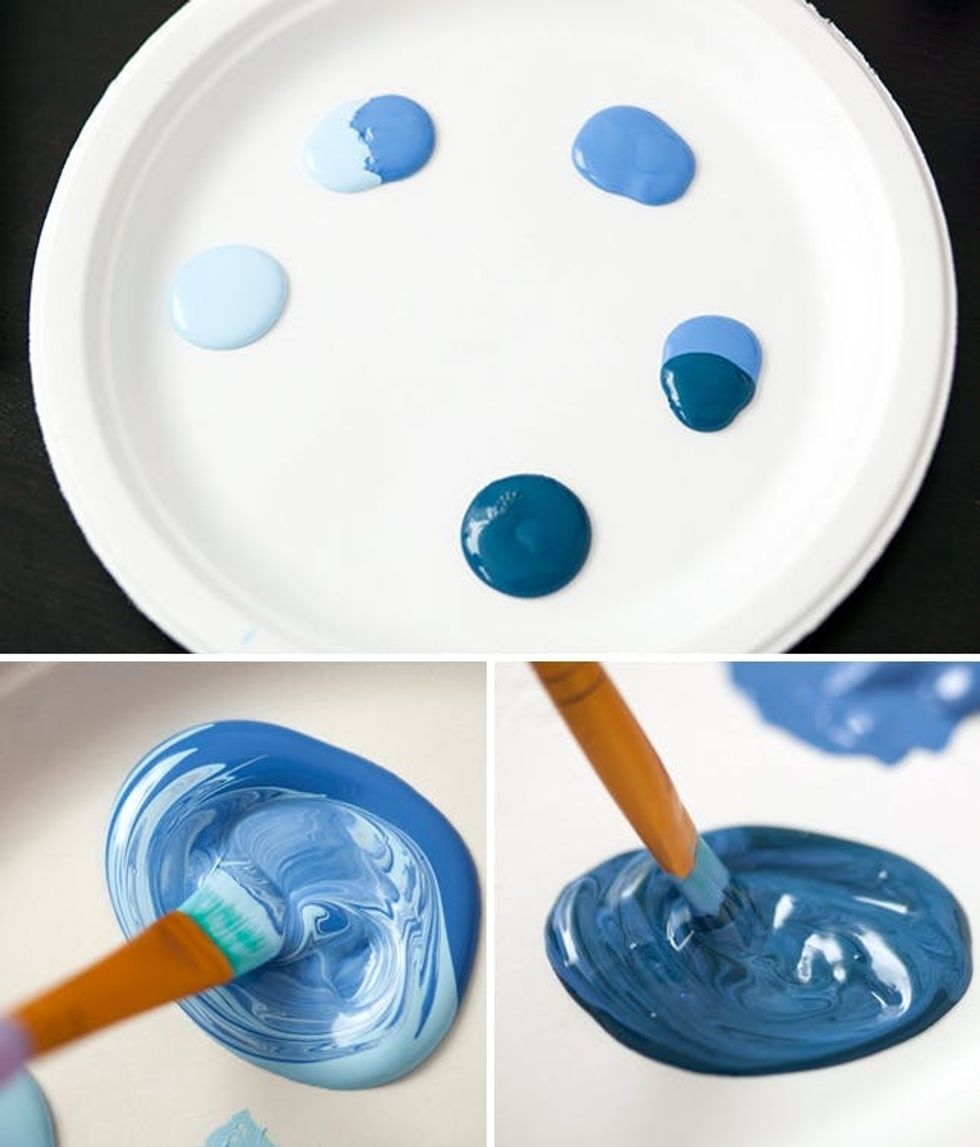
Start by mixing your paint. Mix equal amounts of two blues together to get the hue in the middle.
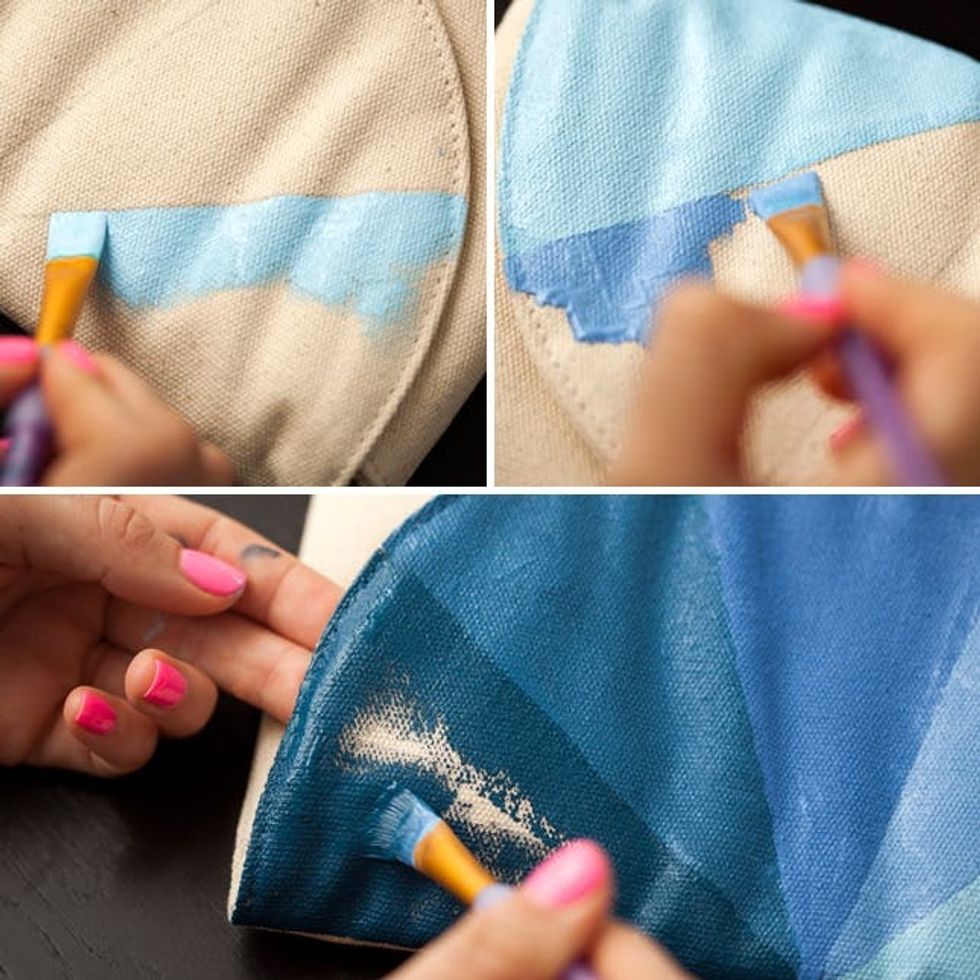
Paint the edges carefully, and start with the lighter colors. That way you can cover up any slips with the darker hue.

You won’t want to put the sleeve away even when you’re working.

Carry your tech like a clutch to show off that bright case!


