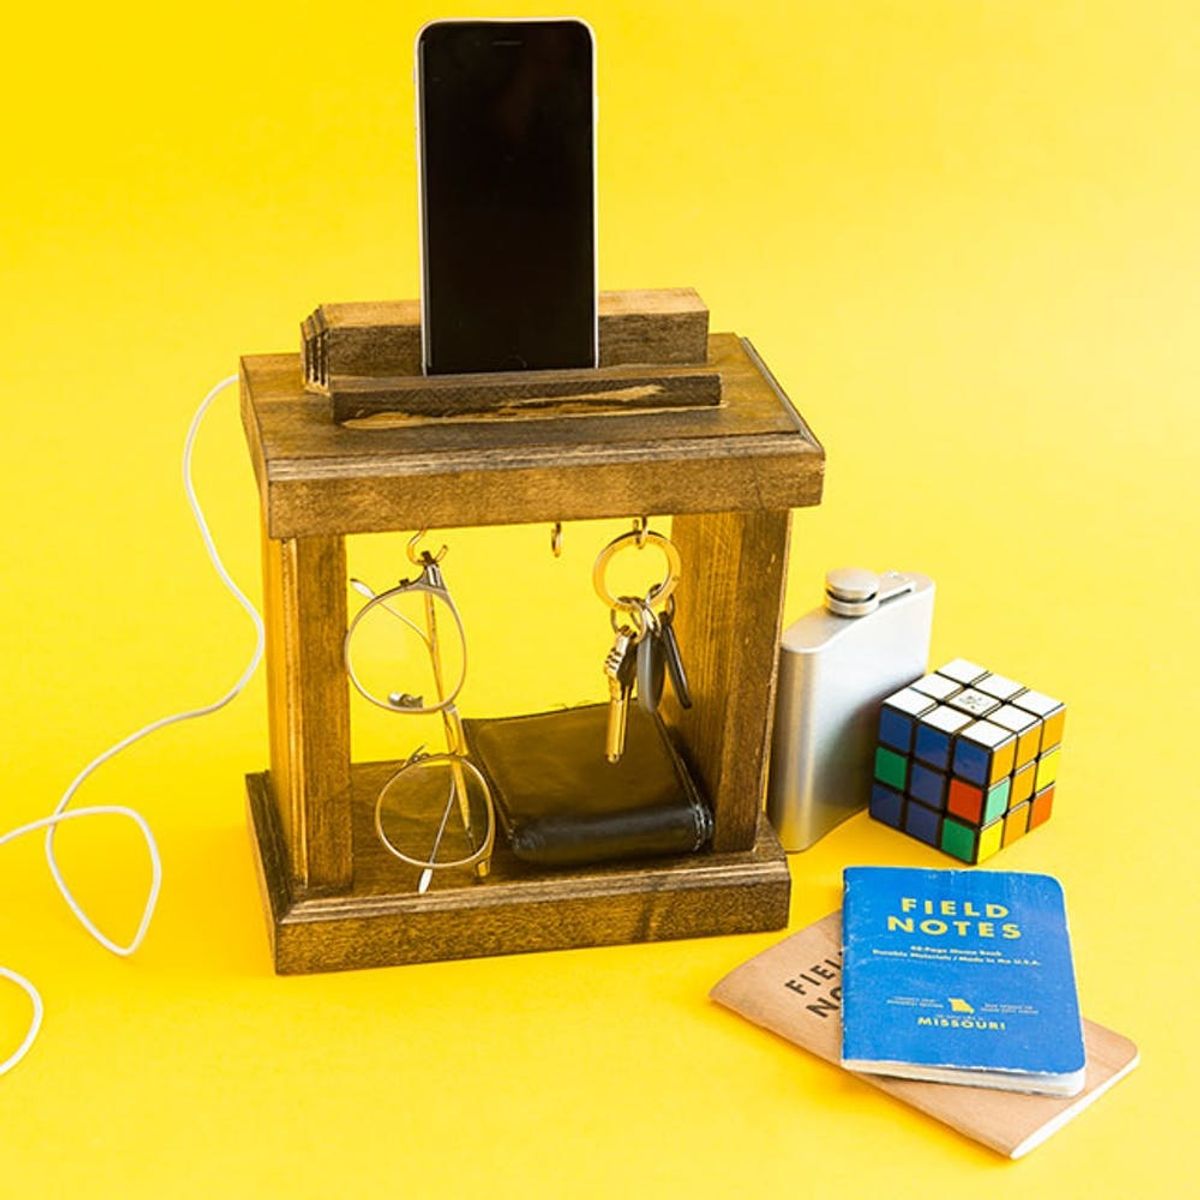
Dad will love this charging palace for all of his devices.
Build Dad a Charging Palace for Father’s Day

Shopping for my dad is the hardest task. I never know what to get him and he only wears specific things — like no clothes with any type of logo. Whaaaa? C’mon, Dad. On most occasions I end up getting him golf balls, because he says that he can always use more :) This year is different, though. Due to his recent obsession with his phone, I decided to build the charging station of his dreams. His iPhone or iPad can charge on the top and he can hang his glasses, keys and wallet below. Happy Father’s Day, Dad, and to all the other dads out there!

Materials:

— (2) 8 x 4 1/2-inch plinth blocks
— (2) 6 x 3 1/2-inch plinth blocks
— 1/2 x 1/2-inch balsa wood
— wood nails
— wood glue
— wood stain
— Antique Matte Mod Podge
— sandpaper
Tools:
— hammer
— drill
— X-ACTO
Instructions:

1. Drill a hole in the center of your 8-inch plinth. Sand down to remove potential splinters.
2. Screw cup hooks into the bottom of the plinth and one on the back edge of the board.
3. Trim the balsa wood to 6 inches and then glue the 6-inch plinth piece and the balsa wood piece on either side of the drilled hole.
4. Nail in the two 6 x 3 1/2-inch plinths to either edge of the last 8 x 4 1/2-plinth.
5. Glue the drilled and hooked plinth to the top of the structure to complete the charging tower.
6. Use a rag to apply the stain. Once dry, apply the Antique Matte Mod Podge.
Drill a hole in the center of your eight-inch plinth for your charging cord to snake through. Depending on the size of your charging cord, you may need to drill a couple holes next to each other to form one big hole (or use a larger drill bit if you have one). Next, sand down to remove all possible splinters.

Screw in mini hooks to the bottom edge of your plinth and one on the back edge. The hooks from the bottom will hold things such as keys, and the one on the back edge will keep your charging cord tucked away.

Use an X-ACTO knife to trim the balsa wood to the same length as the six-inch plinth. Use wood glue to adhere the plinth to the back edge of the drilled hole and the balsa wood to the front edge of the drilled hole.

Pre-nail four nails into the other eight-inch plinth board, then nail in the 6 x 3 1/2-inch plinths to each edge.

Use wood glue to adhere the drilled and hooked piece to the top of the structure. The charging palace is almost complete :)

Use a rag or paper towel to apply the stain to the charging tower. The more stain, or more layers of stain, the darker your piece will be.

Once dry, add a coat of Mod Podge to give your piece an antique look.

Congratulations! You have now semi-helped Dad organize his life.

Having a designated spot for keys is probably my #1 in life advice. That way you always know where your keys are!

Slide your charger through the drilled hole and then tuck the cord in the cup hook on the back.

Show us your project by tagging us on Instagram + using the hashtag #iamcreative!
DIY Production and Styling: Kelly Bryden
Photography: Brittany Griffin


