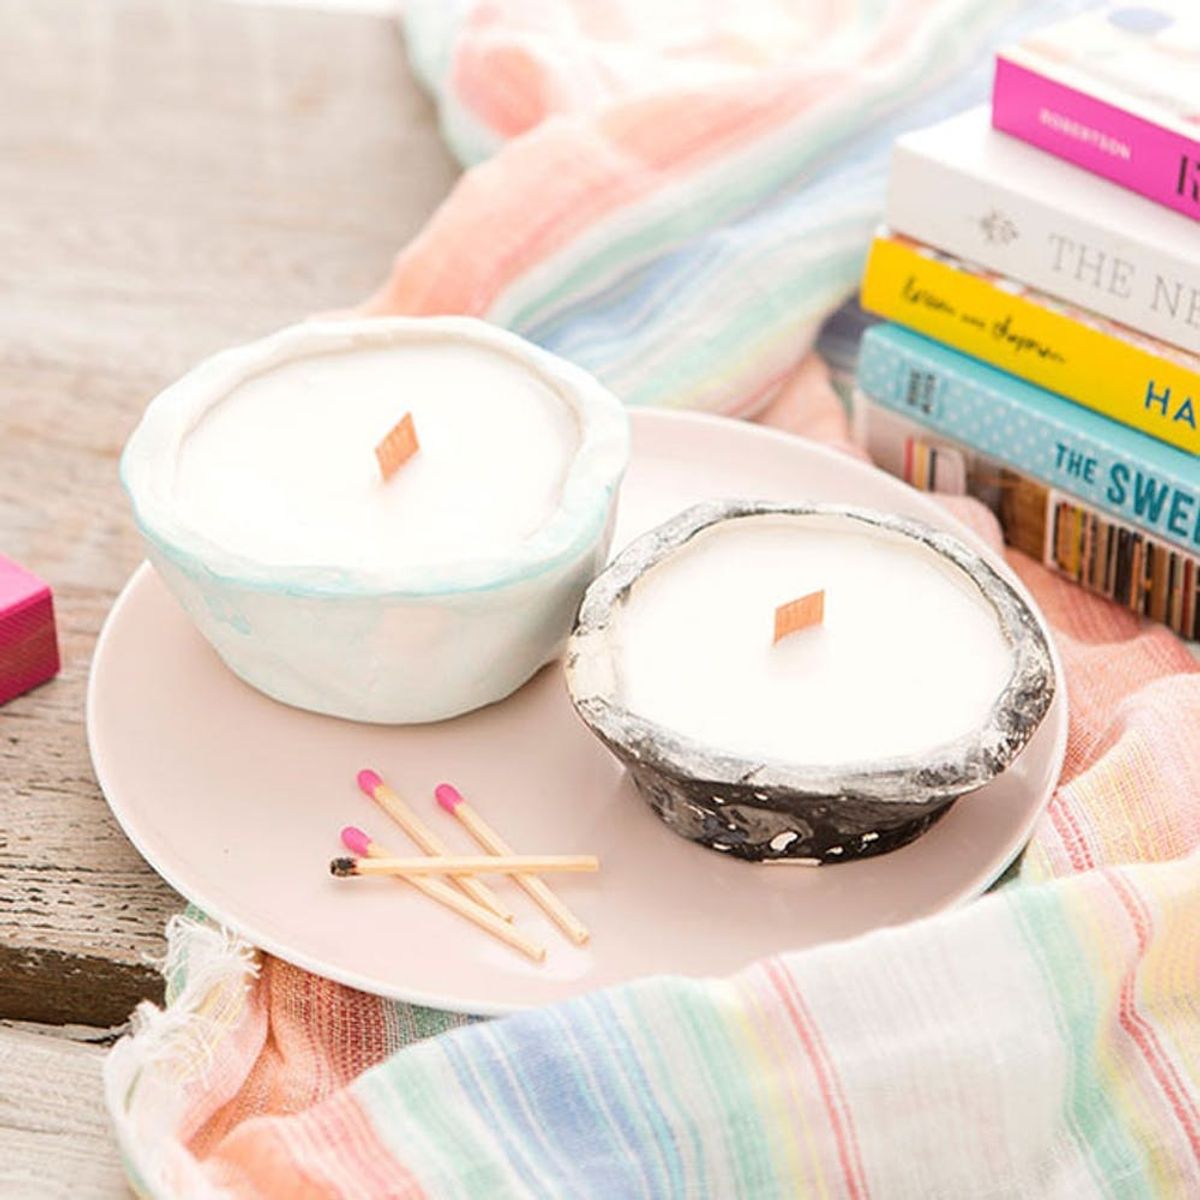
For that BFF who no one can even hold a candle to.
Make These Super Simple DIY Candles for Your Squad

One of my favorite ways to gain inspiration is window shopping on the weekends. Recently, I’ve been noticing a bunch of candles that come in adorable containers. I love this, because after the candle is done, you can clean out the wax and use the container as a catch-all dish. We created our own dishes with air dry clay and used wooden wicks to make the candles extra trendy. This project is a great gift for a house warming or just because :) Follow along to see our secret ingredient to create the crackled effect around the outer edge of our pottery.

Materials:

— air dry clay
— candle wax
— wooden wick
— essential oil for scent
— paint
— bubbles
Tools:
— sandpaper
— straw
Instructions:

1. Create a ball of clay about the size of a baseball and use your thumb to pierce the center. Push your thumb to the edges to create walls.
2. Let your piece dry for 48 hours, then use sandpaper to smooth down the outside of your dish.
3. Mix about one part paint to five parts bubble solution. Stir until combined, then blow bubbles using a straw. Let the bubbles pop on your pottery to create a crackled look.
4. Melt candle wax and stir in a couple drops of essential oil. Place the wooden wick in the center of the dish and pour in the candle wax.
There are many ways to create a dish using air dry clay, including making coils and wrapping the clay upward or purchasing a cheap pottery wheel. My favorite technique is the pinch pot method. Start with a baseball-sized ball of clay and place your thumb in the center. Push outward until you have created even walls on your dish.

Let your piece dry for 48 hours and then sand down rough edges.

Now it’s time for some fun. We saw this trick on Facebook with pottery that was placed in a kiln, so we thought — let’s give it a try on our air dry pottery! Mix about one part paint to about five parts bubble solution or dish soap.

Stir the paint into the bubbles, place a straw into the mixture and start blowing bubbles! Let the bubbles overflow out of the container and onto the pottery. It’s hard to tell, but in the photo above, the pot is on top of the plate with bubbles on top. Warning: Do not breath in through the straw, only breath out ;) Let the bubbles pop themselves and wait for the dish to dry completely before picking it up.

Check out that shattered effect. I wish I chose a darker shade of blue to give the piece a more dramatic look, but don’t worry, I will play around with this technique again :)

Melt candle wax in the microwave for about three minutes and add a couple drops of essential oils. Hold the wooden wick in place and pour the wax into the pottery base.

The wax will take about 30 minutes to set and then you will have a great custom gift for friends and family.

Show us your project by tagging us on Instagram + using the hashtag #iamcreative!

DIY Production and Styling: Kelly Bryden
Photography: Kurt Andre


