Recommended for you
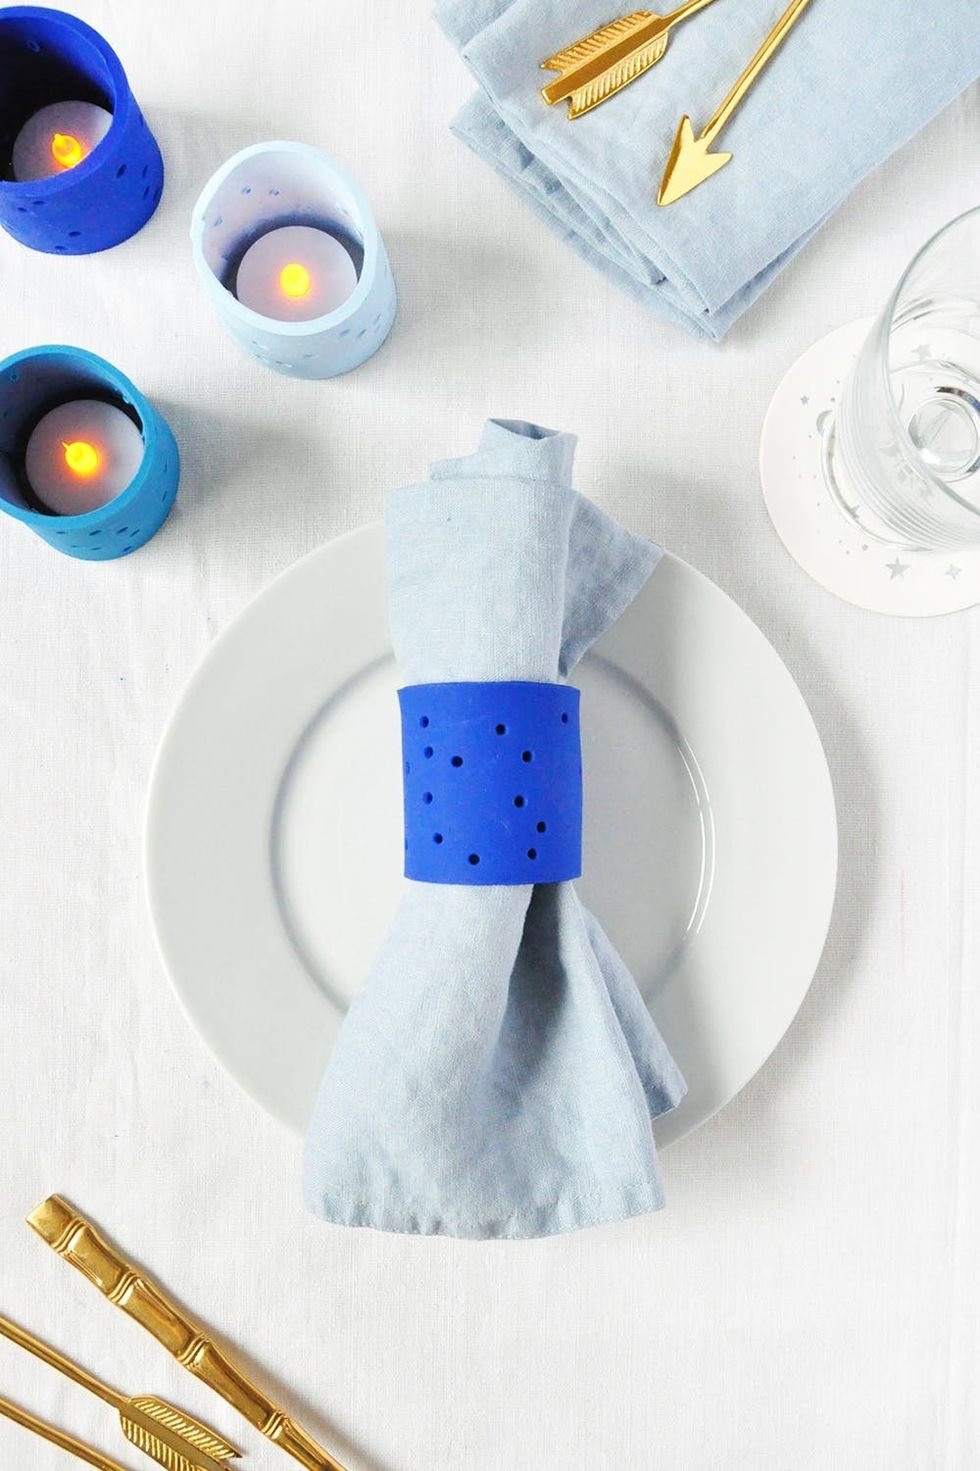
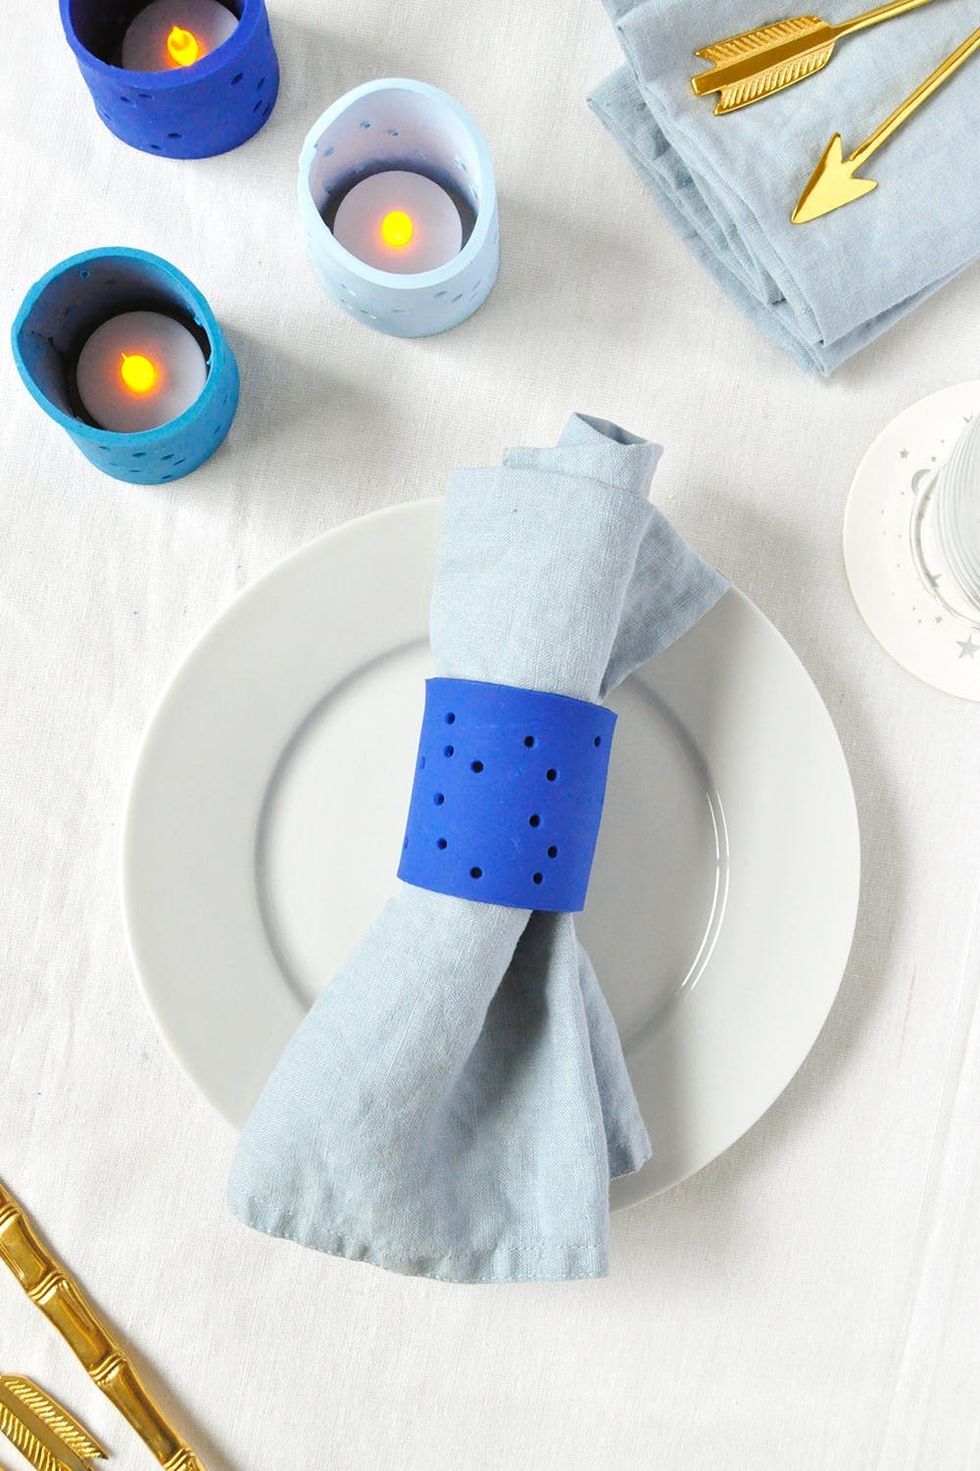
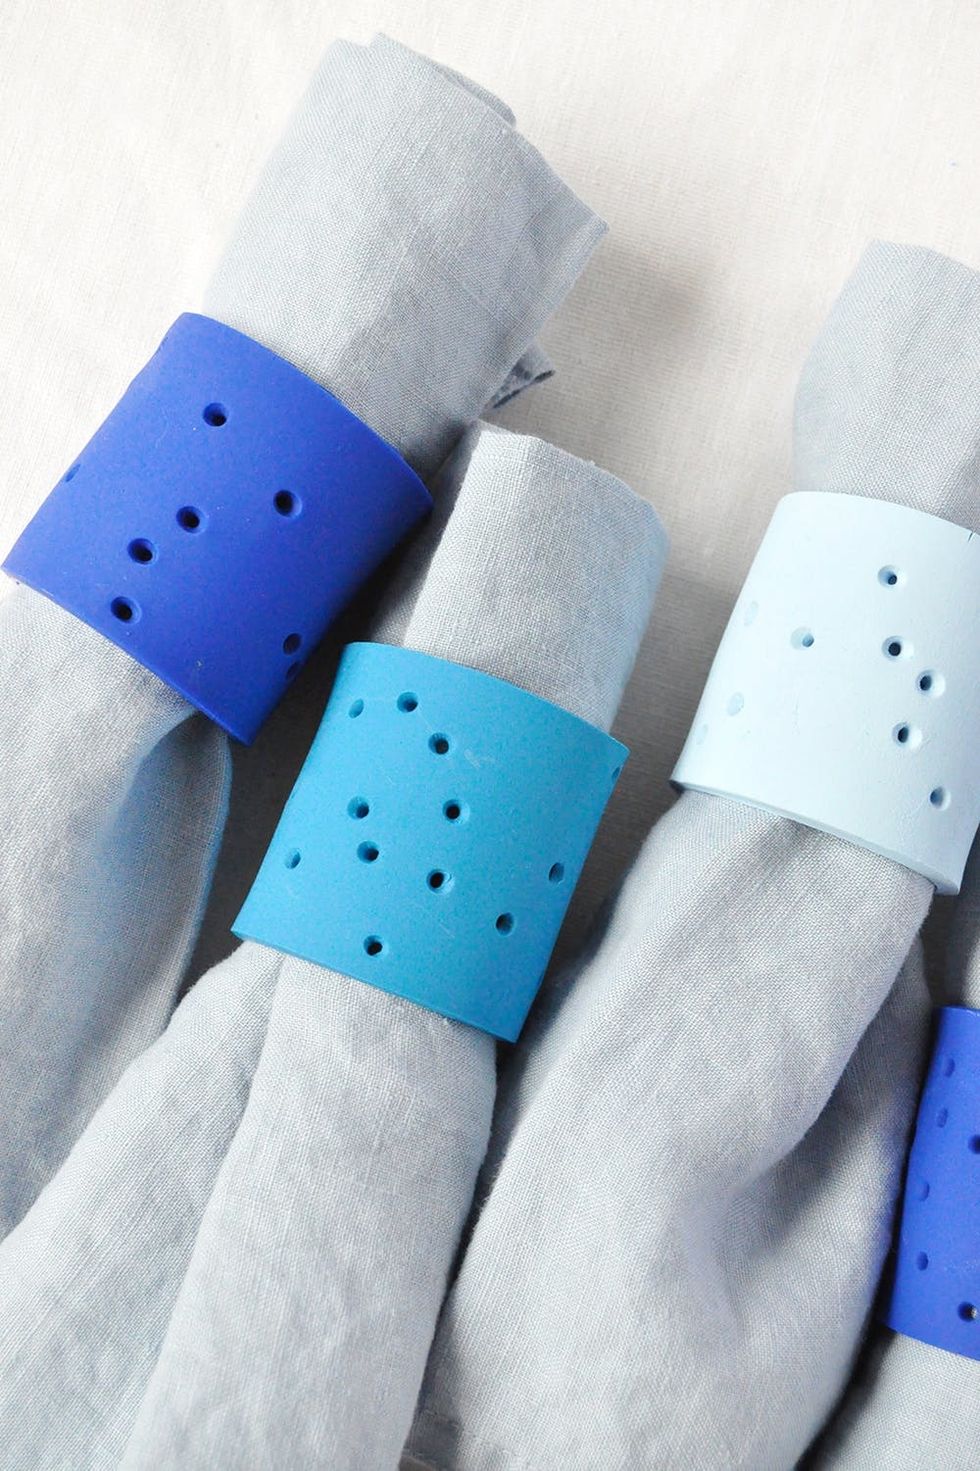
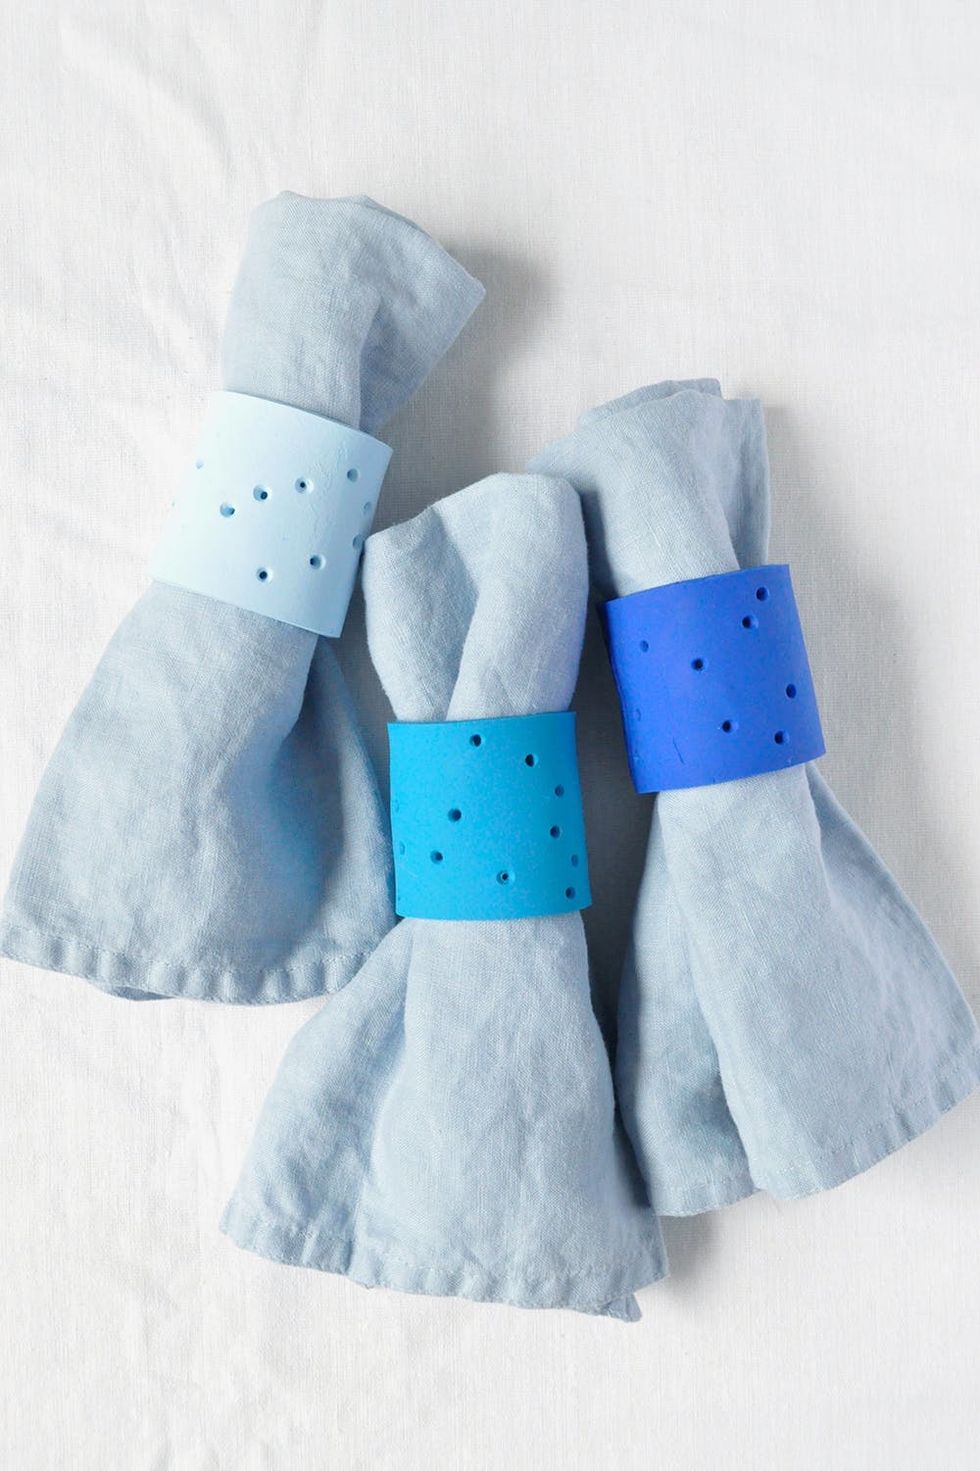
Planning a do-it-yourself wedding is no easy task! Coming up with a theme, deciding which items to DIY, and then actually crafting them… it may not be a speedy process, but the handmade touches are definitely worth all the time and effort. That said, we’re always game for a clever shortcut: Enter these DIY constellation napkin rings! Once guests arrive and dinner is served, these miniature starry nights turn from napkin rings into votive holders when placed over tea light candles. Line the tables with candles and set a few extra napkin rings with them so that your guests know exactly what to do. It won’t be long before everyone’s seeing stars.
Materials and Tools:
- cutting mat
- craft knife
- clay rolling pin
- clay sculpting tool (or wooden skewer)
- blue oven-bake clay
- aluminum foil
- parchment paper
- ruler

Instructions:
- Cut a piece of parchment paper to cover your work surface and place your clay in the center of it. Fold the parchment over the clay and use the clay roller to flatten it to a thickness of about 1/4 inch.
- Use a ruler to cut the clay into a 2 x 6 1/4-inch rectangle, or draw this rectangle onto scrap paper first and then use that as a template instead while cutting.
- Use the pointed end of your sculpting tool to poke holes into the clay rectangle in the shape of constellations. A wooden skewer works for this step too.
- Carefully peel the rectangle off of the parchment paper and form into a cylinder. Gently press the ends together to secure, keeping as smooth as possible. Place on a foil-lined baking sheet and bake according to package instructions.
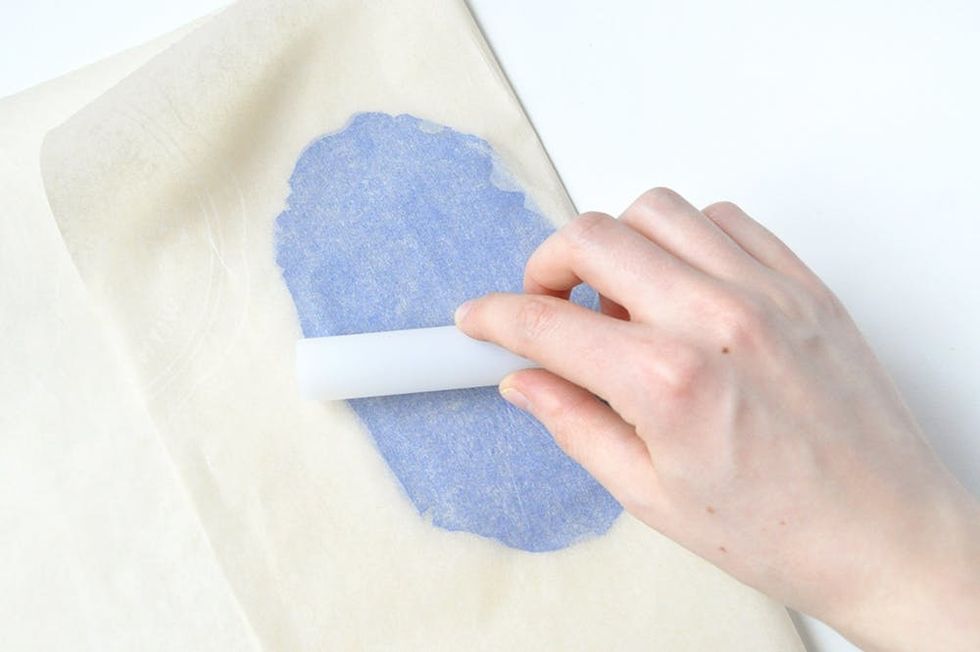
Cut a piece of parchment paper to cover your work surface and place your clay in the center of it. Fold the parchment over the clay and use the clay roller to flatten it to a thickness of about 1/4 inch. Each napkin ring uses just less than one regular sized pack of oven-bake clay.
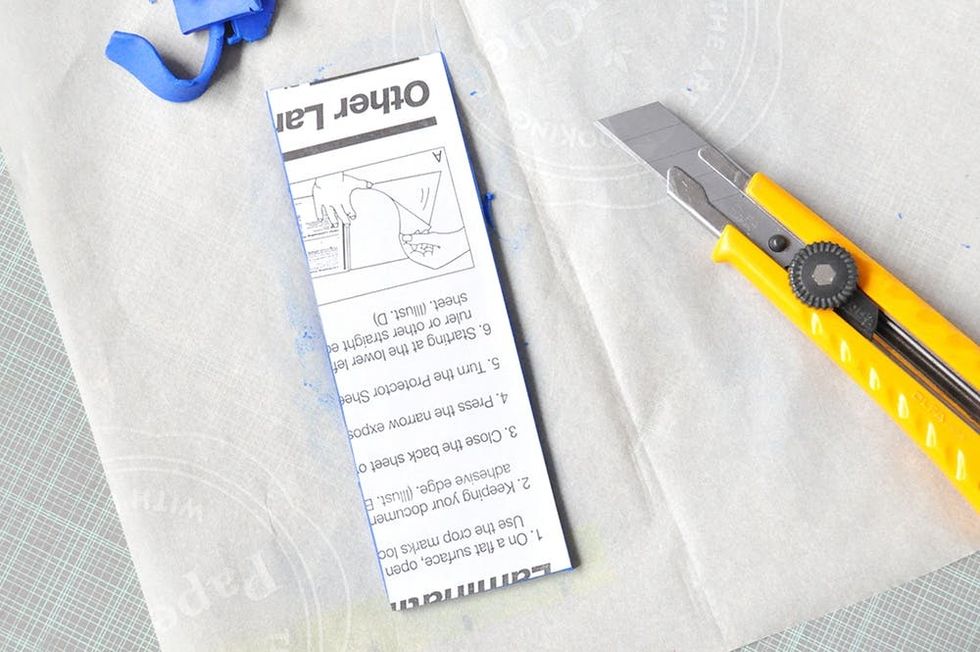
Use a ruler to cut the clay into a 2 x 6 1/4-inch rectangle, or draw this rectangle onto scrap paper first and then use that as a template instead while cutting. I used scrap paper that had a glossy back so that the clay wouldn’t stick to it.
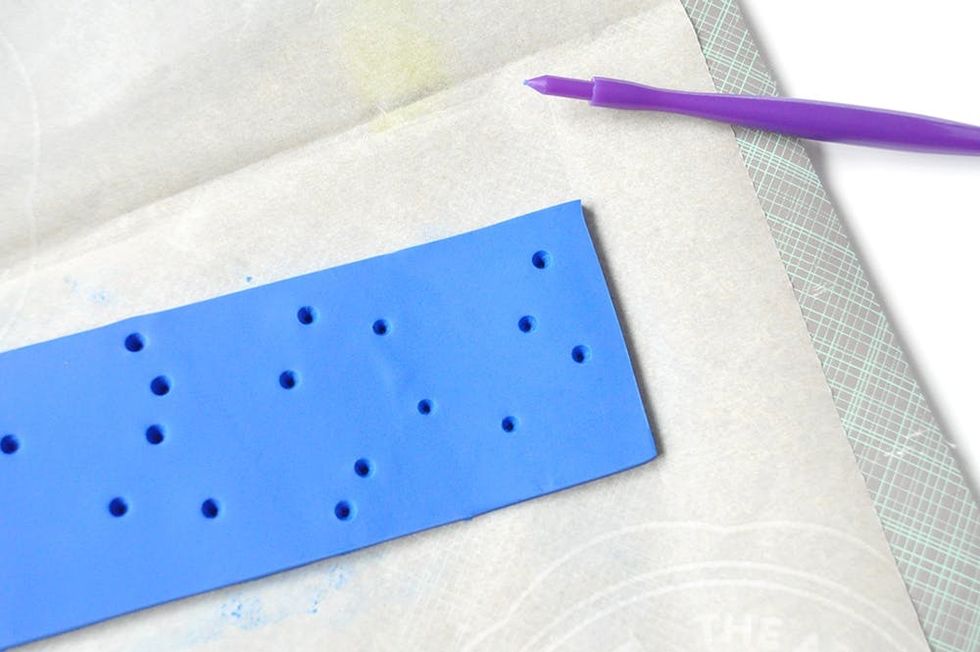
Use the pointed end of your sculpting tool to poke holes into the clay rectangle in the shape of constellations. A wooden skewer works for this step too.
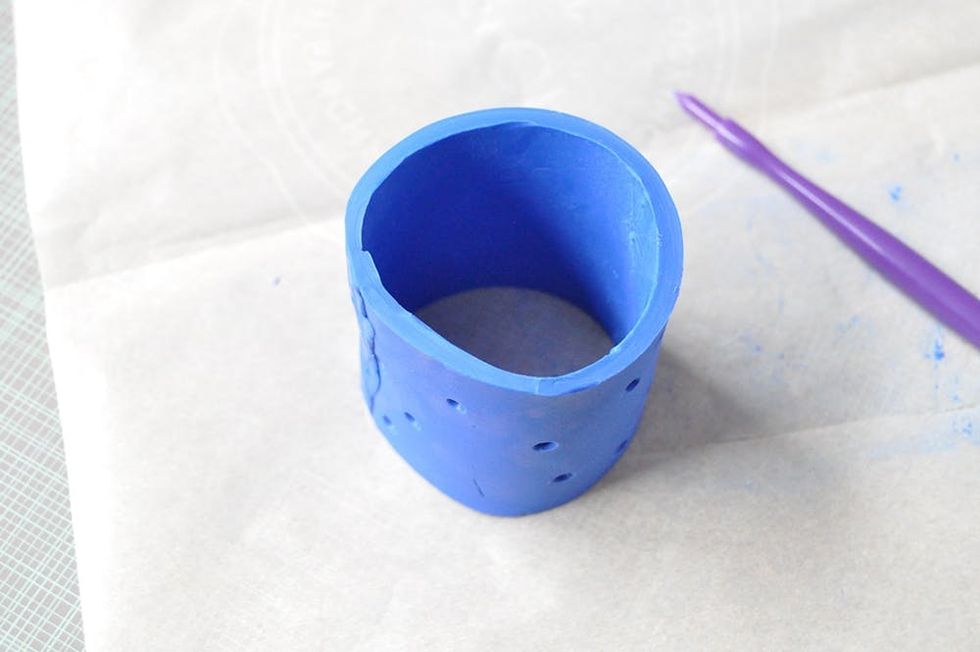
Carefully peel the rectangle off of the parchment paper and form into a cylinder. Gently press the ends together to secure, keeping as smooth as possible. Place on a foil-lined baking sheet and bake according to package instructions. Repeat in multiple colors.
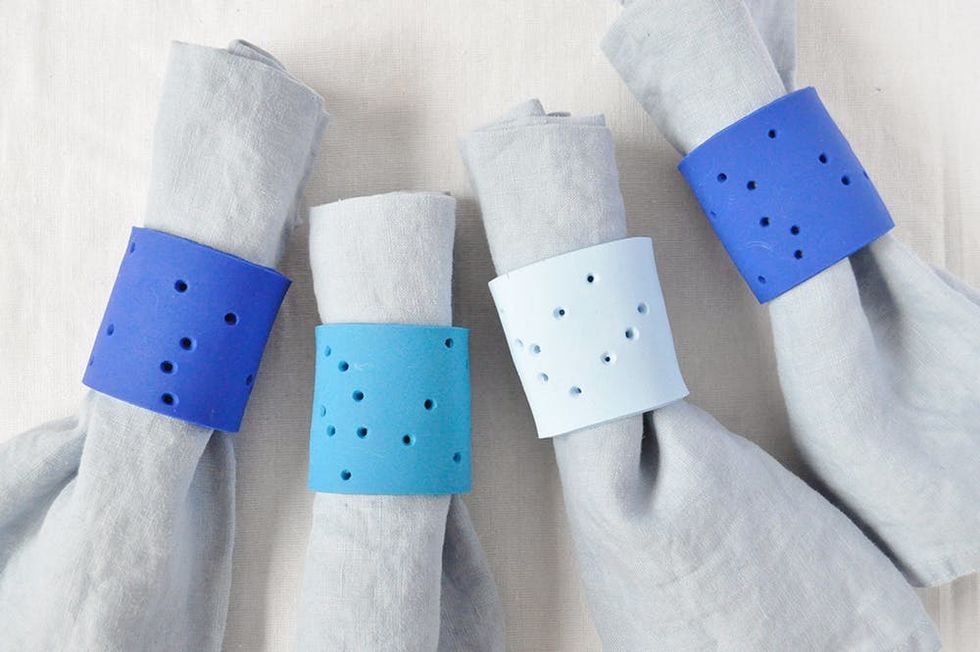
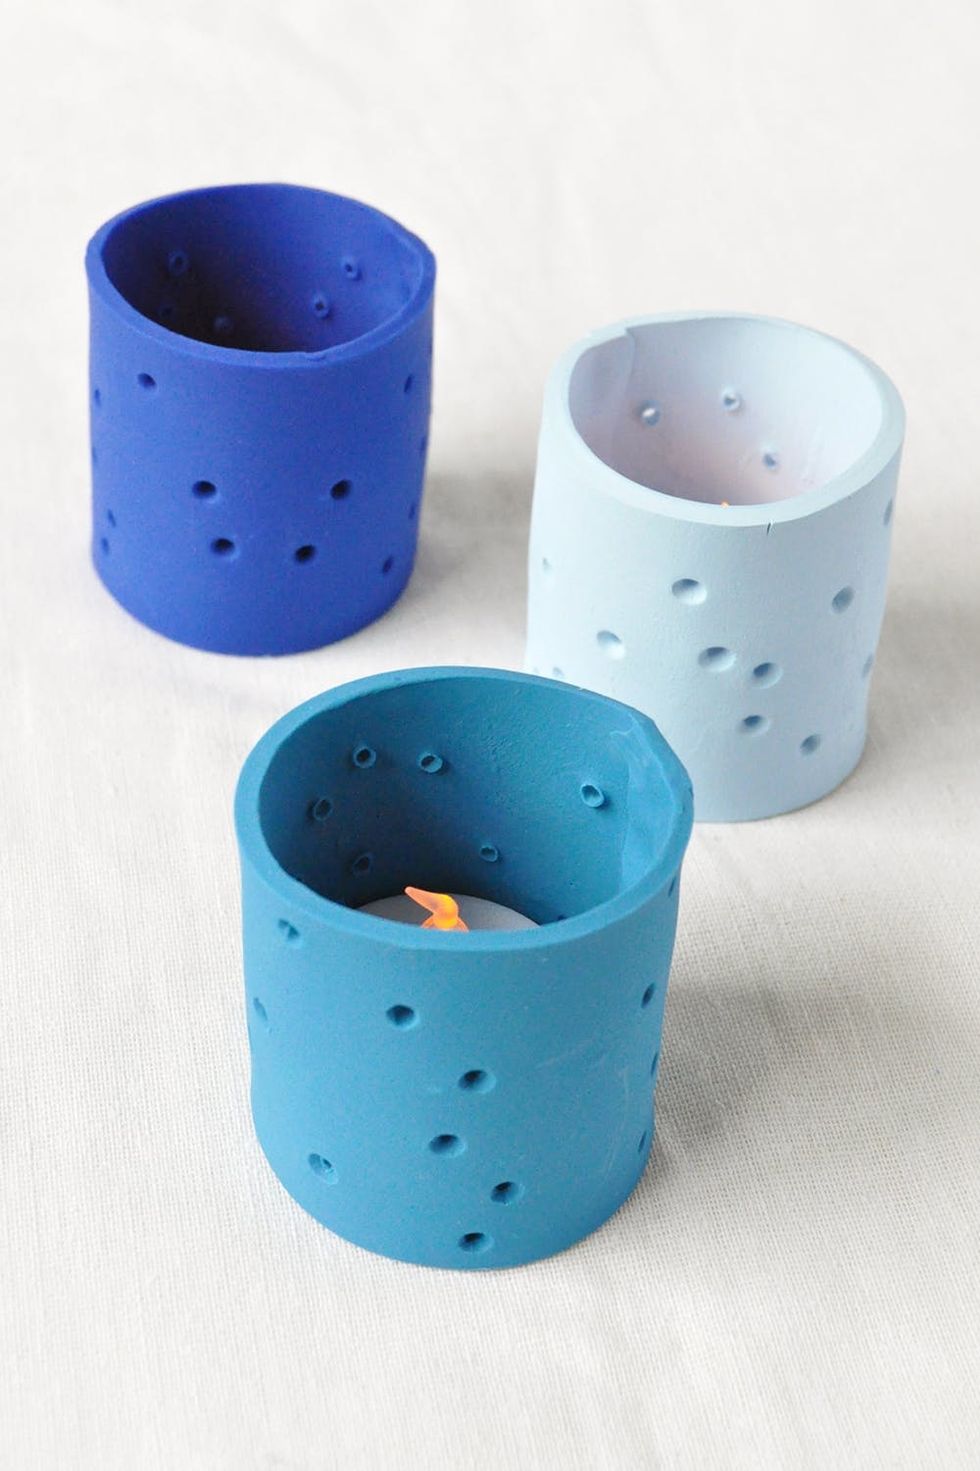
“Starlight, star bright, first star I see tonight.” ;)
Are you keeping busy crafting DIY elements for your wedding? Share your pics with us on Instagram using hashtags #iamcreative and #britstagram. For more wedding inspo, take a look at our Pinterest boards!
Brit + Co may at times use affiliate links to promote products sold by others, but always offers genuine editorial recommendations.