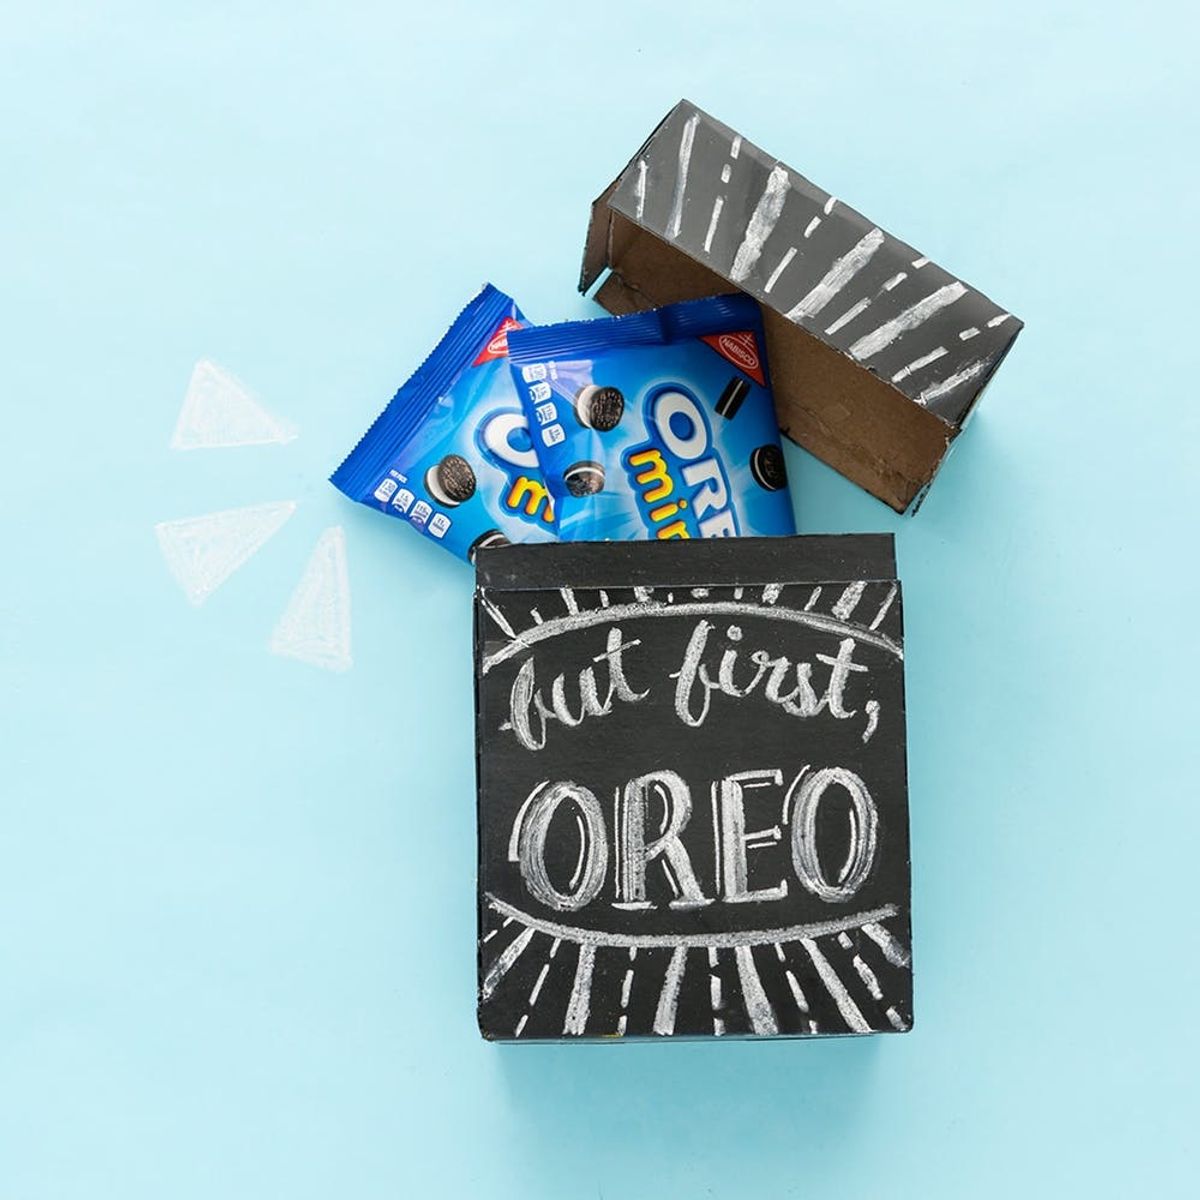
On-the-go snacking has never been so cute.
How to DIY a Cookie “Jar” in Minutes

We at B+C have a long-standing love affair with OREO Cookies. From celebrating National OREO Cookie Day on Instagram to swooning over limited edition packaging, we’ve found many ways to pay homage to the perfect cookie sandwich. So why not celebrate it AGAIN the best way we know how — with a DIY! Today, with the help of NABISCO products, we’re showing you how to transform a Mini OREO Cookie Multipack box into a reusable cookie box perfect for your kitchen counter. Using chalkboard spray paint, we’re bringing our own B+C spin to the classic cookie jar — a cookie “box” that the whole family can help create. On-the-go snacking has never been so cute.
Clearly we have our priorities in order ;)
Materials + Tools (for grown-up use only! ;)
- 2 Mini OREO Cookie Multipacks 12ct
- chalkboard spray paint
- chalk
- cutting device
- scissors
- ruler
- pen
- hot glue gun
Psst — most of these materials and tools are available at Target! One-stop shopping FTW.
Instructions:
1. On one of the Multipack boxes, make marks 1 ½ inches down from the top. Use the ruler to draw a line around the entire box. On the second box, make marks 2 inches down from the top. Draw a line around the box. On both boxes, cut along the line using a cutting tool.
2. Cut the sides of the larger top half, then the smaller bottom half. Wrap the larger top half over the smaller top half and glue down the sides, then do the same with the bottom halves.
3. Spray the box with chalkboard spray paint.
4. When the paint is dry, use chalk to letter your favorite phrase. Add some doodles if you please!
On one of the Multipack boxes, make marks one and a half inches down from the top. Use the ruler to draw a line around the entire box. On the second box, make marks two inches down from the top. Draw a line around the box. On both boxes, cut along the line using a cutting device.
At this point, your boxes should look like this.
Cut the sides of the larger top half, then the smaller bottom half. Wrap the larger top half over the smaller top half and glue down the sides.
Repeat this step with the bottom halves.
Test the fit of the two halves.
Spray the entire box with chalkboard spray paint, then let dry.
When the paint is dry, use chalk to letter your favorite phrase.
Psst — If you want to up your chalk lettering game, check out our online class!
Add some doodles to the sides if you please!
Ta-da! An adorable chalkboard cookie box for your Mini OREO Cookie Multipacks.
Happy snacking :)
Planning on DIYing this cookie box? We want to see the results! Share photos on Instagram with the hashtag #iamcreative so we can take a look.
DIY Production + Styling: Irene Lee
Photography: Brittany Griffin + Chris Andre


