Is learning calligraphy on your list of creative resolutions?
It’s Not Too Late to Make Our DIY Calligraphy Calendar (Free Printable!)
It’s the start of a new year which means it’s time for a new calendar. Sure, you probably keep track of your schedule with an online calendar that syncs every device you own, but sometimes it’s nice to have a simple, pretty calendar to gaze at while you’re at work. Or just see the date. Like today’s date. Admit it, you often have no idea! It’s okay, we don’t either ;)
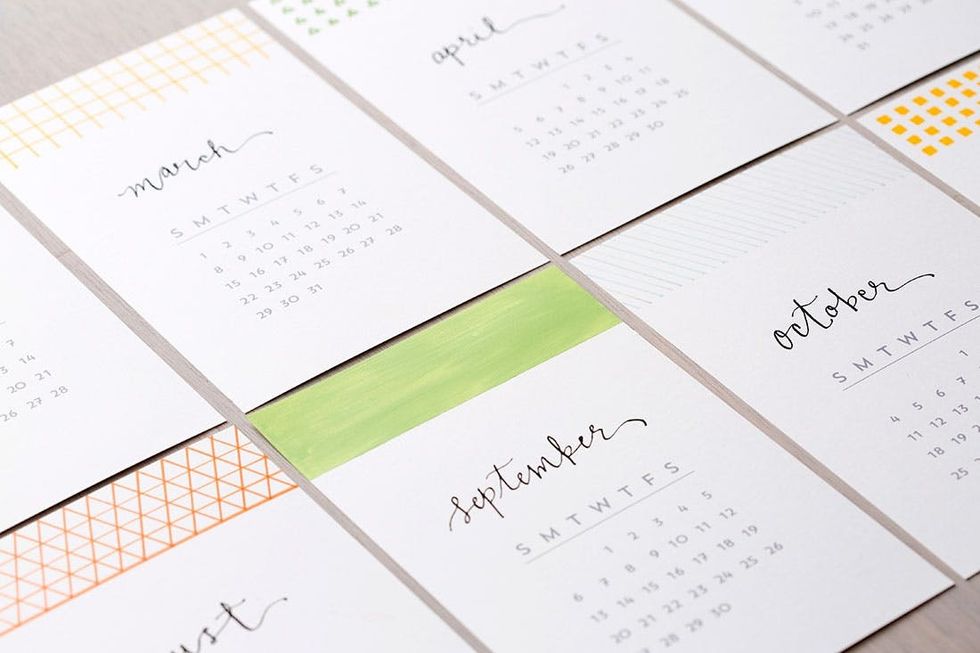
For today’s installment of#31DaysofDIY, we’re making an adorable calligraphed desktop calendar that will add some color and pattern to your workspace. And keep you in the loop on what day it is.

No idea what #31DaysofDIY is? It’s a brand new tradition here at Brit + Co that’s all about kicking off 2015 right. We’ve challenged ourselves to make or learn something new every single day for the month of January, and we’re inviting all of you along for the ride. From DIY basics like Sewing 101 to learning to design and laser cut our own stencils, we hope this month of making inspires you to make all year long.
Materials:
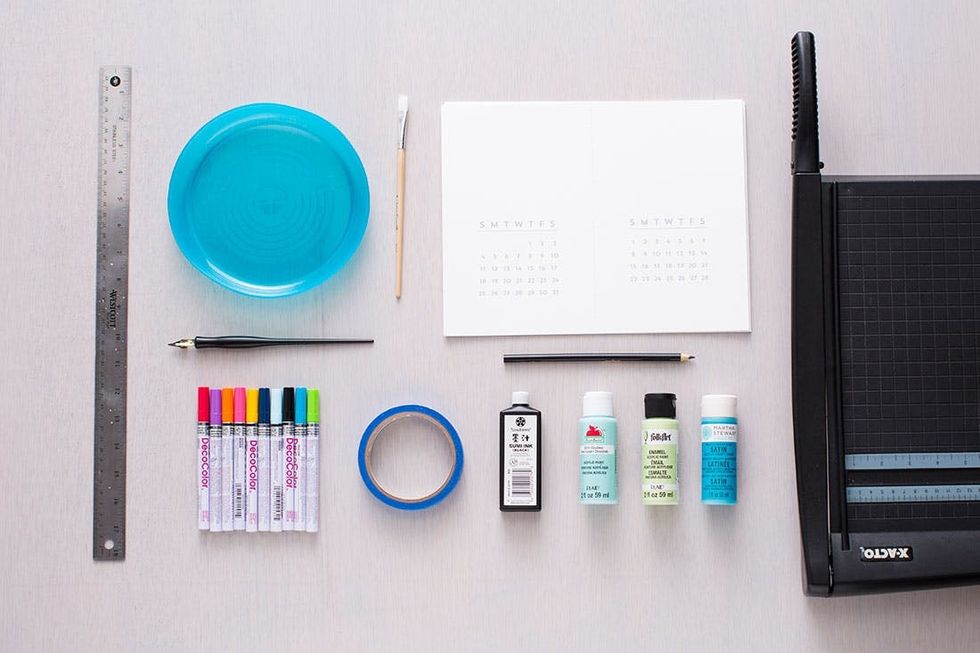
– Brit + Co calendar printable template (download here)
– 8 ½ by 11 inch card stock
– Deco paint pens
– acrylic paint
Tools:
– calligraphy pen + black ink
– paint brush
– ruler
– painter’s tape
– pencil
– paper cutter (scissors work if you don’t have one)
– paint tray
Instructions:
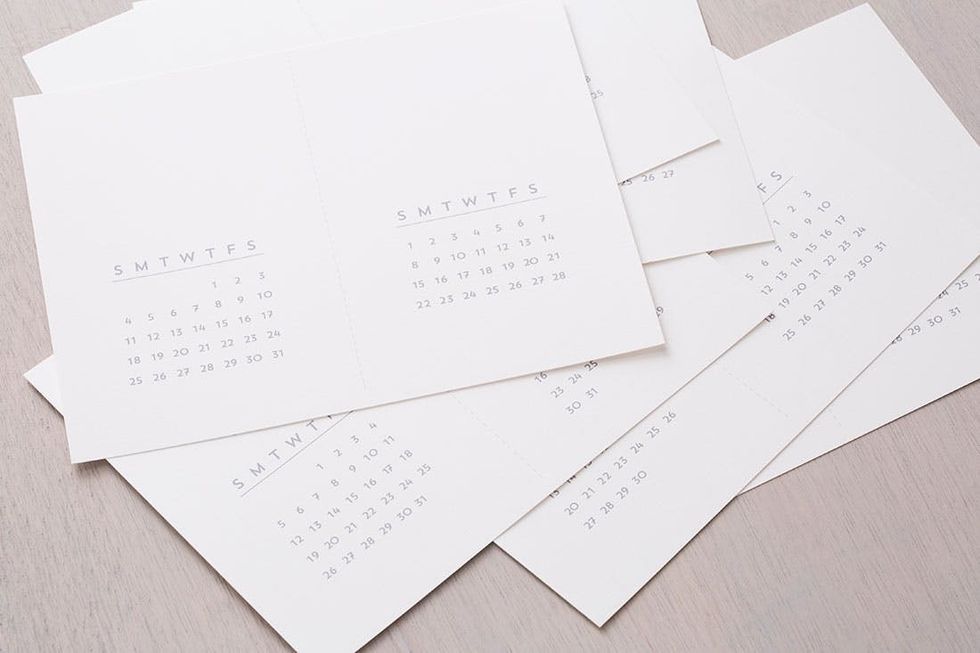
1. Print your Brit + Co calendar using the printable provided on 8 ½ x 11 inch card stock or other heavyweight paper.
2. Cut your calendar on the dotted line.
3. Use a ruler and painter’s tape to make a straight line at the top fifth of the calendar. Then create designs with acrylic paint or paint pens.
4. Write the months using your calligraphy pen. Not sure how to do calligraphy? No problem. We’ve got you covered with our Calligraphy 101 class.
5. Place your finished calendar on an easel or hang it on your wall.
Start your project by downloading the Brit + Co calendar printable. Get some thick white paper (or perhaps a color!), and print. The months are in order, so keep them organized.
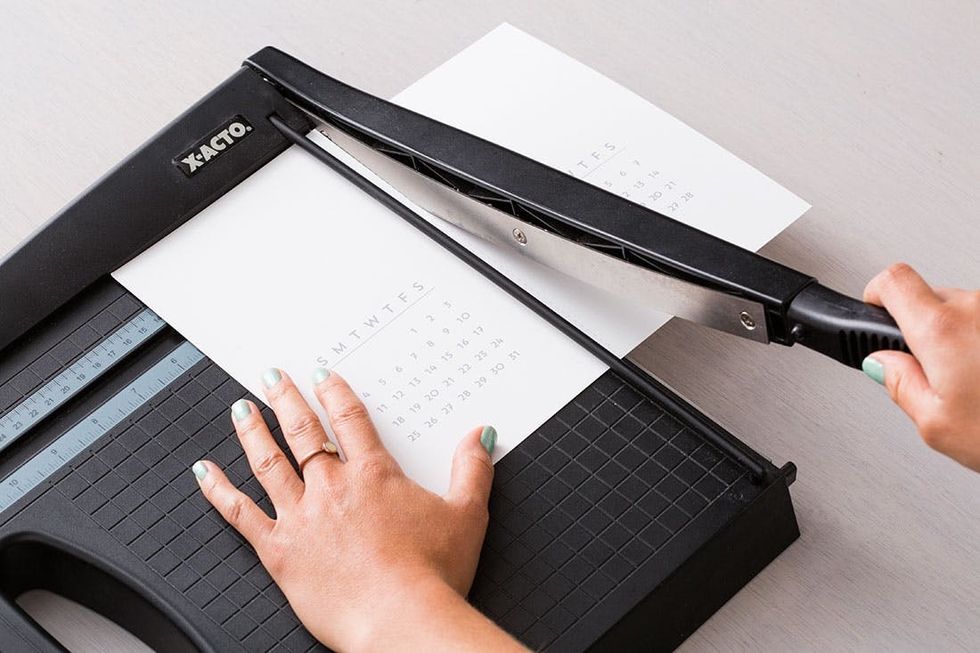
Cut down the dotted line either using a paper cutter or scissors.

Before you get started, it’s a good idea to practice your designs and your calligraphy. Take a piece of scratch paper (the same paper you will be using so you can see how the ink and paint soaks into the paper). Get really creative drawing patterns and painting and then pick your faves for the calendar. Here are a few that we made!
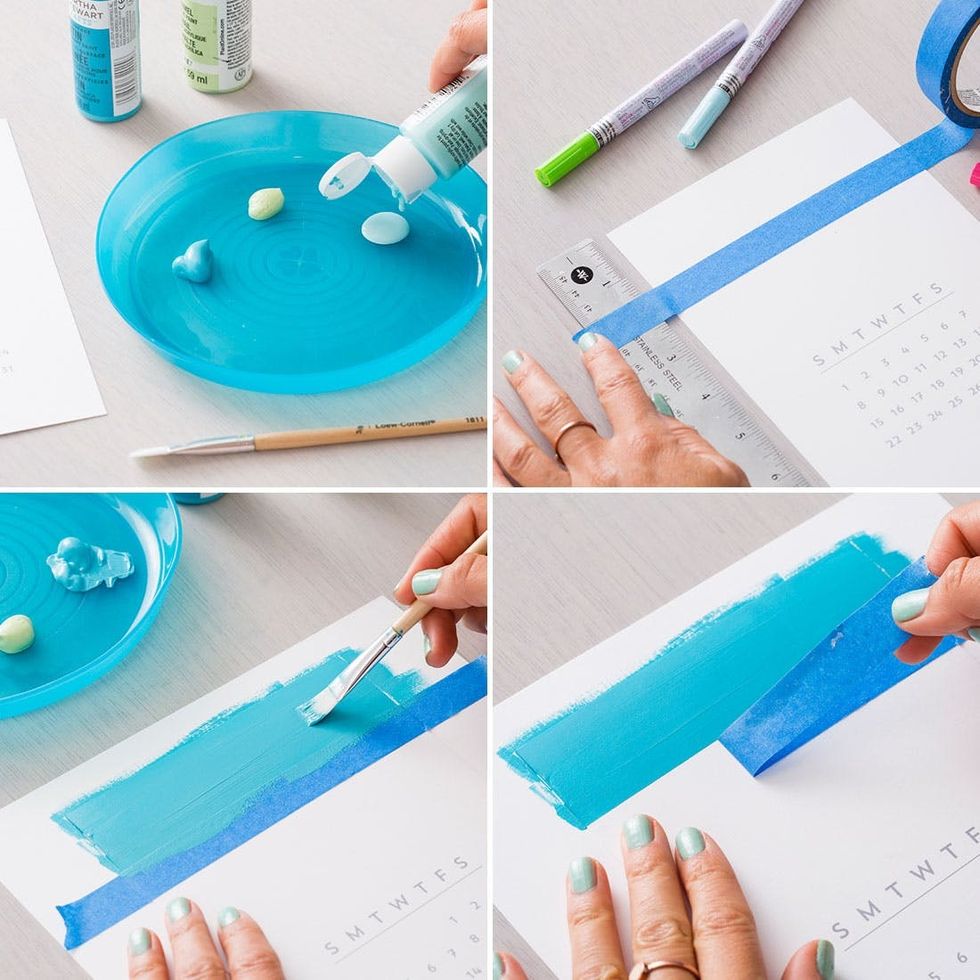
Using painter’s tape, mark a straight line across the top of your calendar. We measured an inch and a half down from the top and kept the line consistent for every month. Paint a thick block of color on the top and then pull off the tape when the paint is dry.
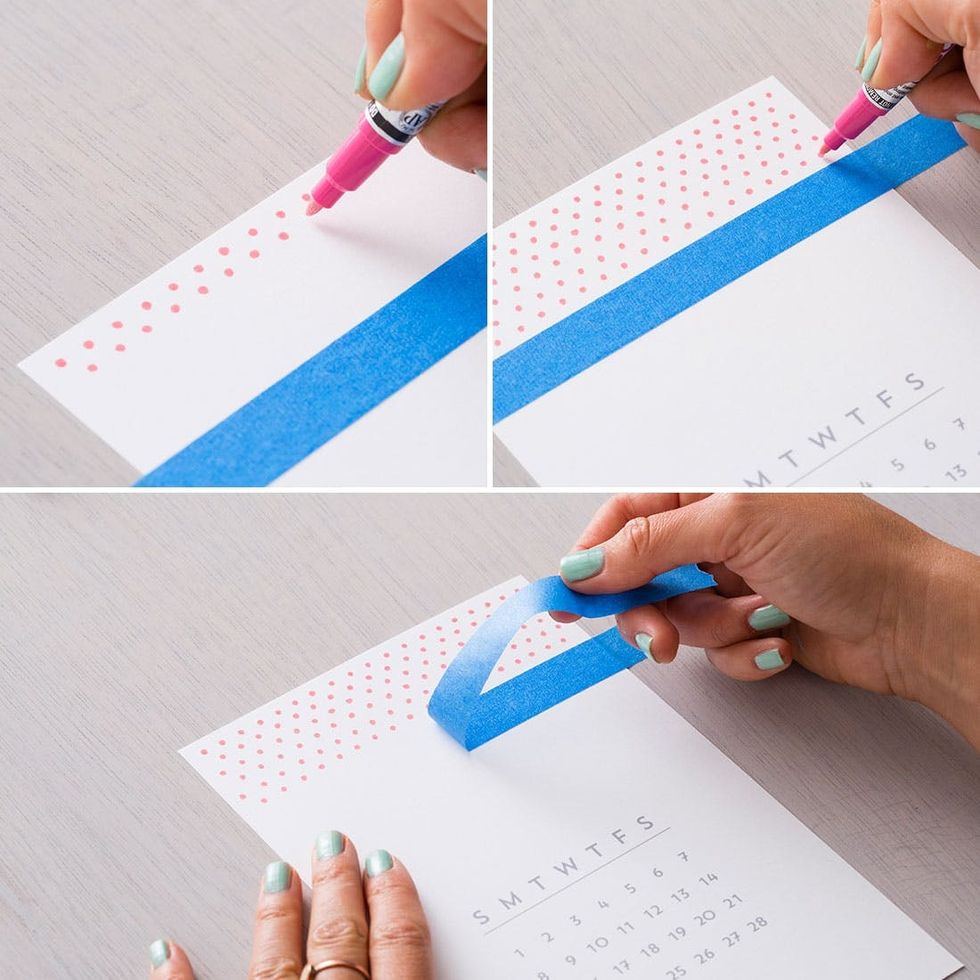
Next we made some polka dots. Adding pattern can be so simple yet so stylish. We love how this turned out!
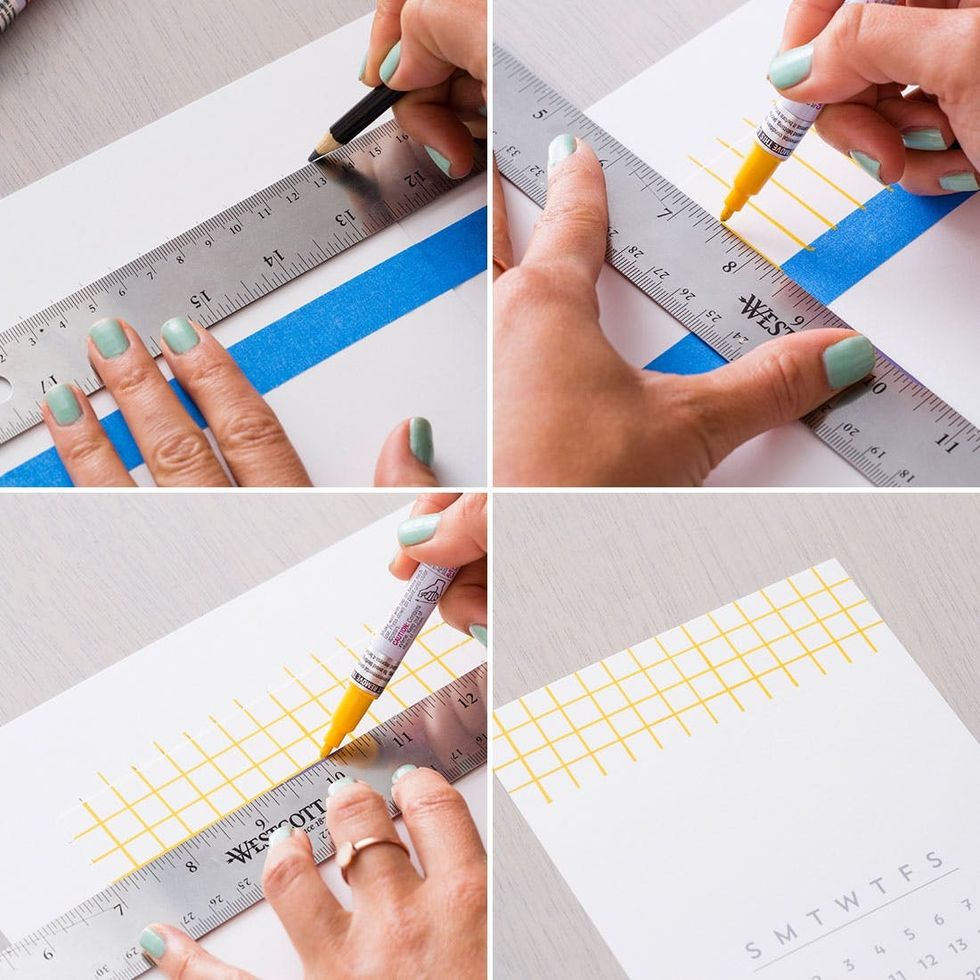
For our third month, we went with a grid. To ensure the lines were even, we used our ruler to make measurements and also as a straight edge.
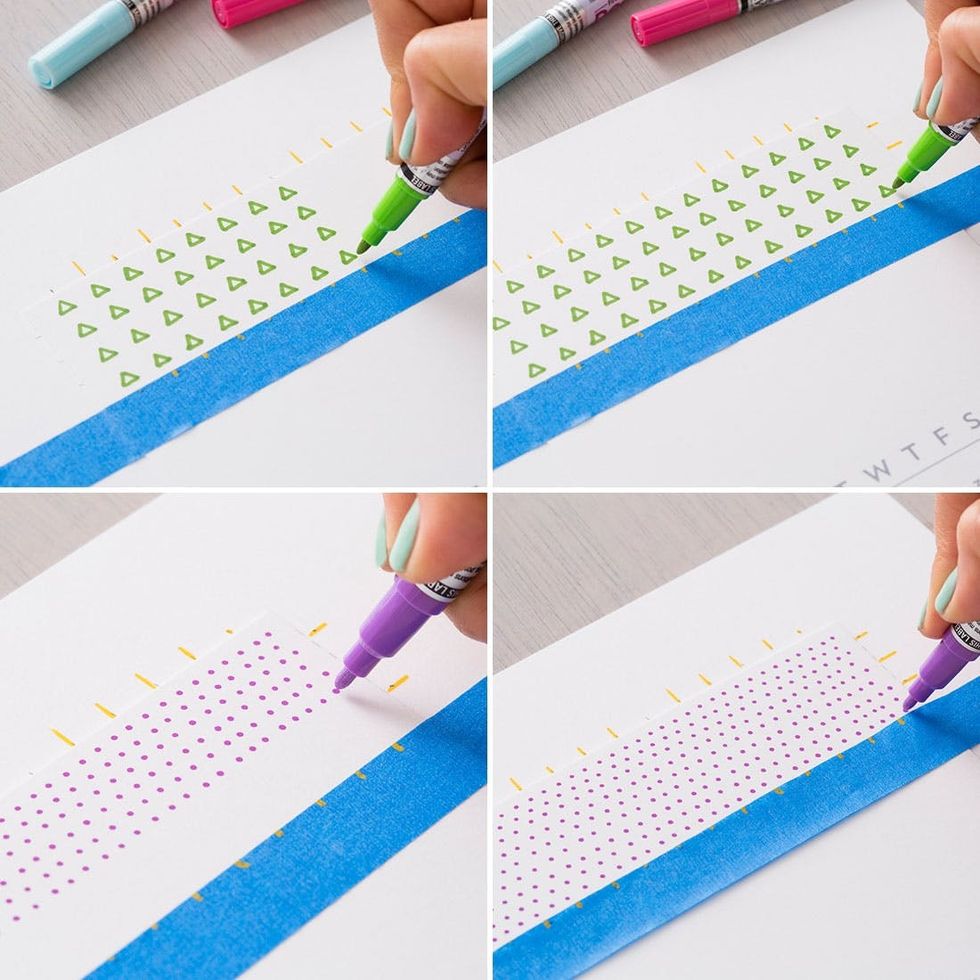
Here’s a few more from the mix. We’ve got triangles and and even smaller dots.
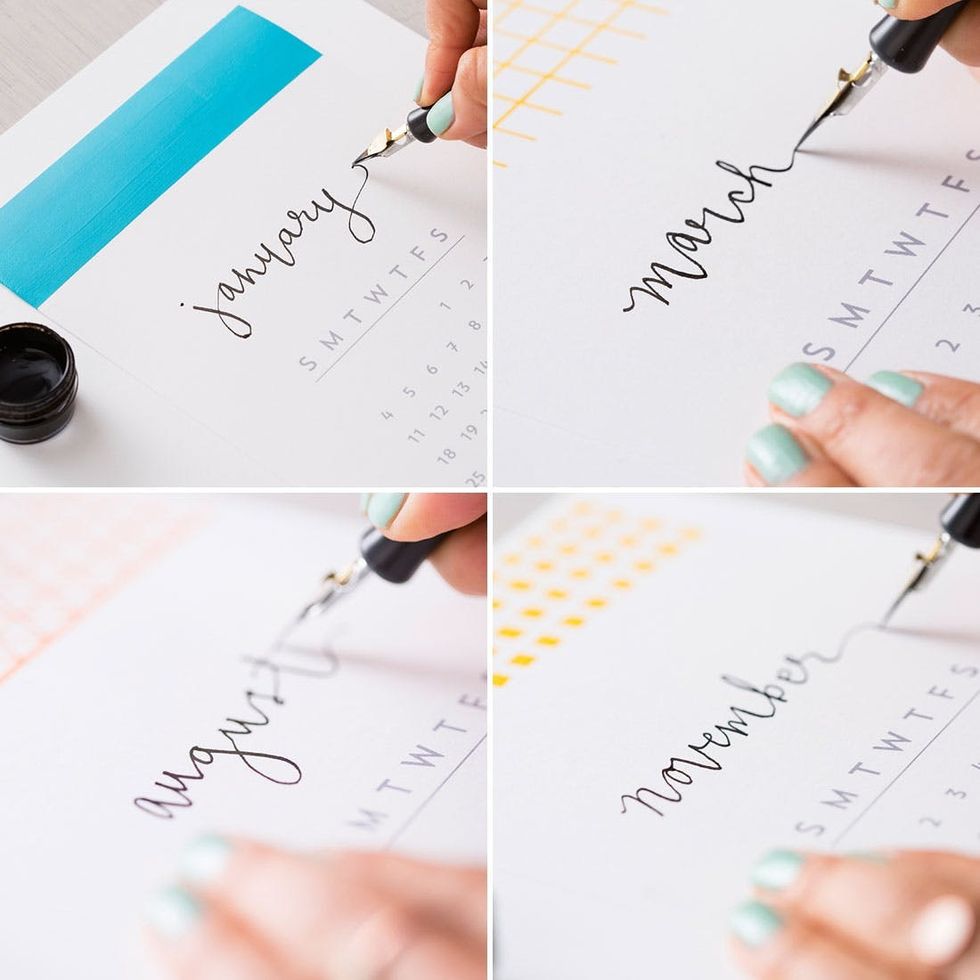
Pick your calligraphy poison. We went with a c-4 nib and black ink, but a thicker nib and some gold ink would also be a great combo, especially on some colorful paper. Write your months and that’s it!
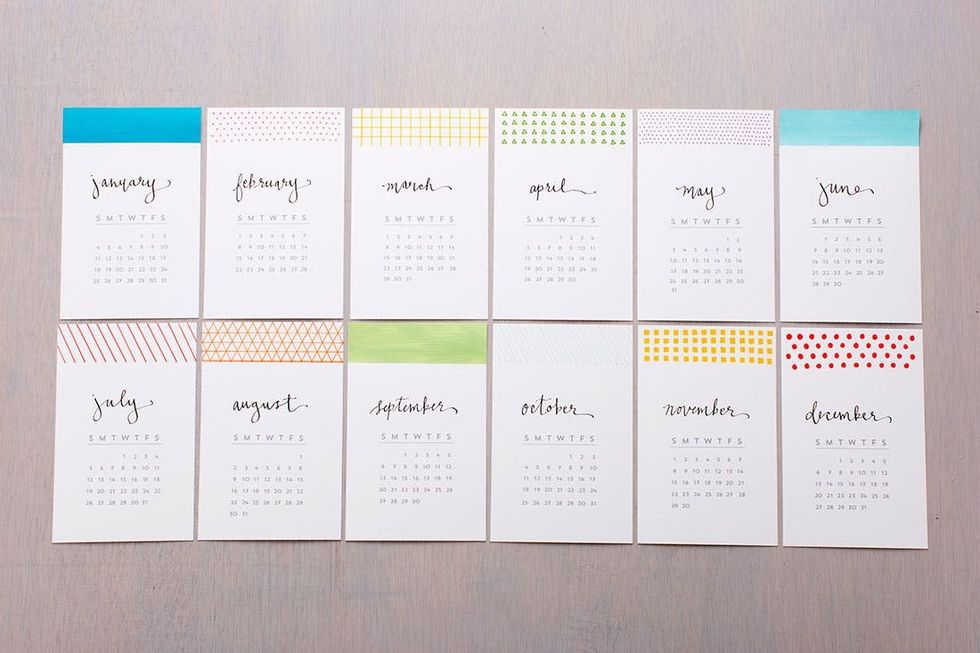
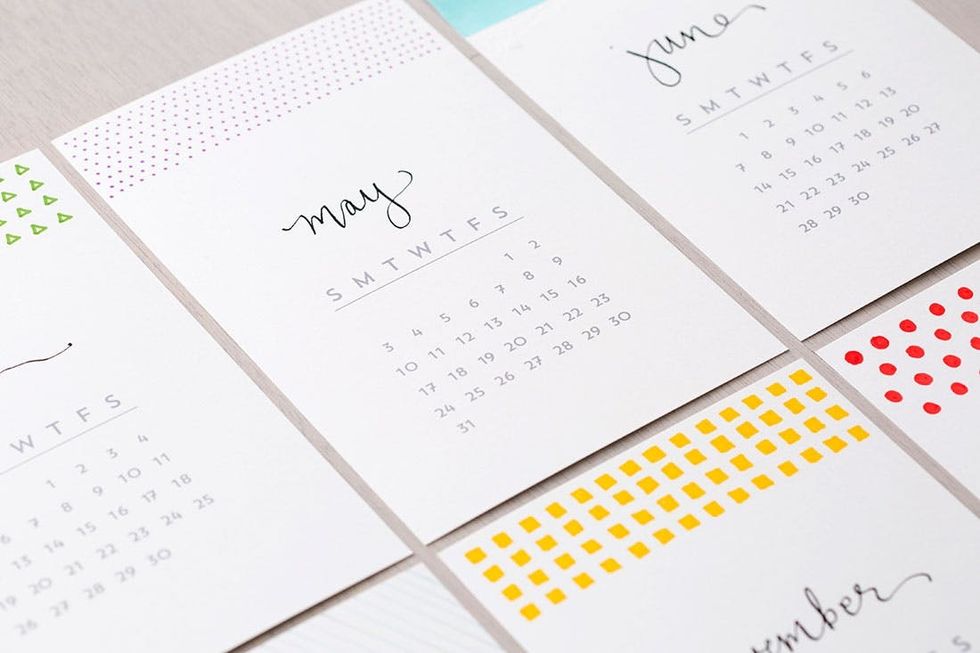
Here is our finished work of art. We just love how this turned out. And it was easy-peasy!
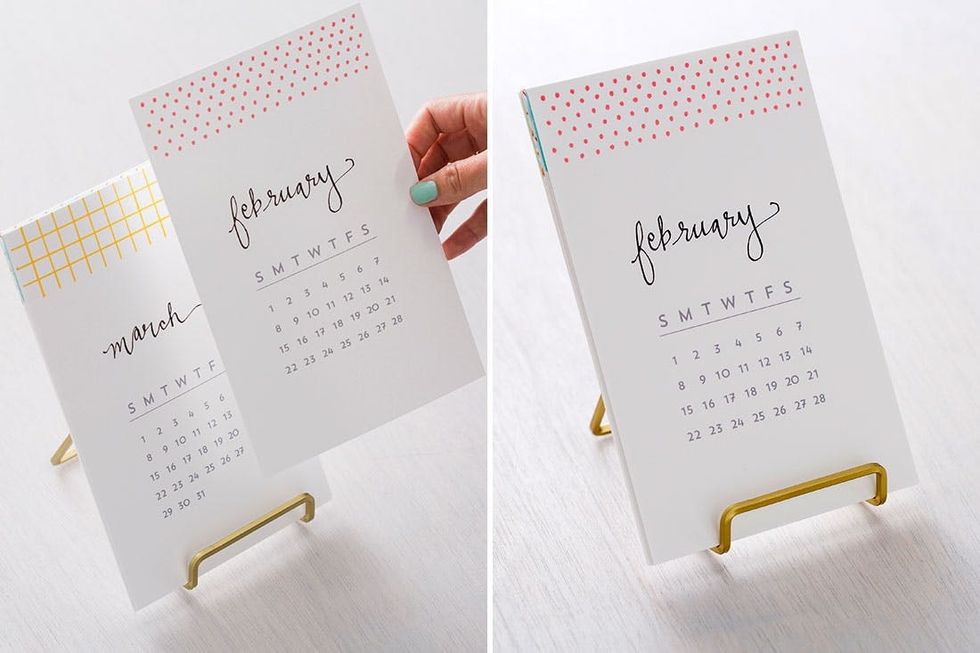
Get a small photo easel and pull each month as time flies by. Or if you prefer to see them all year long, turn your calendar into wall art. Pin the pieces up with gold tacks or stick them to the wall with washi tape.
If you’re in need of a desktop calendar, grab some pens and paper and get making!


